Create these simple and memorable framed recipes for the prettiest kitchen art idea. These are great for gift giving or as decor in your own home.

Our original goal was to have our home completed before the holidays so that we could relax and enjoy the season without issue. Sometimes the best intentions just don’t quite come to fruition.
One delay led to another soon realizing it wasn’t going to be completed on time, and I, at least, wanted to start warming up her home by filling the walls with framed family recipes to make our house feel like home for the holidays.
Framed Recipes for Kitchen Art
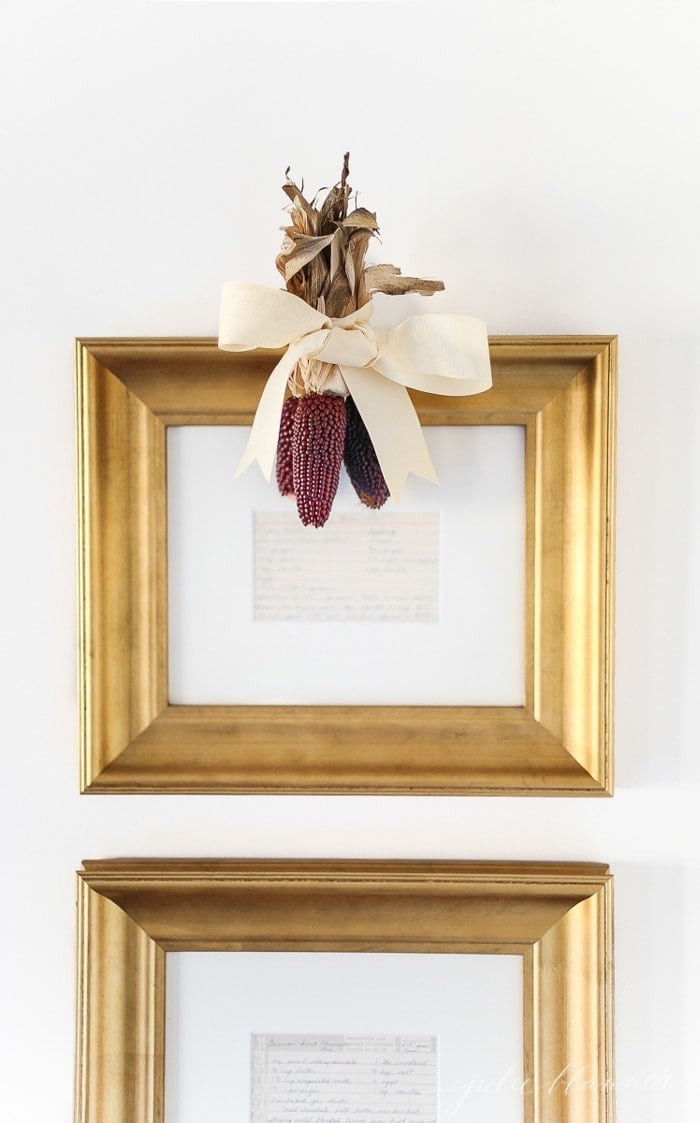
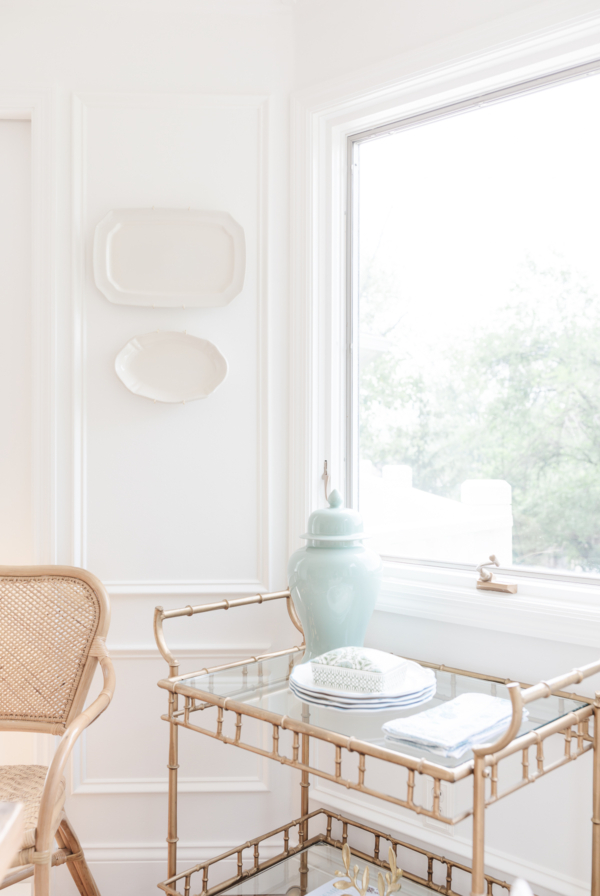
The holidays bring such a feeling of intimacy and I like that to reflect in our home. We often spend more time indoors, cozied up, visiting with family and friends.
It’s amazing how much more complete it feels with the addition these framed recipes.
I procrastinated projects that I had in mind for years because adding art with meaning like my family’s old recipes made me nervous that I was going to mess them up.
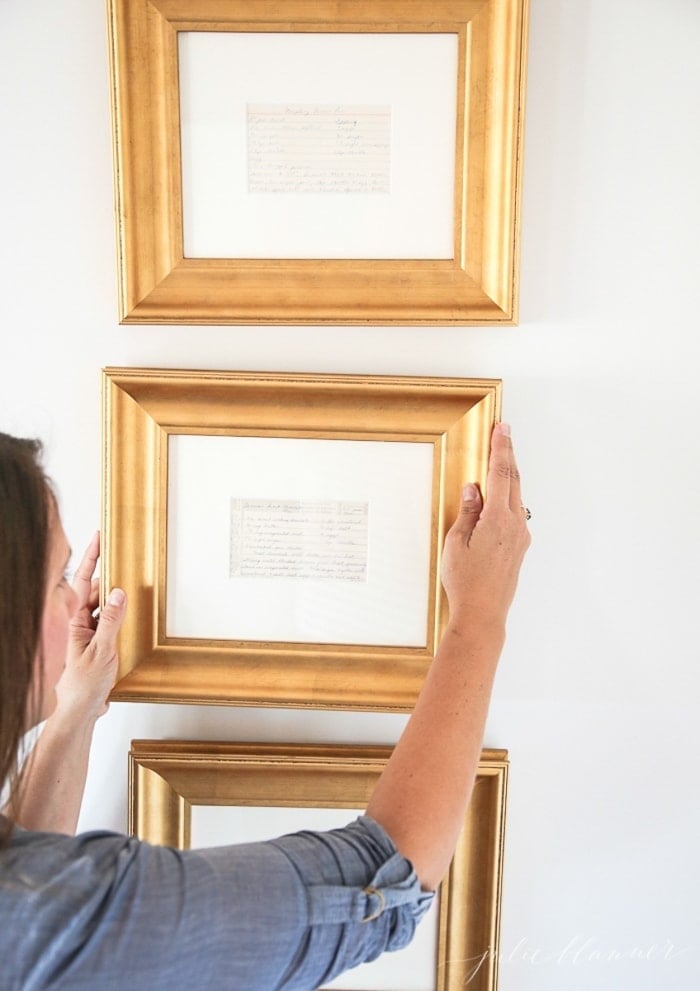
But with the house not being done for Christmas, I wanted to add hints of nostalgia and love. So I buckled down and decided to frame the recipes myself as a way to save on time.
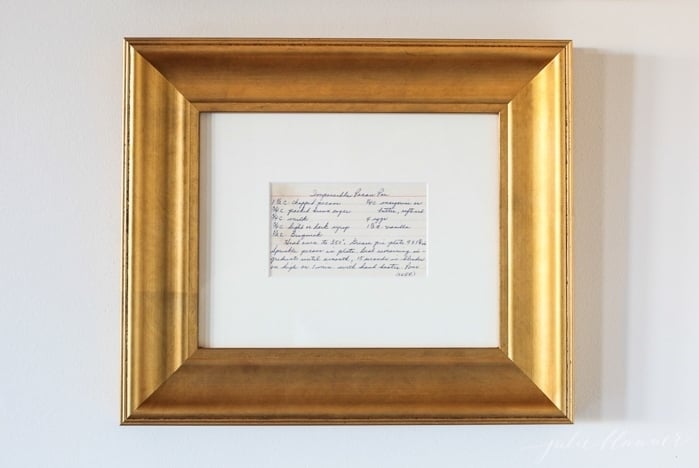
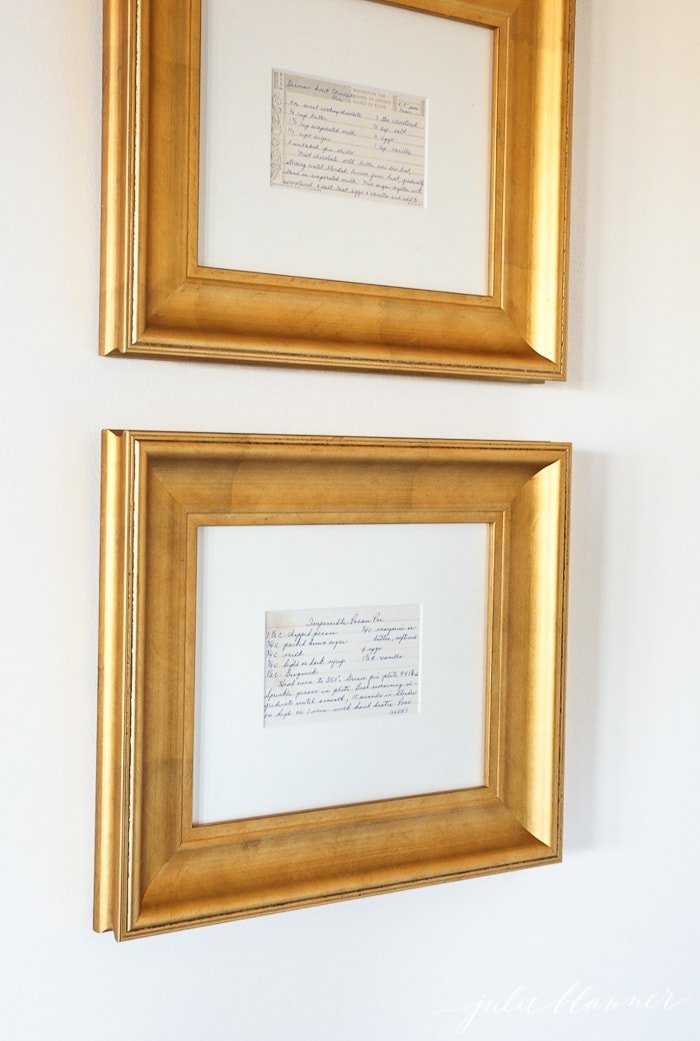
I am particularly excited about our kitchen wall art. I had my mom’s favorite pecan pie recipes framed, which includes one that my grandma had written. Adding these family heirlooms gives me the sense that I’m still baking with them, in heart.
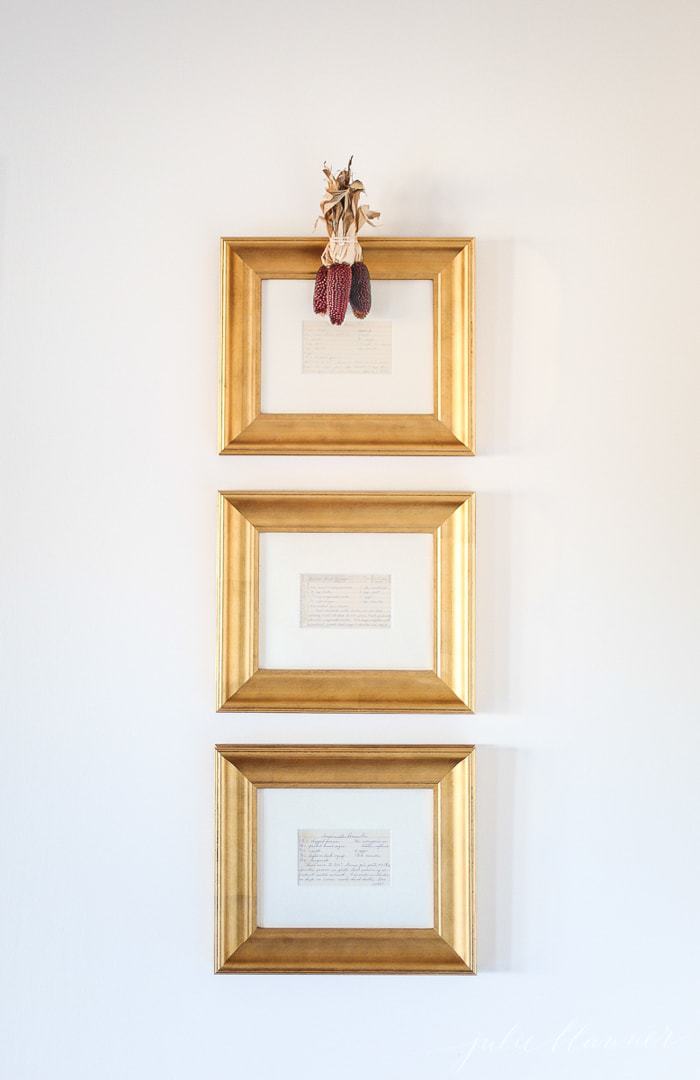
I can’t help but smile every time I pass by our new kitchen art. Nothing fancy, just heirloom recipes passed from one friend or family member to another.

Supplies
Framing these recipes is a lot of measure twice cut once. To frame your own recipes, you’ll need:
- Picture frame
- Mat Board. You can buy this from any craft store, but I got mine from Michaels.
- Metal Ruler
- Utility Knife
- Tape
- Pencil
- 3×5 recipe card you are framing
- Flattened cardboard box to cut your mat board to protect the table or wherever you are cutting the mat board.
You can use frames you already have and paint them if desired. I bought new ones as I had a specific look and color I wanted in the kitchen.
How to Frame Recipes
- Measure and cut the mat to fit in the frame on the cardboard. I cut it a little bit bigger so that I could easily trim it to fit the frame.
- Find the center of your mat by turning the mat over and drawing two diagonal lines to over cross each other with your metal ruler. Place your 3×5 card in the center of the diagonal lines and trace around the edges. Using your utility knife and metal ruler cut out the rectangle.
- Tape the back of index card. To do this, lay the front of the 3×5 card face down and put a piece of tape over the top. You don’t want a lot of tape hanging off the edge.
- To attach the 3×5 card lay the mat face down. Turn the 3×5 recipe card over, and place it within the 3×5 opening on the mat. Once you have desired placement, press the card down with the tape to have it stick to the mat.
- Place the mat with the attached recipe card in the fame.
- Voila! You have a lovely framed recipe ready to be hung.


Tips
- Framed recipes not only make beautiful kitchen art, but a very thoughtful Christmas gift. They are a simple way to remember loved ones over the holidays and think of them.
- While the frames we used were custom, our source section also links another favorite (more affordable) frame so that you can recreate this look for less.
- To make the recipe stand out you can also use thick mounting tape.
The framed recipes exceeded what I had initially envisioned 10 years ago when my mom passed away. They’re beautifully matted and perfectly paired with frames that highlight my family heirlooms.
Sources
Custom Frames
Our recipes were custom matted and framed in a 12×14 size. These do go in and out of stock, so check back frequently!
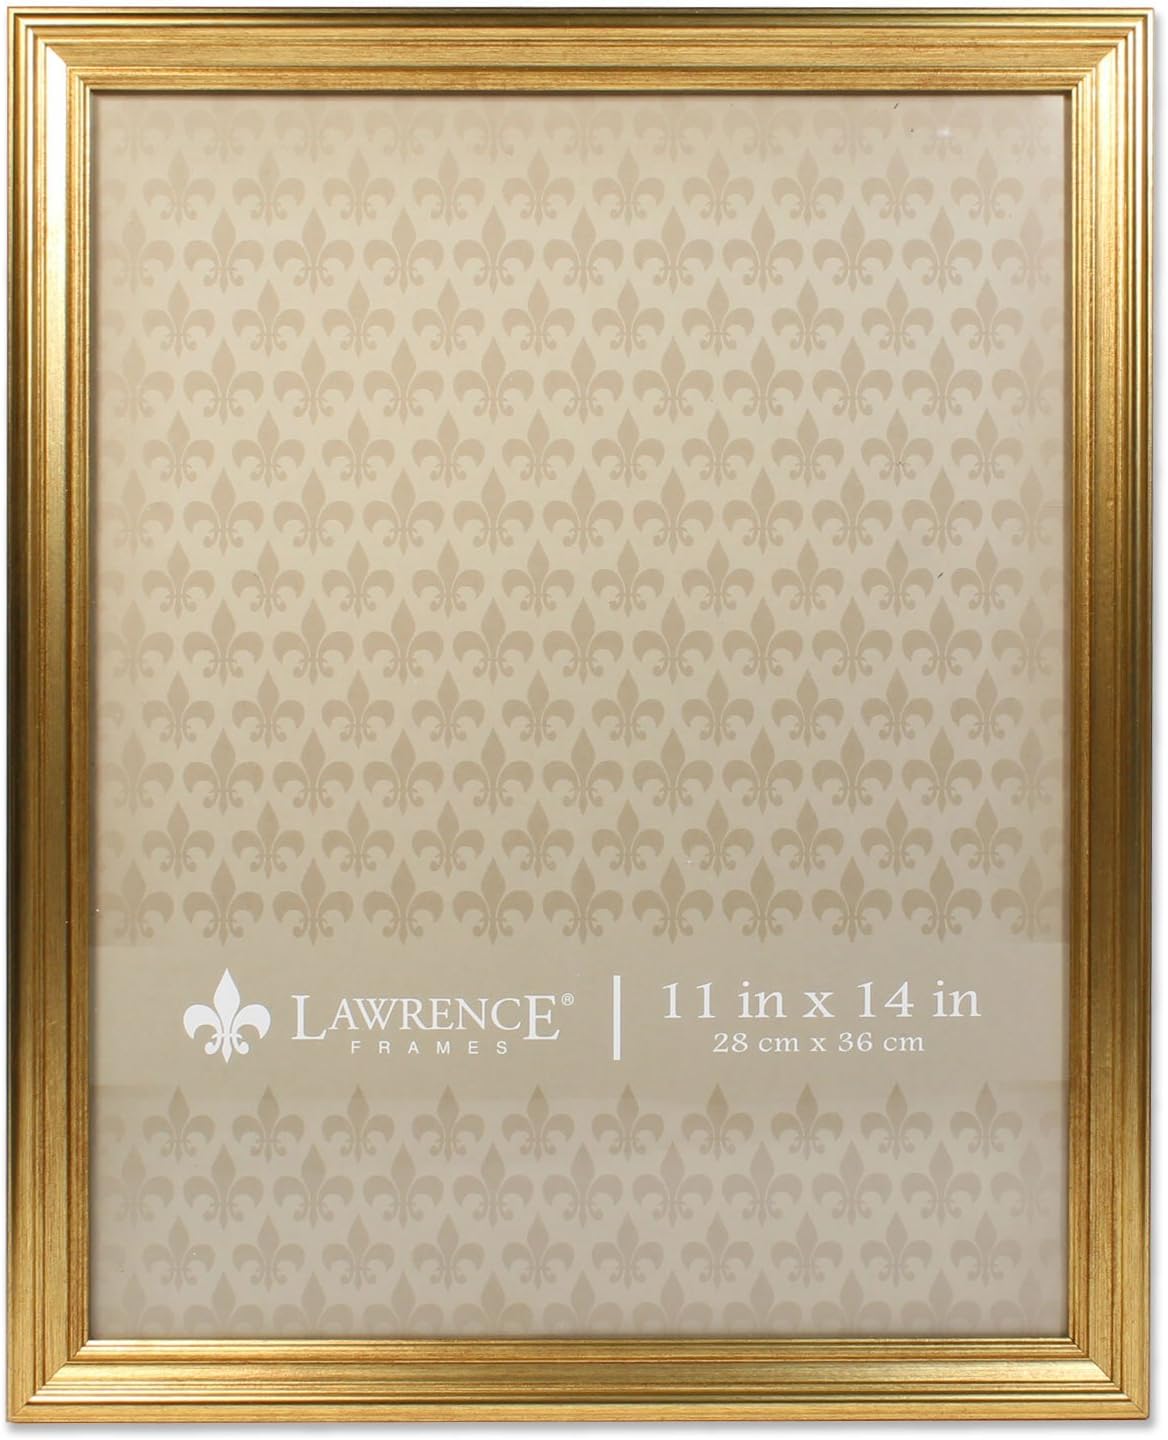
Look for Less
These are one of our favorite gold frames to use throughout our homes. 11×14 is the closest to our look! Order a custom mat here.


I have my mom’s recipes framed and hanging in my kitchen too. So precious and my kids said they will do the same in their homes one day.
So sweet!
Great idea, such a nice touch. What a wonderful feeling to have my mom/grandmothers handwritten recipes where I could look at them each day.
This is such a great idea. It adds charm to a modern setting as well as in traditional decor.
Precious memories! Love the combination of elegance and simplicity .
Hi Julie –
My sister gave me a frame stand with a copy of a fave family recipe in my mom’s handwriting as birthday gift. I have it on my kitchen counter. It makes me happy to see since my mom has passed away. I just wish I could make the recipe as well as she did. Your trio looks beautiful hanging on the wall. Art with meaning is the best kind. XO
Such a thoughtful gift that you’ll always treasure.
Love!! Where did you find the frames though?
Hi Rachel, they were from Framebridge, but unfortunately have been discontinued.