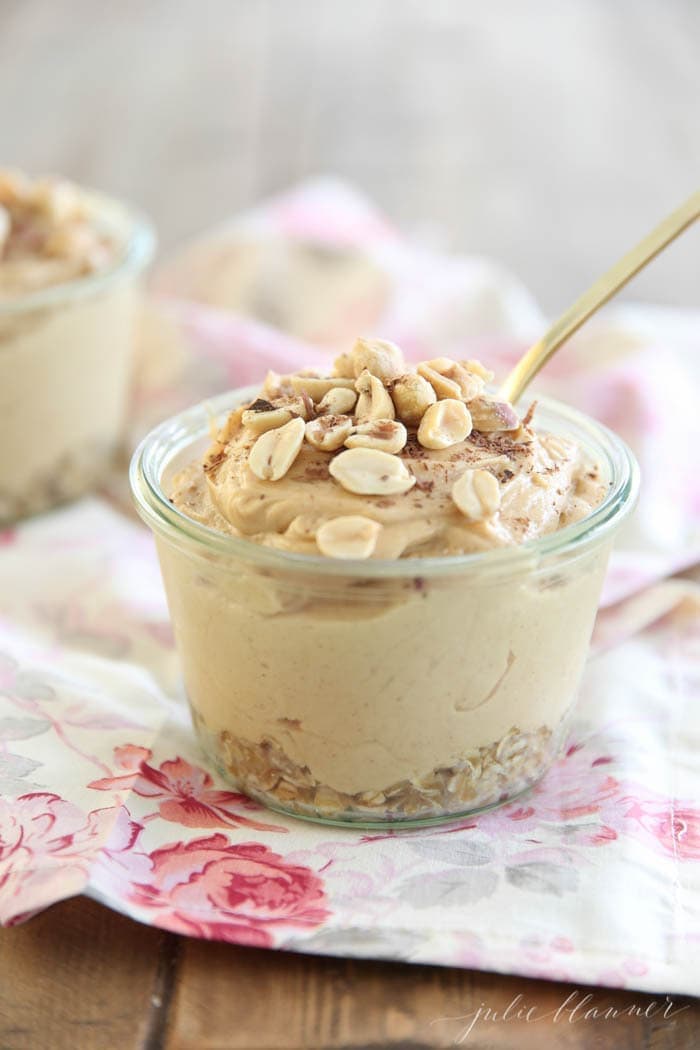
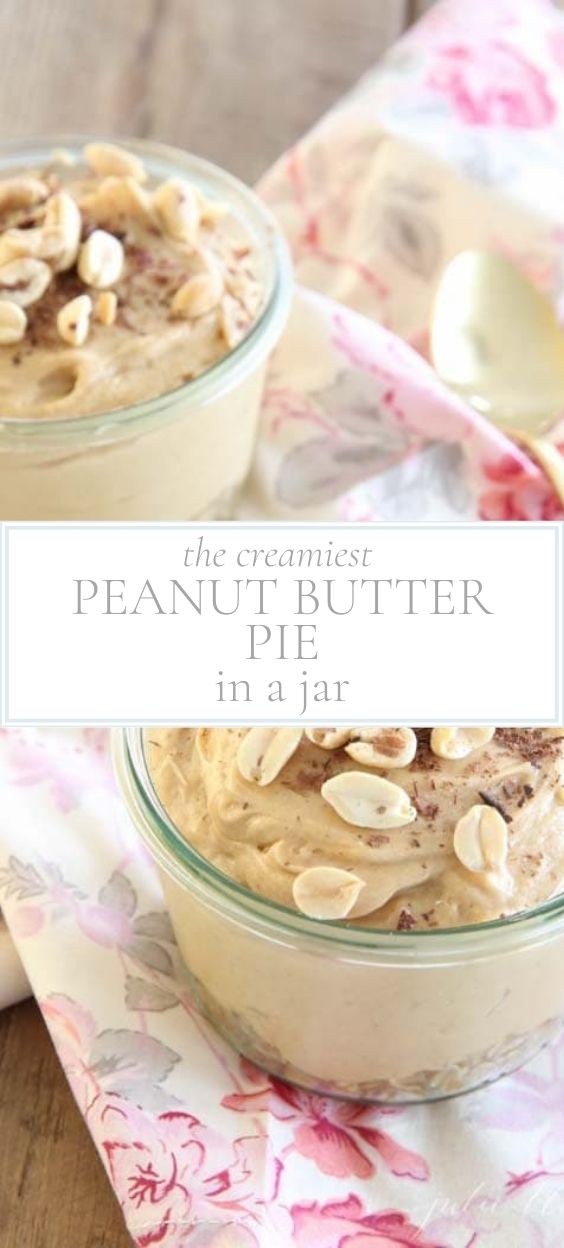
These delicious no bake individual desserts are just heavenly! This peanut butter pie recipe is served in jars and can be made ahead of time. Made with a crunch oat crust, these gluten free puddings are perfect to serve guests.
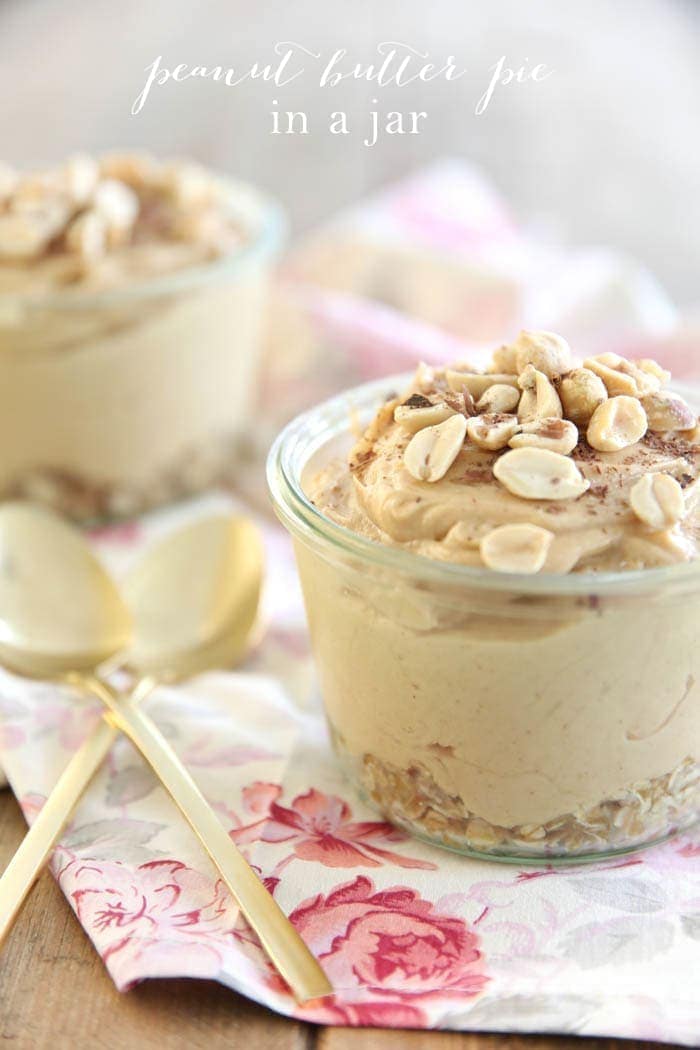
Last Friday night we hosted a couple of friends for dinner. She maintains a gluten free diet, so when I was thinking about dessert {I’m always thinking about dessert}, I thought about my peanut butter cheesecake. For some reason I have been craving peanut butter a lot lately – if you have to, be sure to check out my Peanut Butter Fudge.
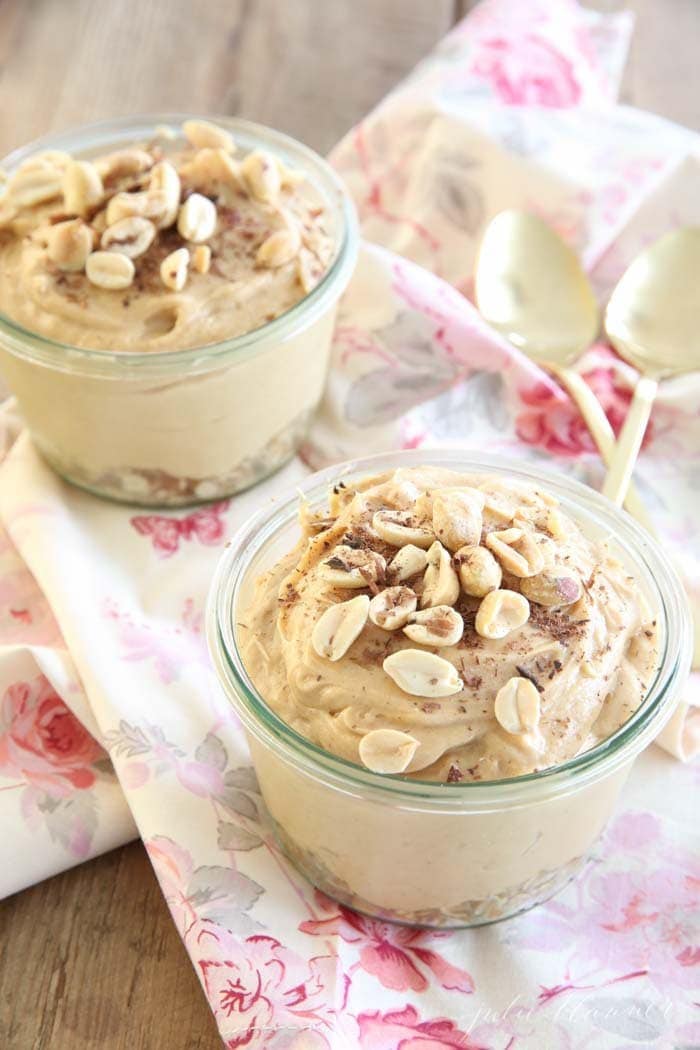
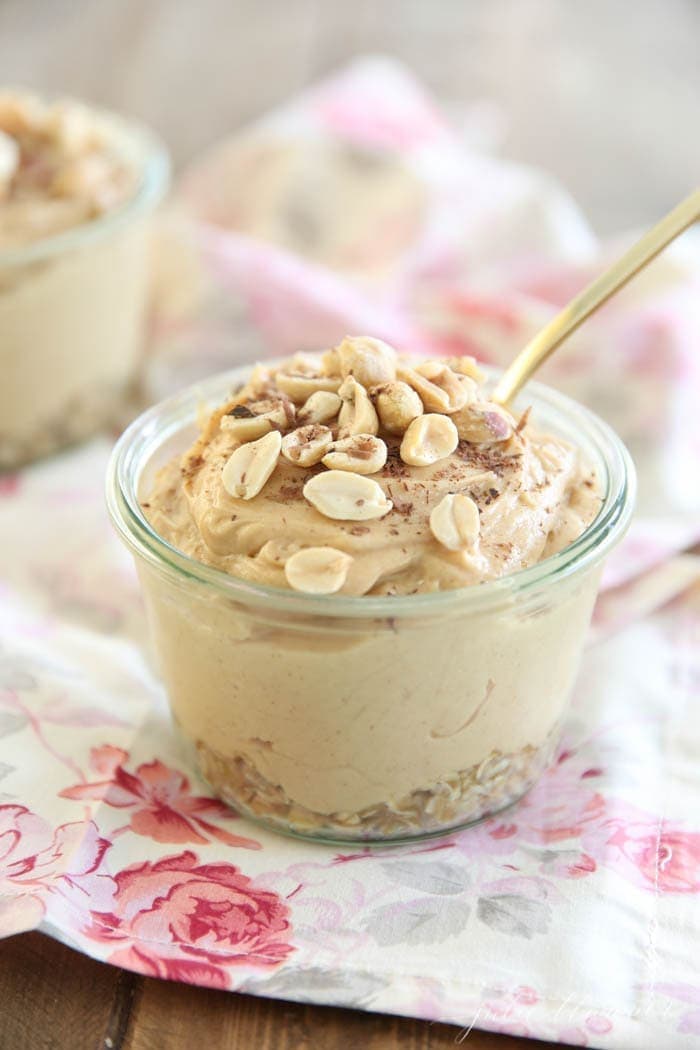
I updated my recipe to make it more of a pie, with a gluten free crust. It was fabulous, if I do say so myself. Rather than cut and plate the pie while they anxiously await, I served the peanut butter pie in a jar. I keep weck jars on hand for gifting, picnics, and of course, desserts!
Chris’ favorite part was the crust. It’s slightly unexpected and the perfect compliment to the rich, creamy pie. Using oats also makes this dessert gluten-free, if you or any of your guests are intolerant to gluten, check that the oats are GF certified as they are often processed in the same factory as wheat.
Whenever we have guests over, I always like t serve the desserts individually. I think everyone enjoys getting a dessert of their own and it looks like you have really made the effort (that will be our little secret!).
Be sure to check out my Easy Mini Molten Lava Cake and Easy No Bake Cheesecake Recipe if you love mini single serve desserts as much as I do!
This dessert is so indulgent and decadent, it was a real hit and it’s so easy to make! Why not take it over the top and serve it with a drizzle of my Secret Chocolate Sauce. You can make this no bake dessert ahead of time too for effortless entertaining.
To Make These Peanut Butter Pies, You Will Need:
- Oats – Use quick oats for the crust of these pies. They add a great texture to this creamy dessert.
- Brown Sugar – I prefer to use brown sugar rather than white for the crust. It has a more complex flavor thatns to the molasses.
- Butter – Butter is used to combine the oats and brown sugar together to make the crust. I prefer to use unsalted as the peanut butter is quite salty.
- Heavy Cream – Heavy cream is beaten until stiff to trap air and it creates a light and fluffy pudding.
- Peanut Butter – Use a smooth creamy peanut butter for this dessert. I don’t recommend that you use a natural brand, but you’re welcome to try to make your own. Learn how to make peanut butter here.
- Powdered Sugar – Brings the sweetness to this recipe. It is very fine and incorporates well.
How to Make Peanut Butter Pie In A Jar
-
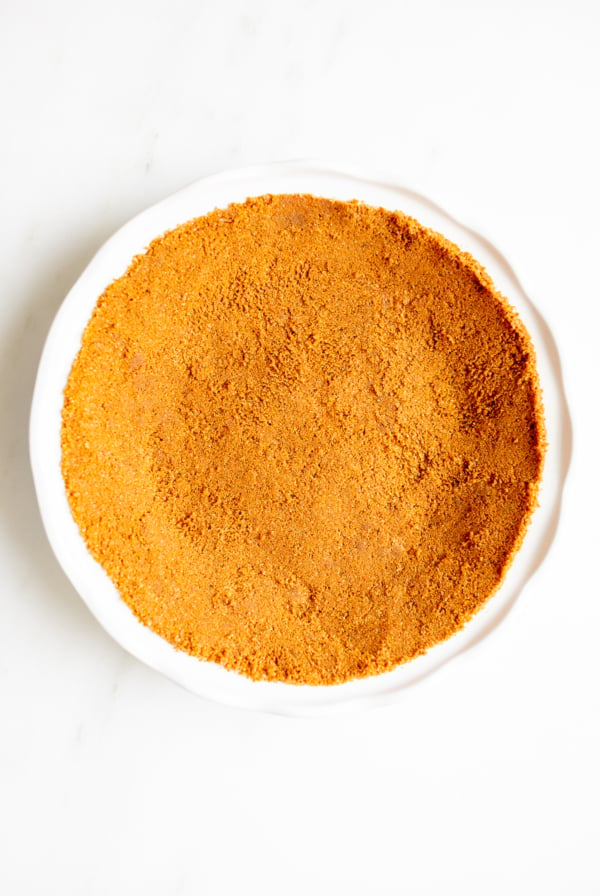
Make the Crust – Combine oats, brown sugar and butter. Spoon into jars.
-
Make the Filling – Beat cream, gradually increasing the speed until stiff. Incorporate peanut butter. Gradually beat in powdered sugar on low. Scoop mixture into jars
-
Refrigerate until set.
Tips
- Make the crust of your choice! You can replace oats with graham cracker or crushed cookies like oreos or biscoff.
- Be sure to mix the peanut butter well so that the powdered sugar is really well combined. You can use a stand mixer or mix it by hand.
- If you are making these no bake peanut butter pies ahead of time, cover them with plastic wrap and they will keep in the fridge for a couple of days.
More Dessert Recipes
- Dessert Pizza Recipe
- The Best Gooey Butter Cake Recipe
- Edible Cookie Dough with Chocolate Chips
- Easy Bread Pudding Recipe
- No Bake Peanut Butter Bars
- Peanut Butter Ice Cream
Want more? Receive the best ideas directly to your inbox and connect on Youtube, Instagram, Facebook, and Pinterest!
If you try this yummy peanut butter pie recipe, please come back to share using my 5 star rating in the comments below! Not only do I appreciate it, but I know readers do, too!
Peanut Butter Pie in a Jar
Ingredients
- 1 cup quick oats
- 1 cup light brown sugar
- 4 tablespoons butter melted
- 2 cups heavy cream
- 2 cups creamy peanut butter
- 3 cups powdered sugar
Instructions
- Combine oats, brown sugar and butter. Spoon into jars.
- Beat cream, gradually increasing the speed until stiff.
- Incorporate peanut butter.
- Gradually beat in powdered sugar on low. Scoop mixture into jars and refrigerate.
Julie’s Tips
- Make the crust of your choice! You can replace oats with graham cracker or crushed cookies like oreos or biscoff.
- Be sure to mix the peanut butter well so that the powdered sugar is really well combined. You can use a stand mixer or mix it by hand.
- If you are making these peanut butter pies ahead of time, cover them with plastic wrap and they will keep in the fridge for a couple of days.
Estimated nutrition information is provided as a courtesy and is not guaranteed.


This looks so delicious. Peanut butter is one of my absolute favorite things! Thanks for sharing. 🙂
http://www.emmabyers.com
Mine, too! I integrate it into most of my desserts!
I just noticed the comment about this recipe being gluten-free, and that really seals the deal for me. This recipe not only looks amazing, but I tried it out tonight and although it didn’t exactly look like your lovely pictures Julie, it turned out great and the fam loved it. Your blog rocks! 😀
Yay! Thank you for sharing, Marty! I’m sure they didn’t last long enough to be judged on looks 😉 Have a beautiful week!
Hi Julie,
What size wek jars did you use?
looks so delish!! Just wondering – are oats GF?
They are!
One word, yum! I am so in love with your blog. Thanks for sharing your amazing recipes and beautiful photos!
Thank you for making my day, Brenna! I hope yours is just as wonderful!