Learn how to use a calligraphy pen, including how to insert the nib and ink it. Find everything you need to know about calligraphy pens, and which one is right for you.
You’ll find sources, step by step tutorials and even video instruction to make it so easy to learn.
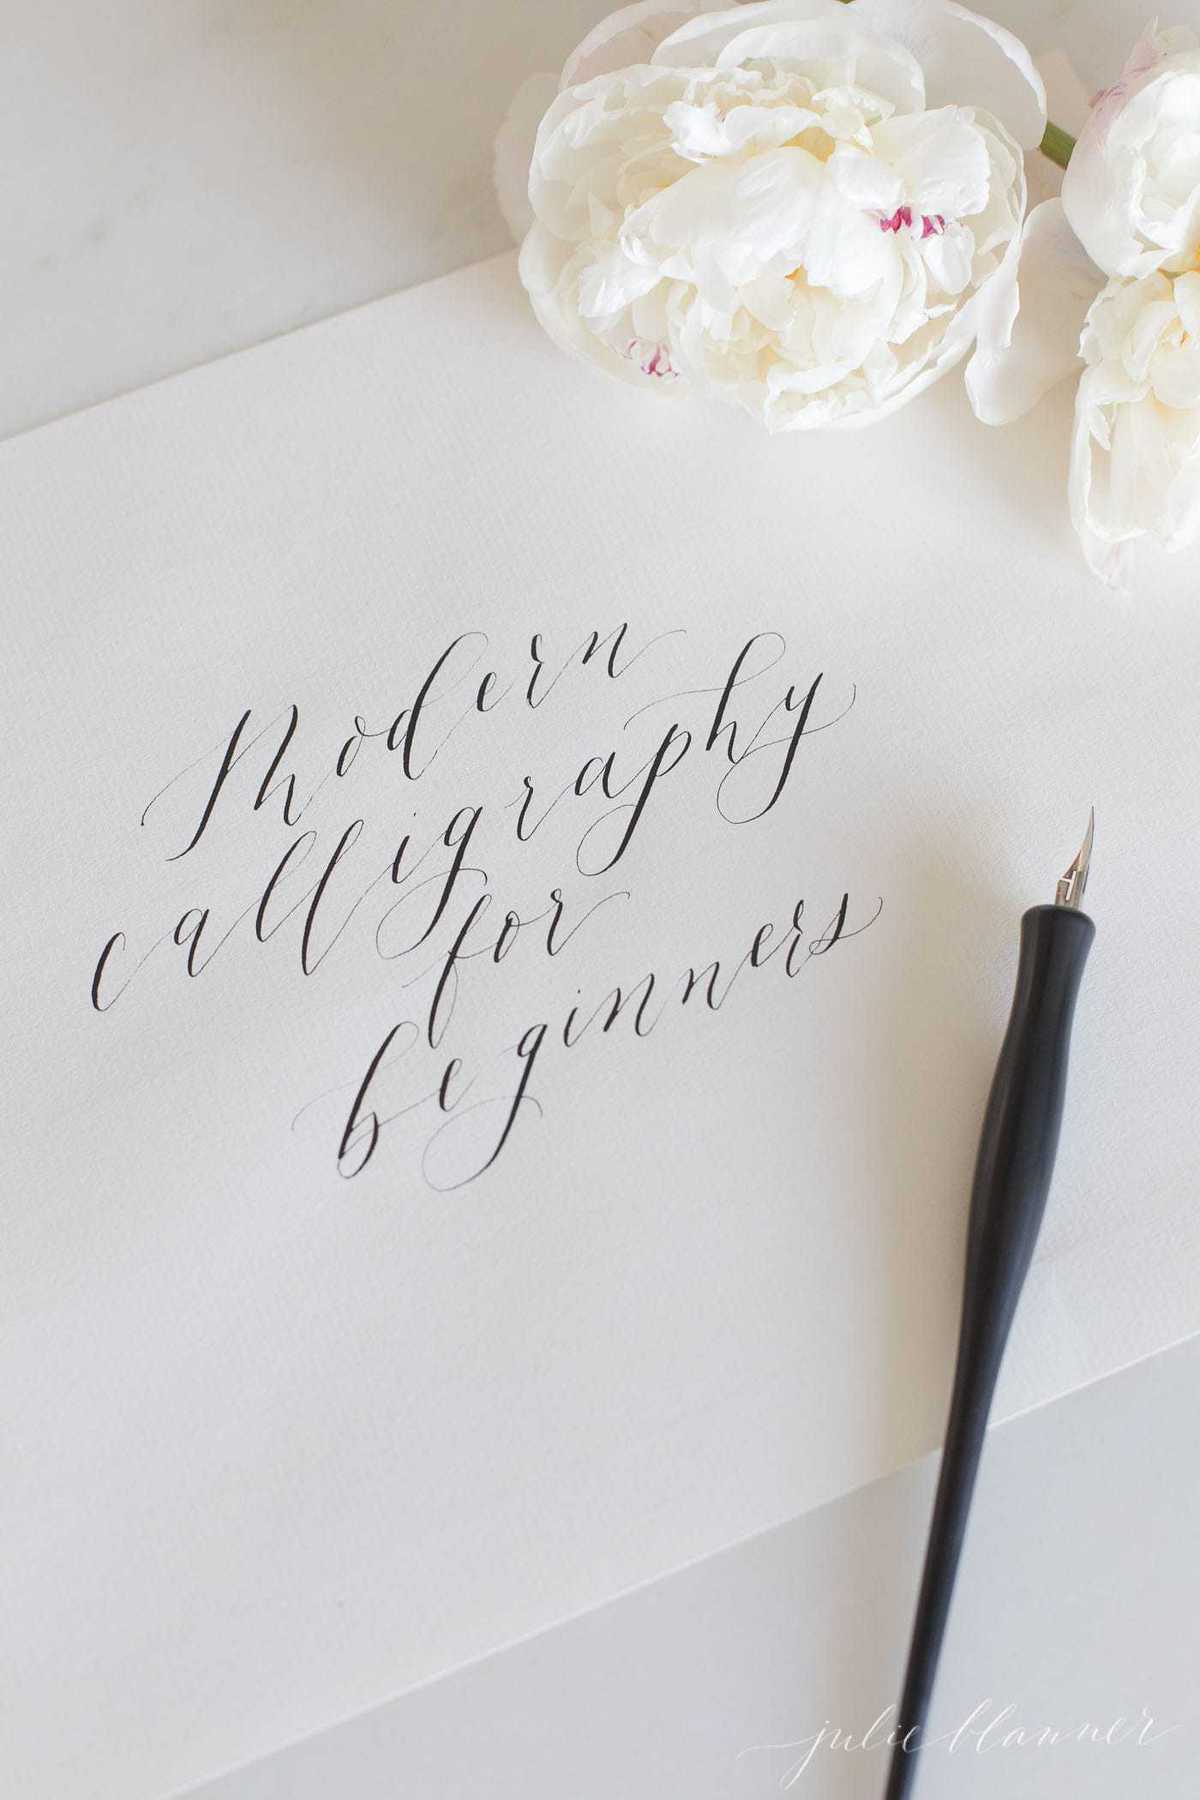
This post was originally published May 1, 2018 and is continually updated with fresh content. Current update was January 4, 2022.
Today is a fun lesson in my new Modern Calligraphy series in collaboration with Alicia of On Three Designs. We are going to learn how to insert the nib and ink the pen!
In fact, there is much to learn about these very special pens. Hopefully this answers all of your burning questions, but please feel free to comment below if I’ve missed anything!
If you’re just getting started, you’ll first want to read more about which style of pen is right for you, below. Use the drop down Table of Contents menu for ease of navigating this post.
First, a few basic questions and answers about calligraphy pens. You’ll find a quick tutorial for inserting a nib, as well as a source section towards the end of this post.
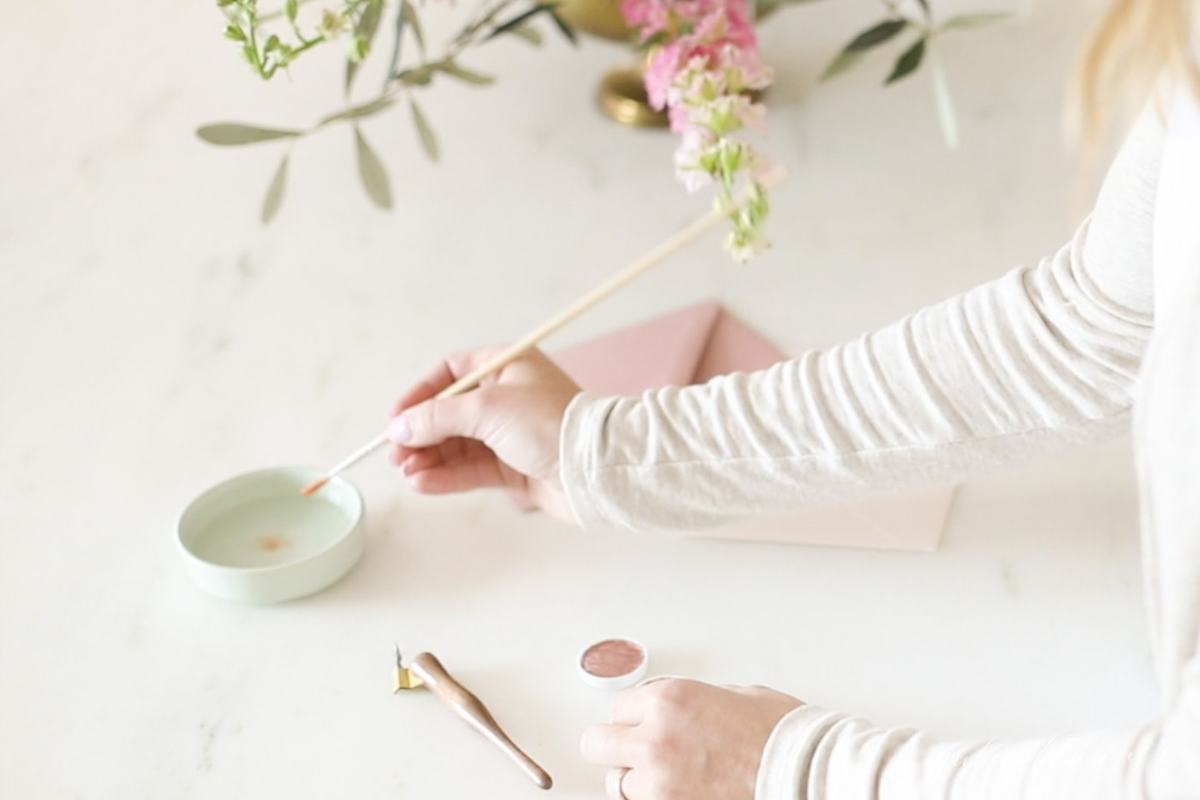
Frequently Asked Questions
There are two main calligraphy pens – a straight and an oblique. A straight is just as you would think – straight with the nib inserted into the top of the pen itself.
An oblique pen has a flange that holds the nib and forces it to write at an angle. The flange allows you to write at an angle more naturally without having to adjust your paper.
The best calligraphy pen for beginners is often a straight calligraphy pen, but some are more comfortable starting with an oblique to take advantage of the angle.
I recommend purchasing both and seeing what you’re more comfortable with, then continue practicing with the same calligraphy pen. Choose the pen that allows you to naturally produce the thick and thin lines that we’ll be discussing in an upcoming lesson.
Pens with a flange on the right are designed for lefties while it seems most prefer a straight pen. {Alternatively, oblique calligraphy pens with the flange on the left were created for right-handed writers}.
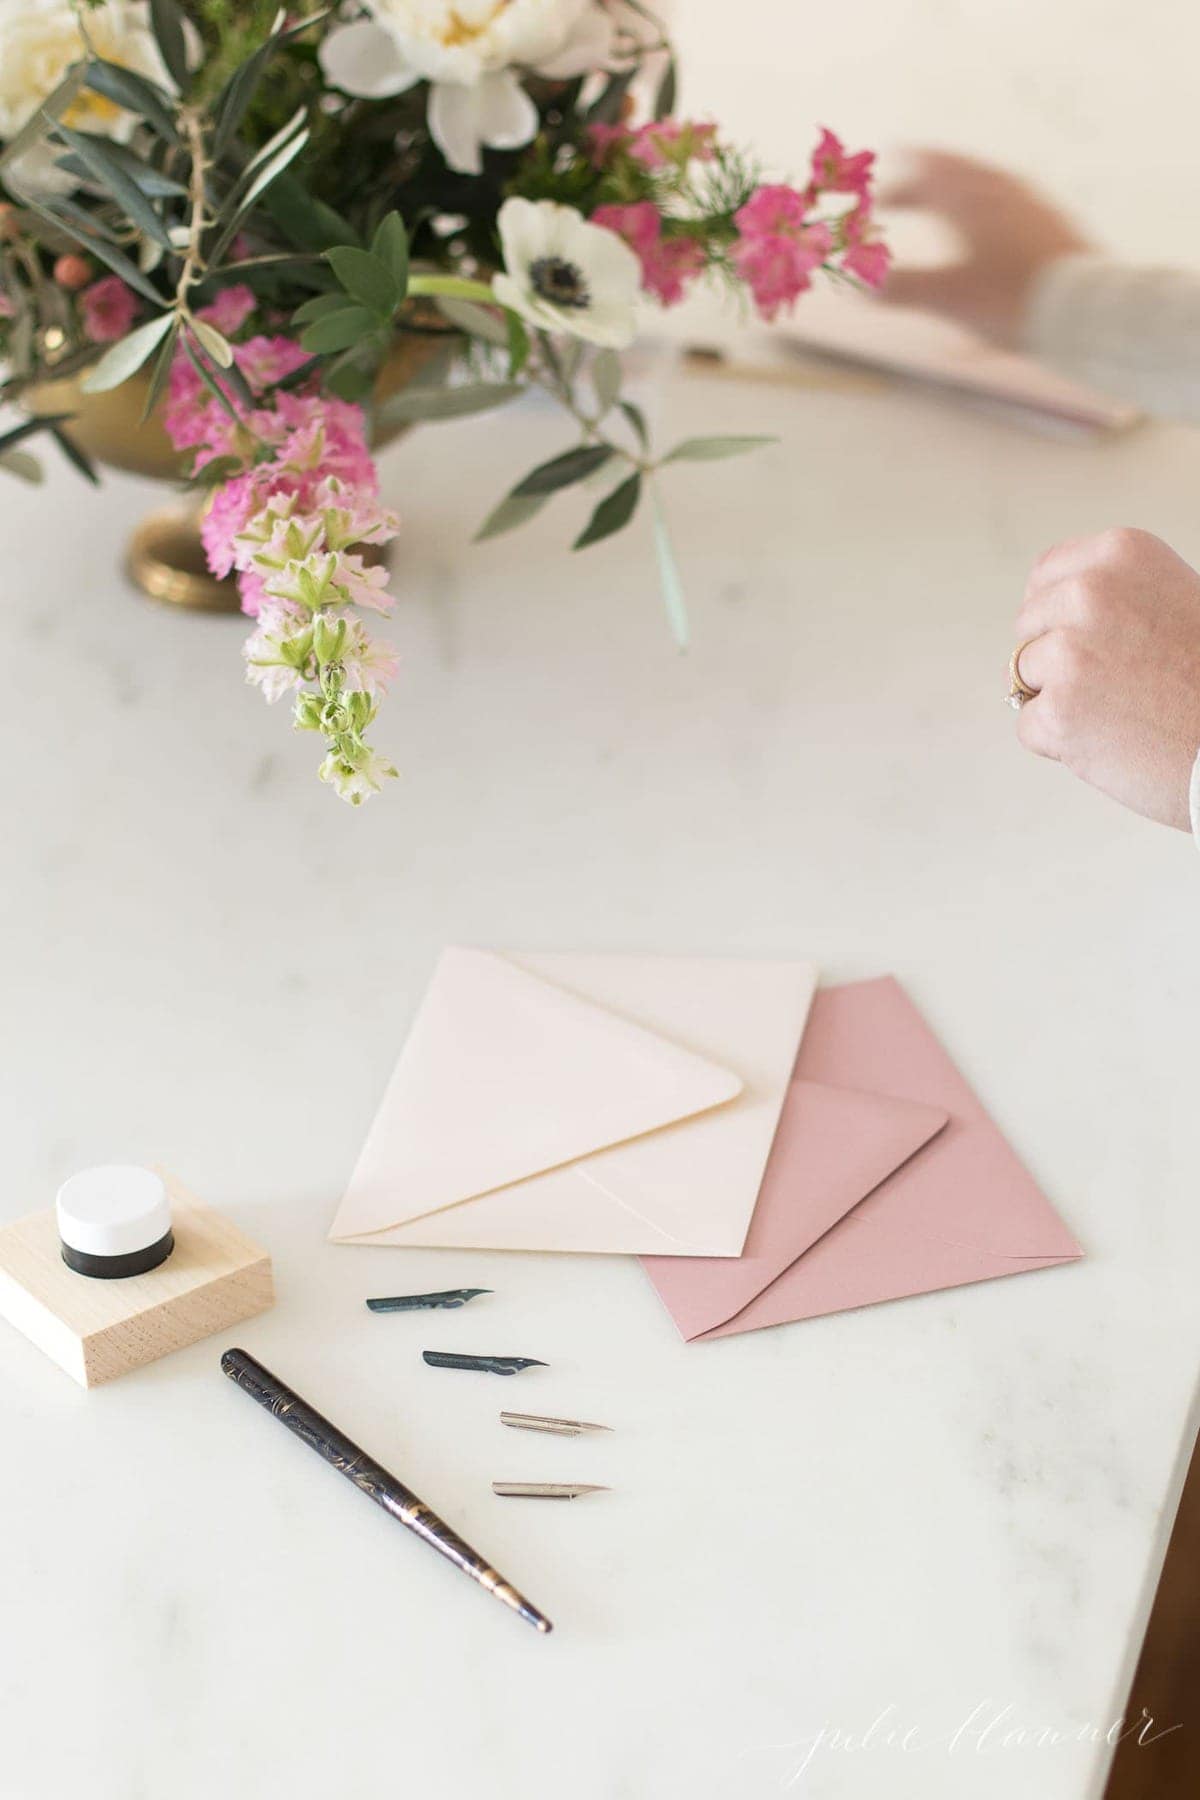
What is the difference between a fountain and calligraphy pen?
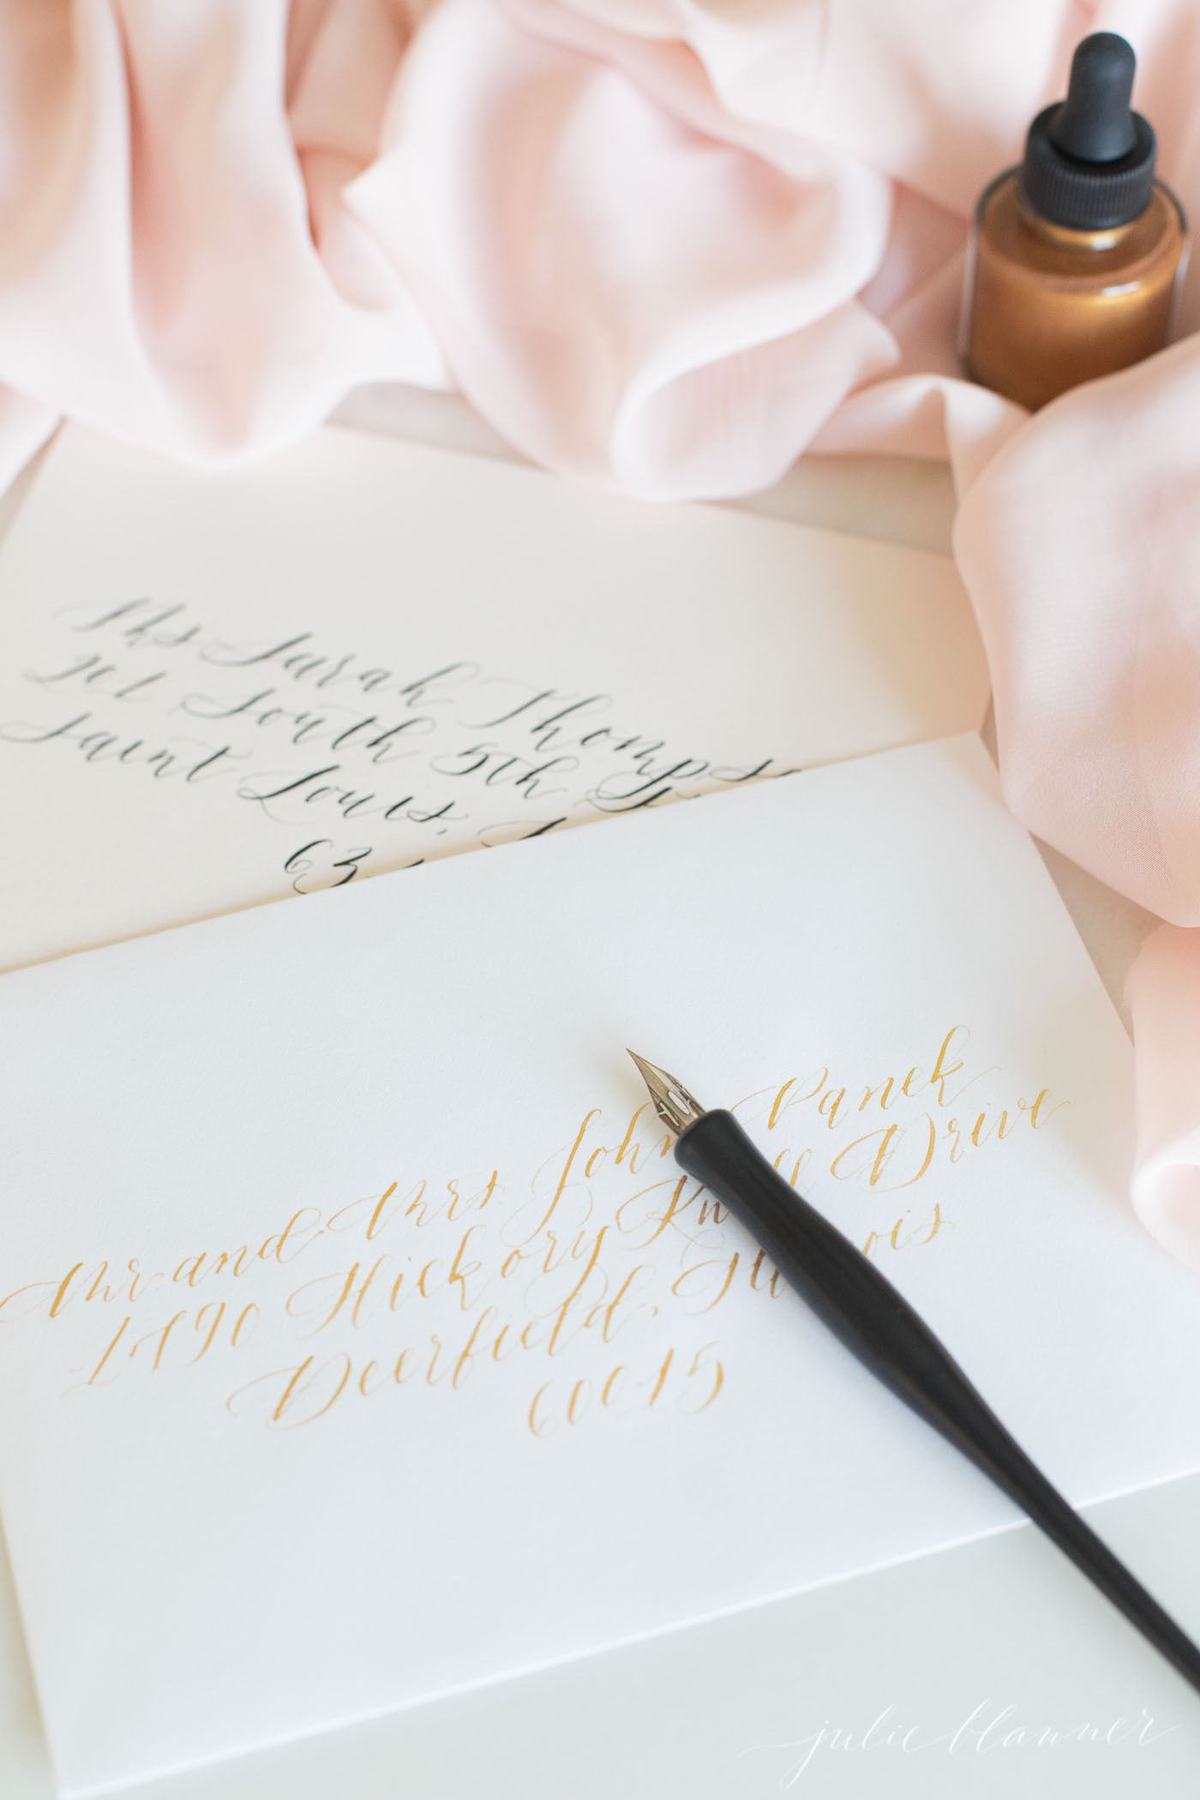
While you dip both, a fountain pen is actually very different from a calligraphy pen. A calligraphy nib will release more ink than a fountain pen making it better suited for calligraphy while a fountain pen is better suited for writing.
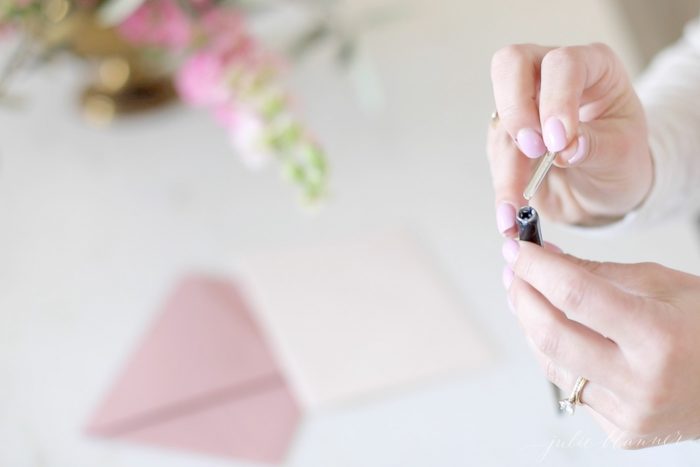
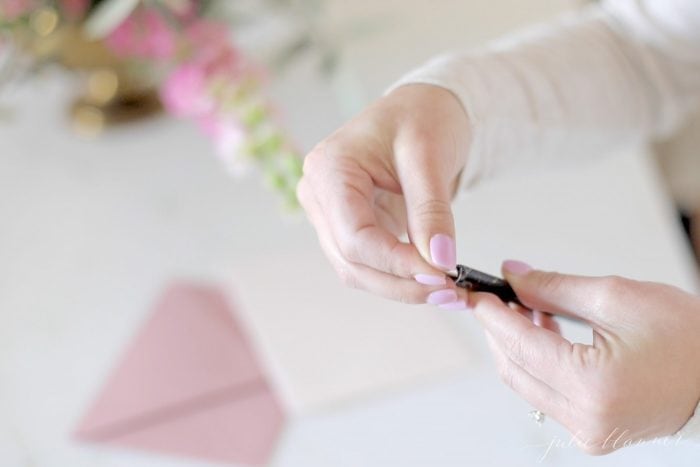
How to Insert the Nib into a Calligraphy Pen
- Take the base of the nib {rounded part} and place it in between the metal ring and prongs at the top of a calligraphy pen.
- Slide it in. Make sure it’s firm and doesn’t wiggle.
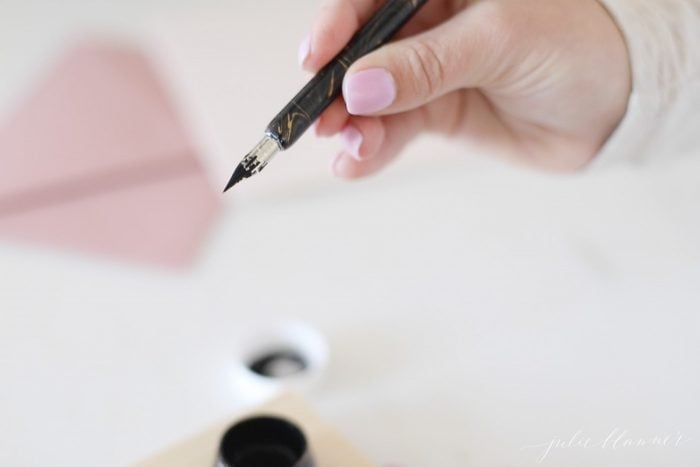
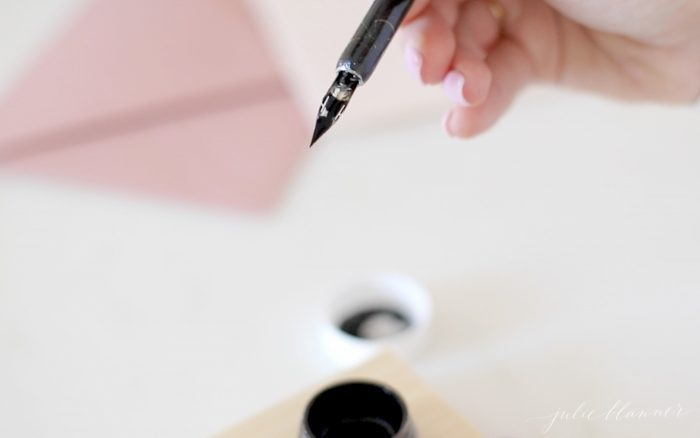
How to ink a calligraphy pen:
- Dip the nib into the ink.
- Make sure you can’t see through the nib to fill the vent which is your ink reservoir.

Tips
- Just getting started? Start here: Calligraphy For Beginners
- Don’t forget to print your calligraphy paper here!
- Purchase both styles of pens to see what you’re most comfortable with as you learn.
- This is truly a practice-makes-perfect art form, so keep trying!
Sources
Where to purchase:
- Michaels
- Hobby Lobby
- Amazon
- Paper Ink Arts
Easy enough, right? Now you’re ready to get started.
shop our home and favorite decor
shop now




I have a Steadler Calligraphy set that requires the use of two cartridges and the instructions were for a more advanced bc I couldn’t figure out how to use it! Can you help?