Learn how the make hot chocolate bombs for the best kind of Halloween fun! These oh-so-spooky Halloween hot chocolate bombs melt into a decadent mug of hot cocoa.
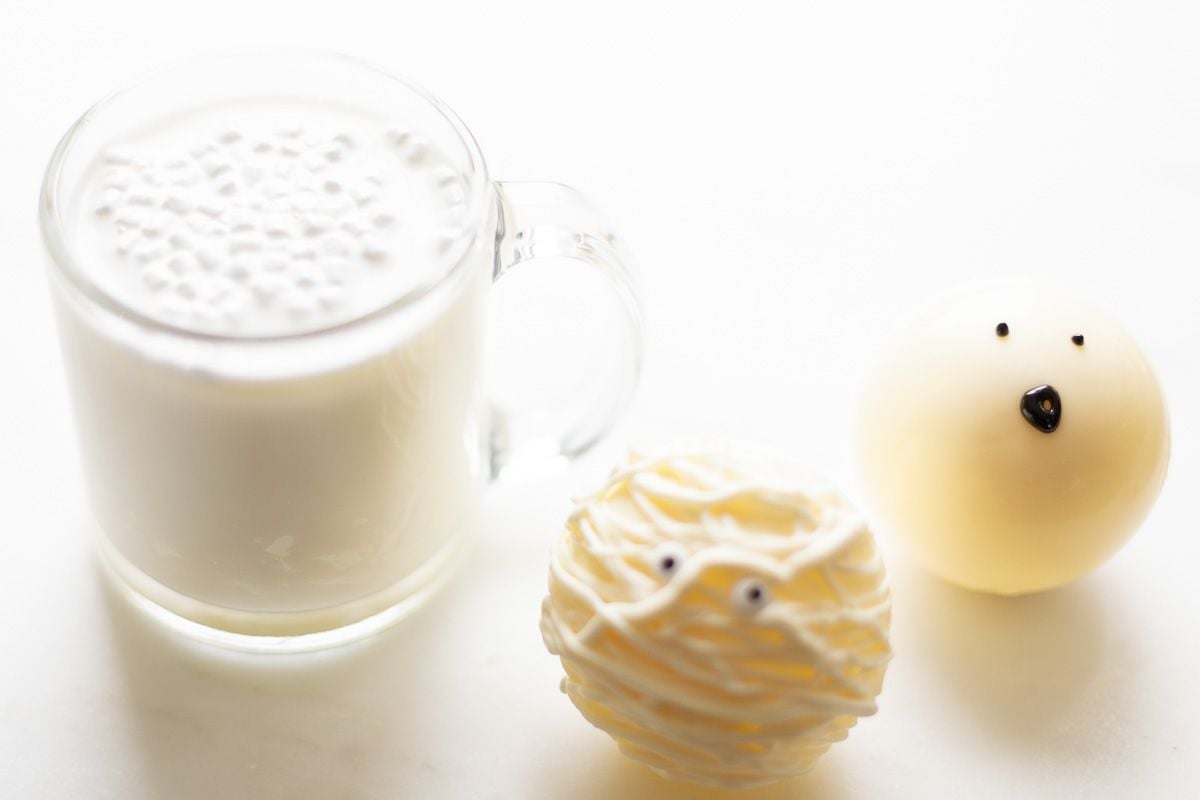
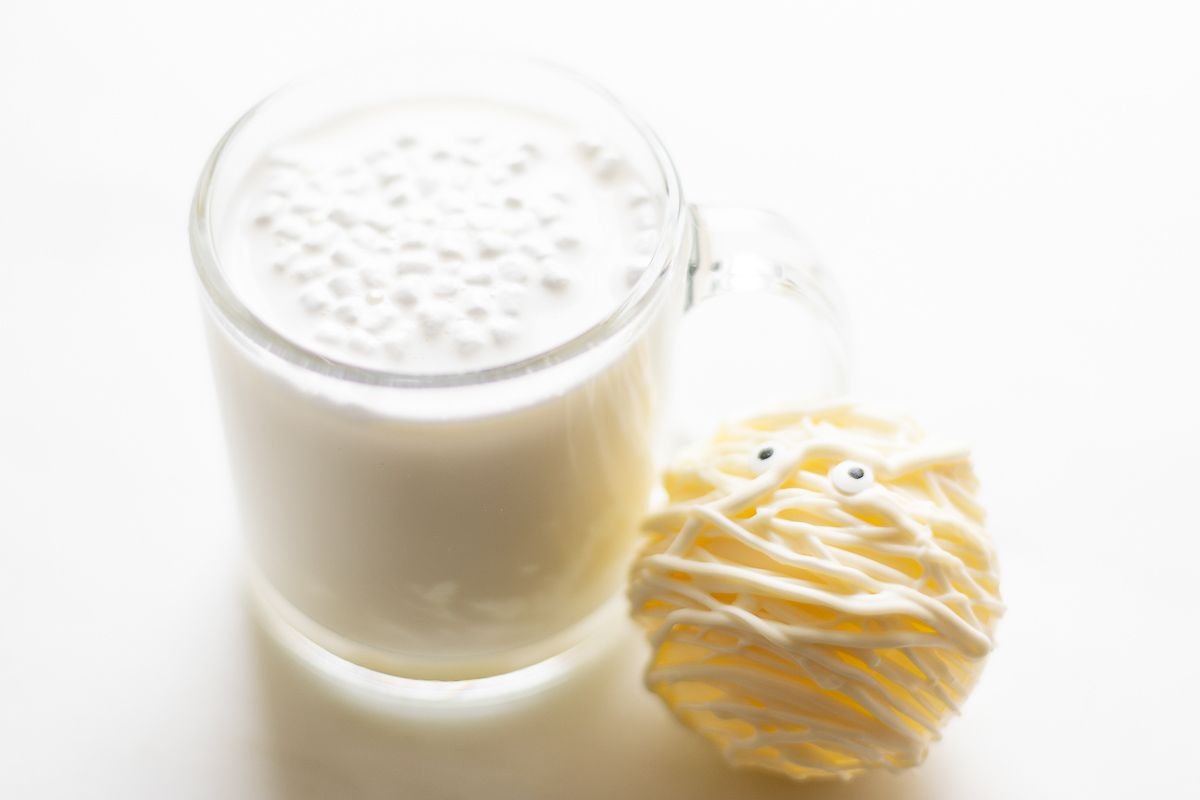
Pour hot milk over one and watch with joy as it melts before your eyes.
I know, it may seem I’m a bit obsessed with hot chocolate bombs, but once you try them, you will be too!
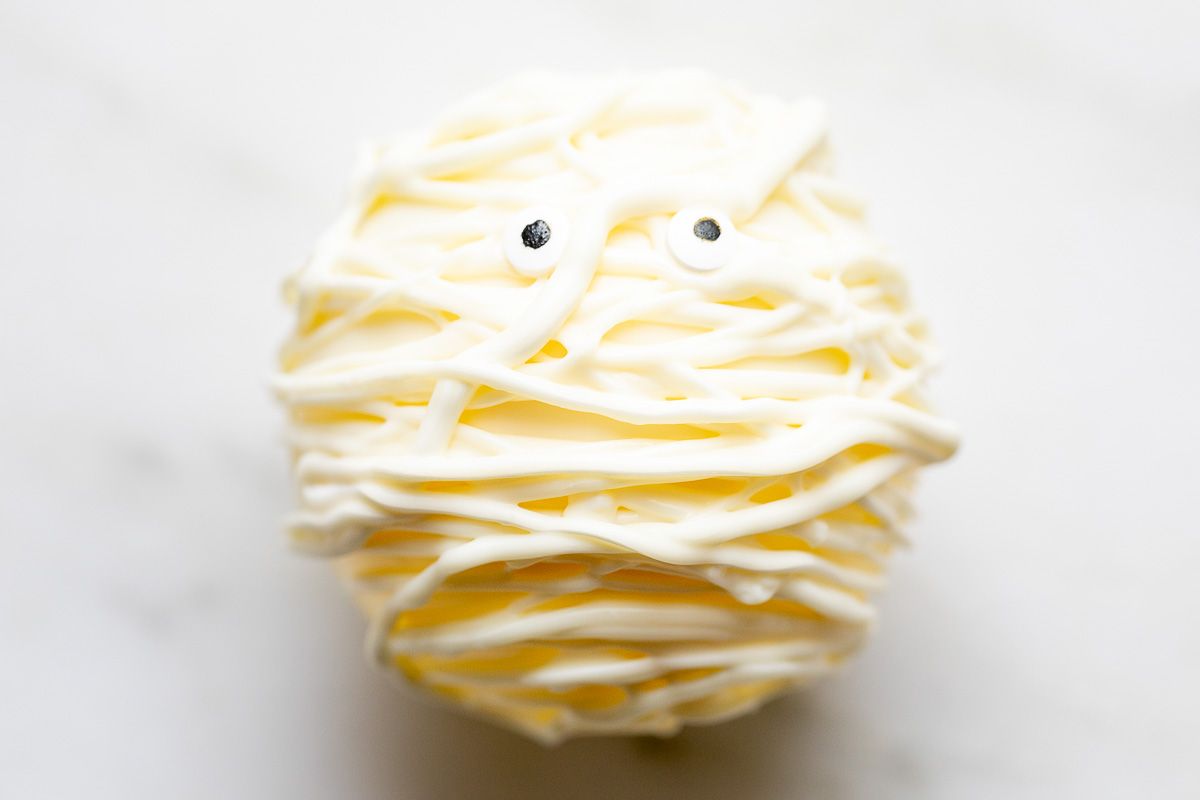
I love all things Halloween so I created some eerily easy Halloween hot chocolate bombs – mummies and ghosts!
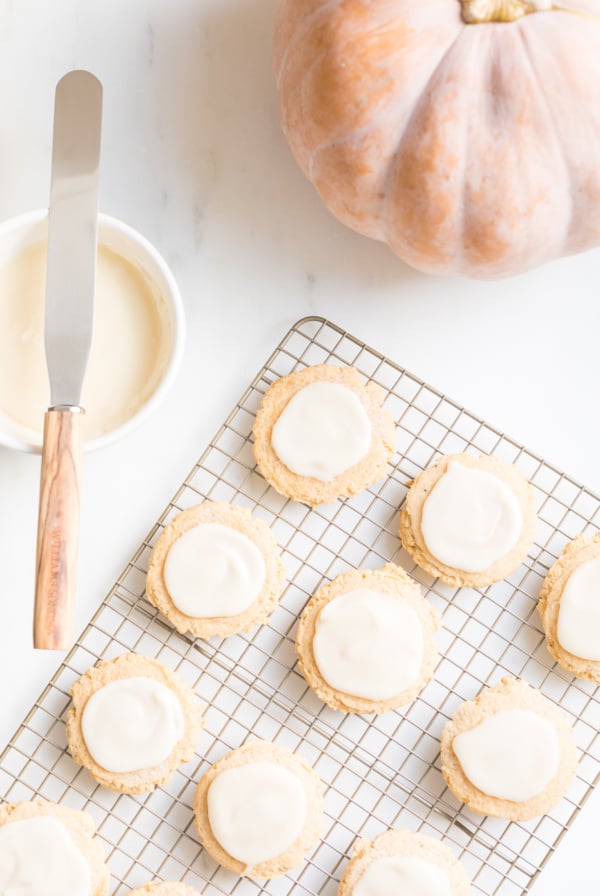
It’s such a simple twist on my White Chocolate Hot Chocolate Bombs and you can make them start to finish in just 20 minutes! It’s a great way to boo your neighbors and makes the perfect treat for your kids and grandkids!
This festive treat will warm you up on Halloween! Fun Fact: Many of our local bakeries sell these little beauties for anywhere from $4-$8 each!
Halloween Hot Chocolate Bombs
Why You’ll Love Them
Tools to Use
- Chocolate Sphere Mold – You can use a truffle size, but 2 inches and larger is ideal for filling. I prefer a 2.5 inch mold.
- Baking Sheet – Any will do! It makes transferring them to and from the refrigerator or freezer easy, and makes a great surface to drip out the excess chocolate.
Ingredients and Substitutions
- White Chocolate – White melting wafers, white chocolate chips or white baking chocolate, your preference. I like to use melting wafers because they’re easy to melt, smooth, and make the creamiest hot chocolate.
- Mini Marshmallows – We like to use the tiny little dehydrated marshmallows because you can fit more in the bomb!
- White Hot Chocolate Mix – Ore you can use regular homemade hot chocolate mix, but white is perfect here!
- Black Writing Icing – Perfect and easy to use to make a ghost face.
- Edible Eyes – Super simple way to make adorable mummies!
How to Make
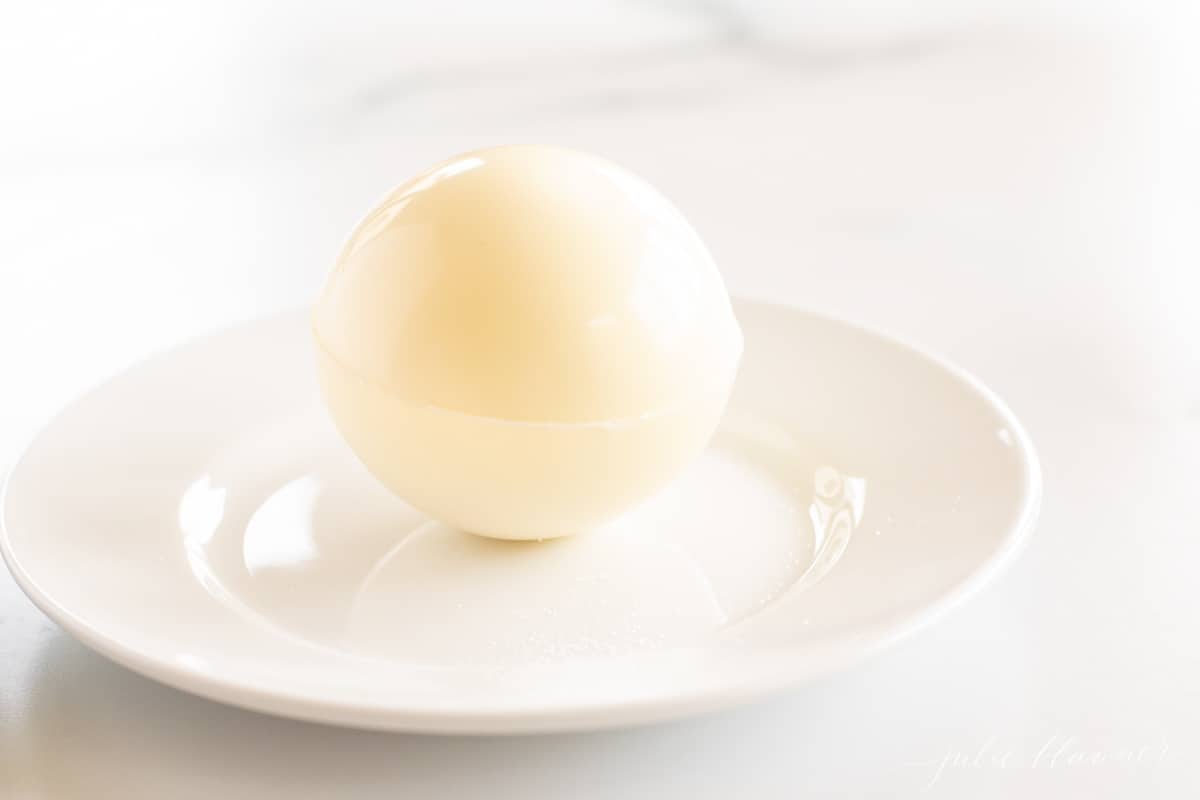
- Melt Chocolate – To begin, melt white chocolate in a small, microwave-safe bowl in 15 second increments, stirring in between, until smooth.
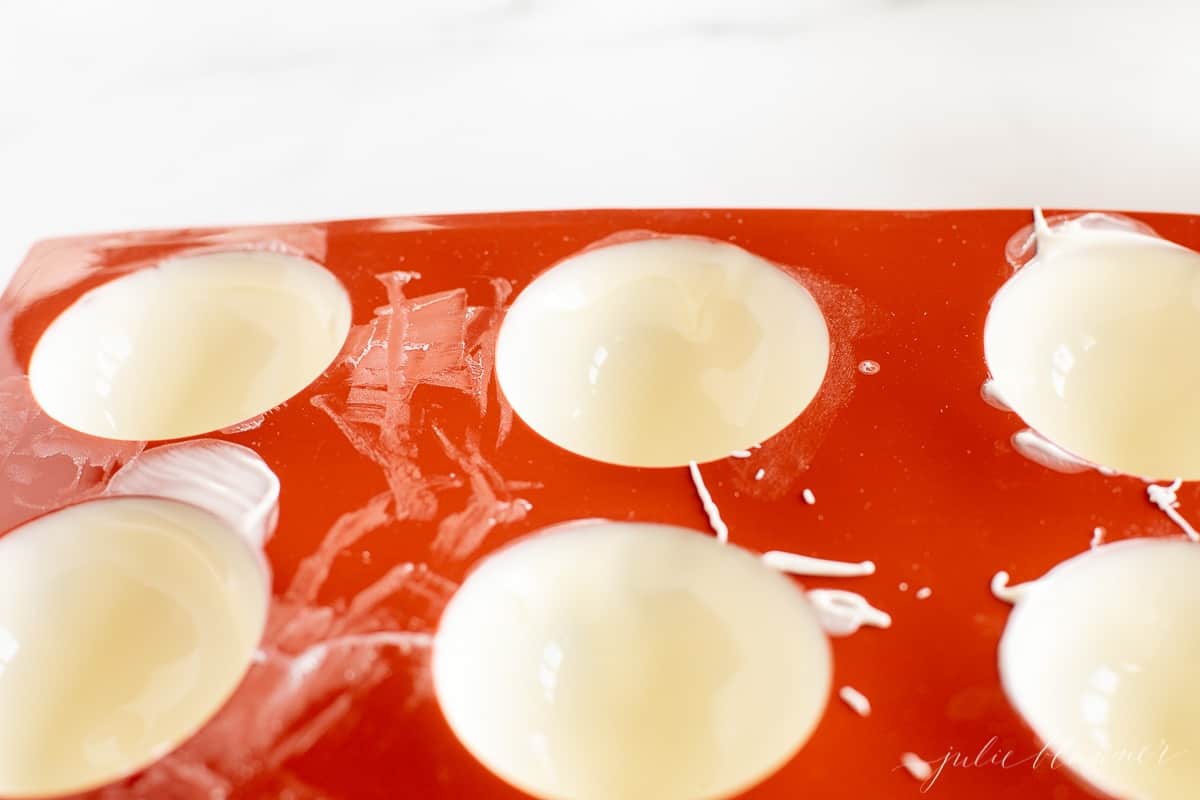
- Fill Cavities – Next, add a heaping teaspoon of melted white chocolate into molds. Spread using the back of a teaspoon until each cavity is completely covered adding more white chocolate as needed.

- Eliminate Excess – Invert mold onto a parchment lined baking sheet and lightly shake. Lift to remove and discard parchment. Place mold on baking sheet chocolate side up.
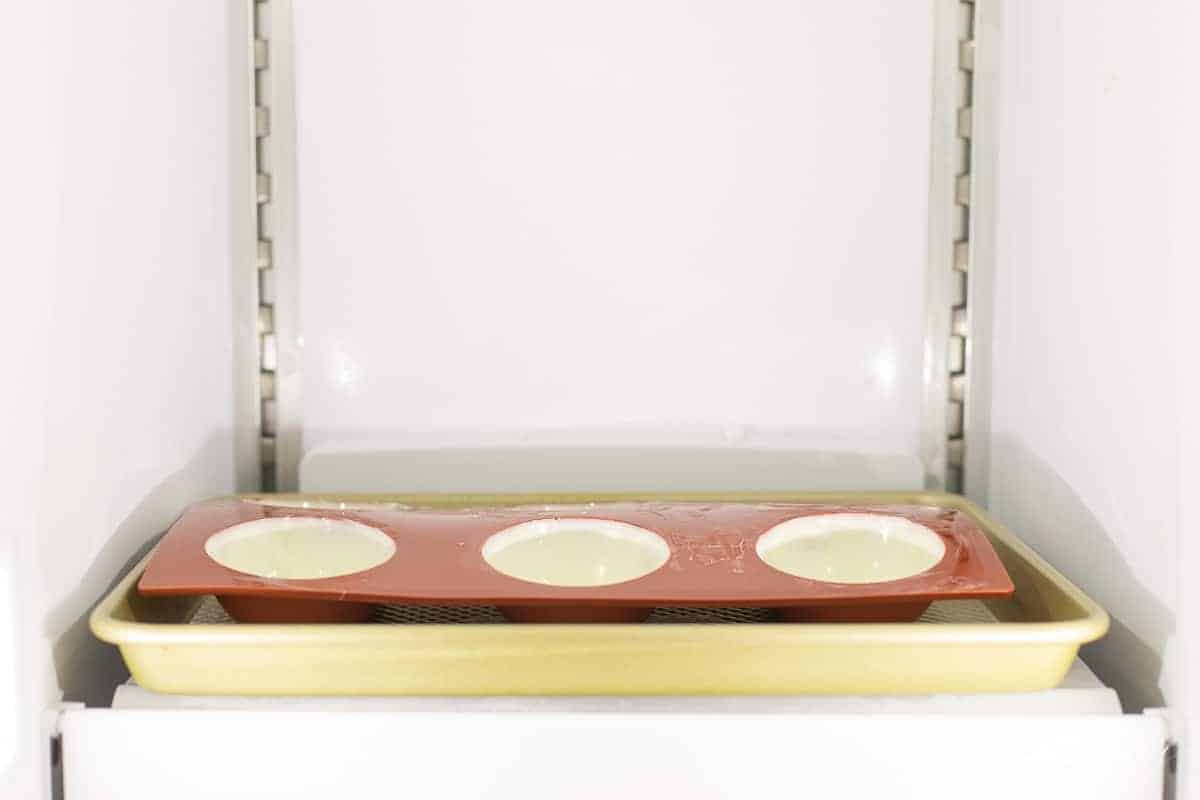
- Freeze to Set – Freeze 7 minutes.
- Remove – Remove mold from freezer. Flip over and press gently on the top of each sphere to carefully onto your baking sheet.
- Fill – Remove from freezer and fill 3 of the white chocolate spheres with a tablespoon of white hot chocolate mix and 2 tablespoons marshmallow bits apiece.
- Seal – Warm a plate or bowl in the microwave or with boiling water and dry. Place the bottom of an empty sphere on the plate to lightly melt chocolate. Finally, place melted chocolate edge on filled half to seal. Try to handle chocolate as little as possible. Optional: If needed, use a hot spoon, dipped in boiling water and dried to further seal.
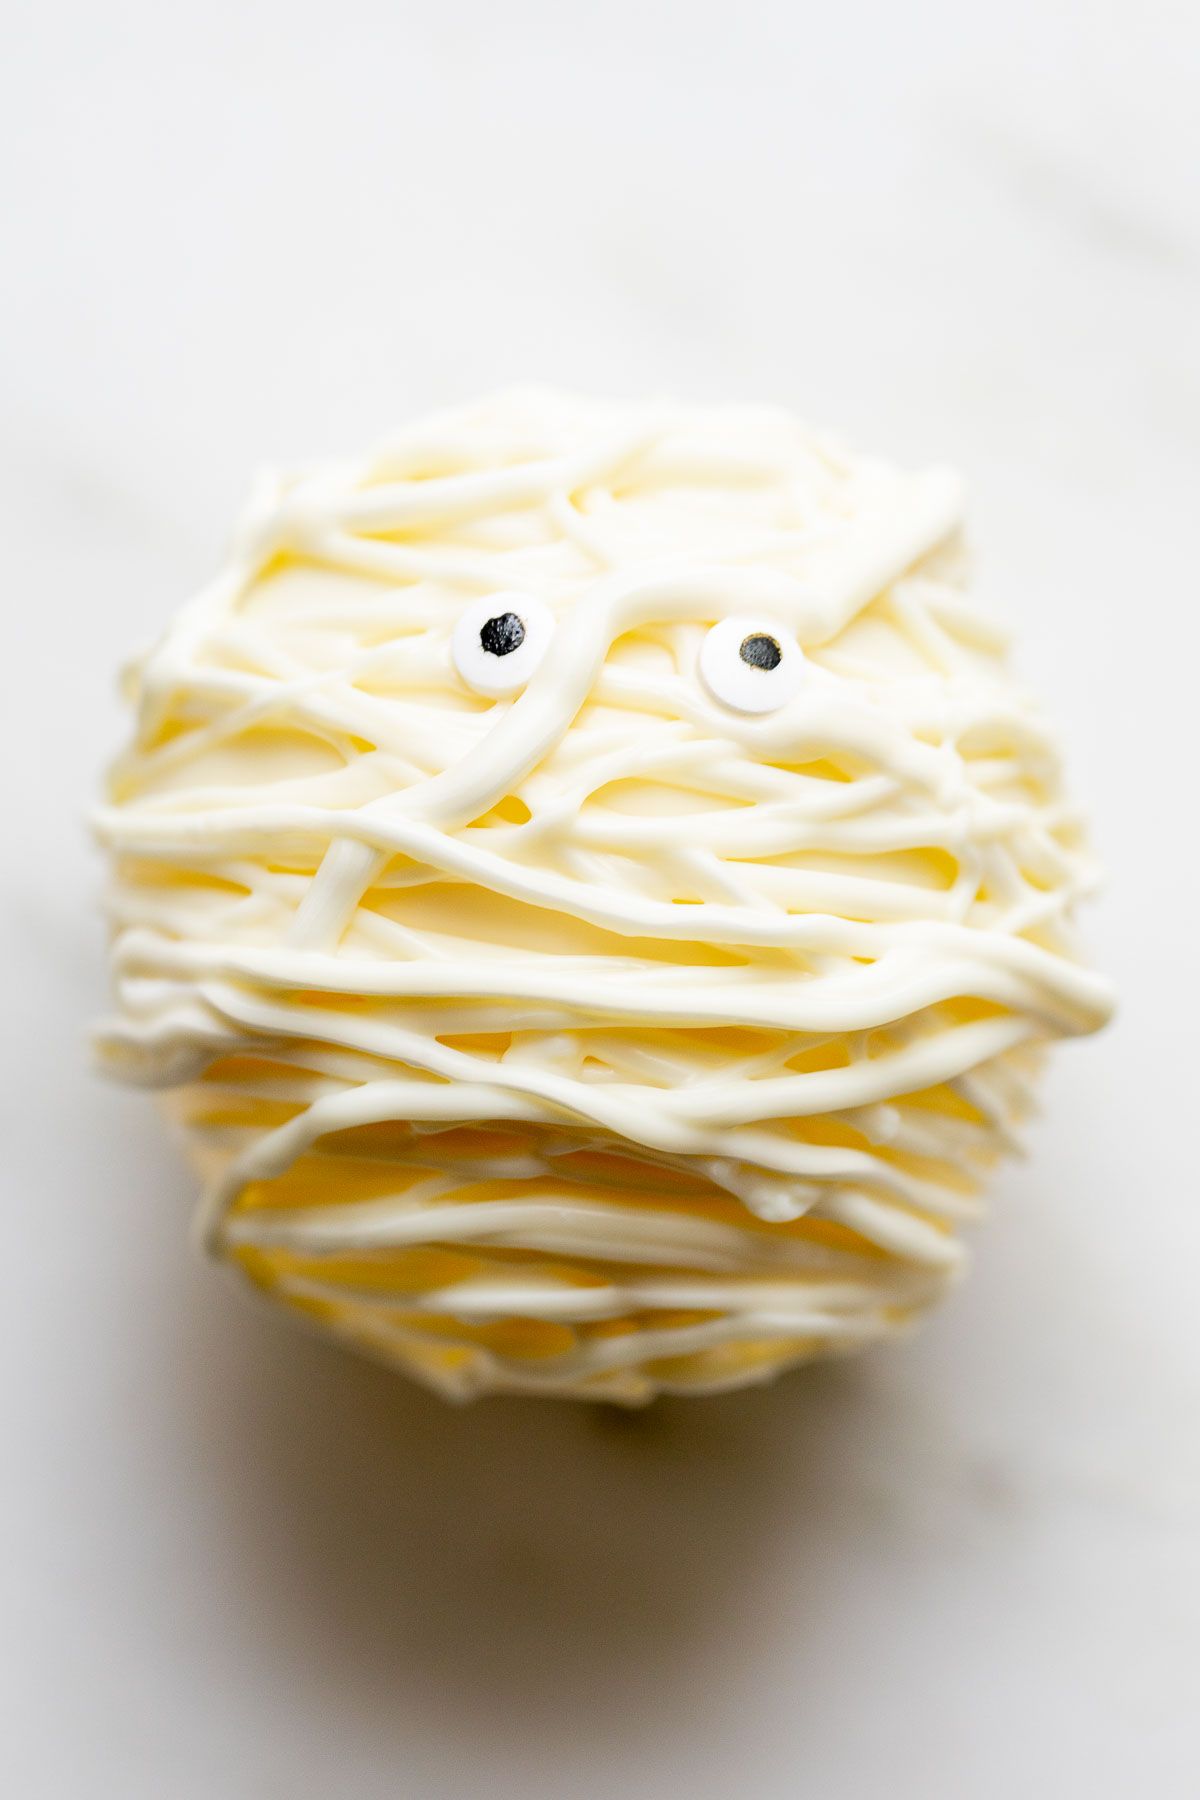
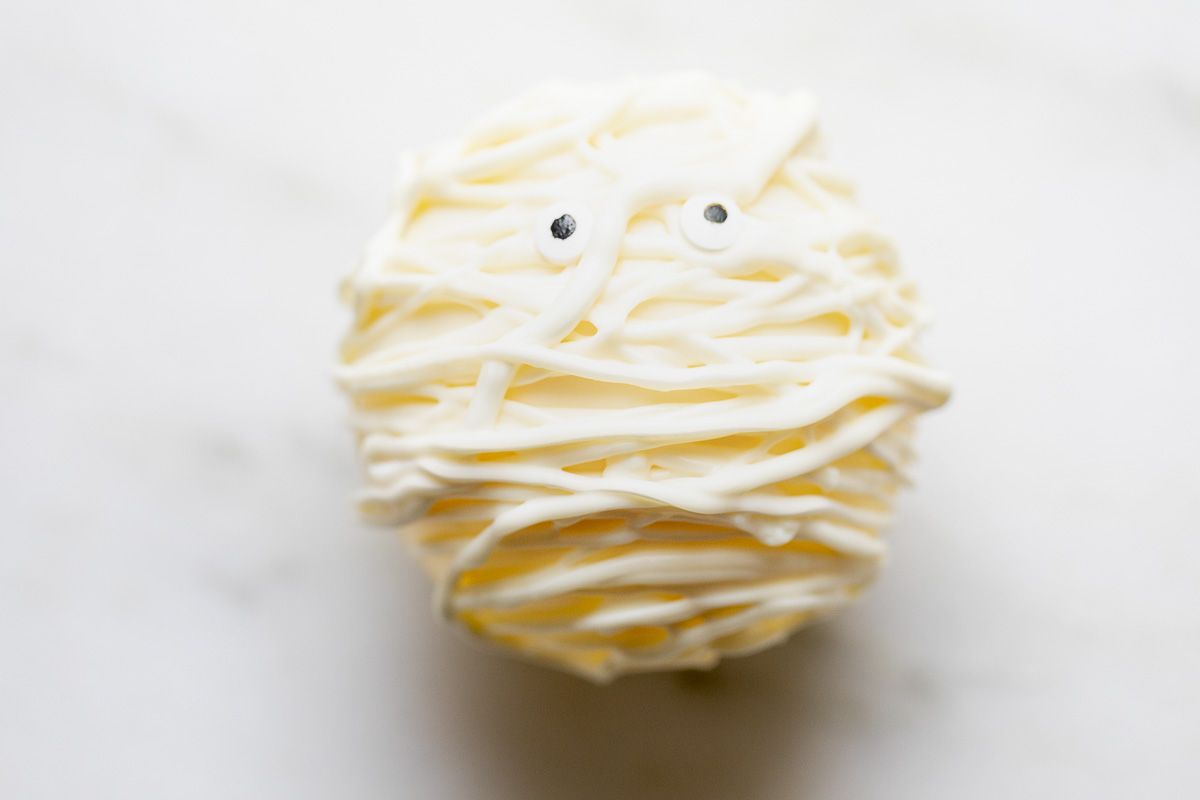
- Decorate – Make mummies and ghosts (see below).

For a Mummy
- Add leftover melted chocolate to a piping bag or sealed bag. Clip the tip to make the desired size mummy cloth.
- Add a touch of white chocolate to the back of eyes and adhere.
- Moving quickly go back and forth across your hot chocolate bomb working around the eyes.
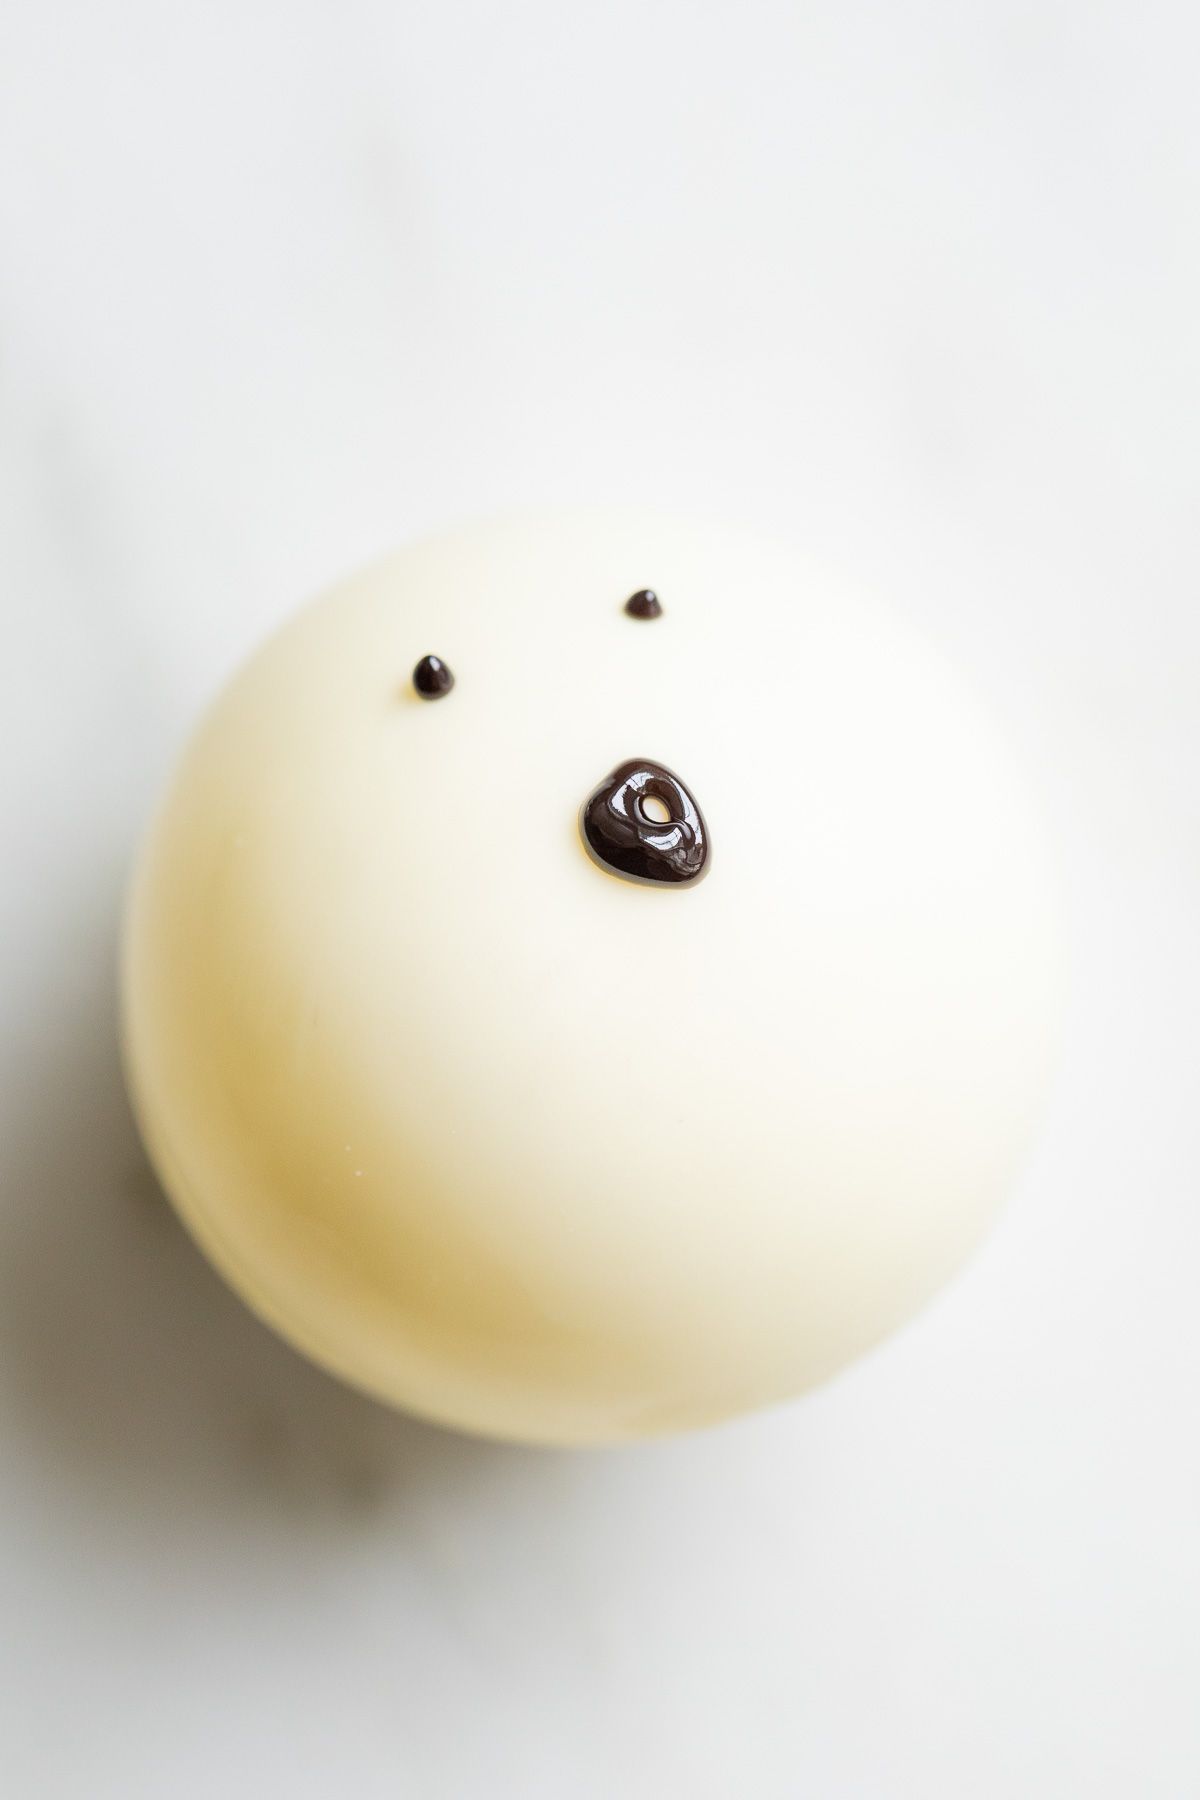
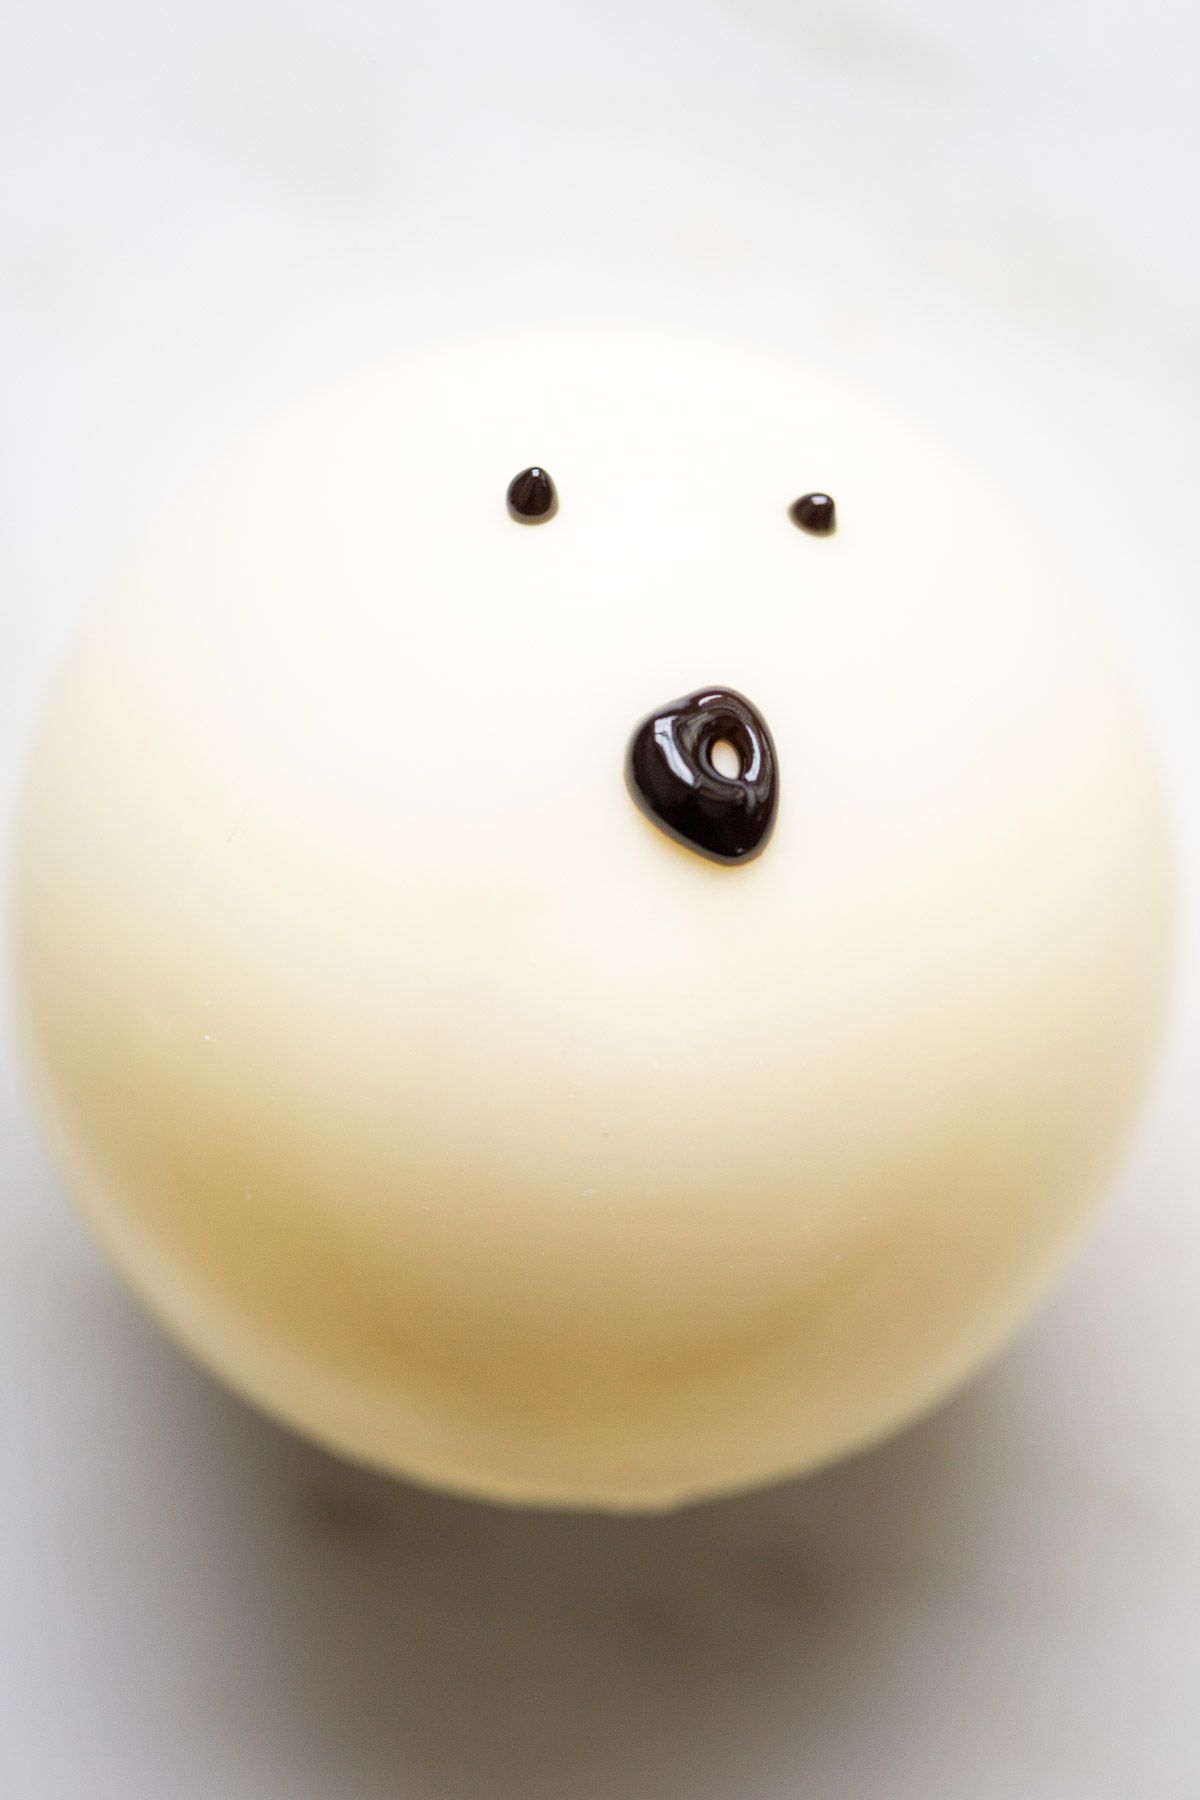
For a Ghost
- Using a writing icing pen, create eyes squeezing to make little dots.
- Make a circle for the mouth.
- Allow icing to set.

Tips
- Need help with baking conversions? Check out my Essential Measurement Conversion Chart or use the “yield” button near the ingredients in the recipe card to double or triple your recipe.
- Read Instructions Thoroughly Before Starting – These cocoa bombs actually come together so quickly that it’s best to read the recipe first and be prepared.
- Don’t Overheat – White chocolate can burn. To prevent burning, stir every 15 seconds until smooth.
- Touch Minimally – Chocolate warms quickly. Touch as minimally as possible to prevent spheres from changing shape or making fingerprints.
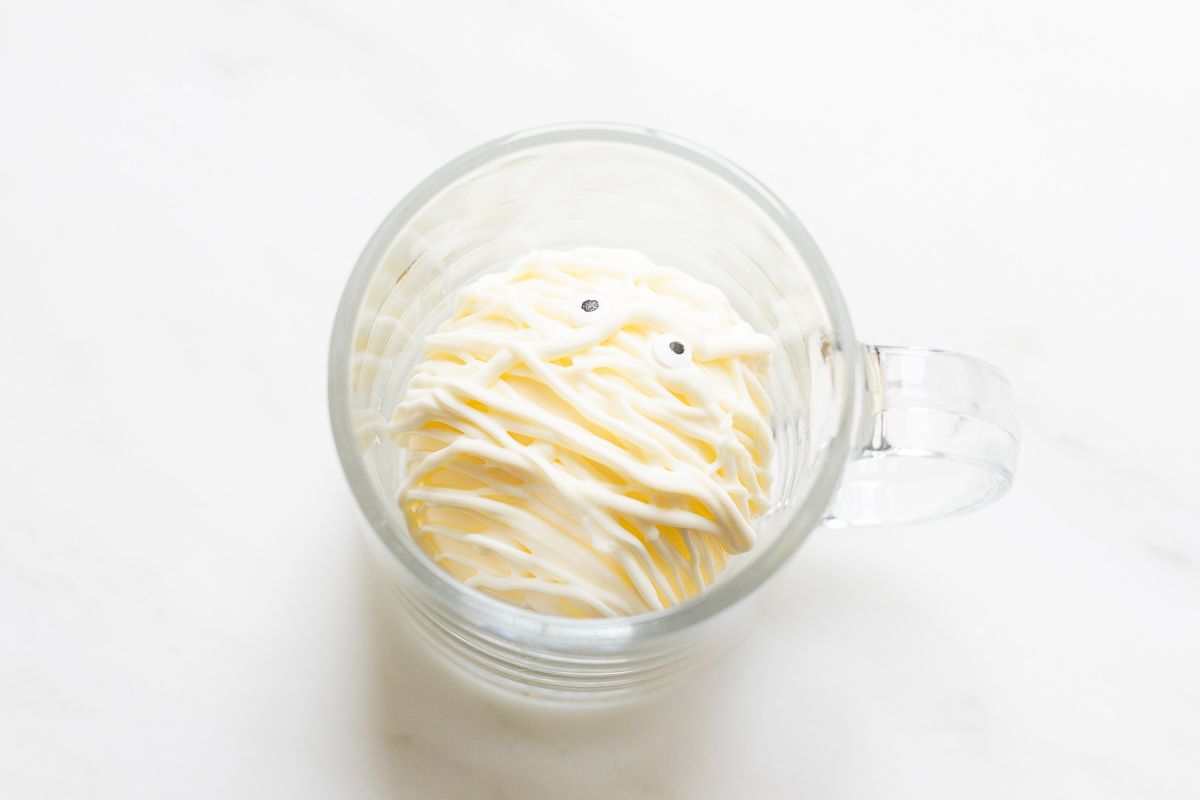
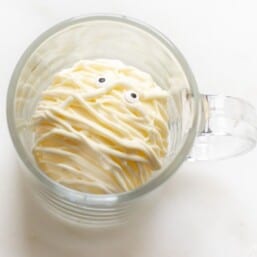
- For Gifting – These clear glass mugs are the perfect diameter for this size of hot chocolate bomb. Bonus! It’s so much fun to watch the melting happen before your eyes. You can wrap Hot Chocolate Bombs in mugs with cellophane and tie with a ribbon for gifting!
- Or wrap individually – in cellophane bags and seal with a personalized label or piece of washi tape.
How to Store
- Room Temperature – Store at room temperature for up to two weeks in an airtight container or a food safe cellophane bag. Store in a dark pantry.
- Refrigerator – Hot chocolate bombs can be temporarily refrigerated, but will cause condensation.
Dietary Considerations
- Gluten Free (if you use a gluten free hot chocolate mix)
- Vegetarian
- Nut Free
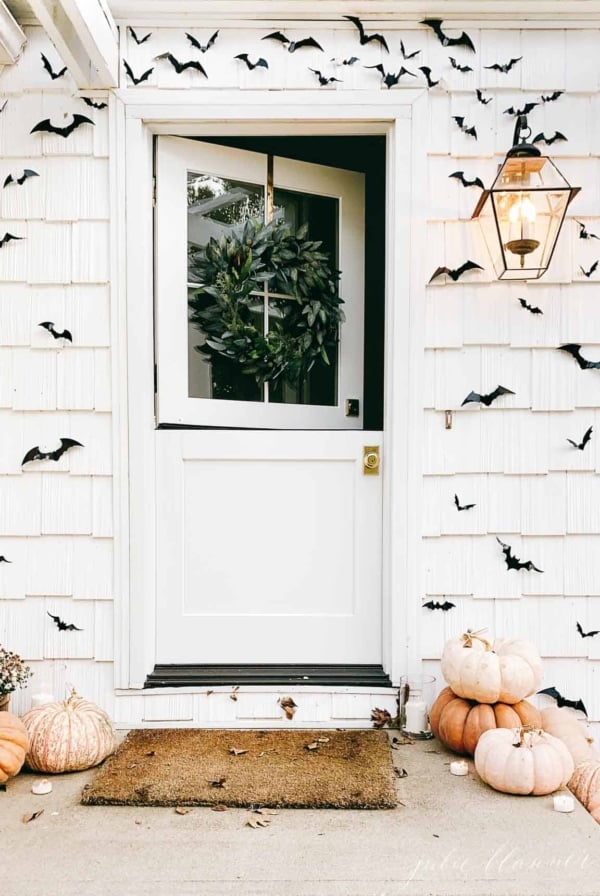
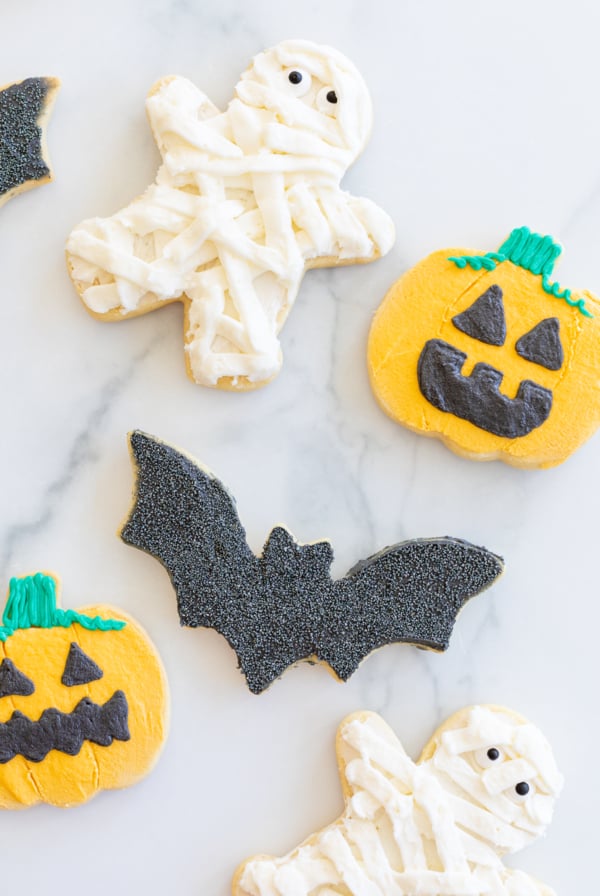
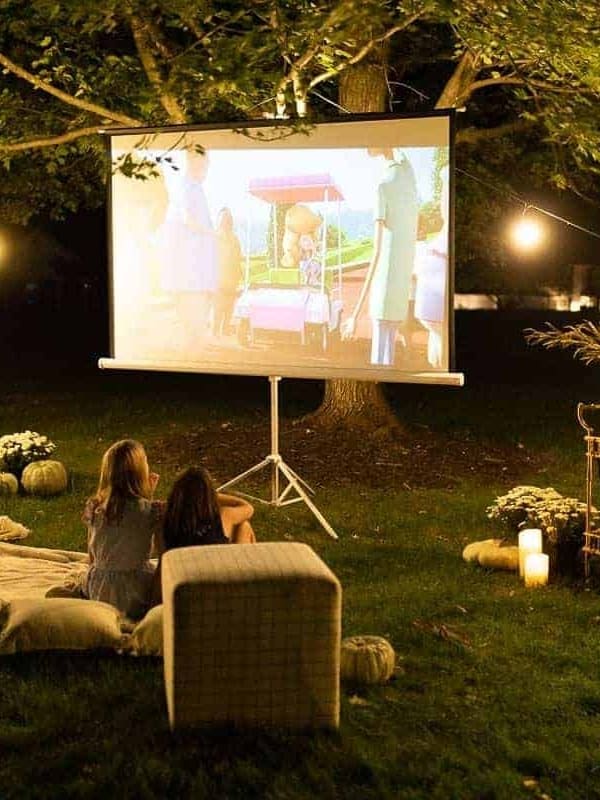
More Halloween Inspiration
Halloween Hot Chocolate Bombs
Ingredients
- 8 ounces white chocolate wafers or chips
- 3 tablespoons white hot chocolate mix
- 6 tablespoons marshmallow bits
To Decorate
- 6 candy eyes
- black writing icing
Instructions
- Line a baking sheet with parchment paper and gather supplies and ingredients.
- In a small microwave-safe bowl, melt white chocolate on 50% power in 15 second increments, stirring in between, until smooth.
- Add a heaping spoonful of melted chocolate to each cavity. Using the back of a teaspoon, spread until completely covered.
- Invert mold onto a parchment lined baking sheet and lightly shake to remove excess. Discard parchment and place mold on baking sheet (chocolate side up). Scrape edges of each cavity if needed.
- Freeze 7 minutes to set.
- Meanwhile, warm a plate in the microwave.
- Remove mold from freezer. Flip over and gently press on the top of each sphere to carefully remove onto your baking sheet.
- Fill half of the spheres with a tablespoon of white hot chocolate mix and 2 tablespoons marshmallow bits.
- Place the open end of an empty sphere on the hot plate to lightly melt chocolate. Place the melted chocolate edge on filled half to seal, handling the chocolate as little as possible to prevent fingerprints.
- Pour remaining melted white chocolate into a piping bag or sealable bag. Click the tip. To make mummies, add a dot of chocolate to each eye and quickly press onto your bomb. Drizzle back and forth to create mummy fabric. To make ghosts, squeeze black writing icing onto the ball to create eyes and create a circle to make a mouth.
Julie’s Tips
Tips
- Review instructions and have all supplies and ingredients readily available.
- Be patient and don’t overcomplicate it. The beauty is how simple they are to make!
- Have fun with it! You can add Halloween sprinkles and more!
To Store
Room Temperature – Store at room temperature for up to two weeks in an airtight container or a food safe cellophane gift bag in a pantry away from heat sources and sunlight. Freeze or refrigerate to set, but store at room temperature for best results.Video
Estimated nutrition information is provided as a courtesy and is not guaranteed.