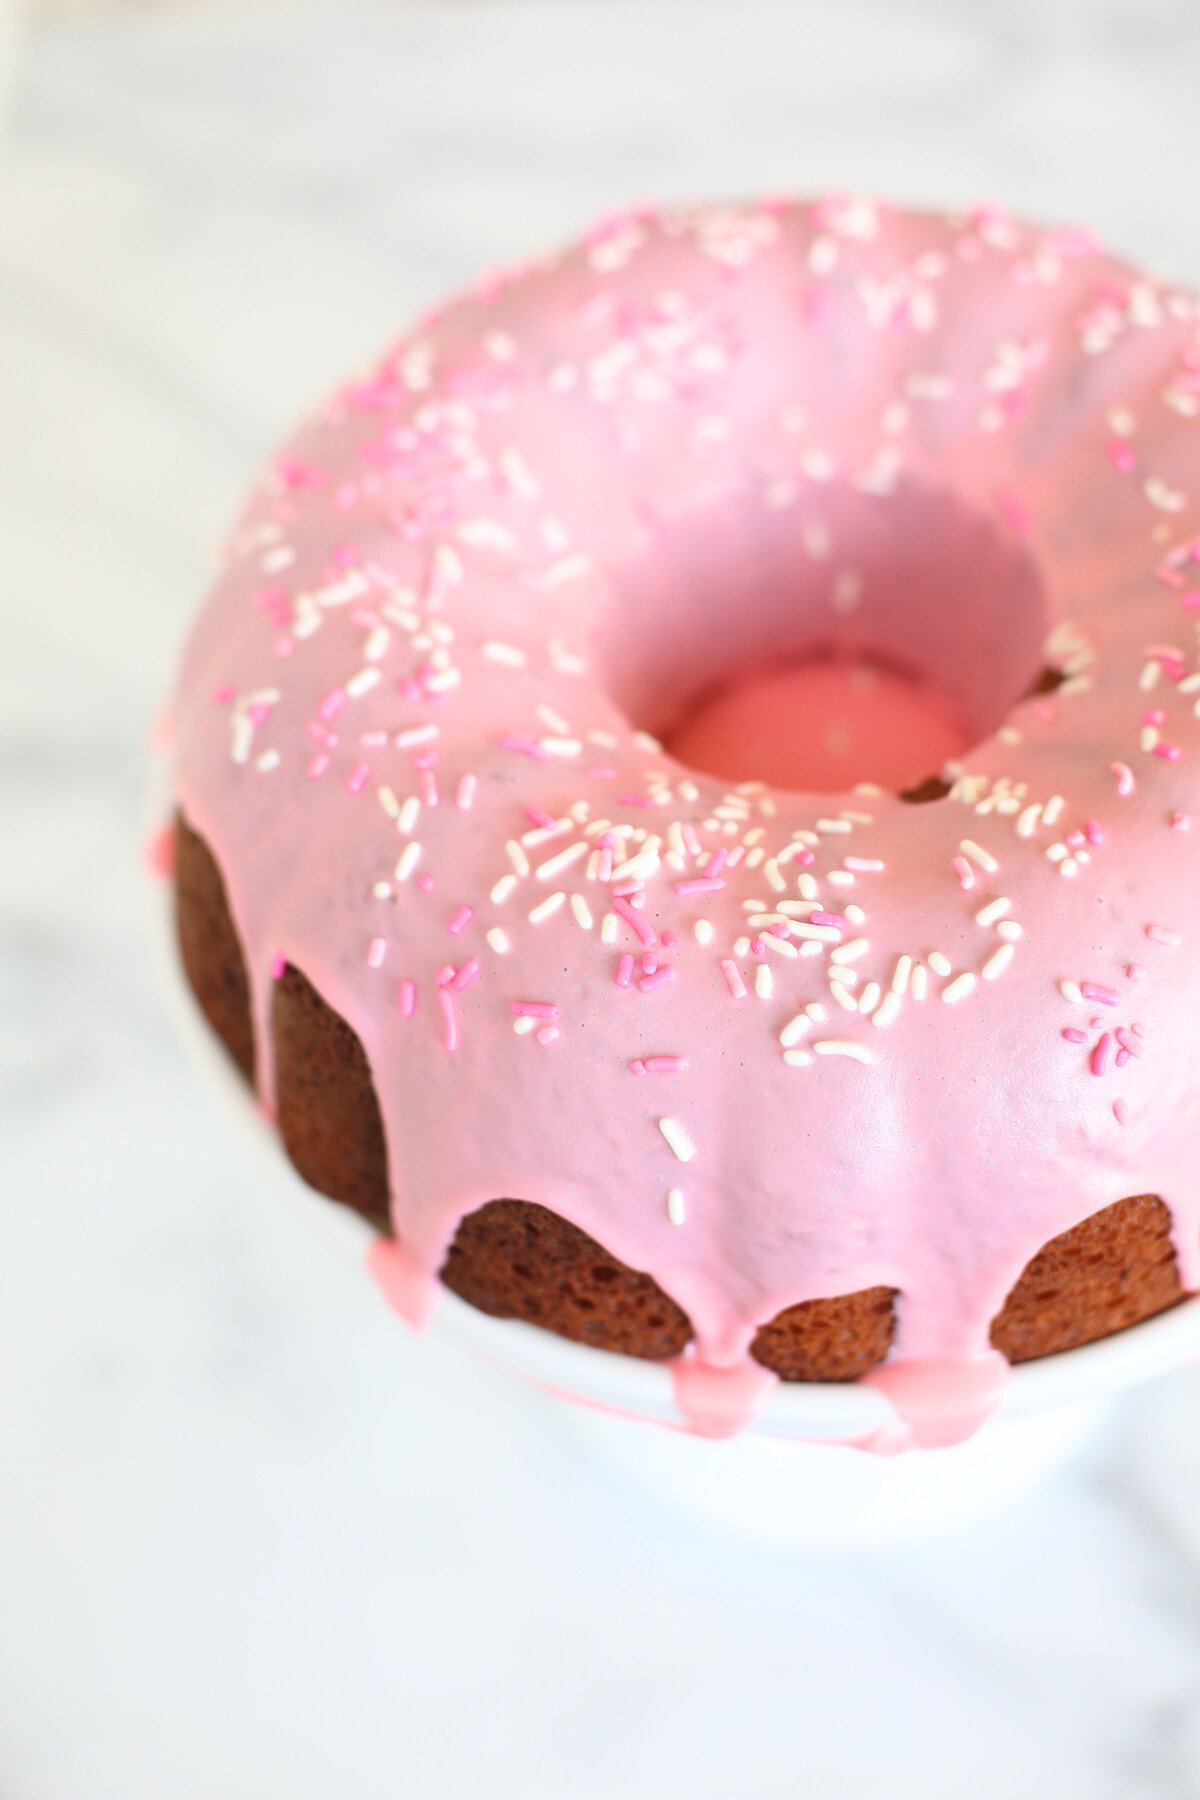
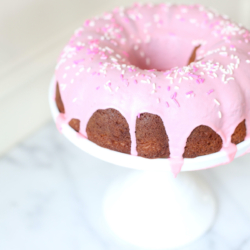
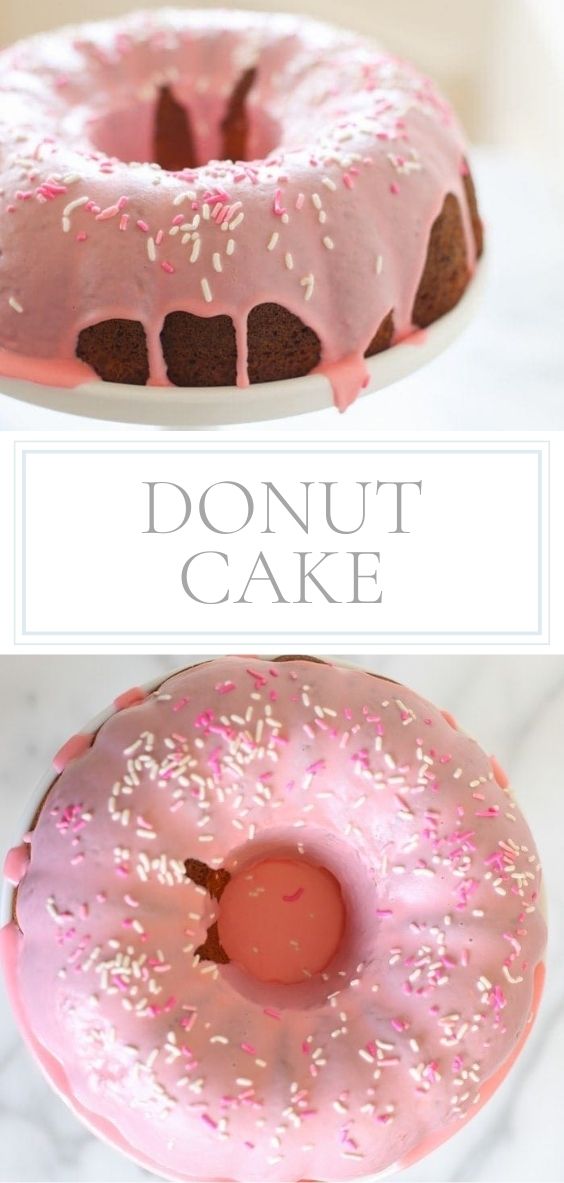
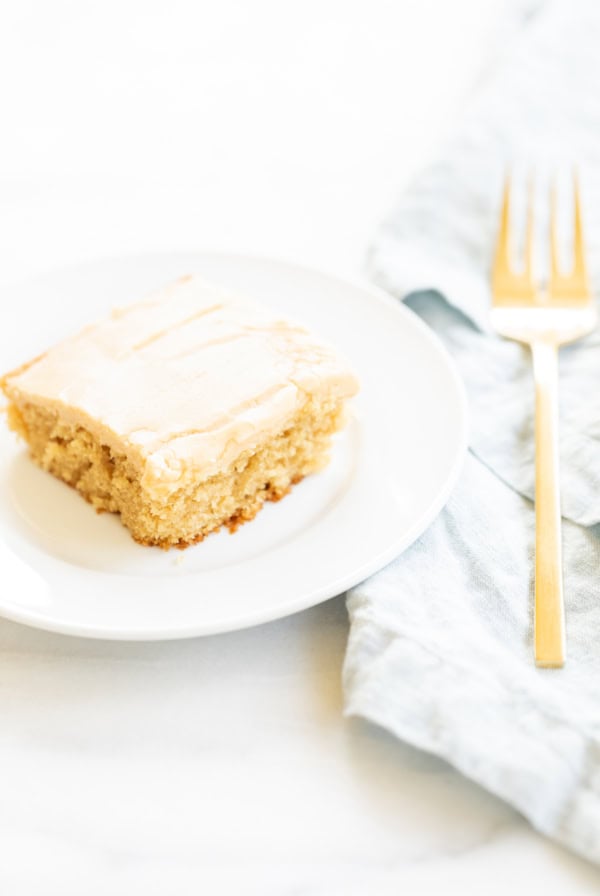
Make a giant donut cake – in minutes! This easy and delicious dessert makes for a perfect birthday cake donut fans everywhere will love.
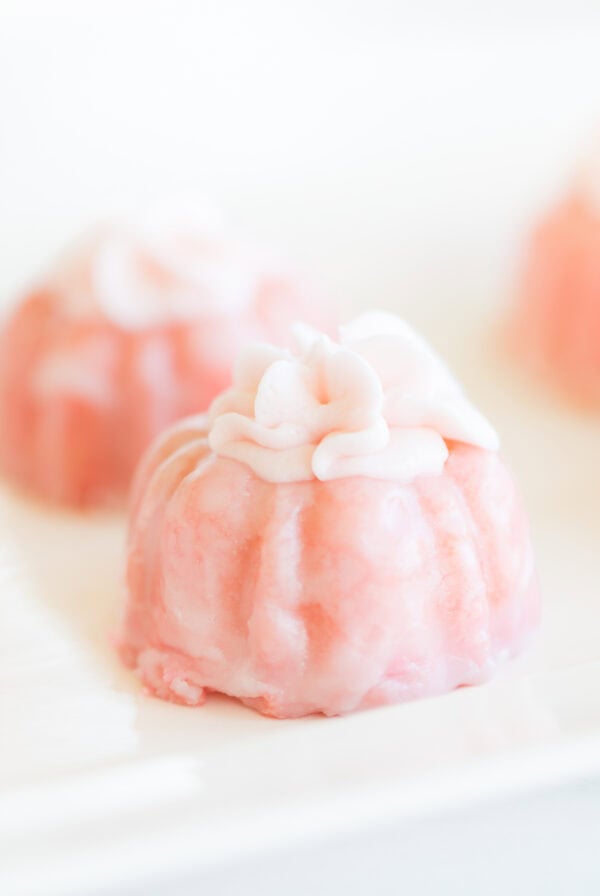
Finished with a beautiful blush pink icing and your favorite sprinkles, this glazed donut cake will be the star of the show!

I can’t believe my sweet middle daughter Ani is celebrating another birthday. Everyone tells you that your kiddos will grow up in a blink of an eye and it couldn’t be truer. I blinked. A lot.
We have so much fun celebrating around here, and I personally think that birthdays should never be limited to just 24 hours. On this special year, Ani requested a pajama and donuts birthday party.
We celebrated her birthday and her love for a sprinkle donut. The girl lives for them.

Donut Birthday Cake
She wanted a donut cake, but with the bustle of the holidays and her birthday shortly after Christmas, I completely forgot to order one.
Fortunately, making a giant donut cake couldn’t be easier! No-fuss, no assembly, just an adorable donut cake that everyone will love!
Sometimes simple is simply the best!
Ingredients and Substitutions
The recipe I have included is for my favorite yellow cake. You can get my Easy Pound Cake Recipe here, too. It’s great and the perfect color for a giant donut!
- Cake Flour – Cake flour is a softer strain of wheat as opposed to all-purpose flour, meaning it will produce a more tender cake. Swans Down is my favorite brand.
- Baking Powder – The leavening that helps make this donut cake rise to new heights!
- Salt – Fine sea salt is my preference for all baking recipes.
- Butter – Unsalted and softened will produce a well-balanced cake flavor.
- Sugar – Regular granulated sugar adds the sweetness we need.
- Egg Yolks – Using only the egg yolks makes for a richer and more stable cake.
- Vanilla – Pure vanilla extract is best for all cake recipes.
- Milk – I prefer whole milk, but feel free to substitute a low-fat or plant-based milk if that is all you have on hand.
- Buttercream Icing – Store-bought or homemade, the choice is up to you! Use food coloring to dye the icing to the color of your choice.
- Sprinkles – Whatever your favorite color combination, go for it!

How to Make Donut Cake
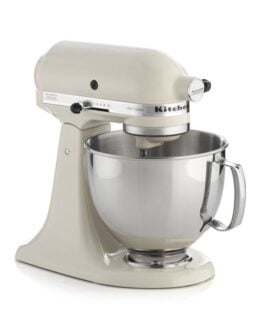
- Make Cake Batter – Make your favorite cake recipe or mix. I always use my stand mixer, it just makes things easier. Tip: add the eggs one at a time and don’t over mix.
- Baking the Cake – Grease a donut or bundt pan. (Get my favorite baking spray). Bake according to recipe or until toothpick inserted comes out clean, and remove the cake from the oven.
- Cool – Place on a cooking rack for 10 minutes to ensure the cake comes out clean.
- Flip – Flip cake onto a wire rack, give a pan a few taps to help it release. Allow it to cool. Using a sharp knife, slice the bottom of the cake off where it had risen to make it even. Place the cake on a platter or cake stand.
- Ice – Warm icing and drizzle over the top. Add sprinkles.
Tools to Use
- Mixer (You can also mix by hand)
- Liquid Measuring Cups
- Measuring Cups + Measuring Spoons
- Bundt Cake Pan
- Baking Spray
How to Ice a Donut Cake
The most beautiful part of this simple donut cake is how easy it is to ice it. I took several cake-decorating classes growing up, but none of them really stuck. My mom always decorated a beautiful cake, however, I have yet to master it. So once again, I cheated.
If you prefer to make your own icing, you can make my amazing Buttercream Icing with just butter, powdered sugar and milk. Use food coloring to dye it to the color of your choice.
To make a cake look like a donut, ice it like one, by pouring the icing over the top of the cake.
- Melt icing for 40 seconds in the microwave in a microwave-safe bowl.
- Stir and pour icing over the cake in one continuous circle to ensure it spreads evenly (with the cake stand in the sink to compensate for runoff).
- Immediately add sprinkles (as the icing glaze will begin to harden after a few minutes).

Tips From My Test Kitchen
- The more, the merrier when it comes to sprinkles! It’s such a fun and easy cake to customize this donut cake recipe!
- Did you know you are not limited to the sprinkles available in the baking aisle of your grocery store! Most grocery stores with a bakery have a wide array of sprinkles.
- They even offer sprinkles by color so you can make your own color combination! The options are endless. When you purchase sprinkles from the bakery, they are often far less expensive, too!
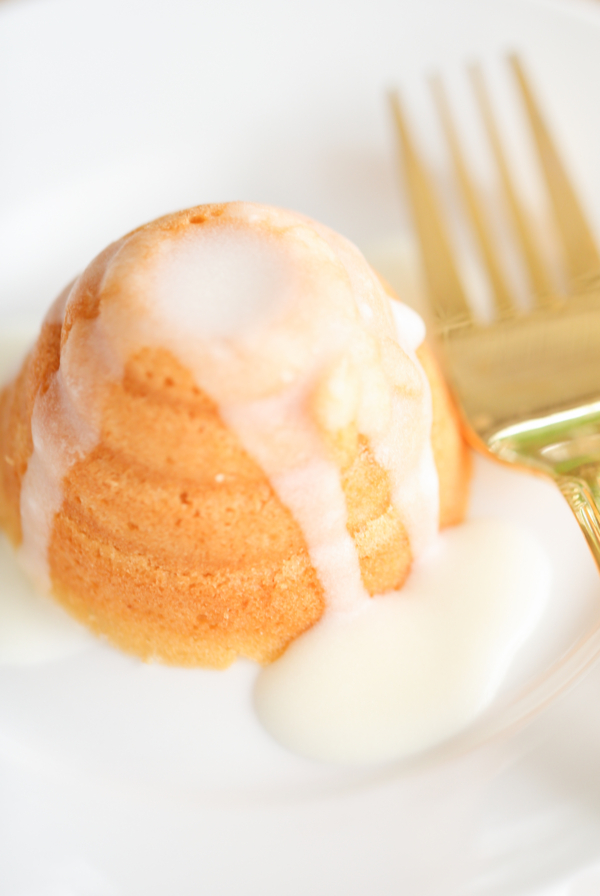
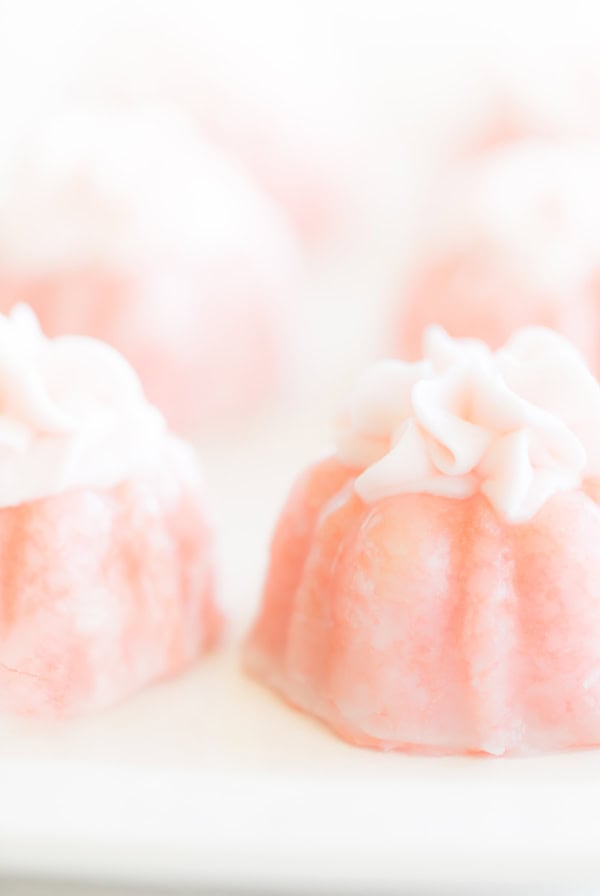
- You may not have a giant donut pan, but if you have a mini donut pan, you can make mini donut cakes! Simply spoon the cake batter into the greased mini donut pan and bake for 8-10 minutes. You should get about 24 mini donut cakes from this recipe.

Frequently Asked Questions
The shape of a bundt cake is unique because it allows denser cakes to bake perfectly. Their designs are more intricate and interesting than traditional loaf or cake pans, as well.
Because they are designed with a deeper cavity than a traditional 9×13 baking dish, they do require a slightly longer baking time.
To keep this or any cake from sticking to the pan, generously grease the pan with butter or nonstick spray. For extra insurance, lightly dust the greased pan with flour and tap out the excess before pouring in the batter.
To make your donut cake gluten-free, substitute regular flour with a gluten-free all-purpose flour blend designed for baking. Make sure the blend contains a mix of rice flour, starches, and xanthan gum or guar gum to mimic the texture and structure of traditional flour.
How to Store
- Room Temperature – You can store this cake safely at room temperature for up to 48 hours.
- Refrigerator – Refrigerate this cake for 4-5 days, either covered in plastic wrap or stored in an airtight container.
- Freezer – Cake can be frozen for up to six months with great results! Just wrap it tightly to prevent freezer burn.
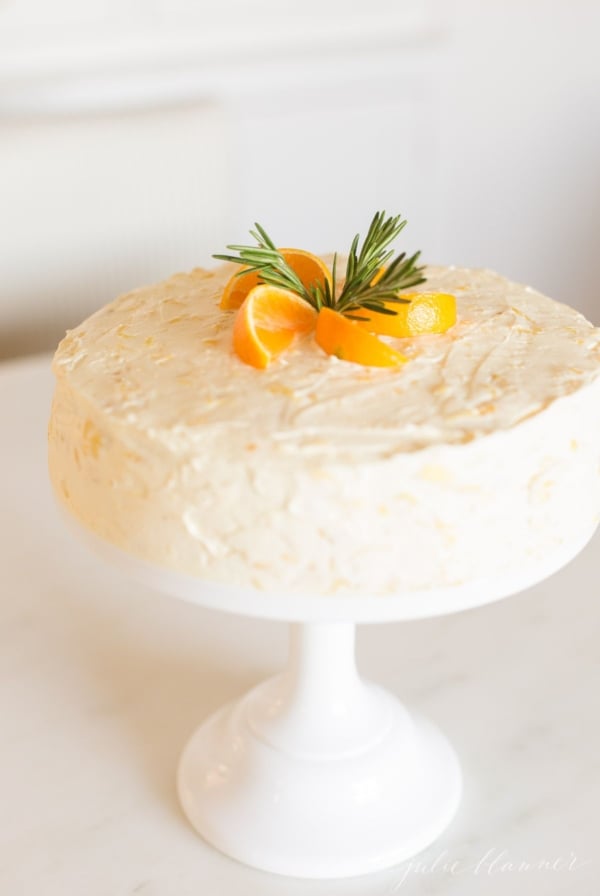
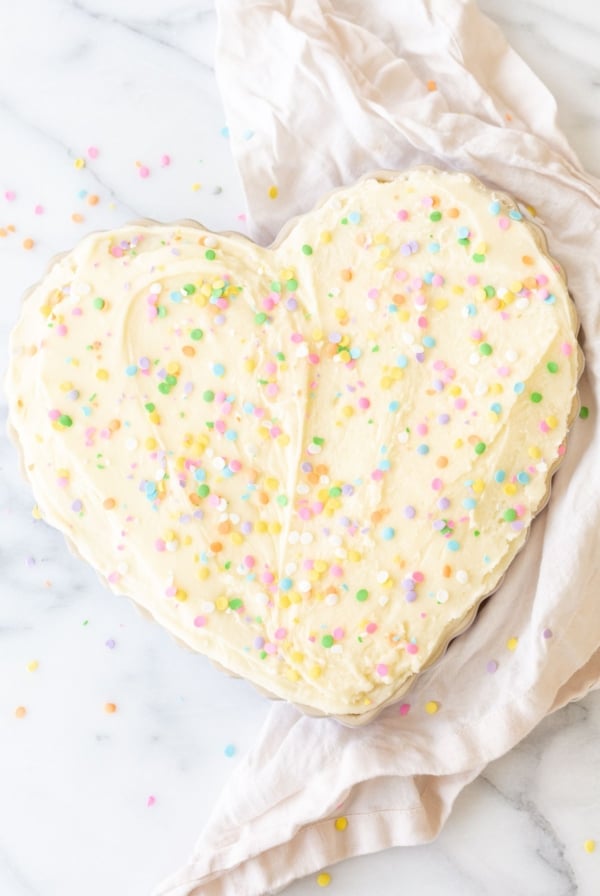
More Cakes You’ll Love
Donut Cake Recipe
Ingredients
Cake
- 2 cups cake flour
- 2 teaspoons baking powder
- ½ teaspoon salt
- 1 cup unsalted butter softened
- 1½ cups white granulated sugar
- 8 large egg yolks
- 2 teaspoons vanilla extract
- ¾ cup milk
Frosting
- 1 cup buttercream icing store-bought or homemade
- 2 tablespoons sprinkles
Instructions
- Preheat oven to 350°F. Grease or spray bundt pan.
- In a medium mixing bowl, sift dry ingredients – flour, baking powder, and salt and whisk to combine. Set aside.2 cups cake flour, 2 teaspoons baking powder, ½ teaspoon salt
- In a large mixing bowl or stand mixer with the whisk attachment, add butter and sugar. Beat on medium low speed and cream until light and fluffy (approximately 3 minutes).1 cup unsalted butter, 1½ cups white granulated sugar
- On low speed, beat in yolks one at a time. Add vanilla and stir until just combined.8 large egg yolks, 2 teaspoons vanilla extract
- Gradually blend flour mixture on low speed, alternating with milk until just combined. Pour mixture into prepared bundt pan evenly.¾ cup milk
- Bake 40 minutes or until a toothpick inserted into the center comes out clean. Place on a wire cooling rack and allow to cool 10 minutes. Gently flip cake onto the wire rack and allow to cool completely. Trim excess from rise off using a knife. Transfer to a cake stand or platter to serve.
To Ice
- Transfer icing to a large glass measuring cup. Microwave 40 seconds to melt icing. Stir.1 cup buttercream icing
- Place the cake stand or platter in a sink or on parchment paper to catch runoff. Pour icing over cake in one continuous circle to ensure it spreads evenly and top with sprinkles.2 tablespoons sprinkles
Julie’s Tips
Cake Flour Substitute
To make 2 cups cake flour, combine 1¾ cups all-purpose flour with ¼ cup cornstarch.Estimated nutrition information is provided as a courtesy and is not guaranteed.


What a fun way to celebrate! May just have to add this into our next birthday tradition and let them eat it for breakfast, haha!
the bunny butt cake will forever be my favorite, but this is cute, too!
Such a pretty cake! I know my kids would love it! I always have those ingredients on hand, so I’ll just need to make it!
This turned out so cute! So much easier than messing around with layers!
This is such a beautiful cake! Can’t wait to make it for my little girls birthday next week!