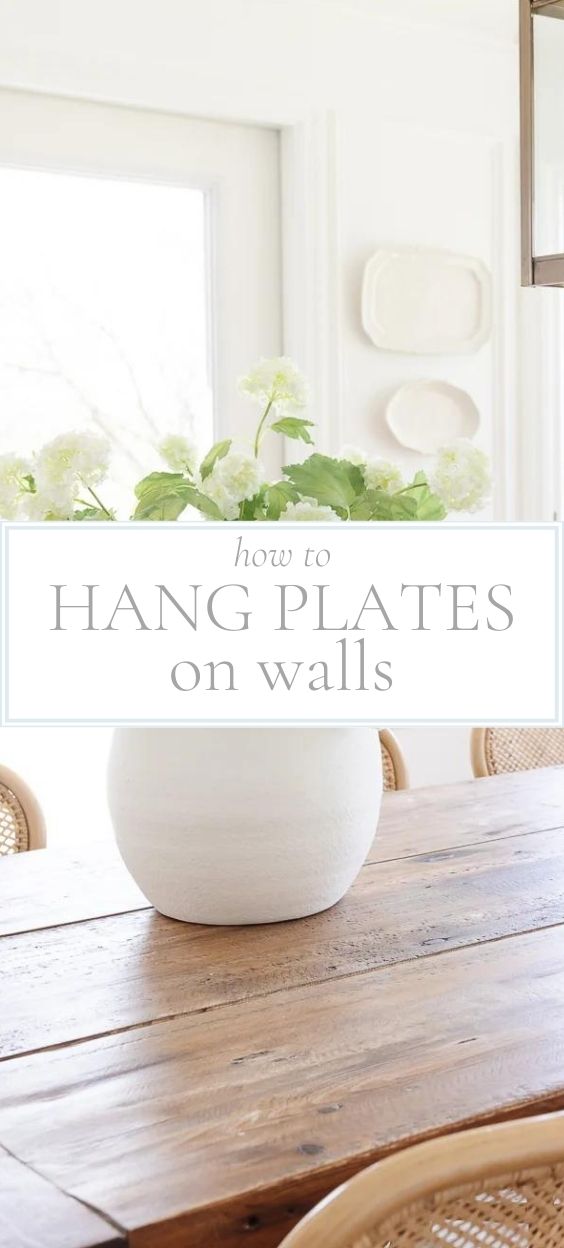
Decorate using inexpensive wall plate holder to transform your walls where form meets function! Create a functional and beautiful art display of fabulous plates – perfect for every space in your home!

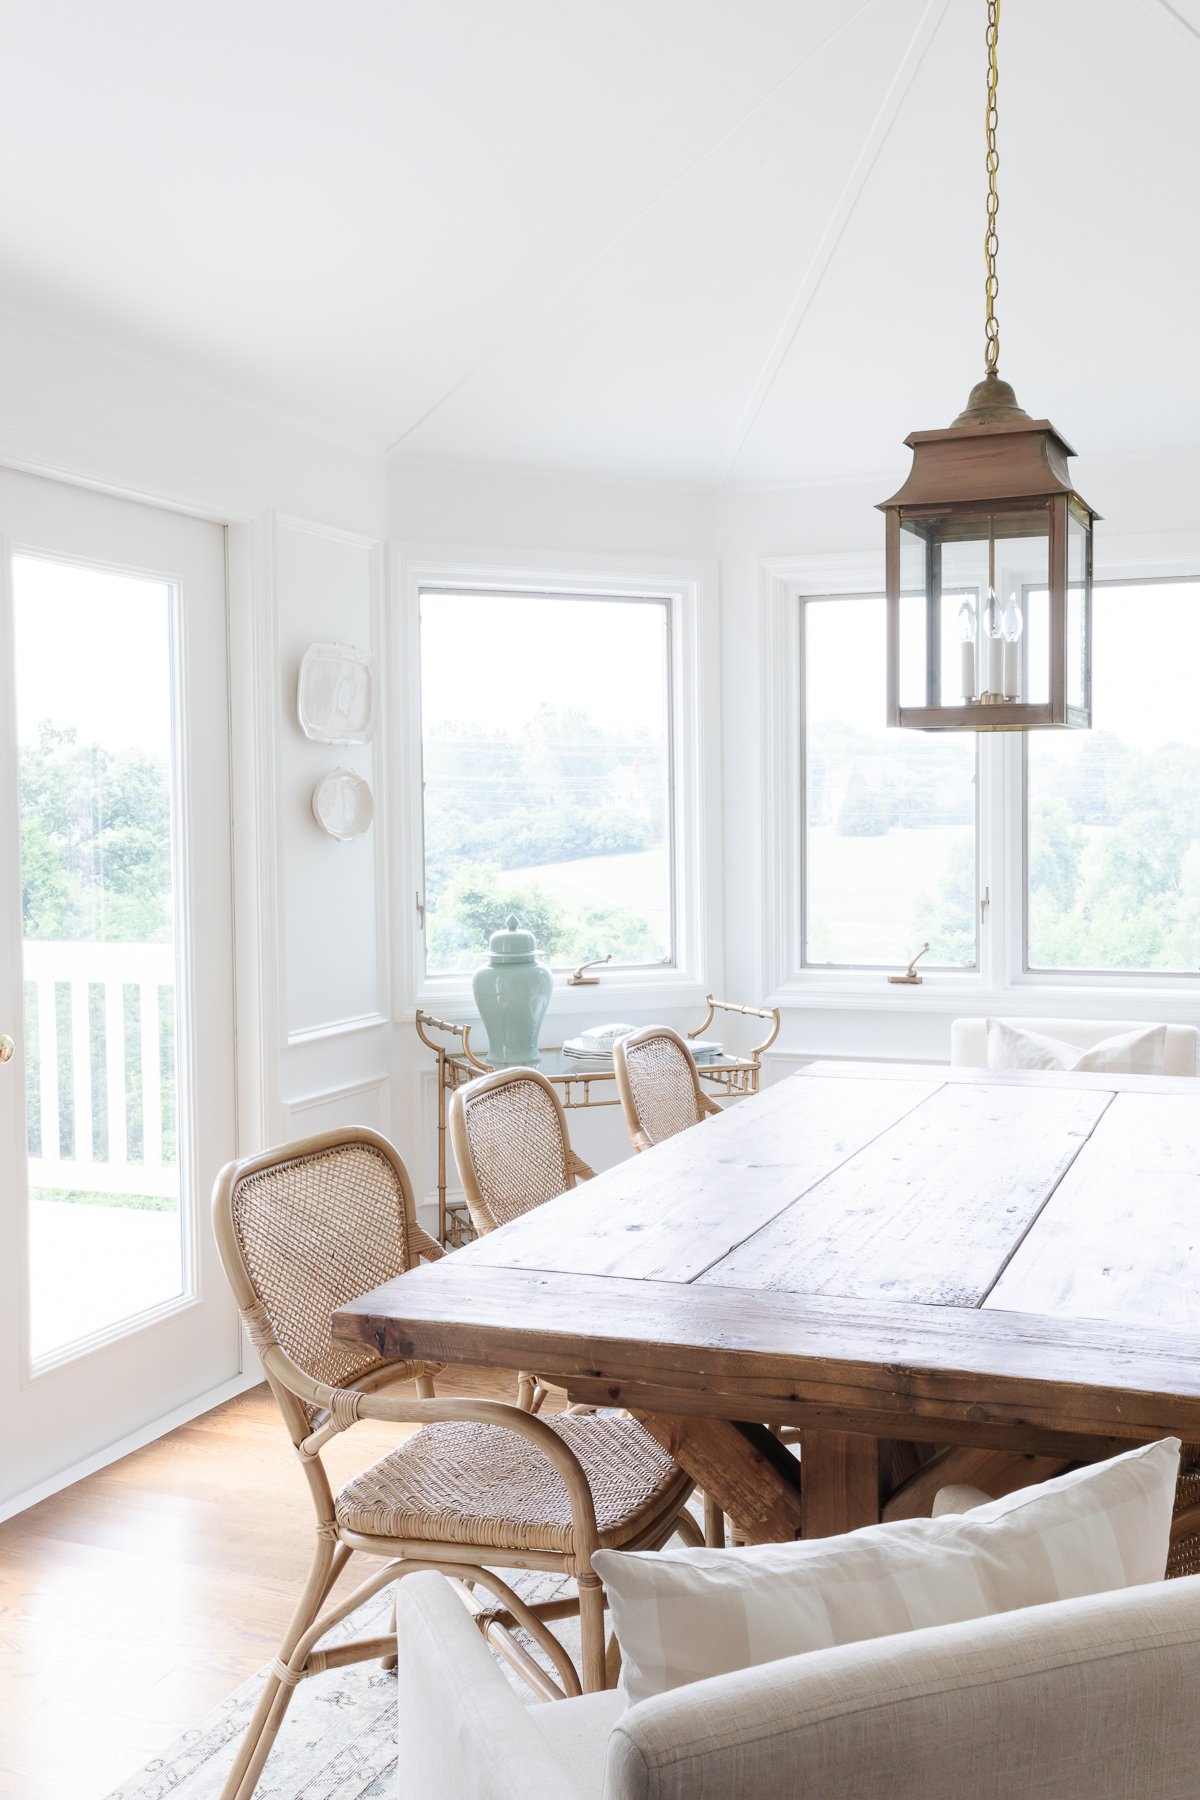
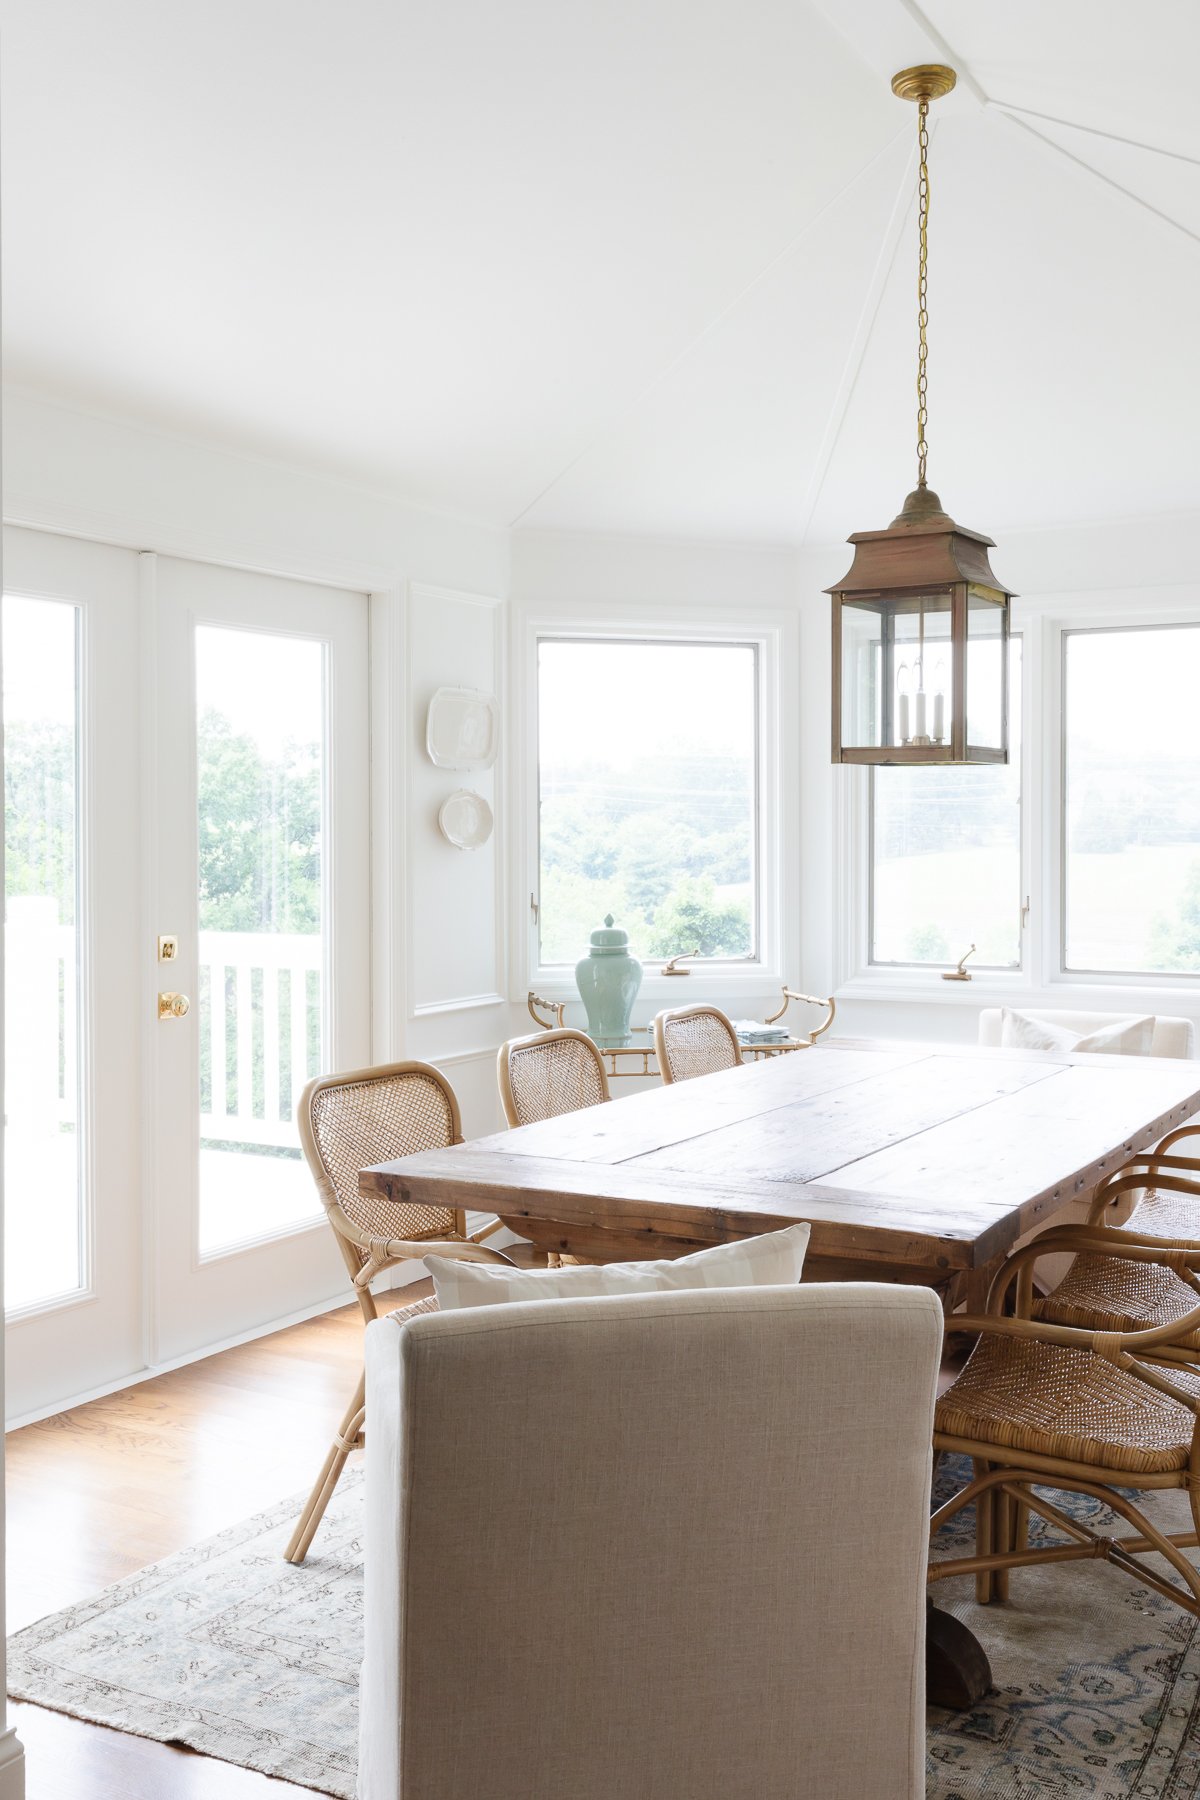
One of my favorite wall treatments in our home is a decorative platter display hanging in our breakfast nook. I wanted it to add a little interest to the room, so I stacked platters to give it a collected-over-time feel.
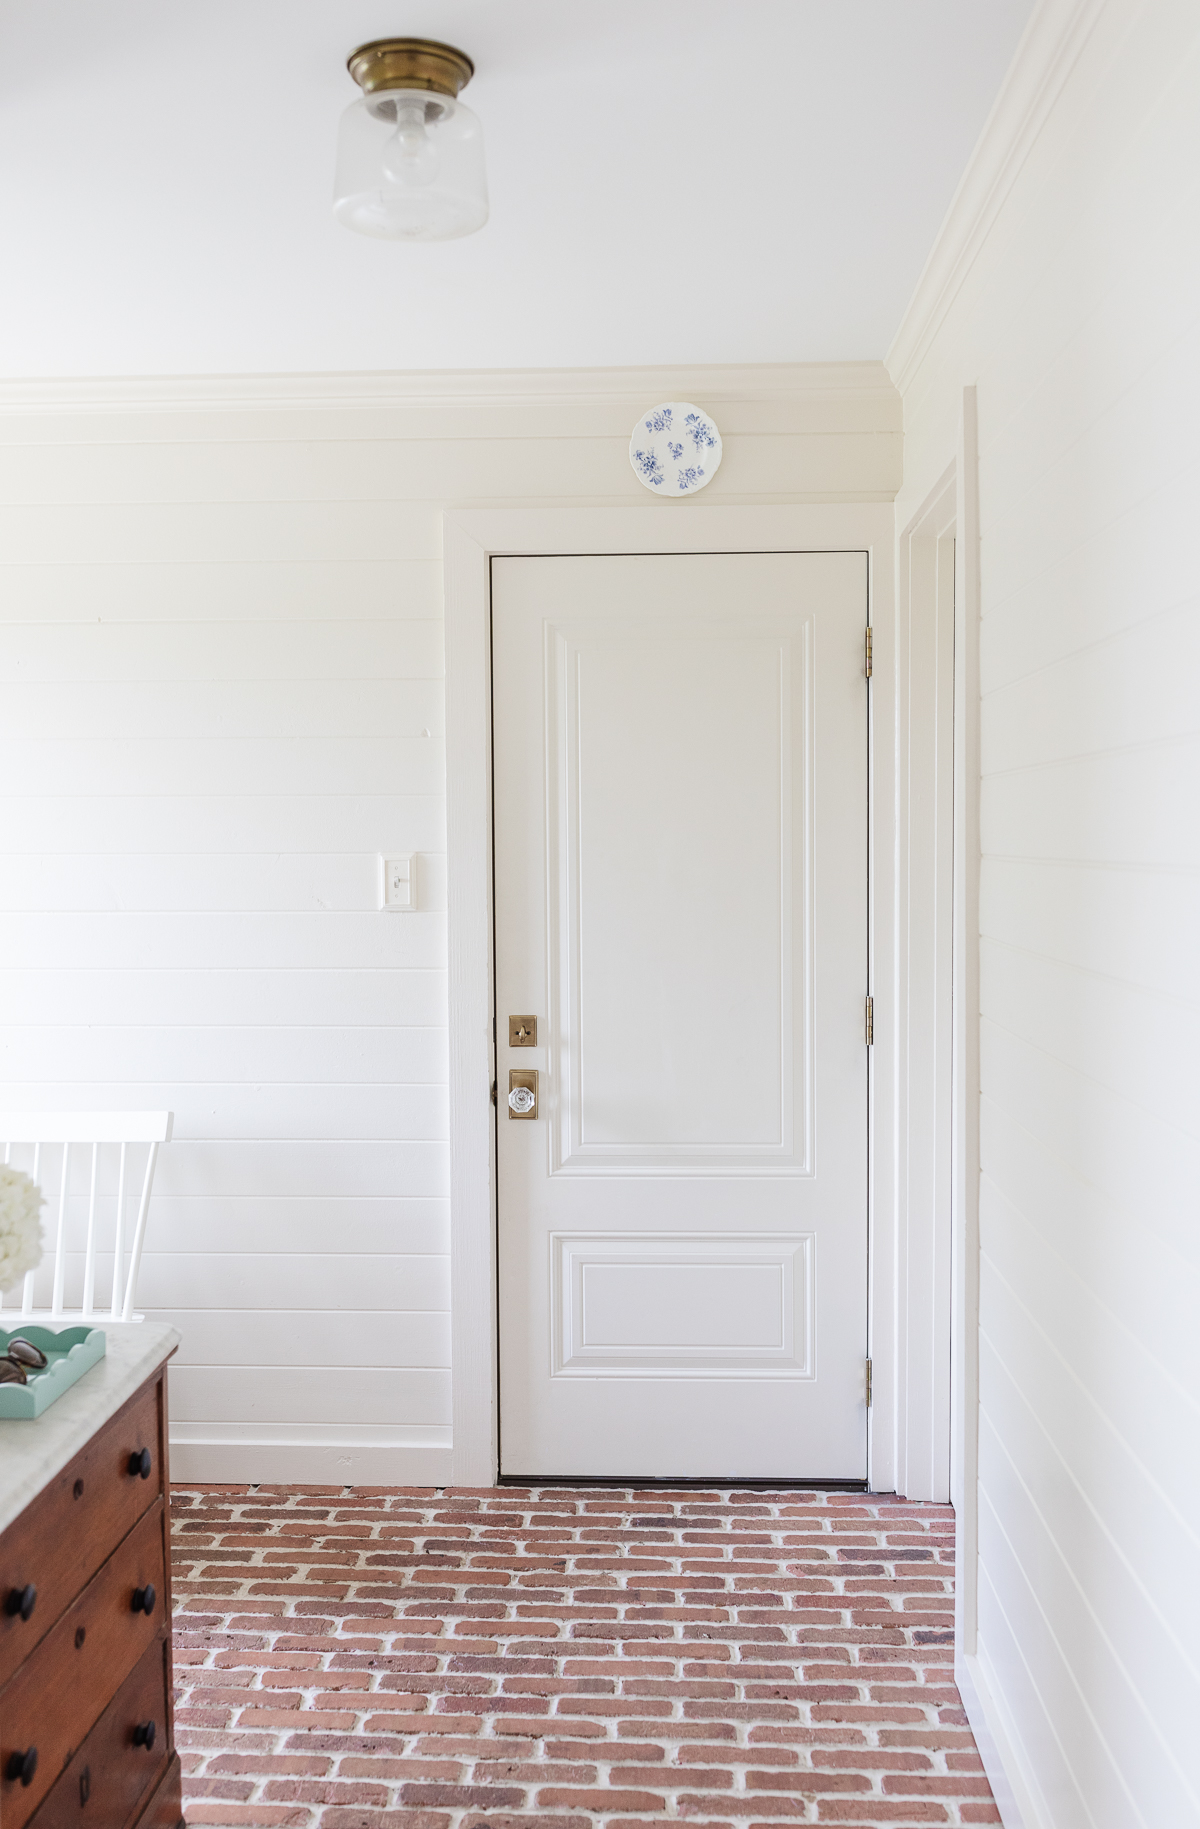
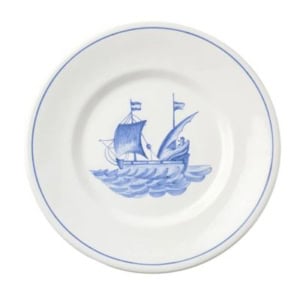
I added a blue and white plate over the door in our mud room which makes a visual impact in direct view of our kitchen. I change it out frequently with each season!
Plates on Walls
I’ve used this trick several times over the years, from the dining room of our former colonial home in Kansas, to the breakfast nook in our St. Louis tudor. It puts plates and platters within easy reach if I need an additional serving piece.
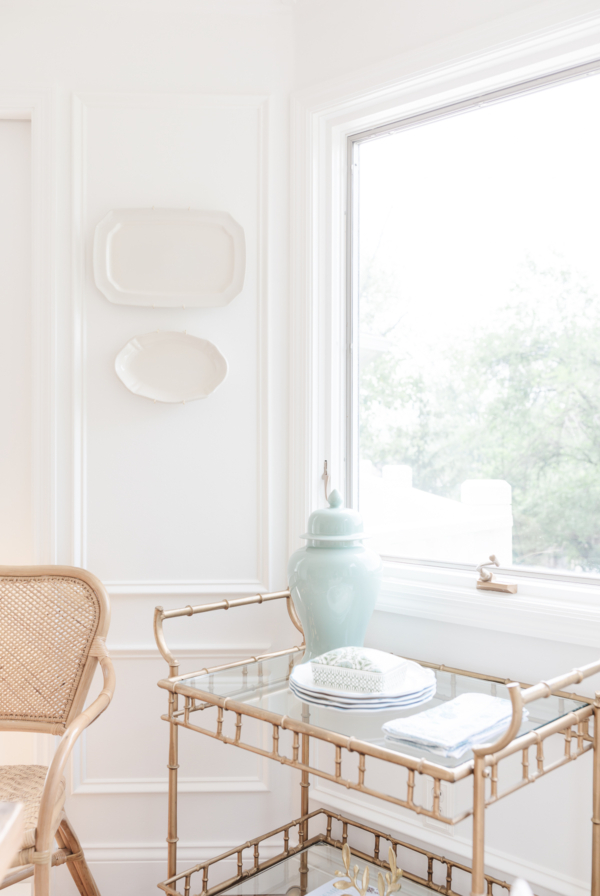
Decorative dishes would look beautiful in the kitchen, living room, and even bedrooms! Of course, they’re right at home in the dining room, too. After I fell in love with my first display, I created a miniature version over the bar cart in just 5 minutes!
Why You’ll Love It
Hang Anywhere – Beautiful plates and serving dishes don’t have to stay in the dining room. Plate hangers make it so easy to hang a beautiful display of dishes wherever you want in your home.
Add Interest – The plates and platters give visual interest and depth to the space.
Functional – Yes, if you hand wash them carefully, you can still use them to serve appetizers or your next dessert bar!

Choose the Right Type of Plate Hanger
Now that you’ve chosen your dishes and laid them out like you envision, you’ll be able to decide which type of plate hangers you’ll need.
There are a couple popular options, each with pros and cons.
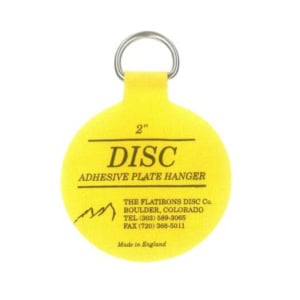
Disc Plate Hanger
- A popular option is to use a disc plate hanger. These are adhesive discs that you attach to the back of your plates and then hang on the wall. They come with a ring that you can easily hang from a nail or wall hook.
- The main advantage of the disc plate hanger is that it is invisible once hung. Since it sticks to the back of the plate, it can’t be seen once you’re all finished. It gives this project a clean, simple look.
- They are perfect for dishes with flat surfaces on the back, such as large bowls, platters, and plates. They don’t work as well if the dishes have a rim or feet that stick out, since the disc has to be able to lay flat against the wall.
- A single 5 1/2″ disc plate hanger can hold up to 7 pounds, but you should check your specific hanger for weight limits, just to be sure. Another plus about this type of wall plate holder is that you can use more than one on large dishes, if necessary.
- This type isn’t quite as conducive when it comes to taking the dishes off the wall for use. There will still be a disc attached to the back. You can still use the dishes for serving, but you’ll need to carefully clean them by hand afterward, to keep from getting water on the disc.
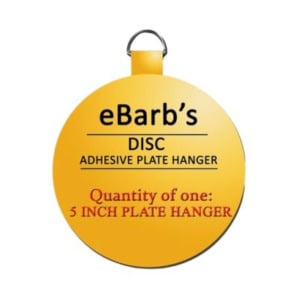
My Favorite Disc Hangers
Click to shop.

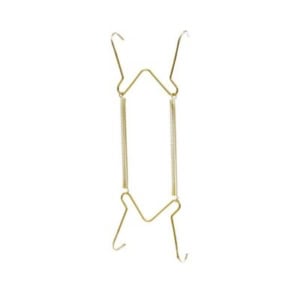
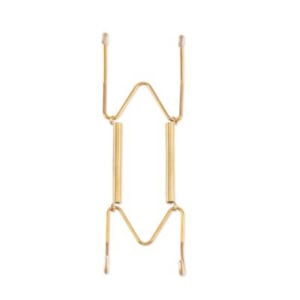
Wire Plate Wall Hanger
- Another type of plate hanger is a 4-pronged wire hanger. This design has springs that can stretch to fit the size of your plate or dish, and hooks that fit around the edge.
- This type of wall plate holder is slightly visible, with the four hooks showing from the front. They’re not overpowering, however, and they can even contribute to a more vintage feel.
- The hooks come in metal finishes, such as brass or stainless steel. You can also buy them with a vinyl coating. This also prevents any potential scratches.
- Since the dishes are held in place by hooks on springs, there is nothing actually attached to the dishes themselves.
- Note that this type of wall plate holder often runs small, so you may want to purchase the next size up.
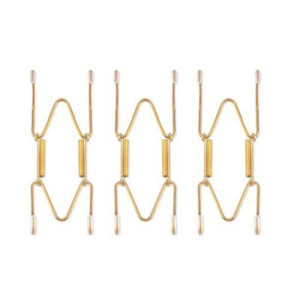
My Favorite Wire Hangers
Click to shop.
Where Can I Find Plates for Art?
Before you begin, you’ll need to decide which plates, bowls or platters you’re hanging. Have fun with it!
- Start by shopping your own house. You may be surprised at what you find! Pull out any dishes you may want to use, even if you’re not sure they’ll work together.
- Remember, plates hung in a wall display don’t have to match. It’s all up to your personal preference and style.
- You may have enough dishes already. If you decide you’d like a few more, you don’t have to spend a lot of money on them.
- I found the platters for my first plate wall for less than $3 each!Check out Facebook Marketplace, local shops, garage sales, and thrift stores.
- The beauty of a plate wall is that you can add to it over time. So even if you only have a few pieces to start with, you can add to it as you find more. Patience is the key!
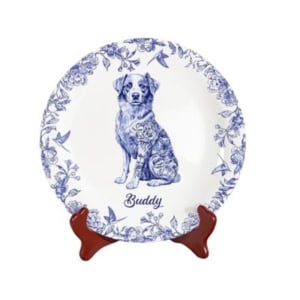
Favorite Plates to Hang
Click to shop.
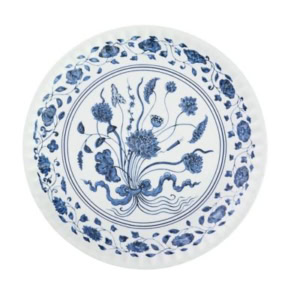
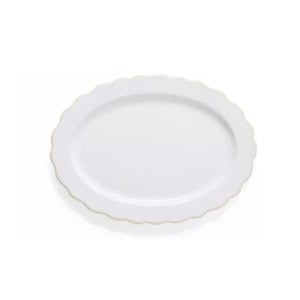
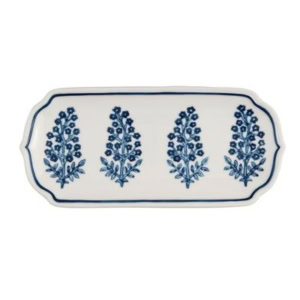
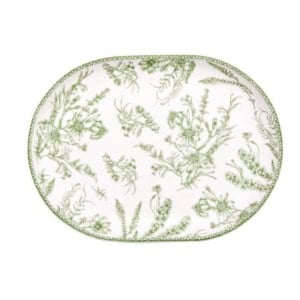
Favorite Platters to Hang
Click to shop.
Designing a Plate Wall
Once you have a collection of plates or platters to work with, start by spreading them out in front of you so you can get a good look. Decide which ones you want to use for your wall.
- Mark an area the same dimensions as the wall you’ll be filling – you can use painter’s tape for easy removal. Rearrange the dishes into different layouts within the area you’ve marked.
- Start with the largest pieces first, then fill in with smaller plates. There are no rules, so play with the layout until you find one you love!
- Try a symmetrical layout that is the same on both sides or asymmetrical for a more laid back and free flowing design. Either way looks stunning!
- Take a photograph of your layout for easy reference draw it onto paper.
- Optional: If you’re feeling unsure, trace the shapes of your dishes onto paper. Cut them out and hang them on the wall in your desired design using painter’s tape. This lets you make small adjustments as needed, without nailing putting any holes in the wall. Stand back and look at the paper cutouts. Make any changes that are needed.
How to Hang a DIY Plate Wall
You’ve already chosen your plates, designed your layout and decided which type of plate wall hanger to use. Now it’s time to move it to your wall!
With a Disc Plate Hanger
- Choose plates, platters, and bowls and arrange them on a table or the floor. Purchase the appropriate plate hangers for your project.
- Trace and cut out template for each dish on paper. Then tape to wall in your arrangement using painter’s tape.
- Clean dishes and dry thoroughly.
- For disc hangers, start by thoroughly cleaning and drying the back of each dish. This step is crucial to the hangers adhering properly, so don’t skip it!
- Follow the instructions on your disc plate hanger. It requires using your fingers to spread a small amount of water onto the adhesive. After a few minutes, the glue should be tacky and ready for hanging.
- Apply the disc to the back of your plate or dish. Pay attention to its orientation. It has a small ring for hanging, so if your plate has a design that needs to face up, make sure you hang the ring on that side.
- Press firmly to secure the disc to the back of the dish, working any air bubbles out and to the side. Let dry overnight.
- Once dry, test for proper adhesion by pulling firmly on the disc plate hanger’s ring. You want it to feel secure before use!
With Wire Plate Hangers
- Choose plates, platters, and bowls and arrange them on a table or the floor. Purchase the appropriate plate hangers for your project.
- Trace and cut out template for each dish on paper. Then tape to wall in your arrangement using painter’s tape.
- Clean dishes and dry thoroughly.
- Now it’s as easy as selecting the right size, and stretching it to fit around your dish. Turn the plate onto its face to check the fit of the hanger. It should be snug with no wiggle room.
- Adjust the hooks as needed so they are evenly spaced on the dish. You’ll want the top two hooks centered around the top center of the plate, so the hook will be able to hang level.
- Find top center on each paper template. For each dish, measure how far from the top the hanger will be and mark this measurement on each paper template.
- Nail directly through paper at mark using a hammer and nail. Hang dish on nail using the plate wall hanger, and if happy with the placement, remove paper template.


Tips
- Remember that wire plate hangers often run small, so consider buying the next size up.
- Clean and dry the back of your plates or platters well. This step is important so that the hangers adhere.
- If you are using heirloom plates or platters and you are concerned about scratching, try using vinyl coated plate hangers.
- Allow disc plate hanger to dry 24 hours.
- Most dishes will be fine hanging from a nail or small wall hook. For heavy dishes, you can use a molly bolt and screw if desired.
- Use two discs or wire hooks, one on each side, for extra long dishes.
- For very small dishes, you can hot glue paper clips to the back instead of using plate hangers. I don’t recommend this method for heirlooms or dishes of high value.
Amazon Storefront
Follow my Amazon Storefront to find more holiday looks for less.


In a house with rambunctious young boys, which option would you say is the sturdiest?
Thanks!
I love the stick on hangers. They have never failed me and we have had a lot of construction, parties, etc in our home. Enjoy!
I can’t decide on disk or plate hardware . Does the plate hardware look odd from side view?
No, but the discs are more discreet. I prefer the clean aesthetic when possible.
Hi Julie. Do you know anyone who would do this for payment? I’m not good at this type of stuff. I’m in Southern California. Thanks.
I recommend contacting a local handy(man) service.
Thanks for the ideas. Julie’s taste matches my own, so of course I love to read her blog.
Hi Suzi,
I love to hear that, thanks so much for the kind words!
Have a beautiful week,
Julie
Thank you so much for the cleaning tip. Looked like a pizza color but couldn’t get anyone to admit to it. We love our RH couch and chair…..even though it looks like a Cock Fight every time I get ready to sweep the floors….lol!!
Carolyn
So true! Thanks for the Sunday laugh! I hope it worked well for you!