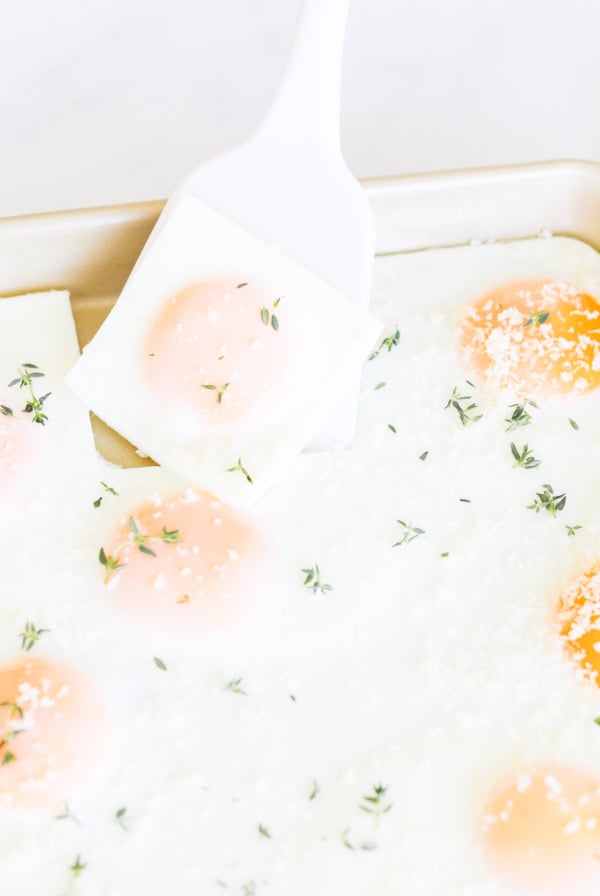
Muffin pan baked eggs are the easiest way to make breakfast! These eggs are quick and easy, with less hands-on time than stovetop eggs. Make a family breakfast everyone will love with our baked eggs! Enjoy them as-is, or use them for avocado toast, serve in sandwiches, or pack for a low carb lunch on the go.
They’re not only easier to make than fried eggs, they are healthier too!
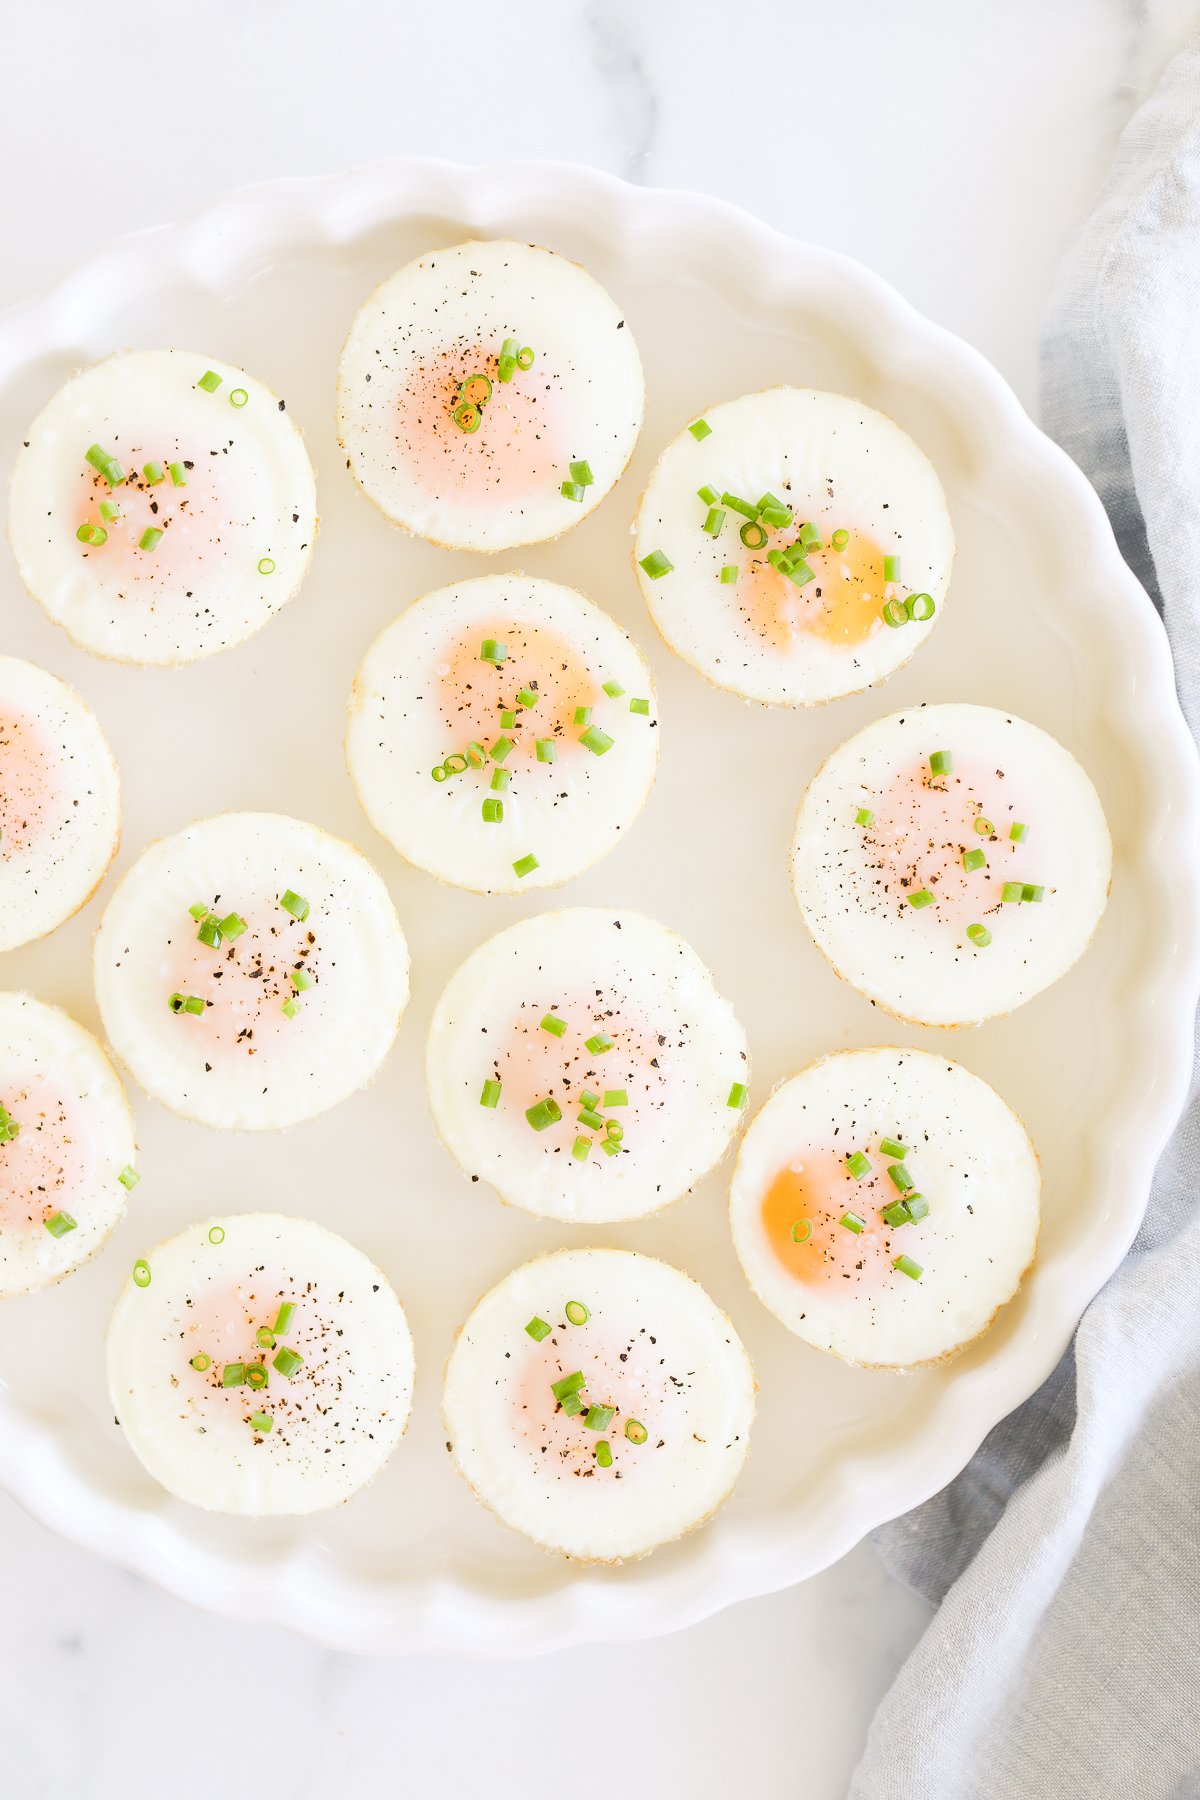
Wholesome, versatile and oh-so-fast to throw together, this easy method for baking eggs is sure to be a family favorite!
Meal prep has become a big part of our weekends. With busy tweens who are always on the go, we are constantly looking for nutritious, protein-packed meals and snacks that we can make ahead.
These baked muffin pan eggs are just the ticket! And you won’t believe just how easy they are to make.
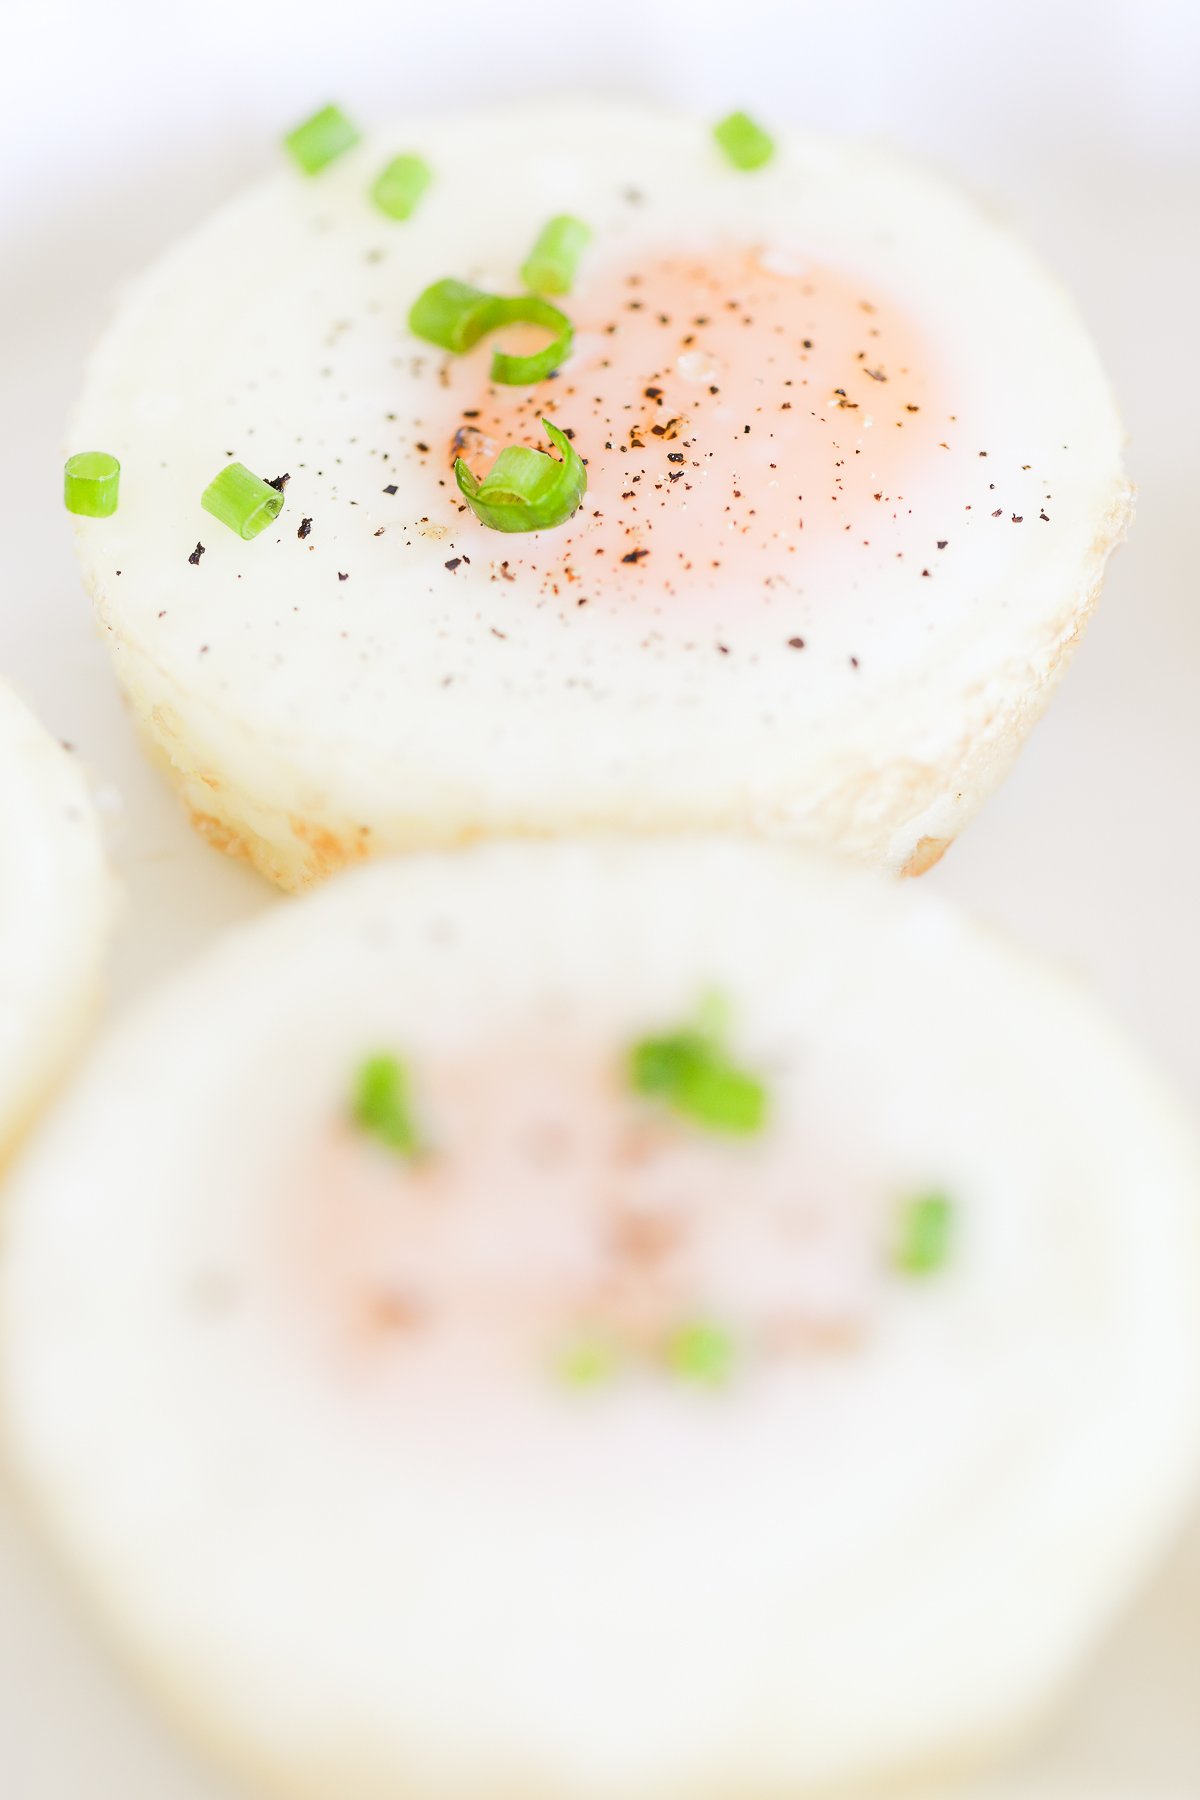
We’ve been baking eggs for many years! From our reader-favorite quiche lorraine, our Mexican breakfast casserole and to this individual muffin pan egg strata recipe, we’ve shared so many fun recipes.
Today’s recipe is actually less of a recipe at all, and more about perfecting the technique of baking eggs in a muffin pan. These aren’t miniature egg casseroles in a muffin tin – they are just simple, perfectly cooked eggs that you can serve up in a huge variety of ways.
From prepping the pan for easy release, to achieving the perfect level of “doneness”, we’re sharing all the details today!
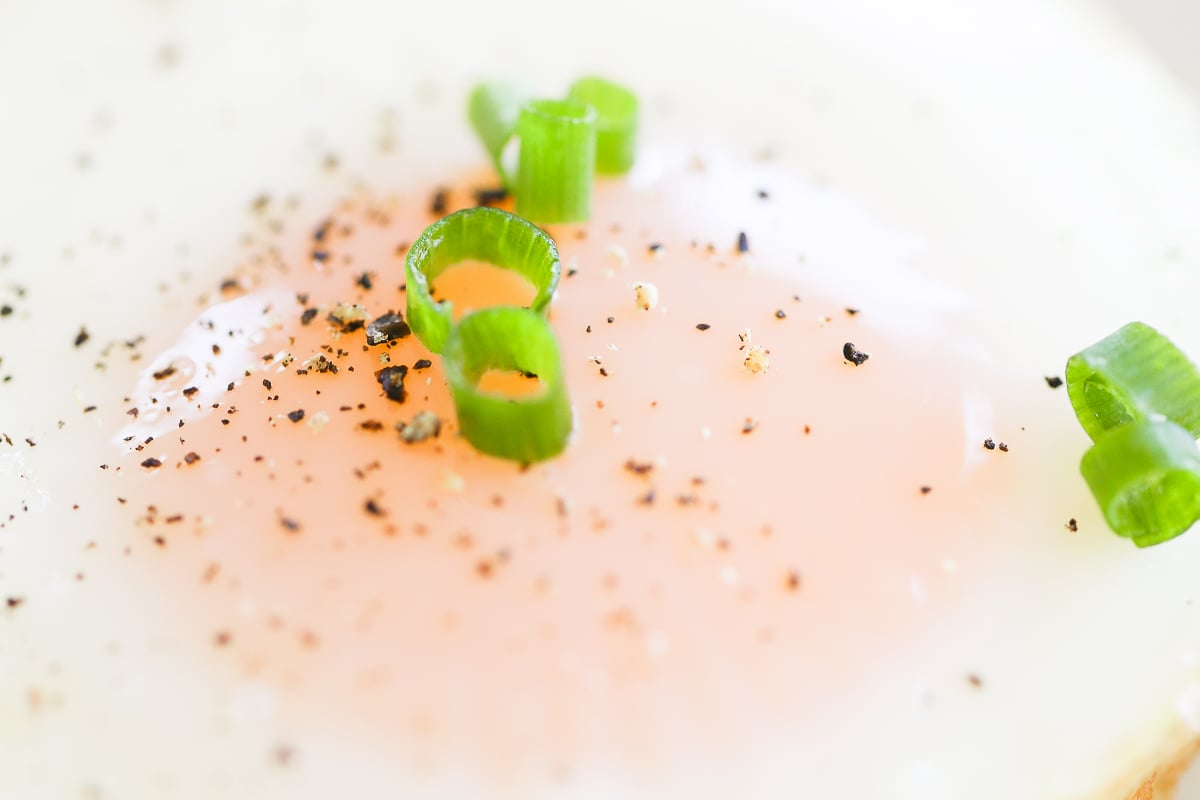

Why You’ll Love this Technique
Baked muffin pan eggs are so wholesome! They are keto-friendly, low carb and vegetarian.
Very little hands-on time is required. Prep your pan and crack your eggs while the oven is warming up!
These are a great make-ahead option, as they can be easily frozen, or stored in the refrigerator for up to four days.
Shopping List
copy and paste to add to your grocery list
- Eggs (size large)
- Quality Baking Spray (My longtime favorite is the Bak-Klene ZT spray, which is often available on Amazon.)
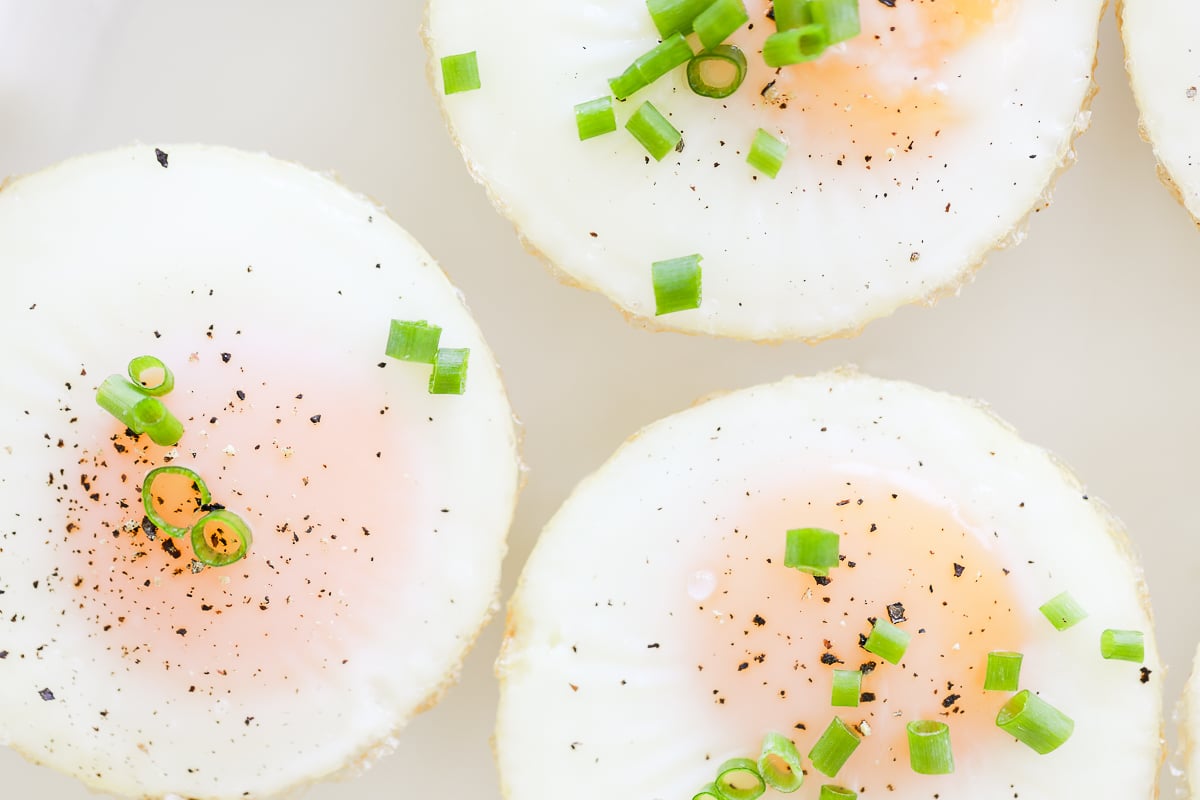
How to Make
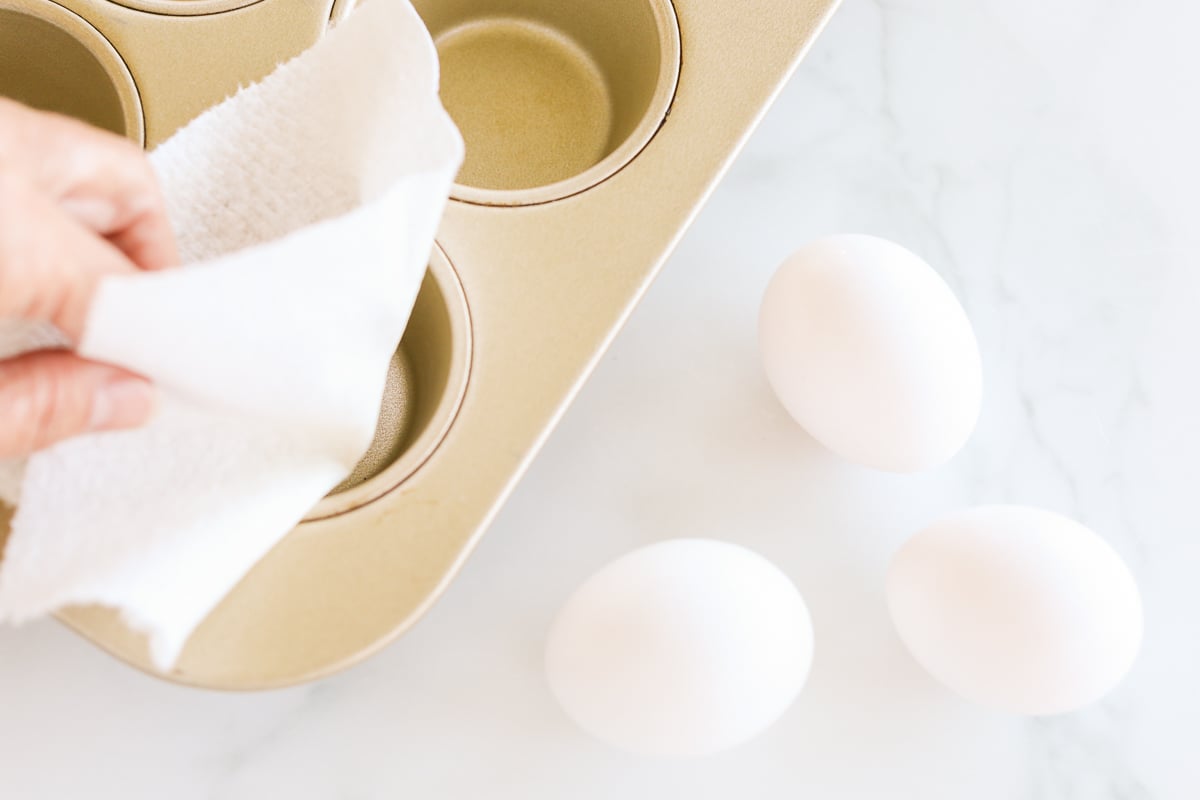
- Preheat oven as directed. Grease muffin pan liberally.
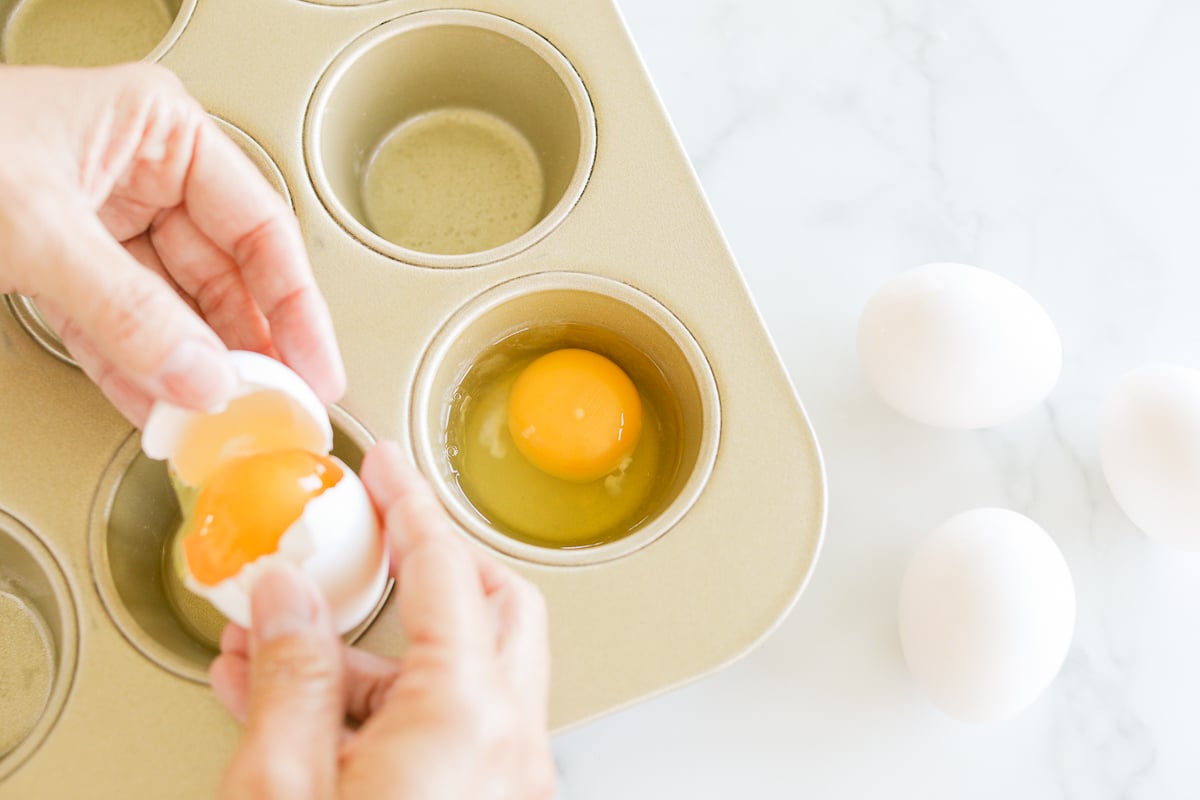
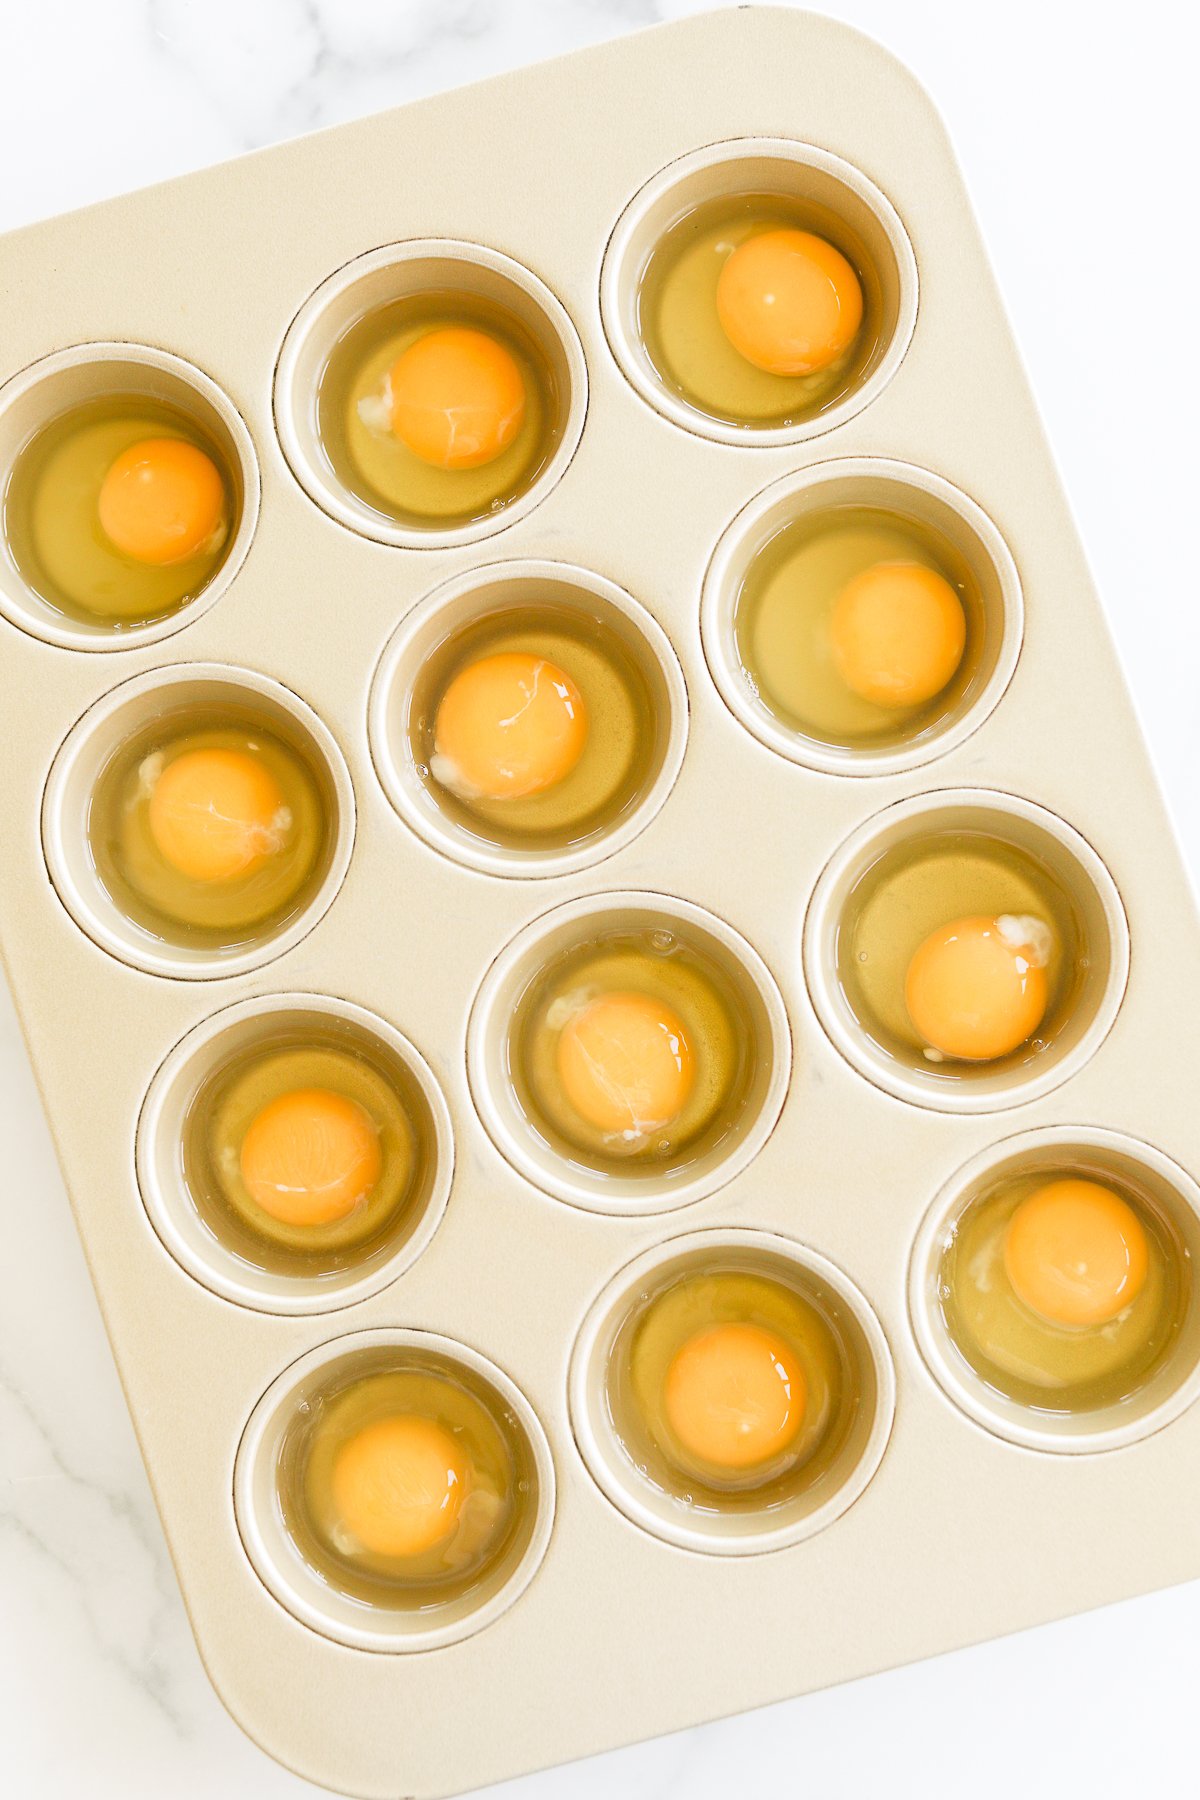
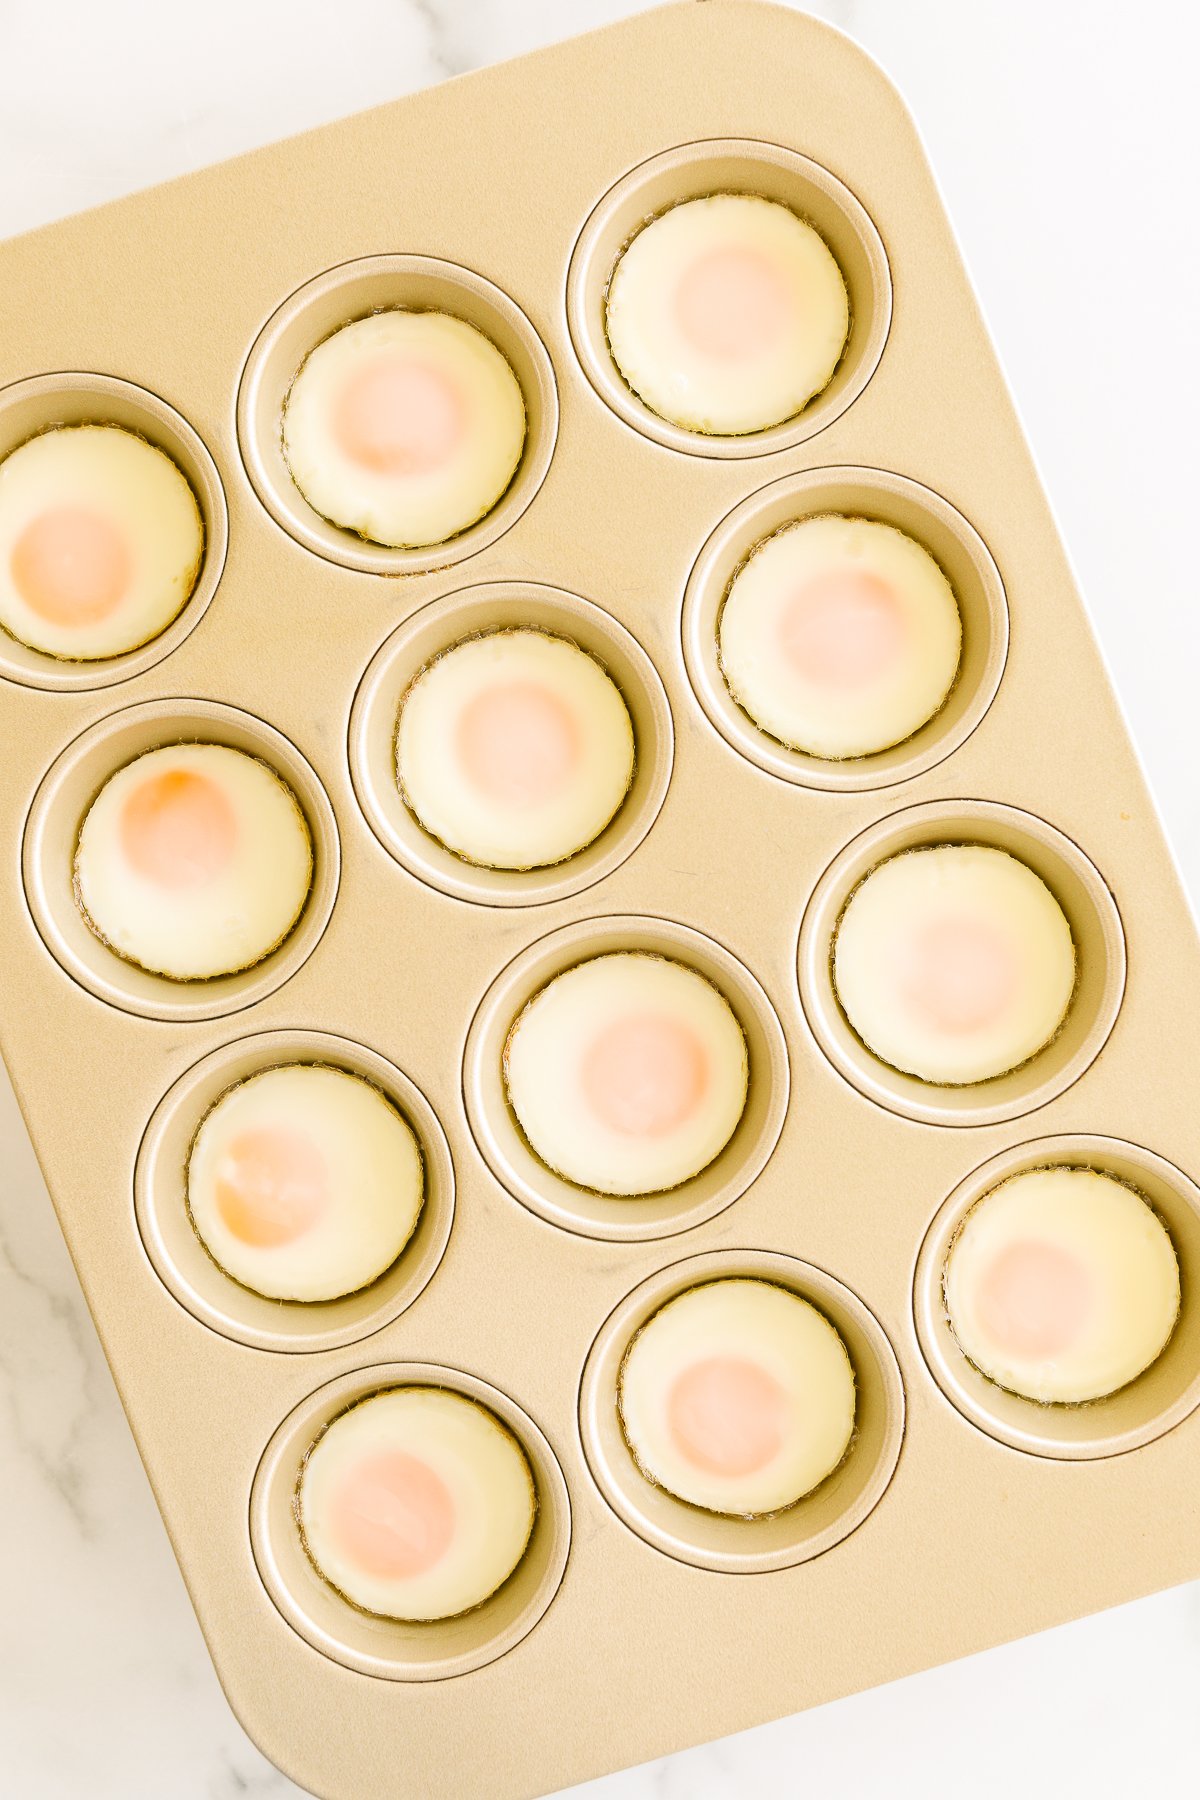
- Crack an egg into each muffin pan cavity.
- Bake as directed on the middle rack of your oven. See notes in the printable recipe card for timing to achieve over easy, over medium, and hard.
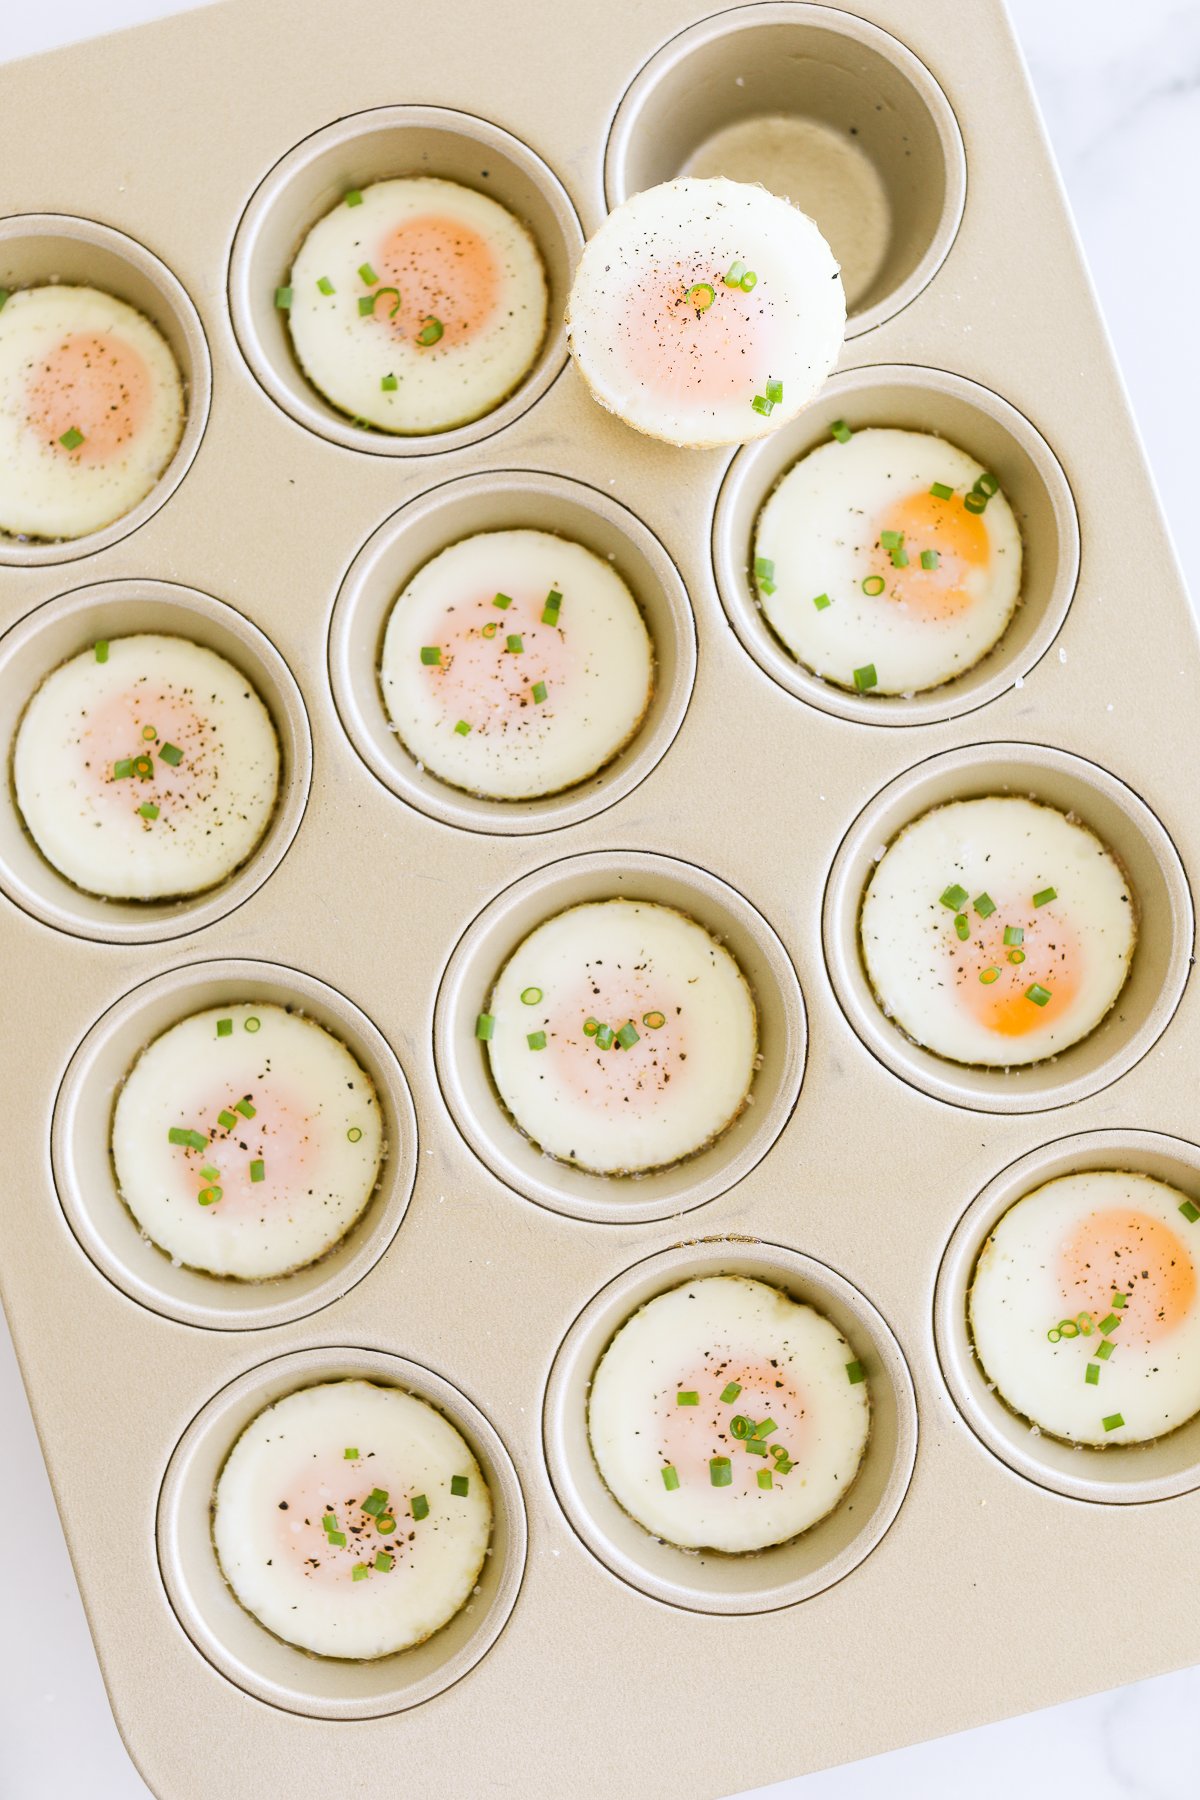

Tips
Spray your muffin pan liberally, and use a paper towel to wipe the oil around and ensure it’s covered. You don’t wan the eggs to stick to the pan!
Add salt and pepper to each cavity before baking, or season after they are baked through. This can be helpful when catering to different family member’s dietary needs.
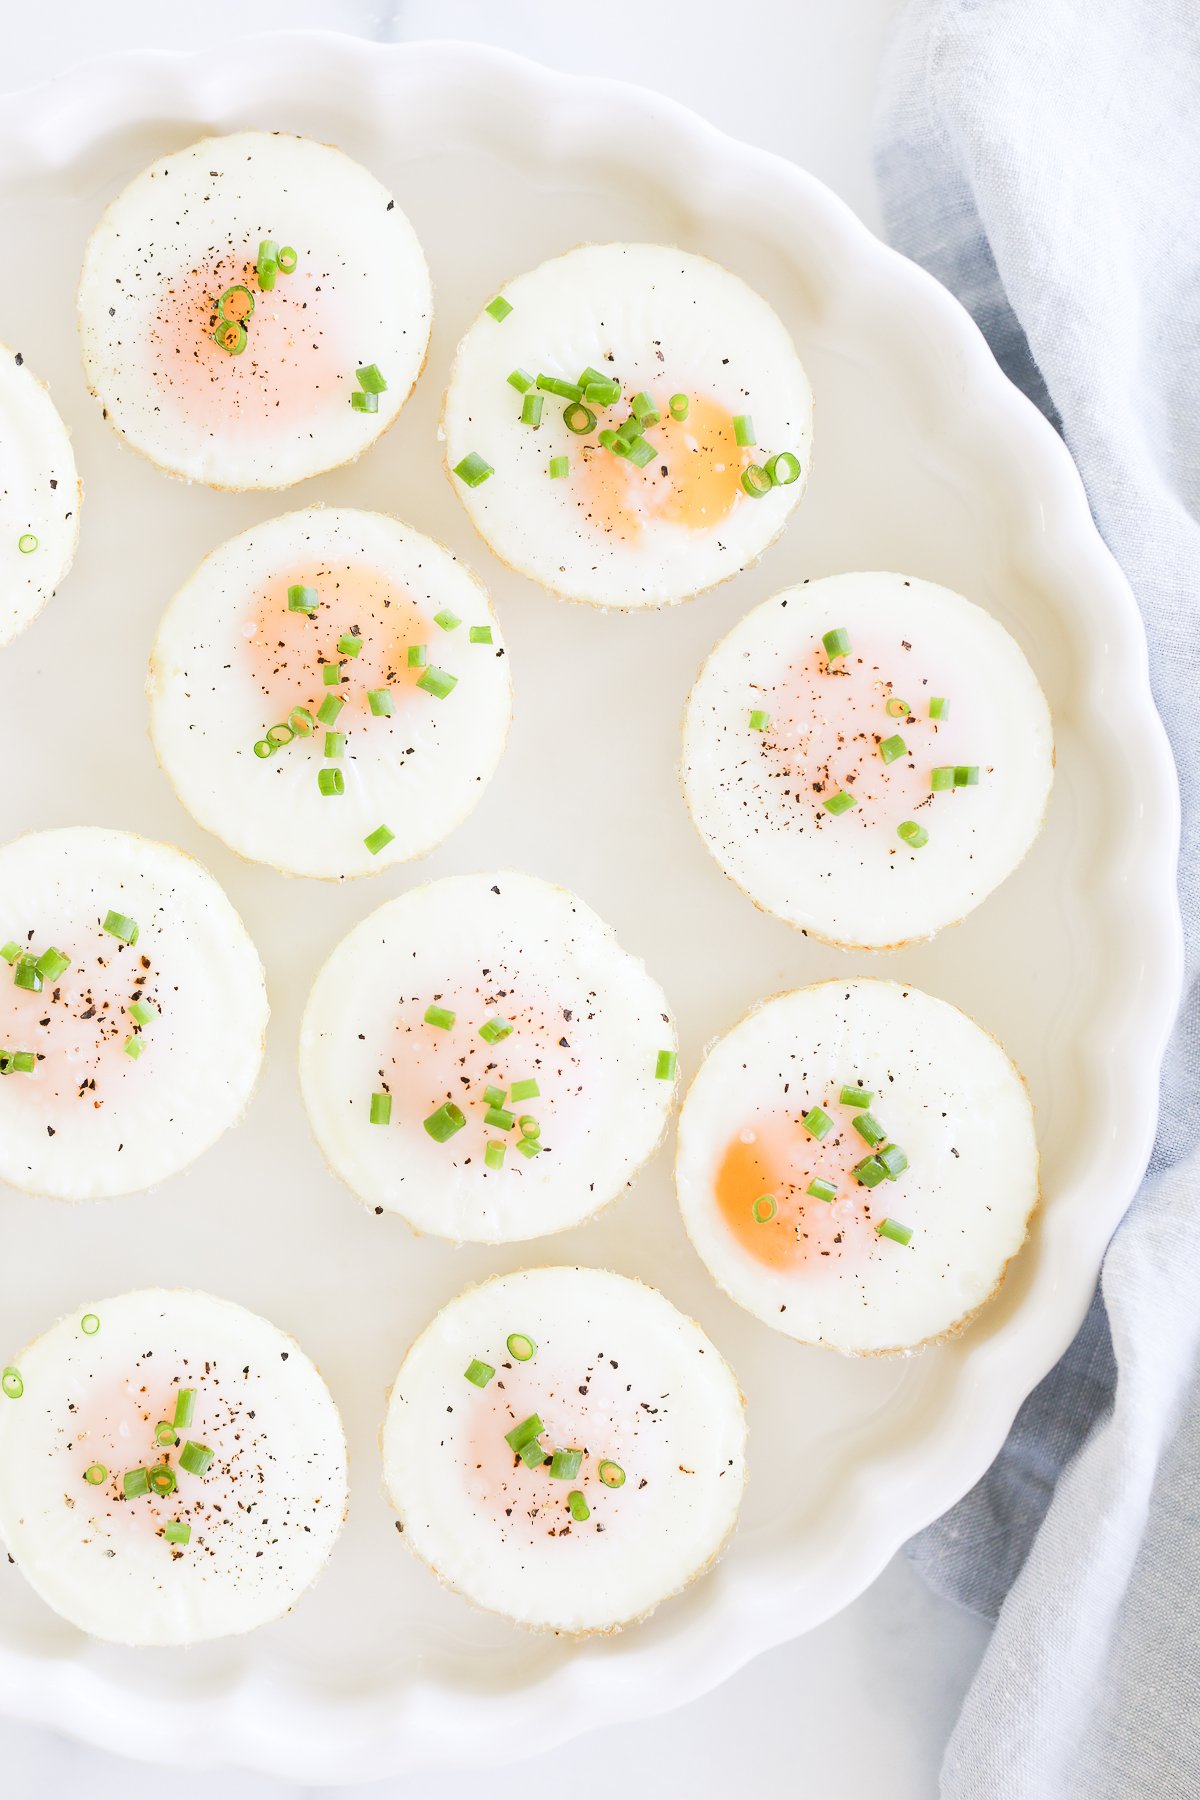
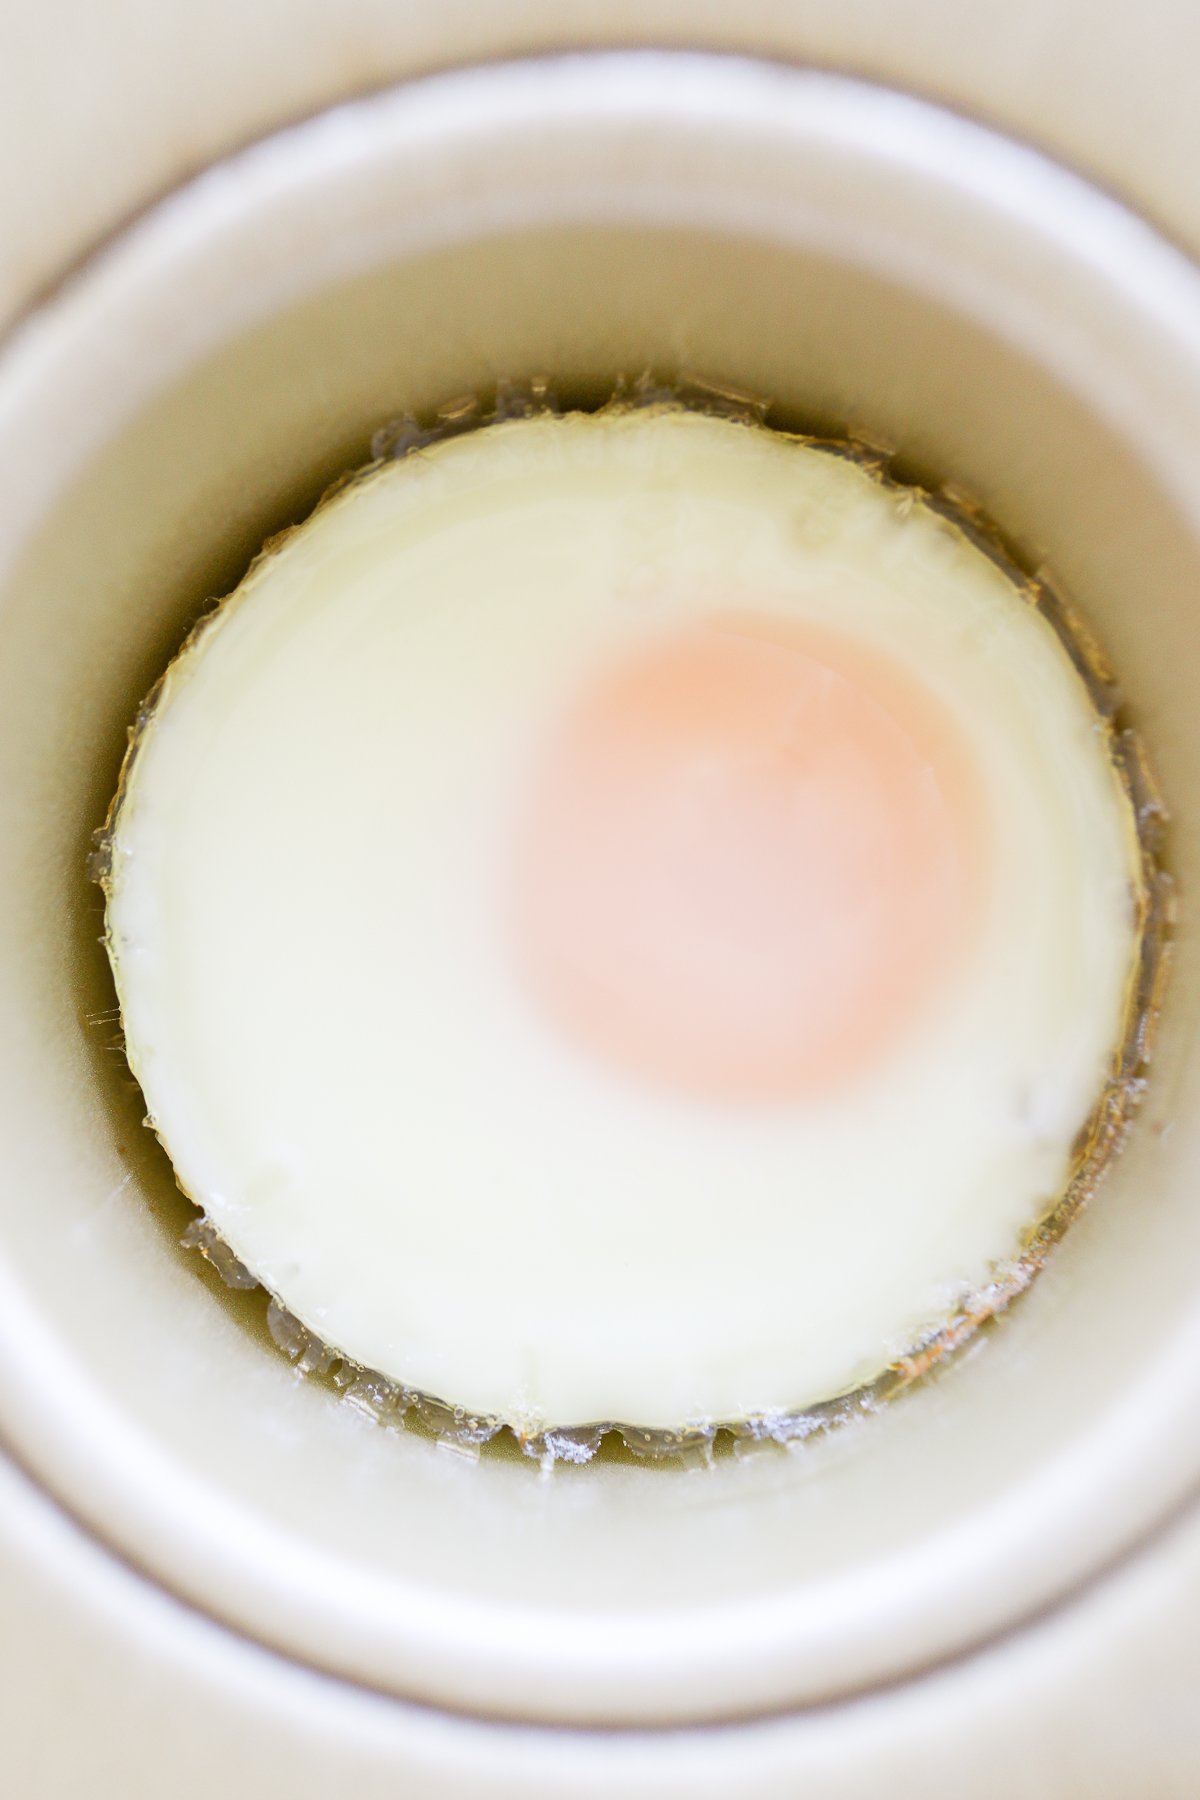
Bake for approximately 10 minutes (or until the egg whites are just set). That’s the magic number for a runny yolk! Watch closely so they aren’t overcooked, and keep in mind that egg whites will continue to set when you take them out of the oven.
If you like the yolks to be on firmly cooked, leave the eggs in the oven for a couple more minutes as indicated in the printable recipe card.
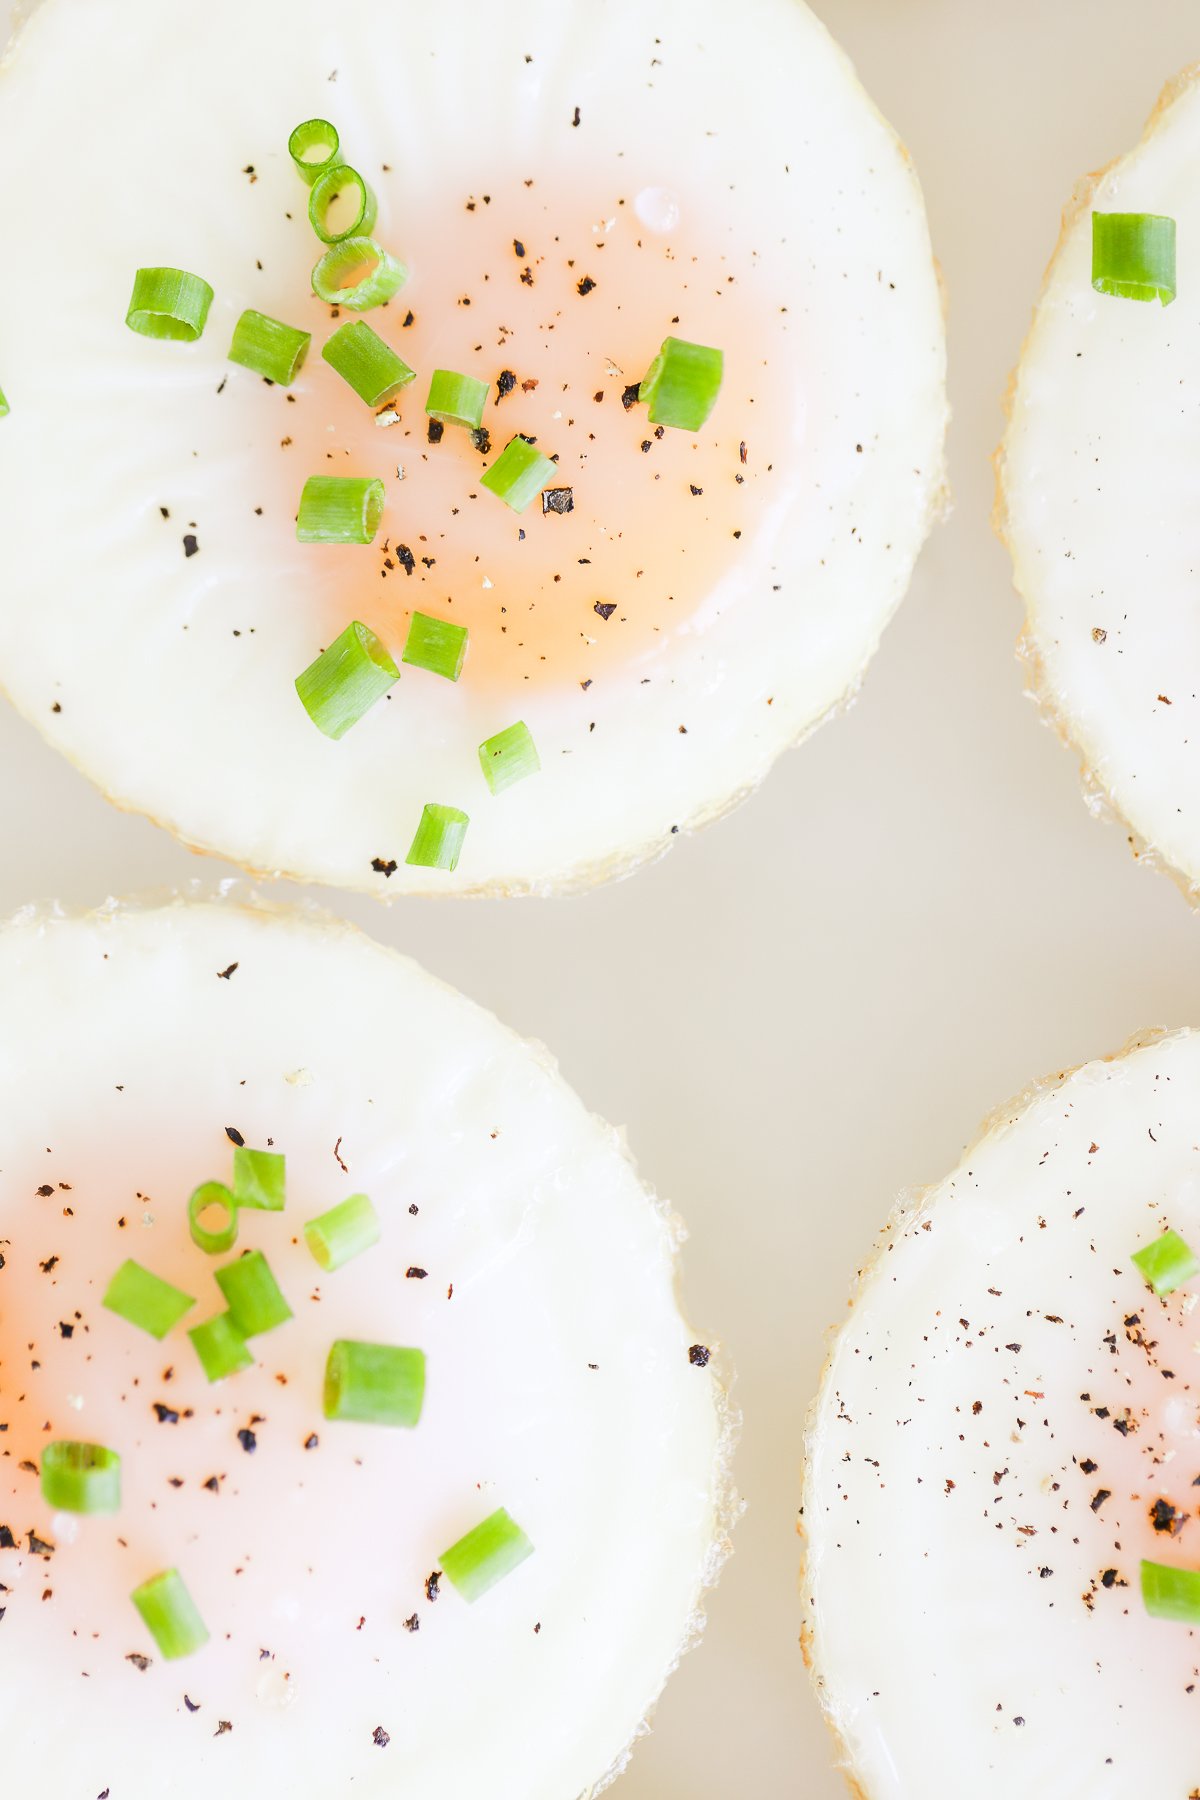
Serving Suggestions
- Serve with avocado toast, topped with our Everything but the Bagel seasoning.
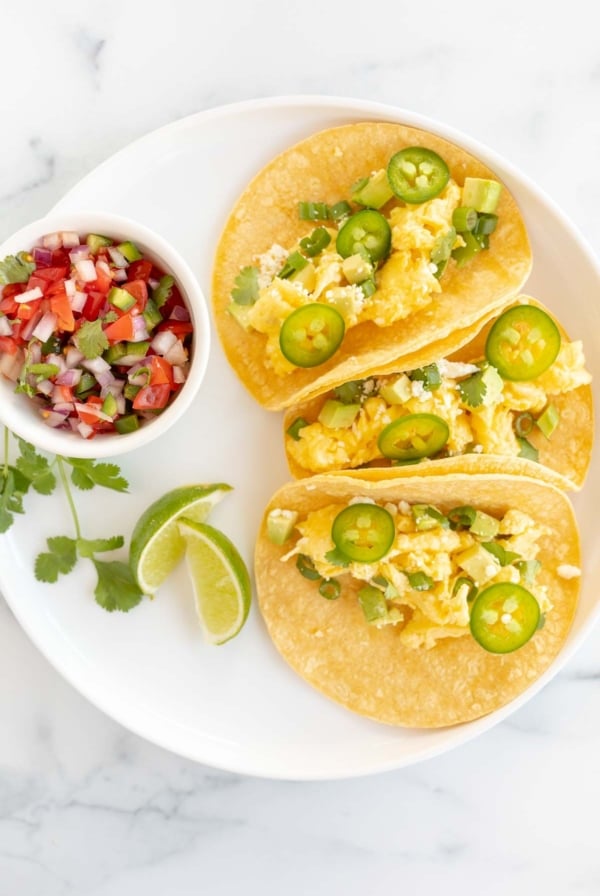
- Serve with our egg tacos or as the protein in our waffle tacos!
- Make-ahead breakfast sandwiches.
- Serve as part of a brunch for a baby shower recipe.
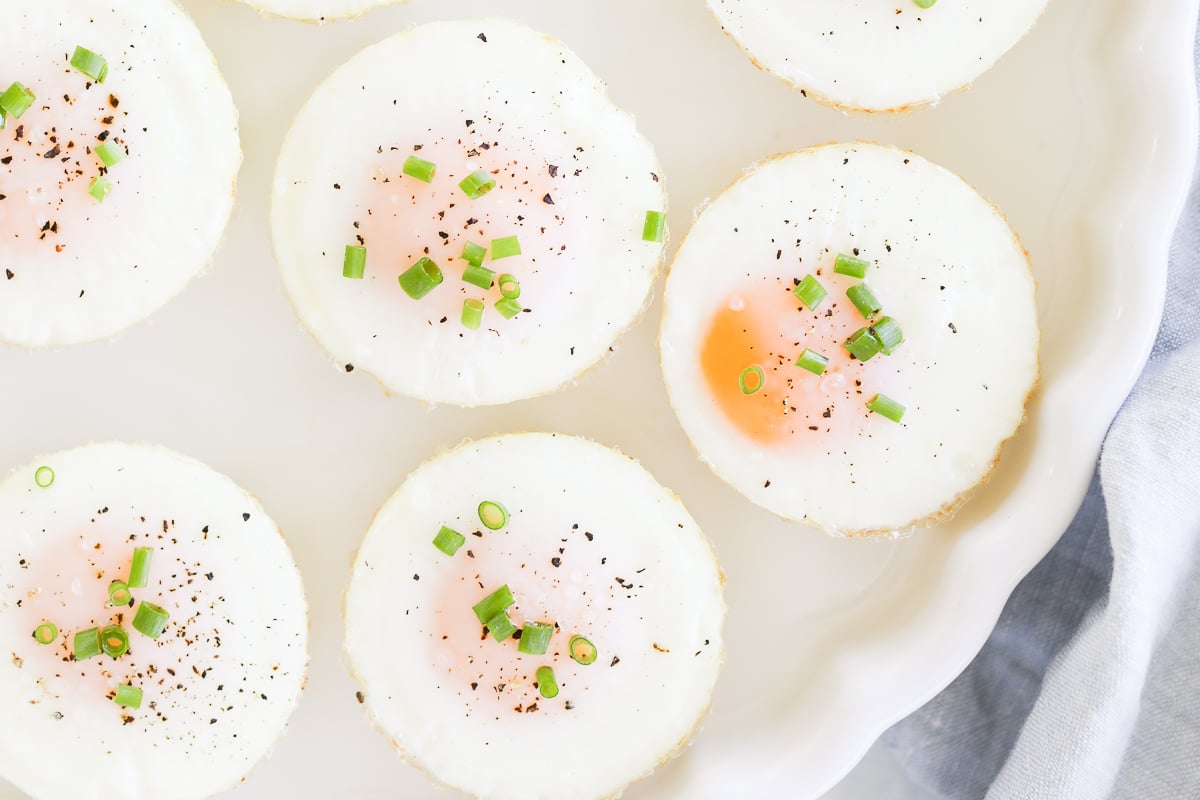
More Breakfast Inspiration
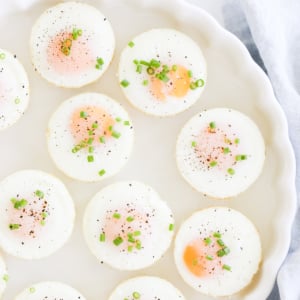
Muffin Pan Eggs
Ingredients
- 12 large eggs
Instructions
- Preheat oven to 375℉. Grease ramekins or muffin tins.
- Crack an egg into each well of a muffin tin. If you're using ramekins, place 2 into each ramekin and then place them on a sheet pan to bake.
- Bake 10-15 minutes (see details in notes below). Gently use a knife around the rim to remove.
Julie’s Tips
- 10 minutes: runny yolk
- 12 minutes: over-medium
- 14 minutes: fully cooked yolk
Storage Notes
Pack in a container with a fitted lid, and you can keep leftover baked eggs in the fridge to use within 3-4 days. You can also store your muffin tin baked eggs for up to three months, making them perfect for meal prepping and planning.How to Defrost from Frozen
Thawing in the Refrigerator
Place the frozen baked eggs in the refrigerator (either defrost them all at once, or freeze them in a container that allows you to defrost 1 or 2 at a time). Allow the eggs to thaw overnight in an airtight container for 8-12 hours. This method ensures even thawing and maintains the quality and safety of the eggs.Thawing in the Microwave
- Remove from Pan: Take the frozen eggs out of the freezer container or bag.
- Microwave-Safe Plate: Place the frozen eggs on a microwave-safe plate.
- Defrost Setting: Use the defrost temperature setting on your microwave. Start with 1-2 minutes, checking and flipping the eggs halfway through. Continue defrosting in short intervals until fully thawed.
Reheating After Thawing
- Oven: Preheat your oven to 350°F (175°C). Place the thawed baked eggs on a baking sheet and heat for about 10-15 minutes, or until warmed through.
- Microwave: Place the thawed eggs on a microwave-safe plate and heat on high for 30-60 seconds or until warmed through.
Estimated nutrition information is provided as a courtesy and is not guaranteed.






Looks great a way to store eggs if you have a lot.
This looks wonderful for me. My only comment would be, how do you reheat or warm up to eat after refrigerated or frozen?
How do you thaw after freezing baked eggs?
Hi Carla,
That’s a great question! We added notes about defrosting them and warming them up- you can find the details in the printable recipe card.
I hope that helps- enjoy!
Julie