Color salt dough ornaments are a whimsical way to decorate for Christmas! It’s a fun activity for adults and children alike, requiring just three ingredients.
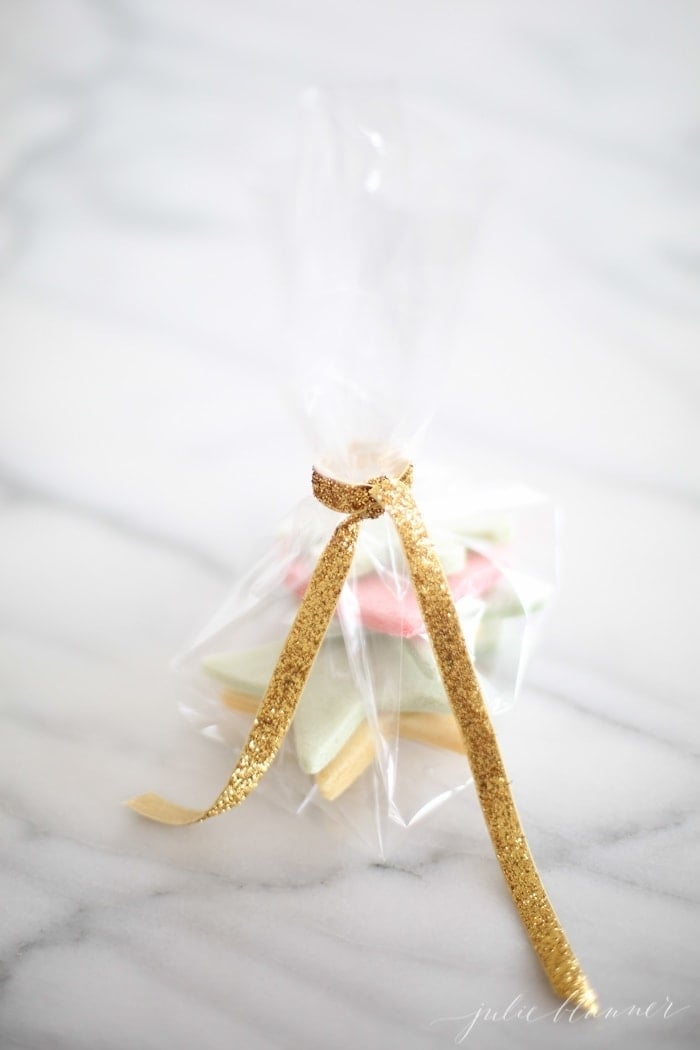
This easy salt dough recipe makes ornaments that can be used to adorn a Christmas tree or even as handmade gift tags.

One of our favorite projects each year is to make salt dough ornaments. It’s a fun family activity with results that last for decades.
I have such fond memories of making salt dough as a child and love passing that onto our children. It’s an easy way to make an abundance of shatterproof ornaments while spending precious time together.
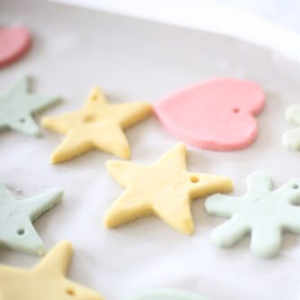
Salt dough is a beautiful way to decorate their trees, without a lot of effort or expense. We mixed a soft pink, light blue, mint green and yellow and pressed away with cookie cutters.
I have developed the perfect Salt Dough Recipe! It’s quick, easy, foolproof and versatile! Best of all, you have everything you need to make them in your pantry!

Why You’ll Love this Color Salt Dough Recipe
- Easy to make
- Uses pantry ingredients
- The ornaments last for years
- You can use this Salt Dough Recipe to make salt dough handprint ornaments, gift tags, foot prints and so much more!
- It’s customizable using color, glitter, Mod Podge (to add photos) and can be colored or painted on!
- You can use cookie cutters, stamps and so much more to truly make it your own!
Shopping List
- 4 cups all-purpose flour
- 2 cups salt
- 2 cups water
- Food Coloring until desired color achieved
Ingredients
- Flour – All purpose flour is the foundation for salt dough. No need to sift, this is a no fuss salt dough recipe! Bleached flour is preferable for a consistent color, but unbleached flour works as well.
- Salt – Any salt will do, but table salt, also known as iodized salt is preferable. It’s fine and blends into the dough easily.
- Water – Warm water helps the dough come together and dissolves the salt creating great texture.
- Food Coloring – You can use gel or liquid food coloring, whatever you have on hand in your pantry!

Tools
- Mixing Bowl
- Large Spoon
- Rolling Pin (I like using a Precision Pin)
- Cookie Cutters
- Straw or Toothpick
- Cookie Sheets
- Parchment Paper (not required, but easy cleanup)
Optional Tools (For Extra Fun!)
- Stamps
- Paint
- Glitter
- Glue
- Modge Podge – to glue on photos and pictures
- Polyurethane Spray – extra preservative
- Ribbon or Baker’s Twine – to hang ornaments
How to Make Color Salt Dough
- Combine ingredients.
- Add Color (optional).
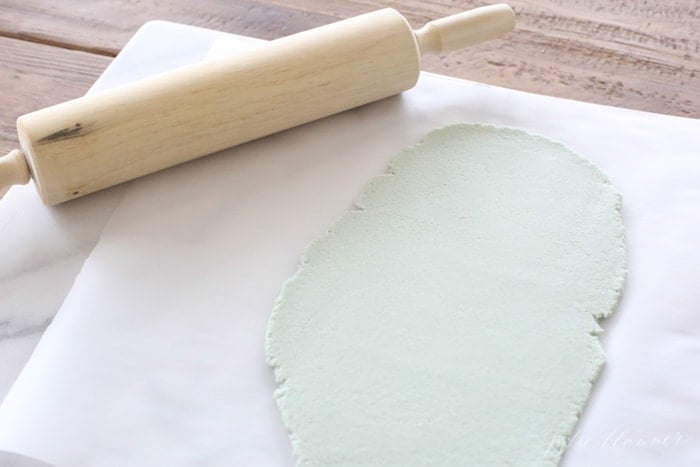
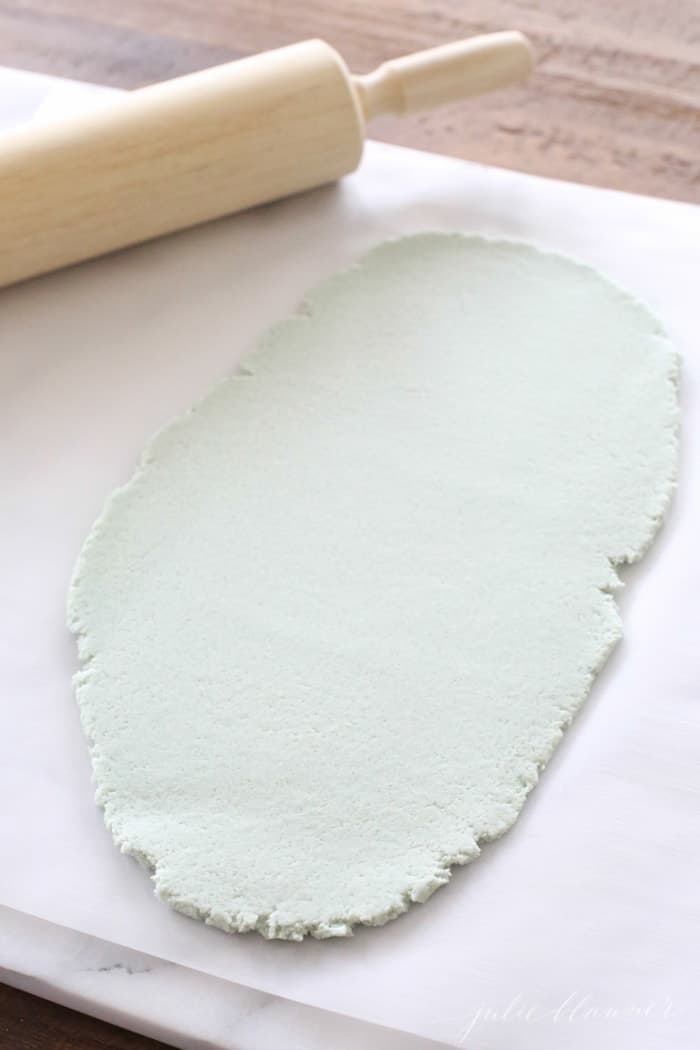
- Roll out dough on parchment for easy cleanup.

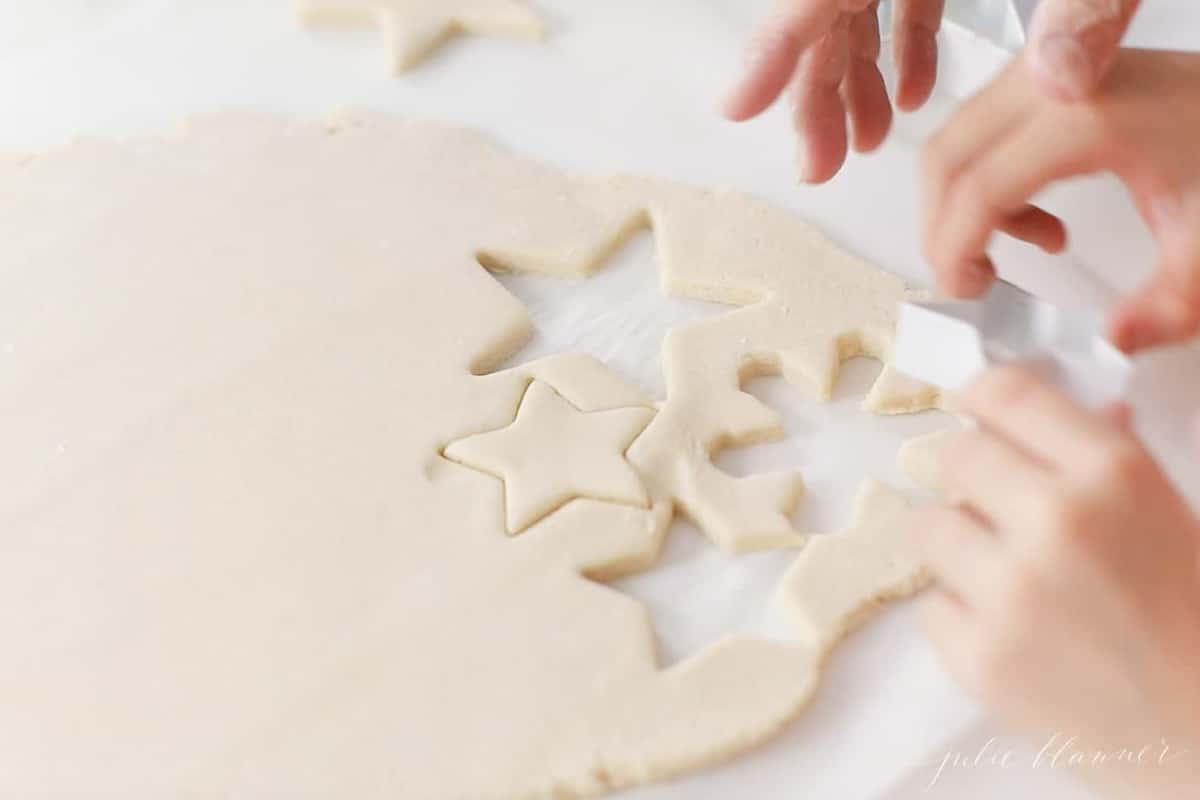
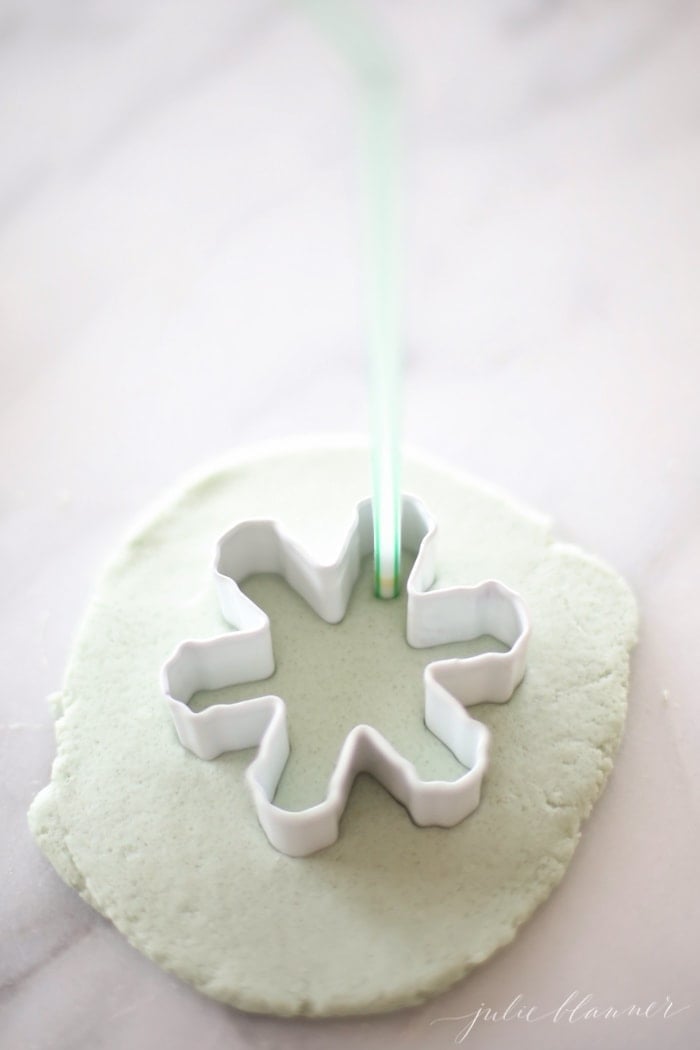
- Cut into shapes using cookie cutters.
- Add a hole using a straw to make ornaments.

- Bake or dry!

How to Color Salt Dough
- Mint Green – 2 drops liquid green food coloring
- Pink – 2 drops liquid red food coloring
- Yellow – 4 drops liquid yellow food coloring
- Soft Blue – 1 1/2 drops…place 2 drops in 1/3 c water, adding just 1/4 c to the dough

Tips
- Dough feels too sticky? Add a bit more water.
- Baking time depends on the size and thickness of your ornaments, leave them in a little longer if necessary.
- Use your favorite cookie cutters or fingerprints. You can tie it off with one of my printable gift tags to gift or use the ornaments you make as gift tags themselves!
- These make a wonderful Advent gift – check out our charming Wooden Advent Calendars.
Ideas to Use Salt Dough Recipe
- Christmas Ornaments
- Handprint Ornaments
- Gift Tags
- Magnets
- Alphabet Magnets
- Jewelry – make beads or charms for necklaces or bracelets
- Bowls
- Leaf Impressions
- Paper Weight
- Play Food – make breads, rolls, paint apples, etc to make play for a kid’s kitchen
- Figurines like Salt Dough Snowmen
FAQS
Yes! However, they might take up to seven days to dry completely.
Place them on a plate and put them in the microwave! Do 15 second increments until they have hardened. This can be especially helpful if you’re sending them home with kids after a party, for example!

Colored Salt Dough Ornaments
Ingredients
- 4 cups all-purpose flour
- 2 cups salt
- 2 cups water
- Food Coloring until desired color achieved
Instructions
- Preheat oven to 200°F.
- In a large mixing bowl or stand mixer, whisk to combine flour and salt. Over medium low speed, gradually add water, reserving a few tablespoons. Mix until well combined and just moist. Add remaining water 1 tablespoon at a time, as needed.
- Add Color (optional).
- Using your hands on a lightly floured surface or mixer fitted with the dough hook attachment, knead until smooth. (The longer you knead, the smoother your dough and ornaments will be).
- Secure a sheet of parchment paper to working surface and roll dough ¼" thick for ornaments. (You can also roll on a surface lightly dusted with flour).
- Cut into shapes using cookie cutters.
- Add a hole using a straw to make ornaments.
- Transfer parchment to cookie sheet and bake in a preheated oven 20 minutes. Using a cookie spatula, gently flip ornaments and bake 10 more minutes or until dry. Allow to cool.
Julie’s Tips
How to Color Salt Dough
- Mint Green – 2 drops liquid green food coloring
- Pink – 2 drops liquid red food coloring
- Yellow – 4 drops liquid yellow food coloring
- Soft Blue – 1 1/2 drops…place 2 drops in 1/3 c water, adding just 1/4 c to the dough
More Tips
- Dough feels too sticky? Add a bit more water.
- Baking time depends on the size and thickness of your ornaments, leave them in a little longer if necessary. For smaller, more delicate ornaments, reduce baking time. For large ornaments, increase baking time.
- Alternatively, leave them out for several days on a cooling rack or baking sheet to dry.
- Salt dough can be made in advance and refrigerated covered in an airtight container or ziplock bag up to a week.


I’m planning on using this recipe to do my sons handprint ornaments for the grandparents tomorrow. Do you still recommend I flip them half way through the cooking process? I don’t want the handprint shape to distort. Also I noticed a lot of recipes recommend sealing them and you did not suggest that. I will be writing his name and the year on them with a permanent marker so I don’t know if any of that makes a difference. Any suggestions?
I’ve never sealed mine and have some from years ago. Enjoy!
Other recipes I have read indicate it should bake for at least 4 hours. I find it interesting that this recipe calls for 35 minutes. I will give it a try and see how it works.
I do the same for my regular salt dough ornaments as well.
Is that 200 Fahrenheit or 200 Celsius?
Fahrenheit – enjoy!
These were so easy and such a fun family project. Thank you!
I made these years ago with my grandchildren. They’re grown now!! Thanks for the memories!!
I bet you have a lot of fond memories! Hope you enjoy a beautiful holiday season!