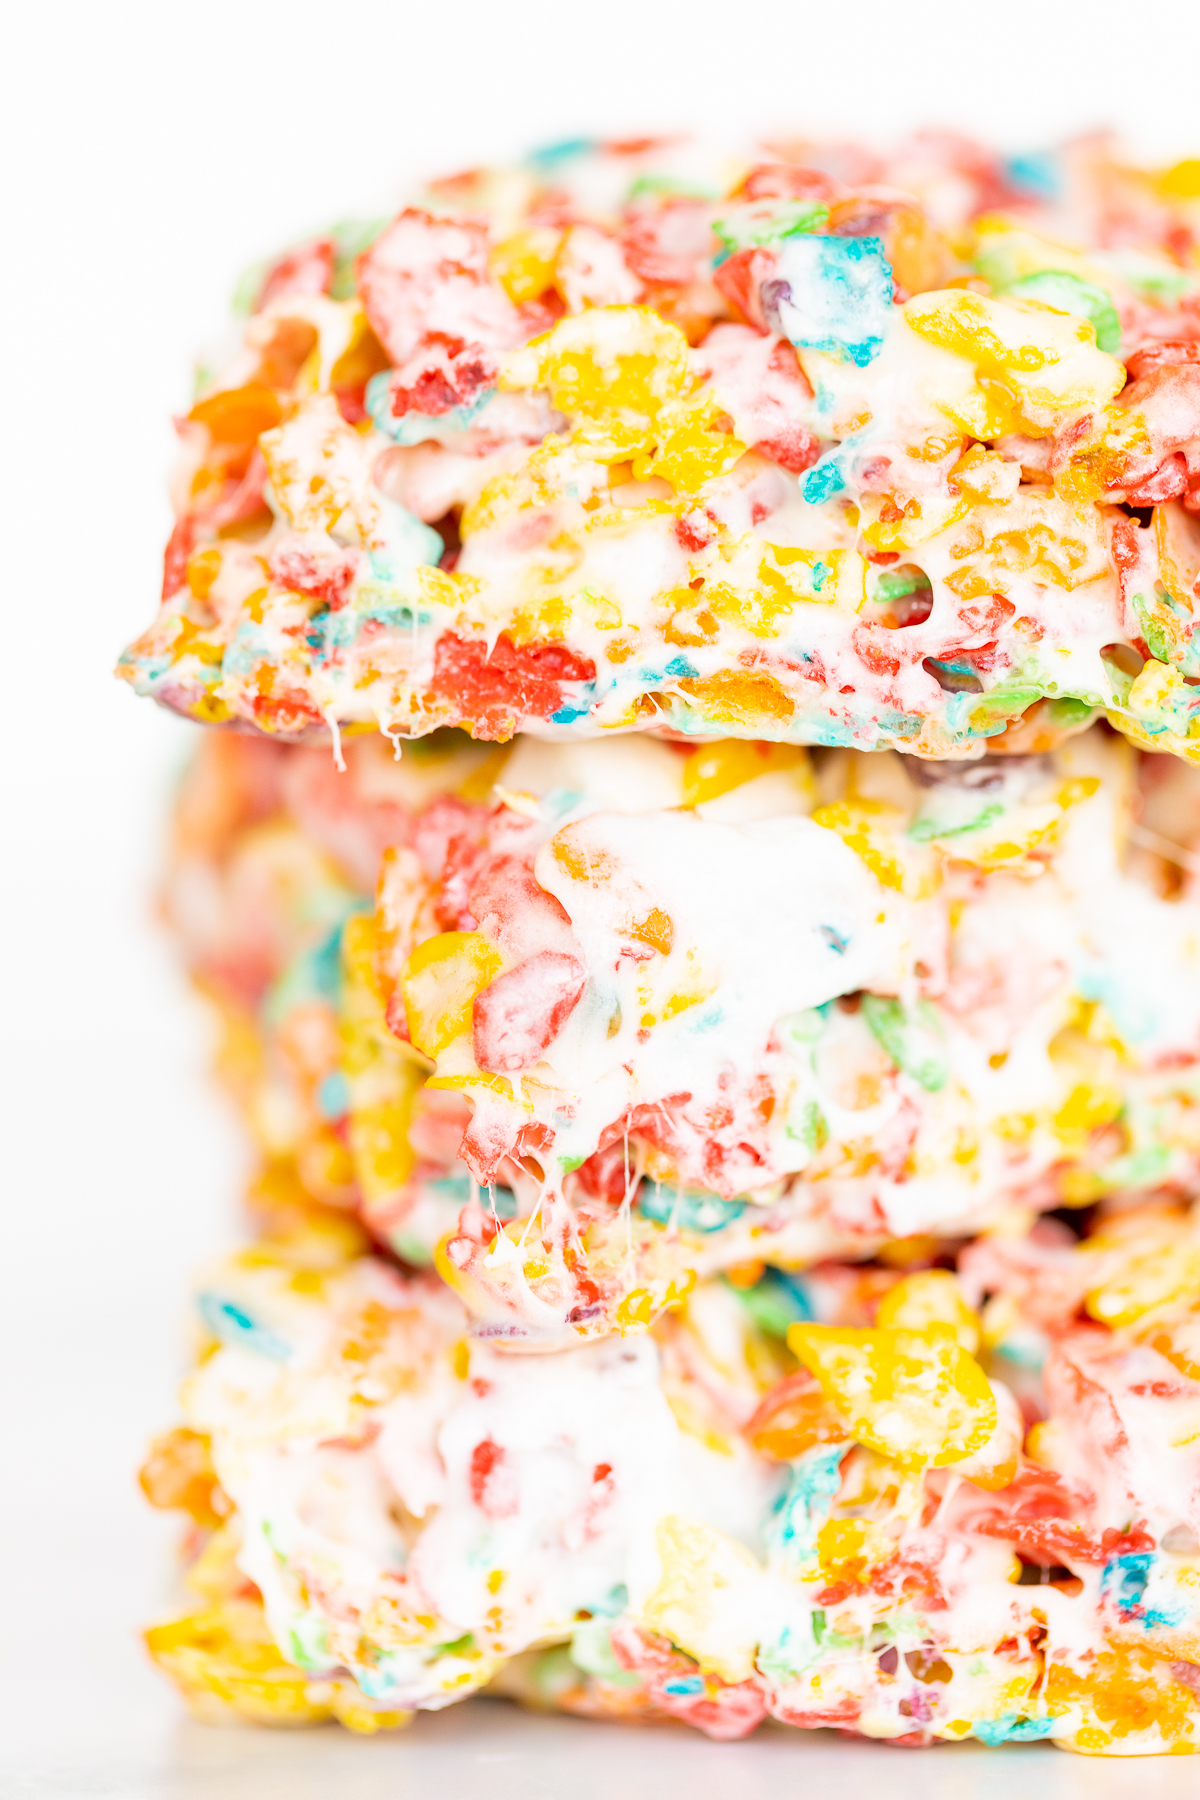
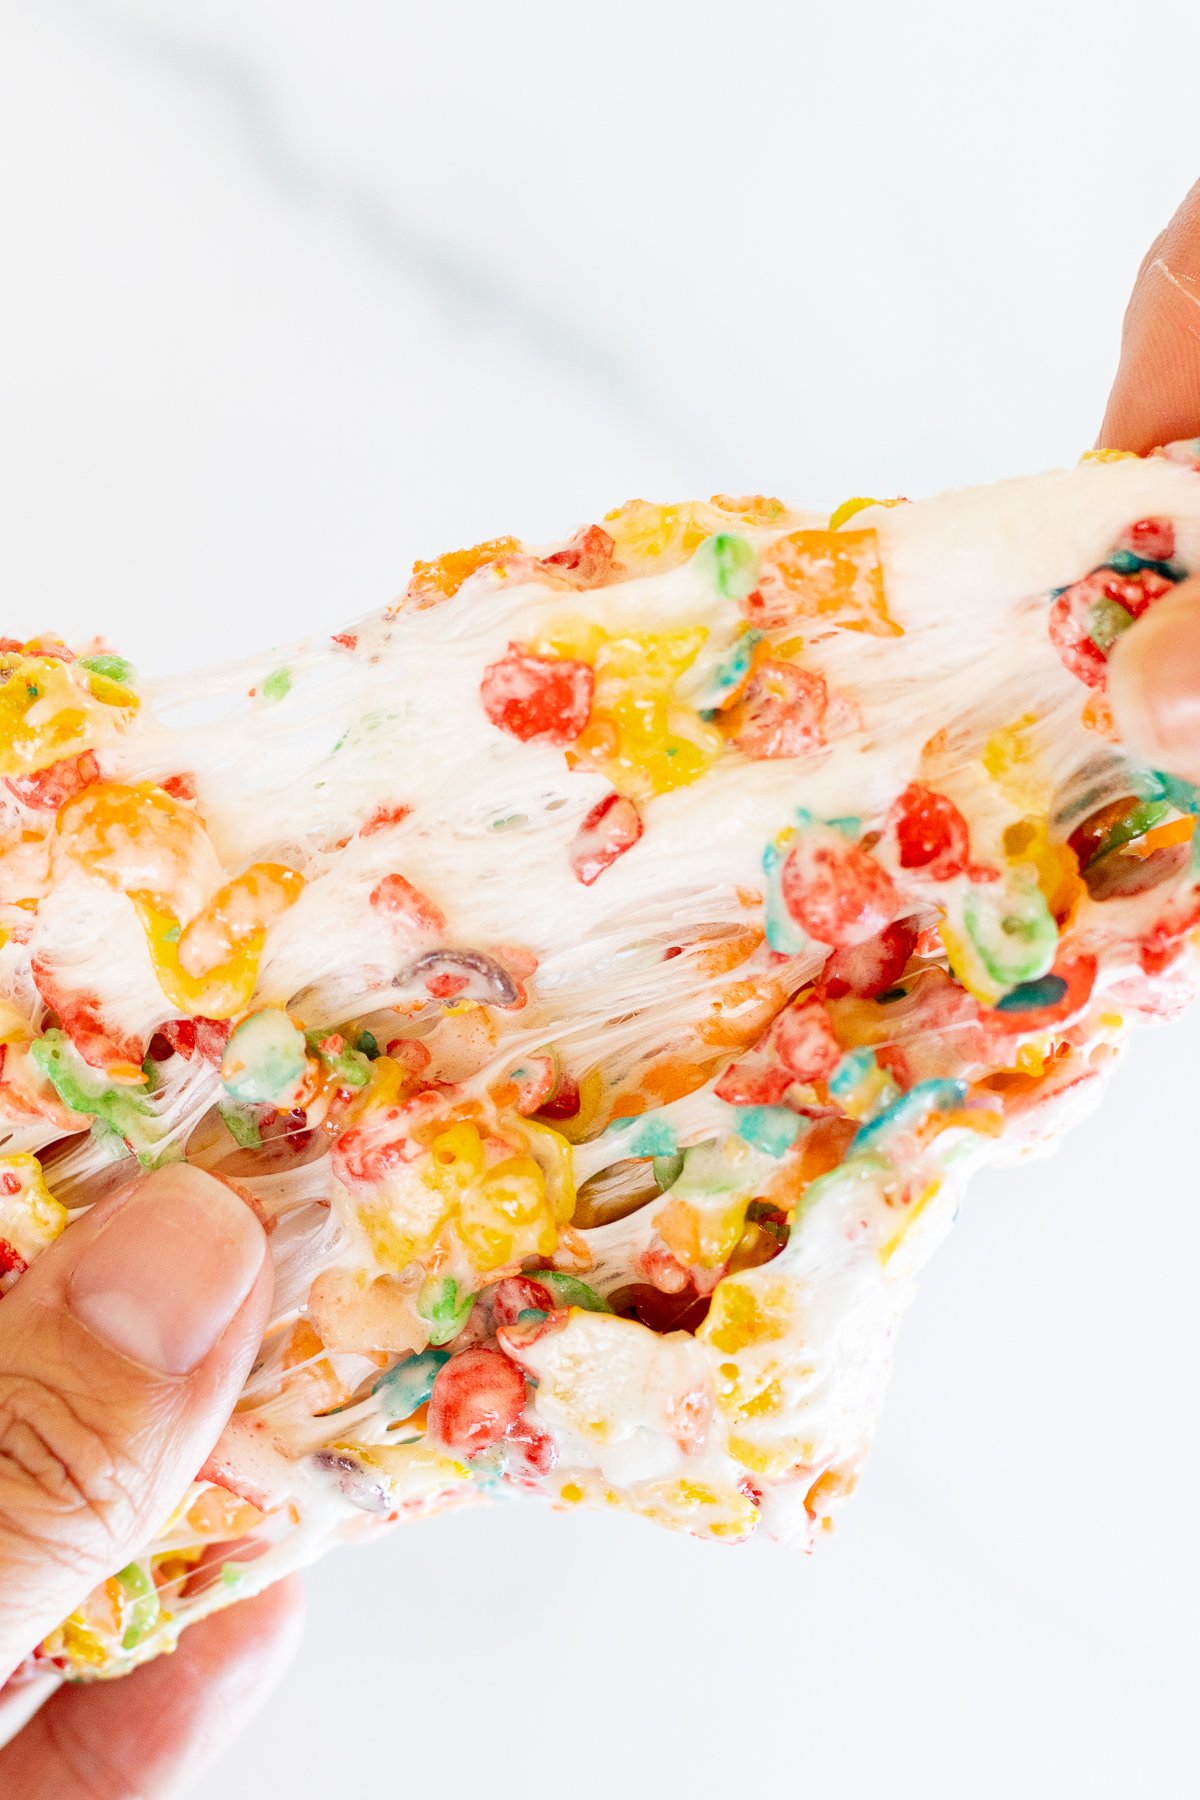
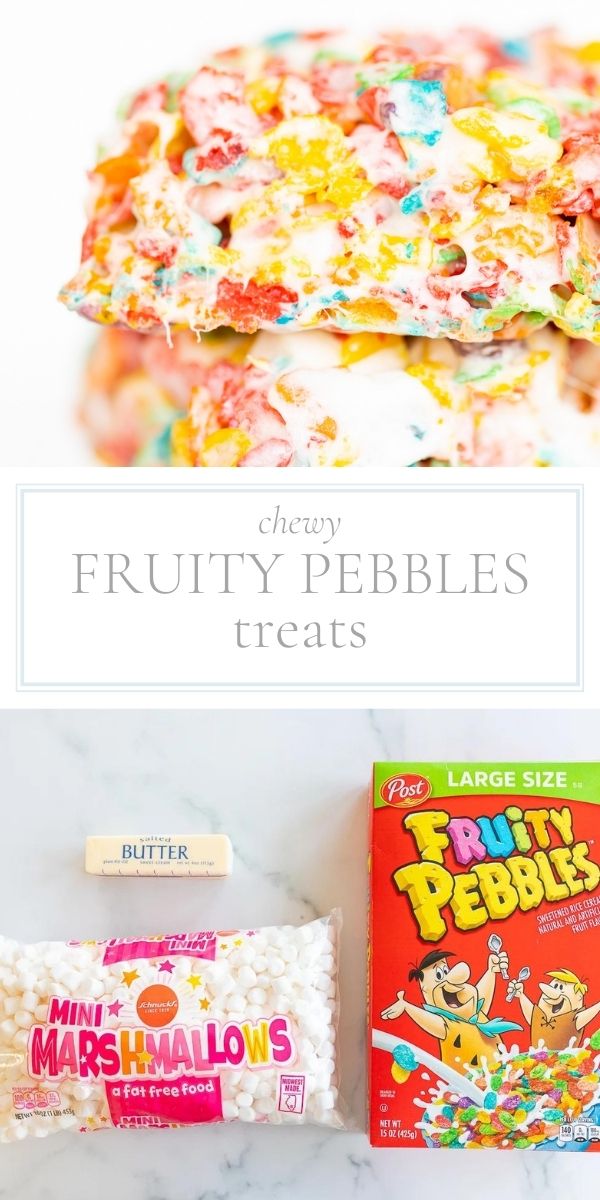
These Fruity Pebble Treats are crispy and colorful, making them perfect for a celebration! You’ll love the fruity flavor, and you’ll especially love the extra marshmallows, which make these cereal treats delightfully chewy.
Best of all, you only need three ingredients to make them!
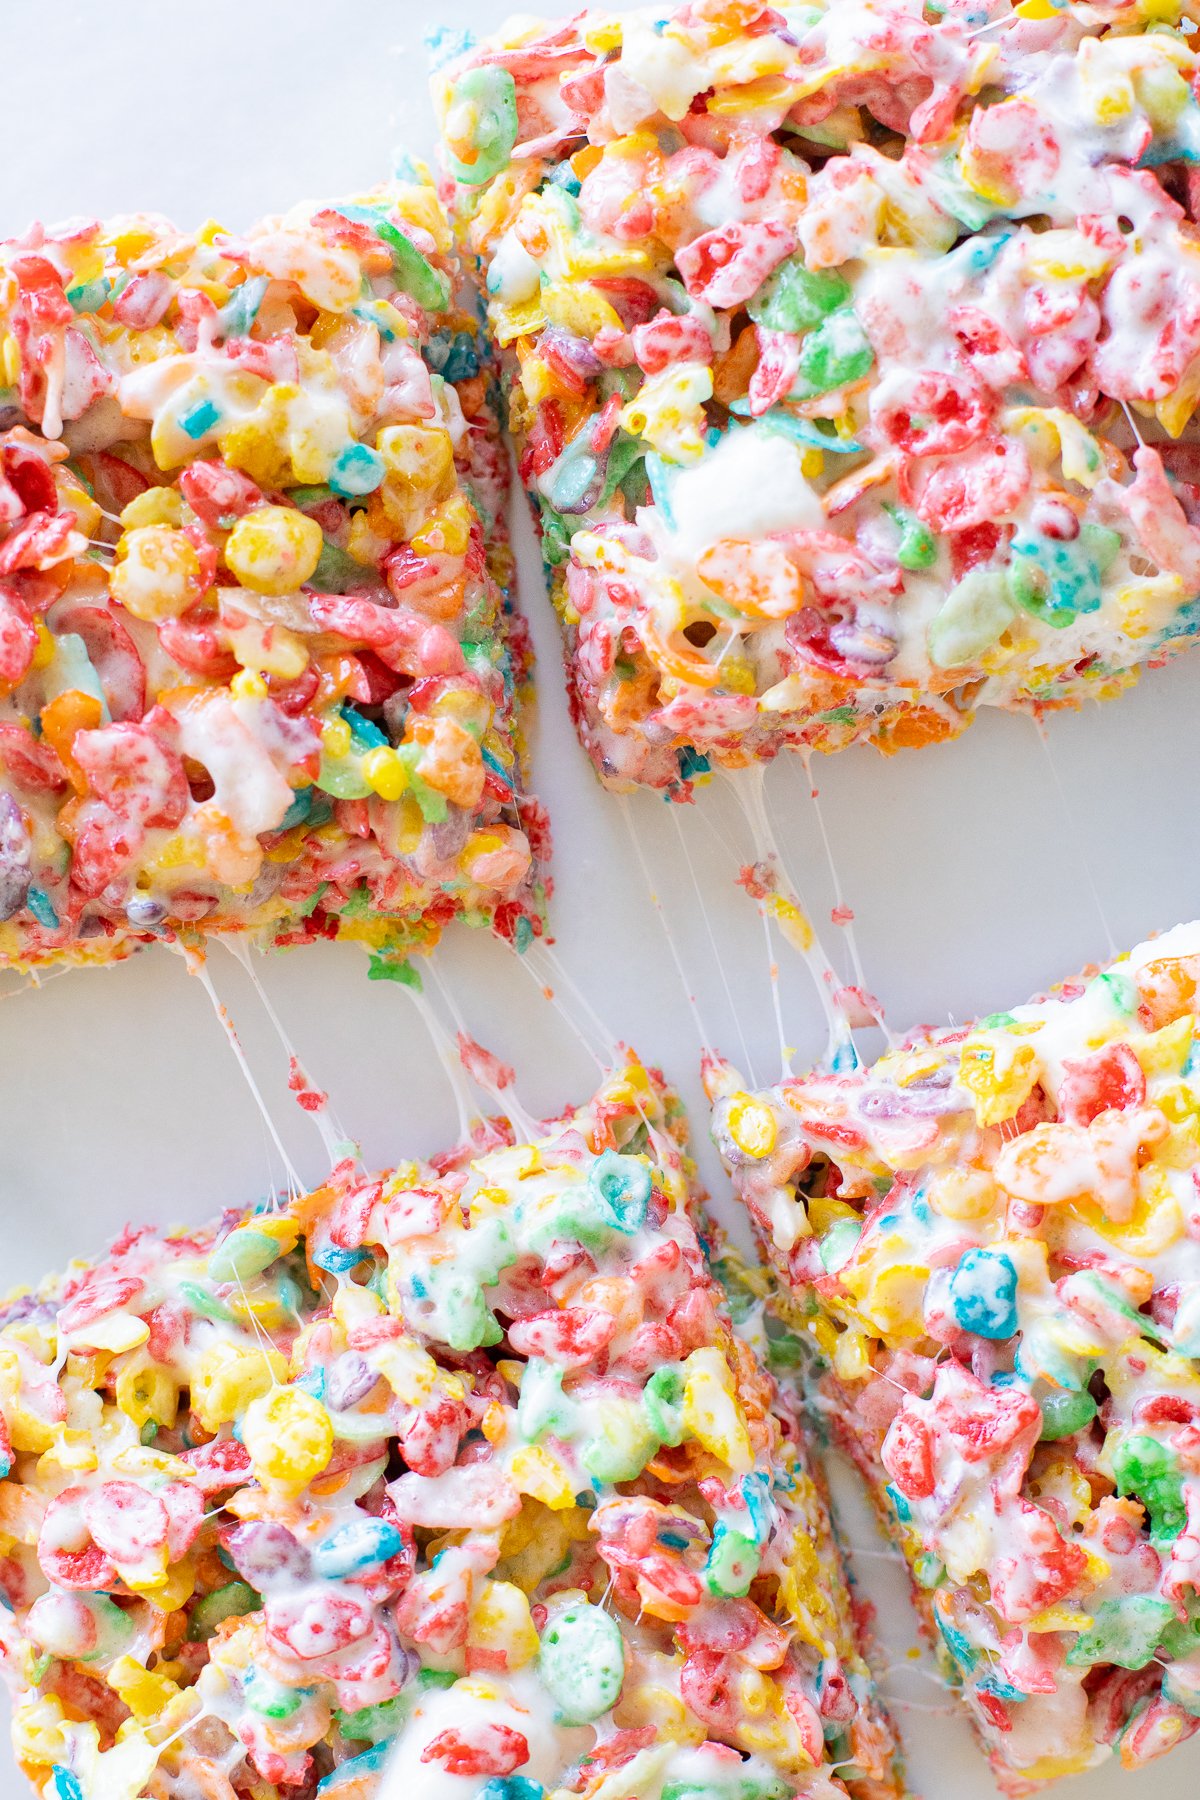
No matter how old you are, Rice Krispie treats are impossible to resist. You can dress them up with browned butter or maybe some flaky sea salt on top, but it’s that crispy cereal base and chewy, buttery marshmallow mixture that holds it all together that keeps us coming back for more.
But that doesn’t mean you can’t branch out beyond Rice Krispies, though, and give your cereal treats a different spin. These Fruity Pebble Treats are the perfect example.
Fruity Pebble Treats
They’ve got the crispy, chewy texture we all love, but they’re much more colorful and they’ve got that Fruity Pebble flavor in every bite.
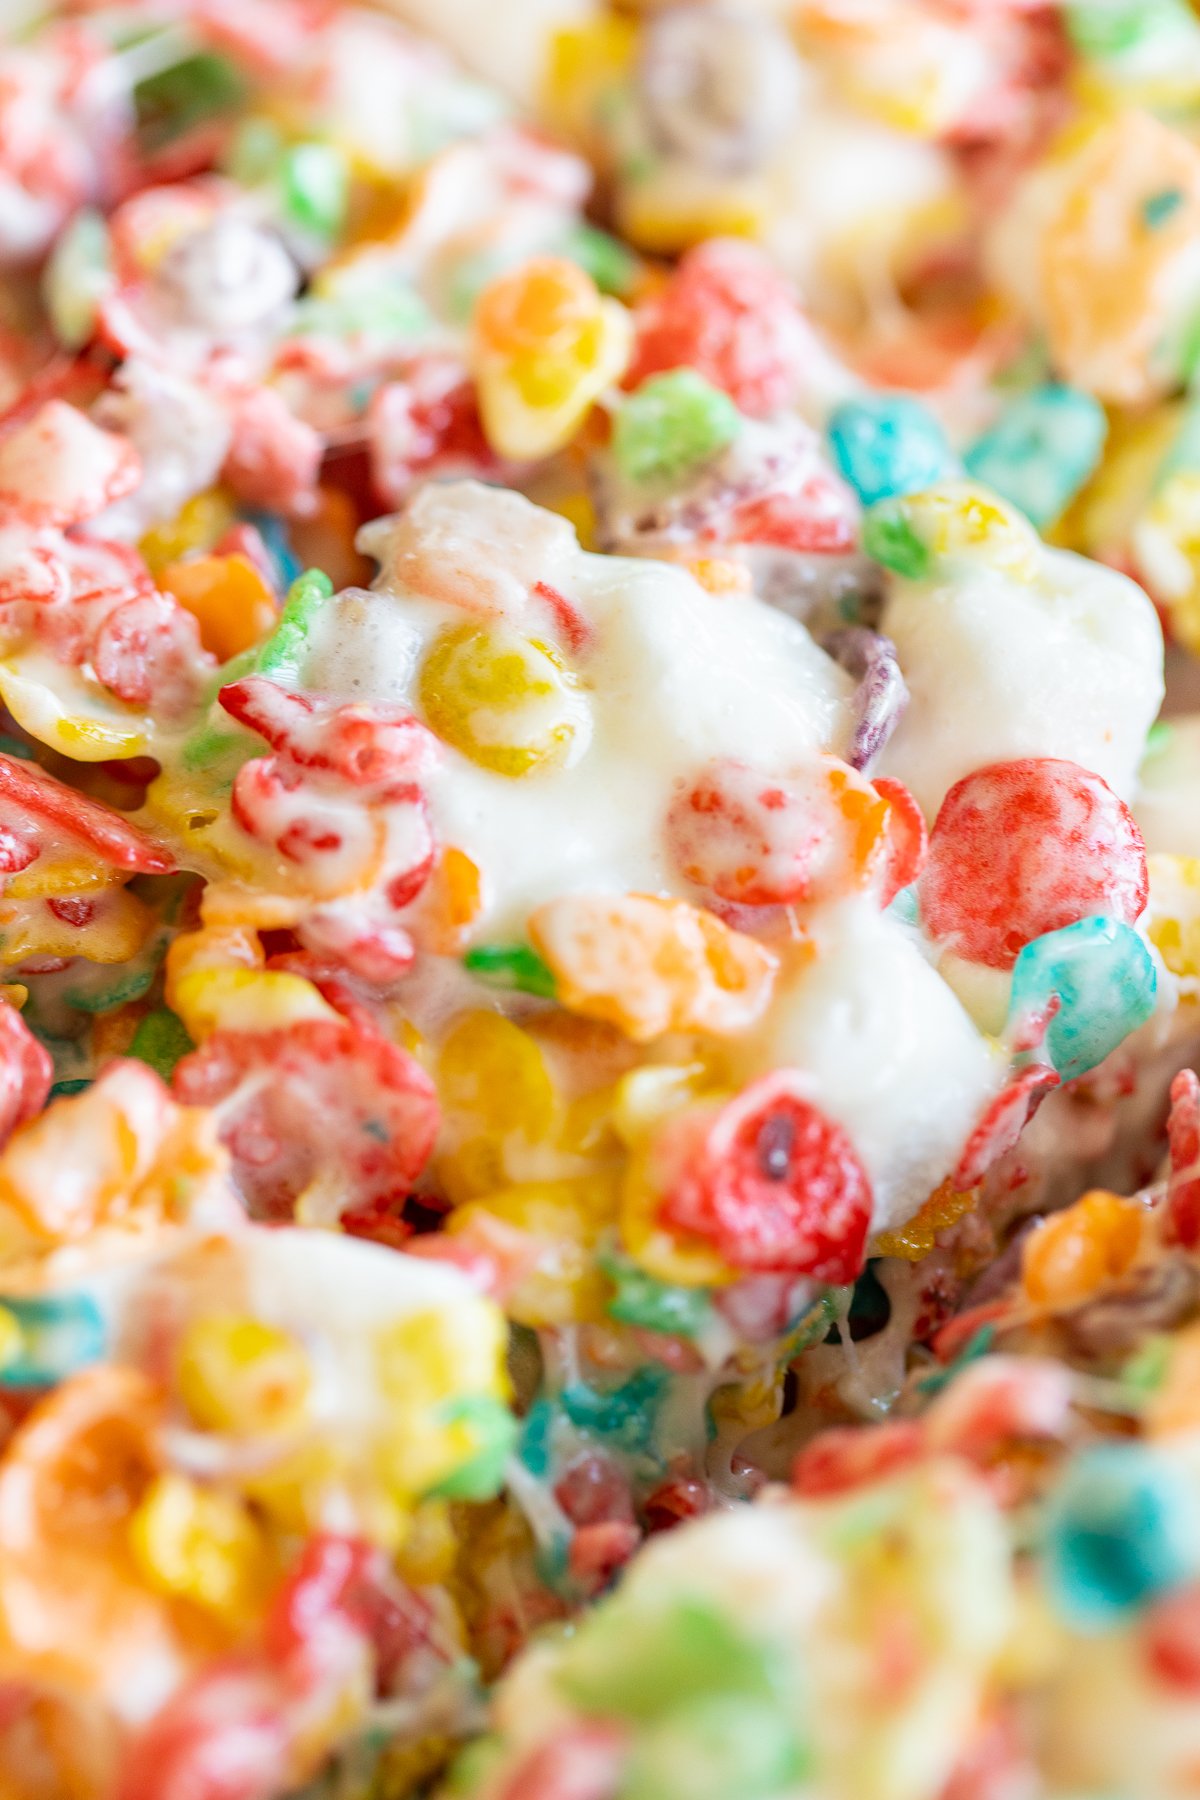
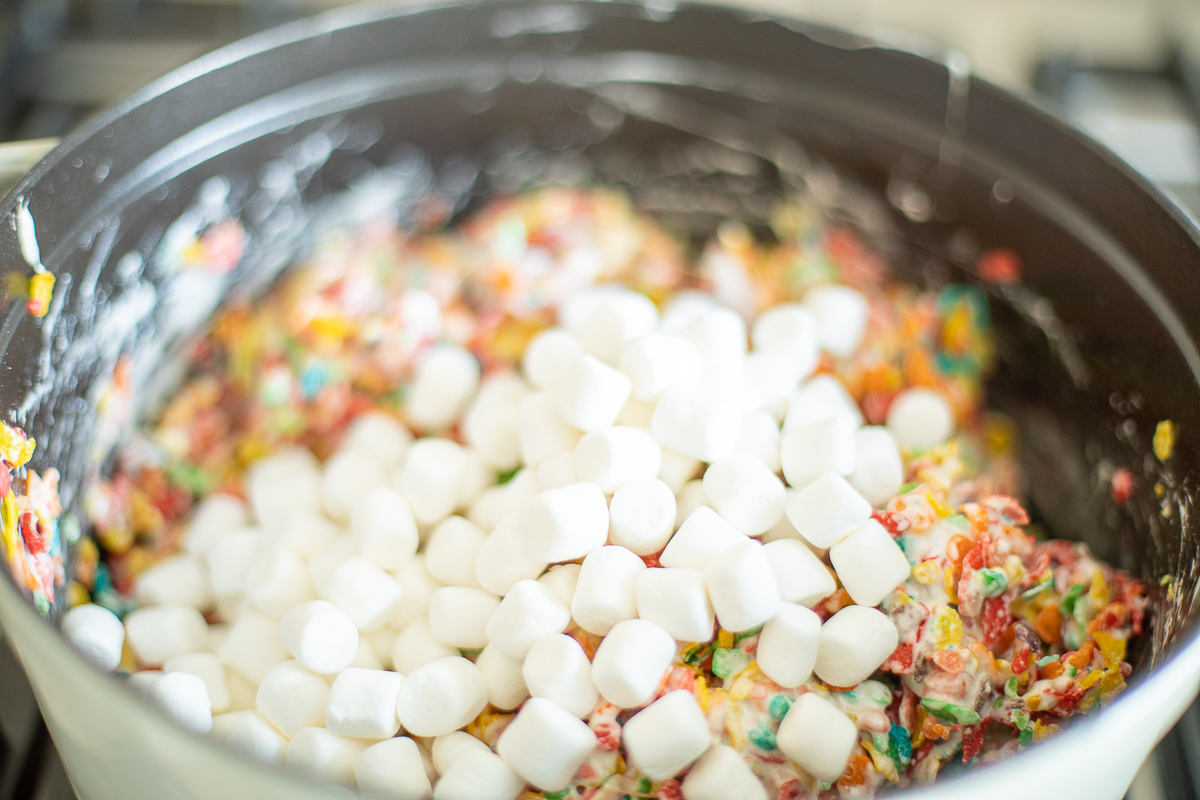
To upgrade these Fruity Pebble Treats even more, I add some extra marshmallows at the same time I add the cereal to the melted marshmallow-butter mixture.
This simple change makes all the difference. The second portion of marshmallows melts just a little; it adds some visual appeal and it makes these Fruity Pebble Treats extra chewy and gooey. Which is always a good thing!
I don’t know if it’s possible to just eat one of these—you’re going to want at least two.
With their fun fruit flavors and colors, these Fruity Pebble Treats are perfect for a kids birthday party.
Set them up on a dessert table with other kid-friendly favorites like Fruit Pizza Cookies and Funfetti Cookie Cake, or really take them to the next level and use them to make ice cream sandwiches with my 3 Ingredient Creamy Marshmallow Ice Cream.
Why You’ll Love It

Dietary Note
You can make these Fruity Pebble Treats vegan by using Dandies marshmallows; make them dairy-free by swapping in a plant-based butter.
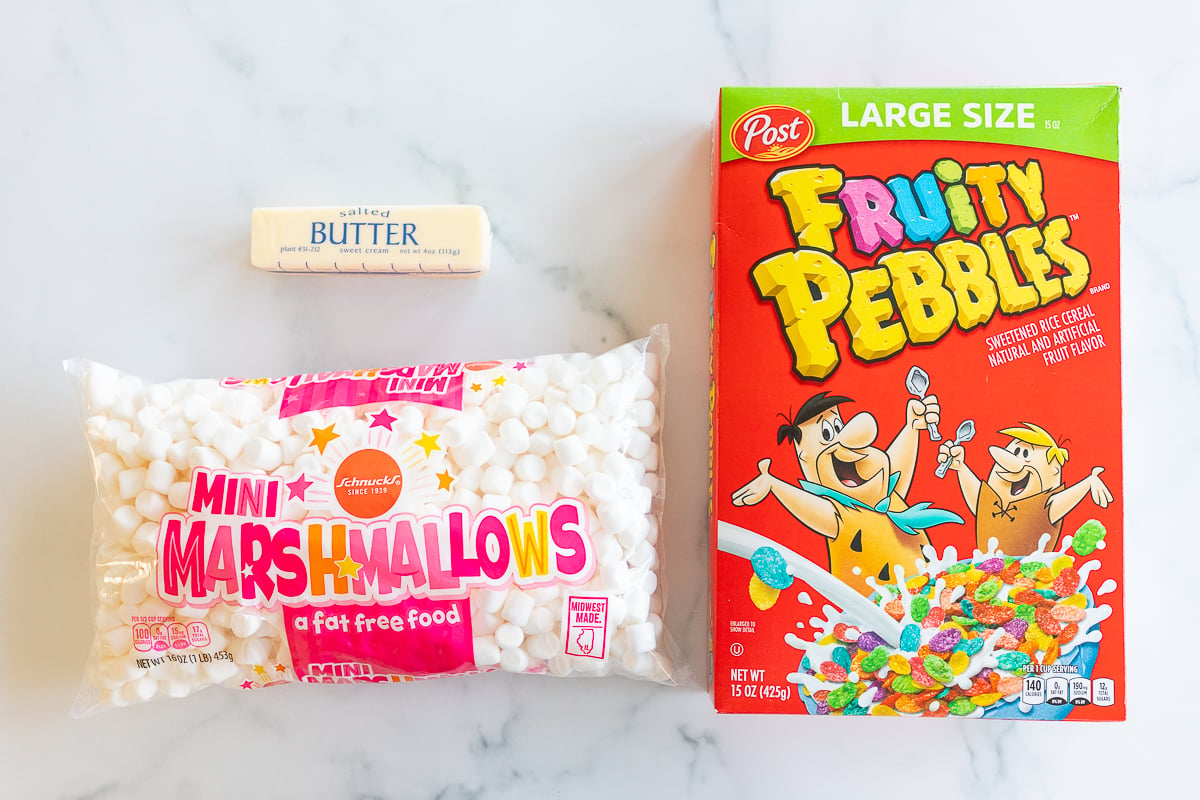
Ingredients and Substitutions
- Fruity Pebbles – You can, of course, use Cocoa Pebbles instead. You’ll get lots of chocolatey flavor, but not the pretty colors!
- Miniature marshmallows – It’s important to use fresh marshmallows for this recipe. If they’re stale, they won’t melt as smoothly.
- Butter – Both salted or unsalted will work here.
How to Make
- Prep – Grease or line a 9×9-inch baking pan with wax or parchment paper to keep the Fruity Pebble Treats from sticking.
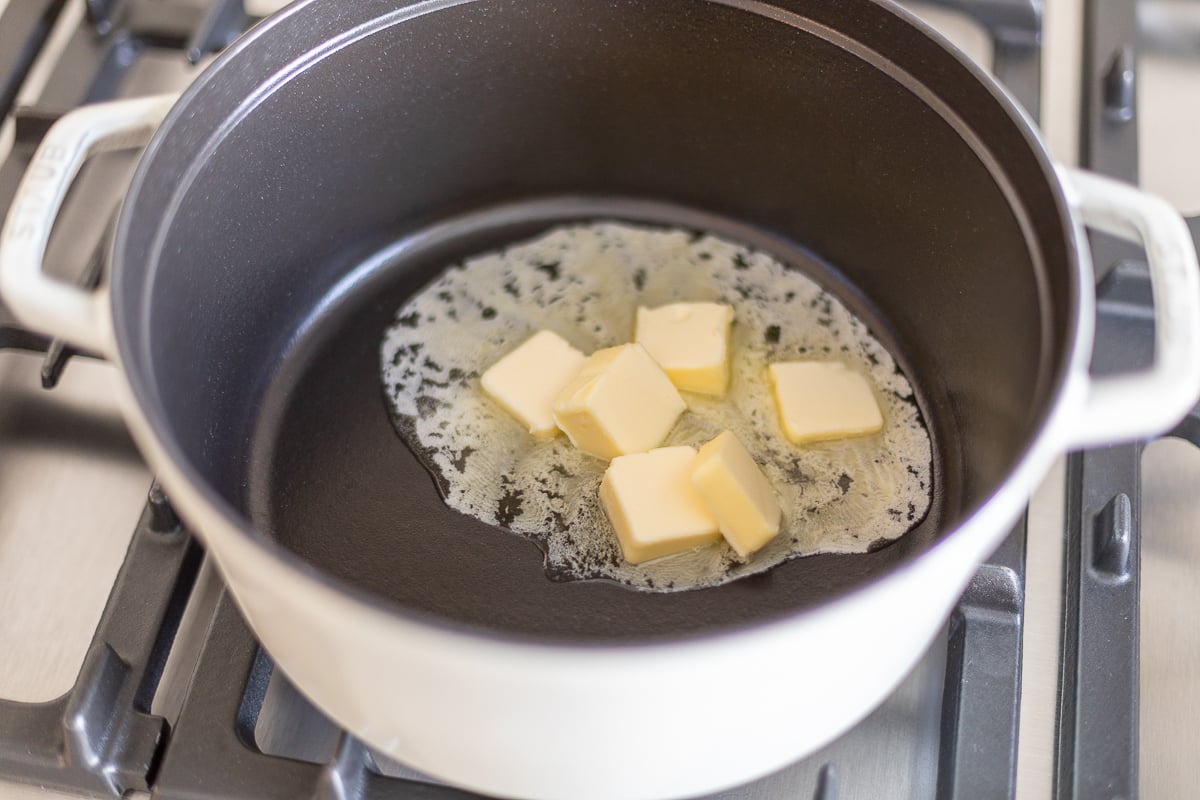
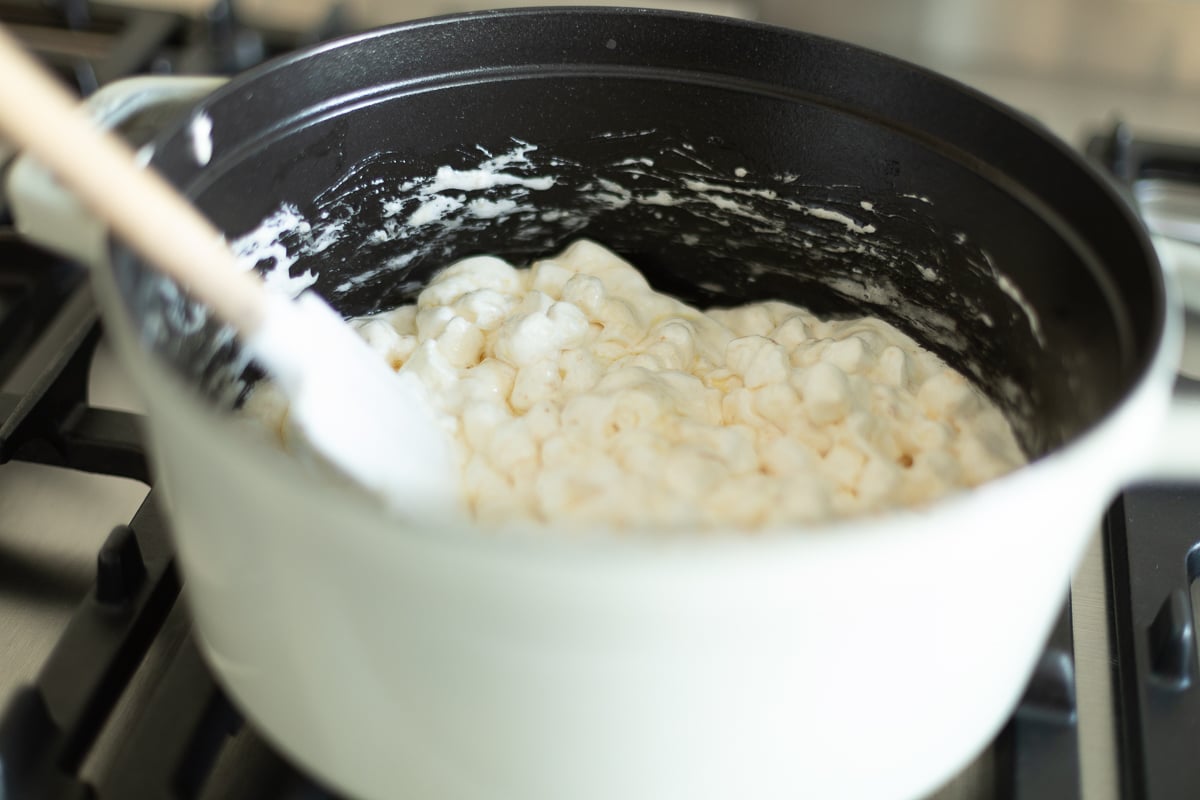
- Melt the butter and marshmallows (Stovetop) – In a large saucepan, melt the butter over medium heat. Reduce the heat to low and stir in 8 cups of the marshmallows until they’ve melted and the mixture is smooth. Remove from heat.
- Melt the butter and marshmallows (Microwave) – In a microwave-safe bowl, combine 2 tablespoons of butter and 8 cups of the marshmallows. Microwave for 45 seconds, then stir and microwave in 10 second increments until the marshmallow has melted and the mixture is smooth when stirred.
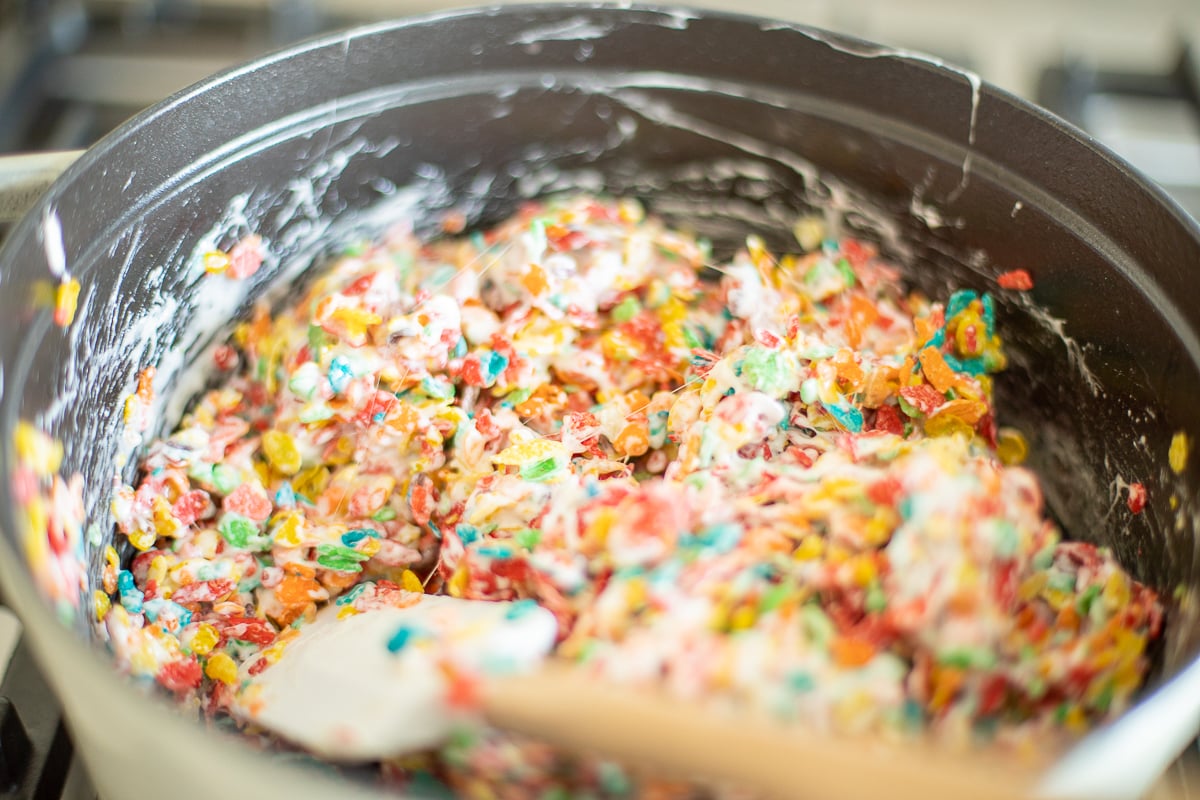
- Add the cereal – Quickly stir the Fruity Pebbles into the marshmallow-butter mixture, along with the reserved marshmallows.
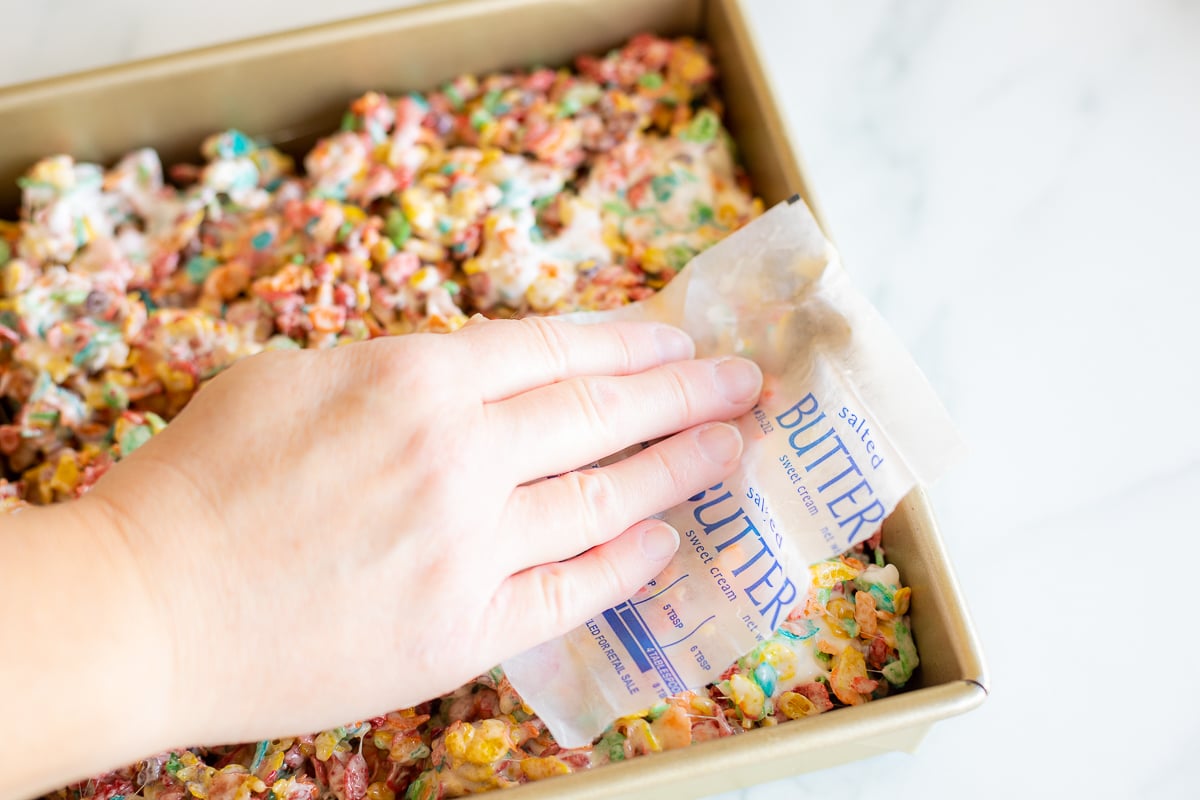
- Finish – Transfer the mixture to the prepared pan. Use a butter wrapper to gently press the mixture into an even layer. Cool for 1 hour, then invert onto a platter or wax paper and cut into squares.

Tip
Don’t press too hard on the Fruity Pebble Treats after you’ve transferred them to the pan. Too much pressure will crush the cereal and result in hard bars. You want them loosely packed so they’re perfectly chewy.
Variations
- With their rainbow colors, these Fruity Pebble Treats are so much fun for Easter! You can make them into eggs by generously spraying the inside of plastic eggs with cooking spray and lightly packing the Fruity Pebbles mixture inside while it’s warm and pliable, but not hot.
- If you’re making these Fruity Pebble Treats for a party, you can put them on popsicle sticks, wrap them in cellophane, and secure the wrap with a bow.
- Use fruity marshmallows instead of regular marshmallows for even more fruit flavor.
How to Store
- Room Temperature – Store at room temperature for up to 3 days.
- Freeze – Freeze Fruity Pebble Treats for up to 3 months.
Frequently Asked Questions
It’s not just rice, but Fruity Pebbles is a puffed rice cereal similar to Rice Krispies, which is why it works so well for making cereal treats.
If your marshmallows won’t melt, it’s likely that they were too old. Stale marshmallows become dry, and dry marshmallows won’t melt like fresh ones do. Use an unopened, fresh bag of marshmallows for these Fruity Pebble Treats.

Tips
-
Don’t heat the marshmallow over high heat. Even if it seems like it’s taking a while for the marshmallows to melt, you want to keep the heat on low to prevent your Fruity Pebble Treats from getting hard.
-
Don’t forget to save that butter wrapper! This is my secret weapon for easy cleanup. Then you don’t have to get sticky marshmallow on a spatula or your hands.
-
For perfectly cut Fruity Pebble Treats, remove them from the pan by lifting the parchment or wax paper. Place them on a cutting board, then use a large chef’s knife coated with nonstick spray to make swift cuts from one end to the other. A pizza rocker works well for cutting bars and cereal treats, too.
Join Now!
Hungry for more easy recipes? Sign up for my free recipe club and have amazing recipes delivered directly to your inbox each week!
More Sweet Treats
Fruity Pebble Treats
Ingredients
- 6 cups Fruity Pebbles
- 10 cups miniature marshmallows divided
- 6 tablespoons butter salted or unsalted
Instructions
- Grease or line a 9×9” baking pan with wax or parchment paper. Set aside.
- In a large saucepan, melt butter over medium heat. Reduce heat to low and stir in 8 cups of marshmallows until smooth.
- Remove from heat and quickly stir in Fruity Pebbles and two cups marshmallows.
- Pour into prepared pan. Using a butter wrapper, gently press into an even layer. You want them to remain loose so they are soft and chewy. Allow to cool 1 hour. Invert onto a platter or wax paper. Cut into squares to serve.
Microwave Instructions:
- Grease or line a 9×9” baking pan with wax or parchment paper. Set aside.
- In a microwave-safe bowl, combine 2 tablespoons of butter and 8 cups of the marshmallows. Microwave for 45 seconds, then stir and microwave in 10 second increments until the marshmallow has melted and the mixture is smooth when stirred.
- Quickly stir the Fruity Pebbles into the marshmallow-butter mixture, along with the reserved marshmallows.
- Pour into prepared pan. Using a butter wrapper, gently press into an even layer. You want them to remain loose so they are soft and chewy. Allow to cool 1 hour. Invert onto a platter or wax paper. Cut into squares to serve.
Julie’s Tips
Estimated nutrition information is provided as a courtesy and is not guaranteed.


Super easy and delicious! I melted all the marshmallows rather than adding some in after.
So glad you enjoyed them, Katie!
Why would you add in marshmallows after everything is melted? I found this to make it more difficult and didn’t really understand this step.