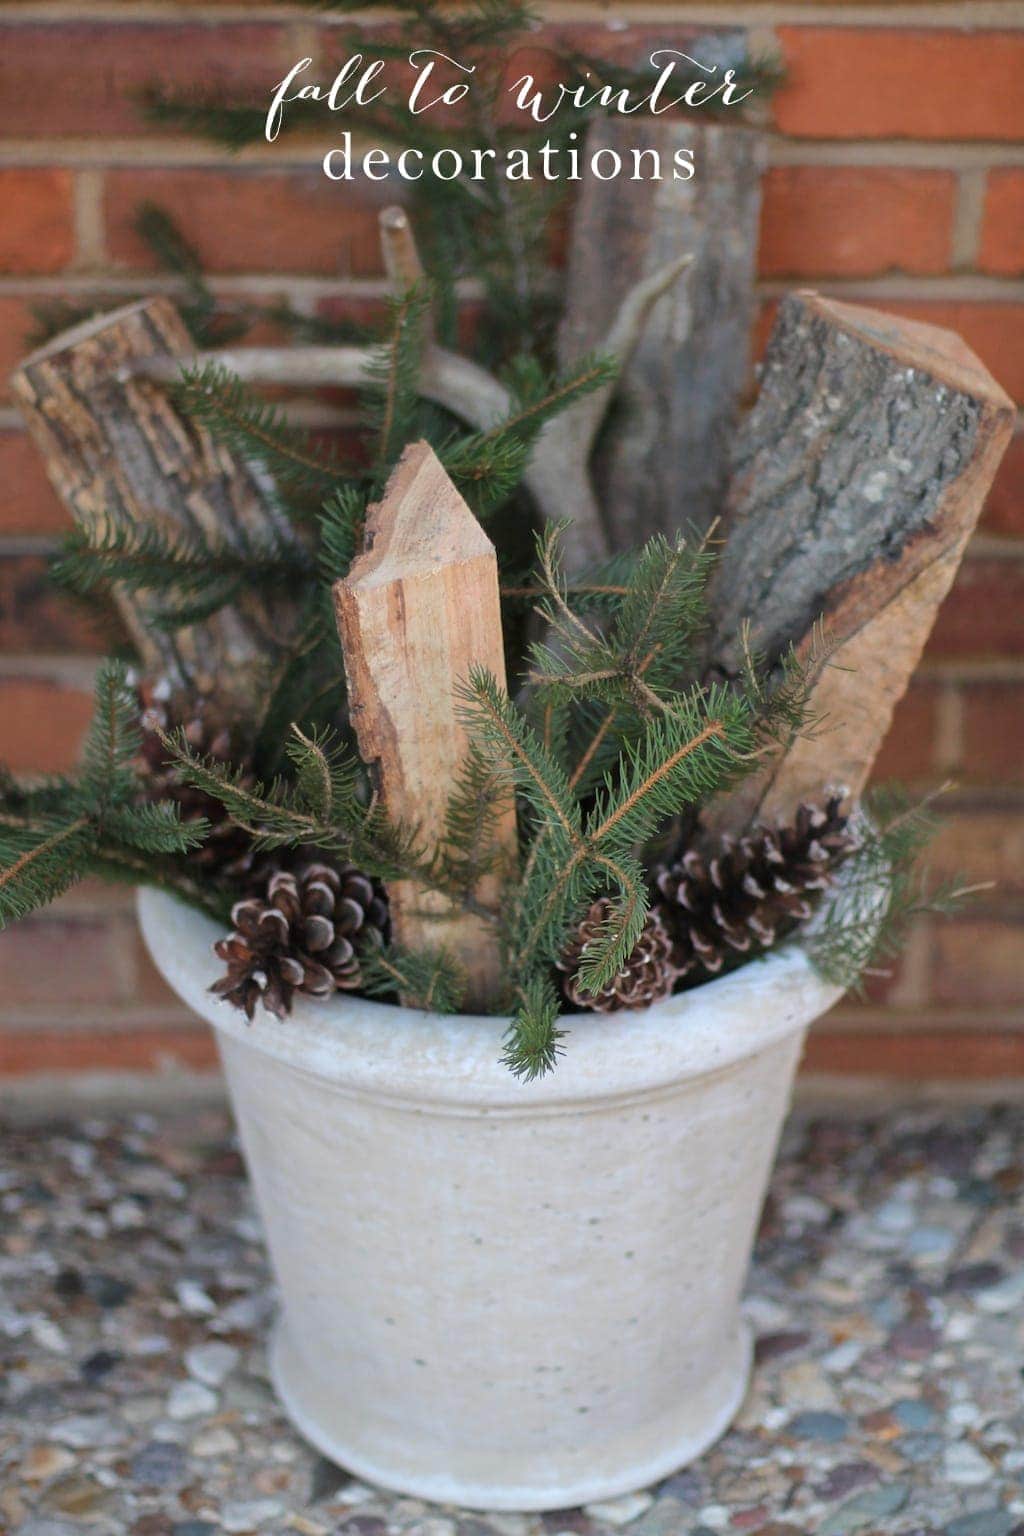
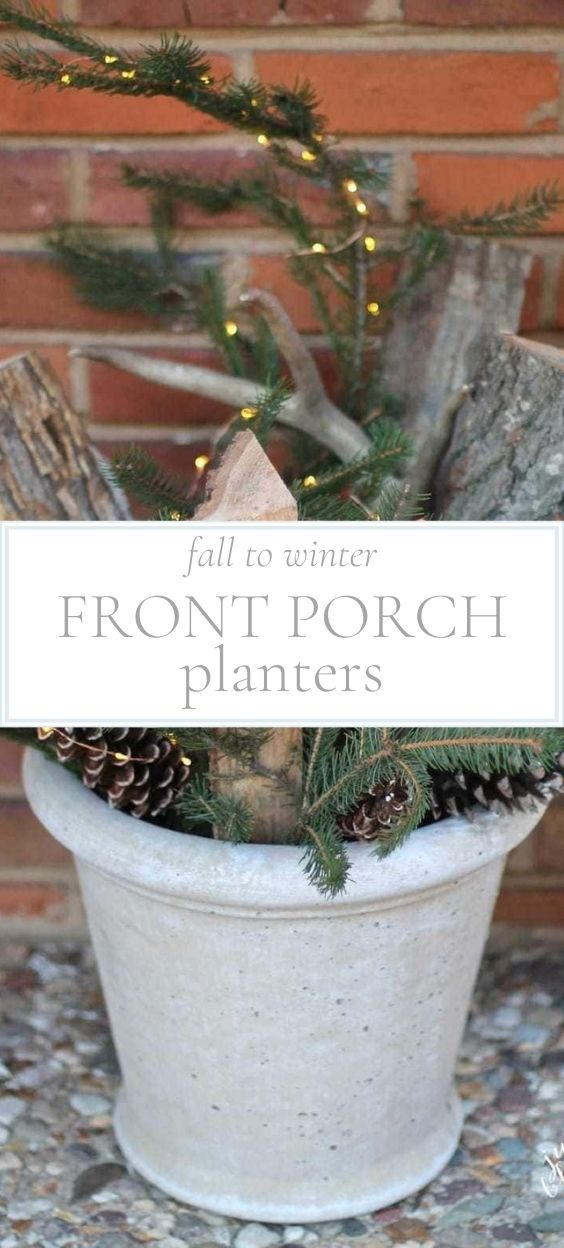
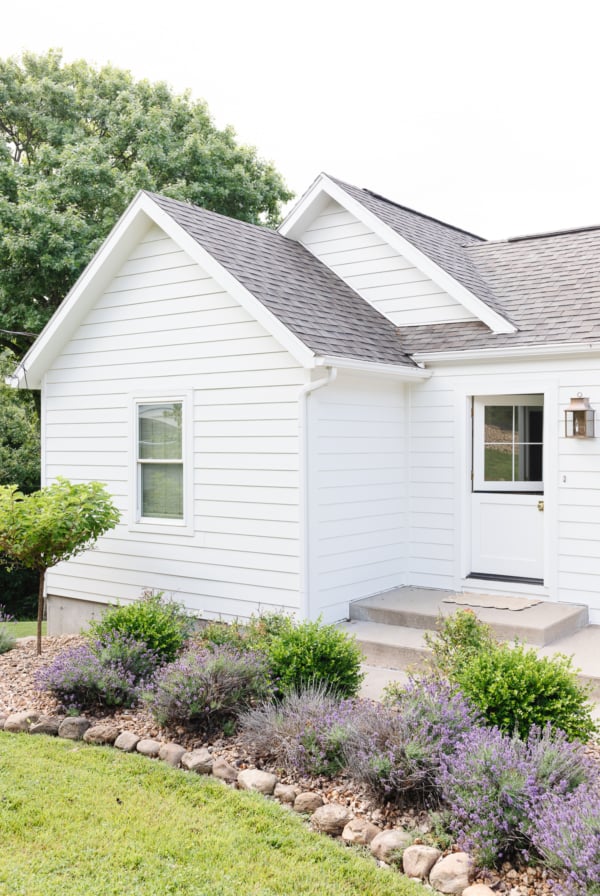
These winter planters for a front porch will create the most welcoming entrance to your home!
Create a simple outdoor arrangement with logs and foraged items that will transition all the way from fall through to the end of winter.
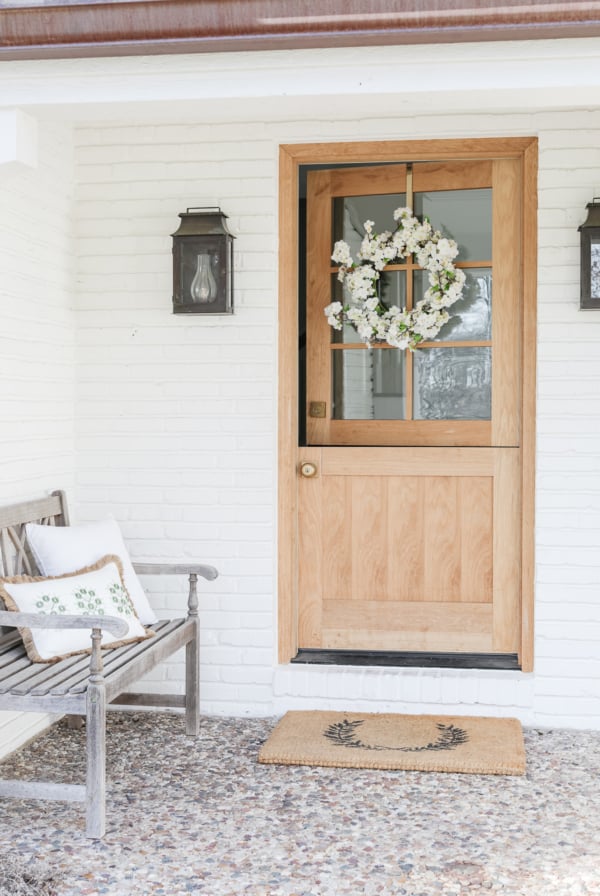
Usually around November time, my fall outdoor decor starts to look a little worse for wear, so updating my curb appeal becomes necessary.
Rather than decorate for Christmas before Thanksgiving, I prefer to create transitional decor that can be easily adapted for Christmas and the holidays. In fact, it looks beautiful to whole way through to the end of winter!
Oftentimes, my inspiration for seasonal decorating comes from nature and these arrangements follow that theme exactly.
I try to keep seasonal decorations quick and easy. It seems not long after you display them, it’s time to put them away. This outdoor arrangement is yet another one of my simple arrangements and it primarily uses things found in nature, and maybe even your own backyard!
Winter Planters for Front Porch
Use our outdoor winter planters as inspiration to dream up your own winter containers. If you don’t have a front porch, adapt this version for a beautiful and simple winter window box.
Decorating outdoors for winter doesn’t have to be extravagant or expensive. A simple arrangement like this with foraged greenery will look beautiful for months on end, and add much needed color to your front porch in the dead of winter.
This project is so easy – and free! It takes just a few minutes to put together. It was even featured in People magazine!
Tools and Ingredients
- Scissors
- Planter
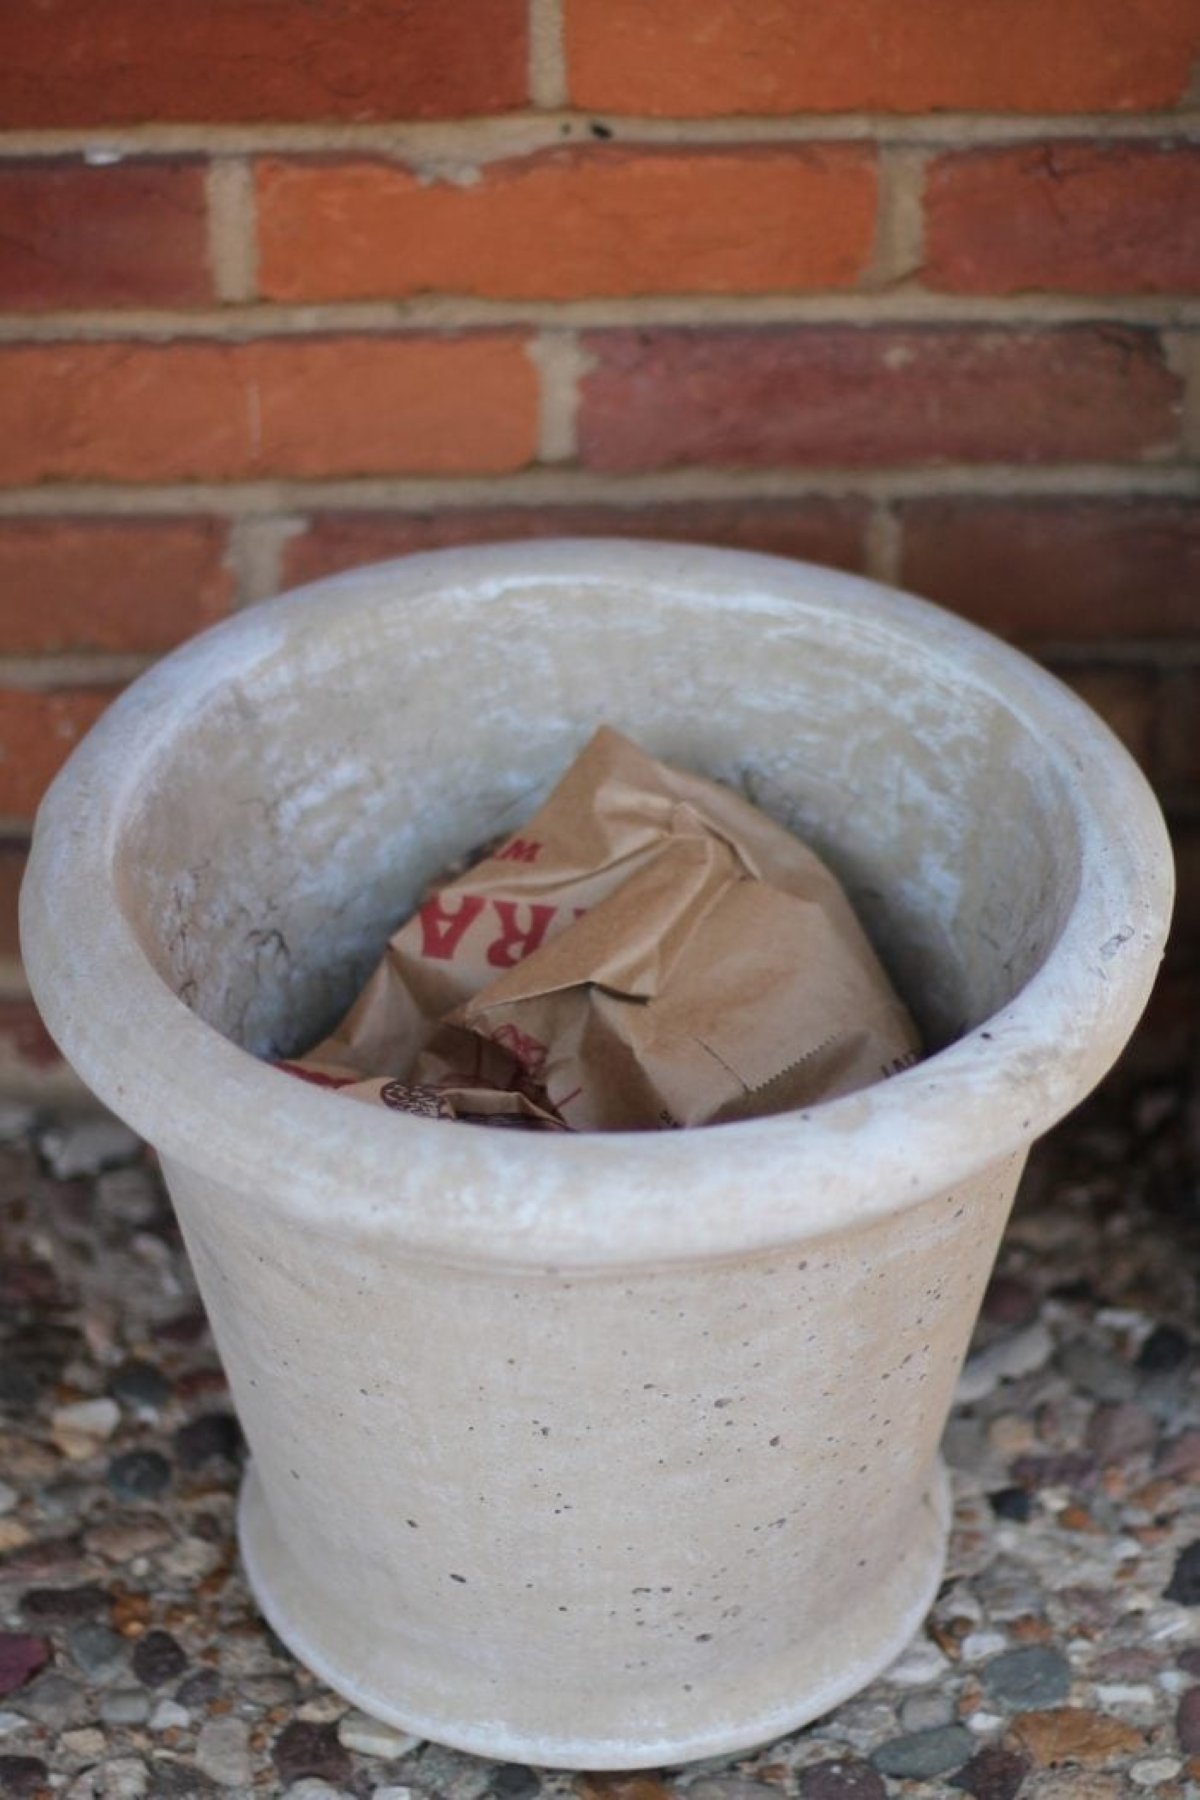
- Paper Bags (Or any other type of stuffing for the base of the planter)
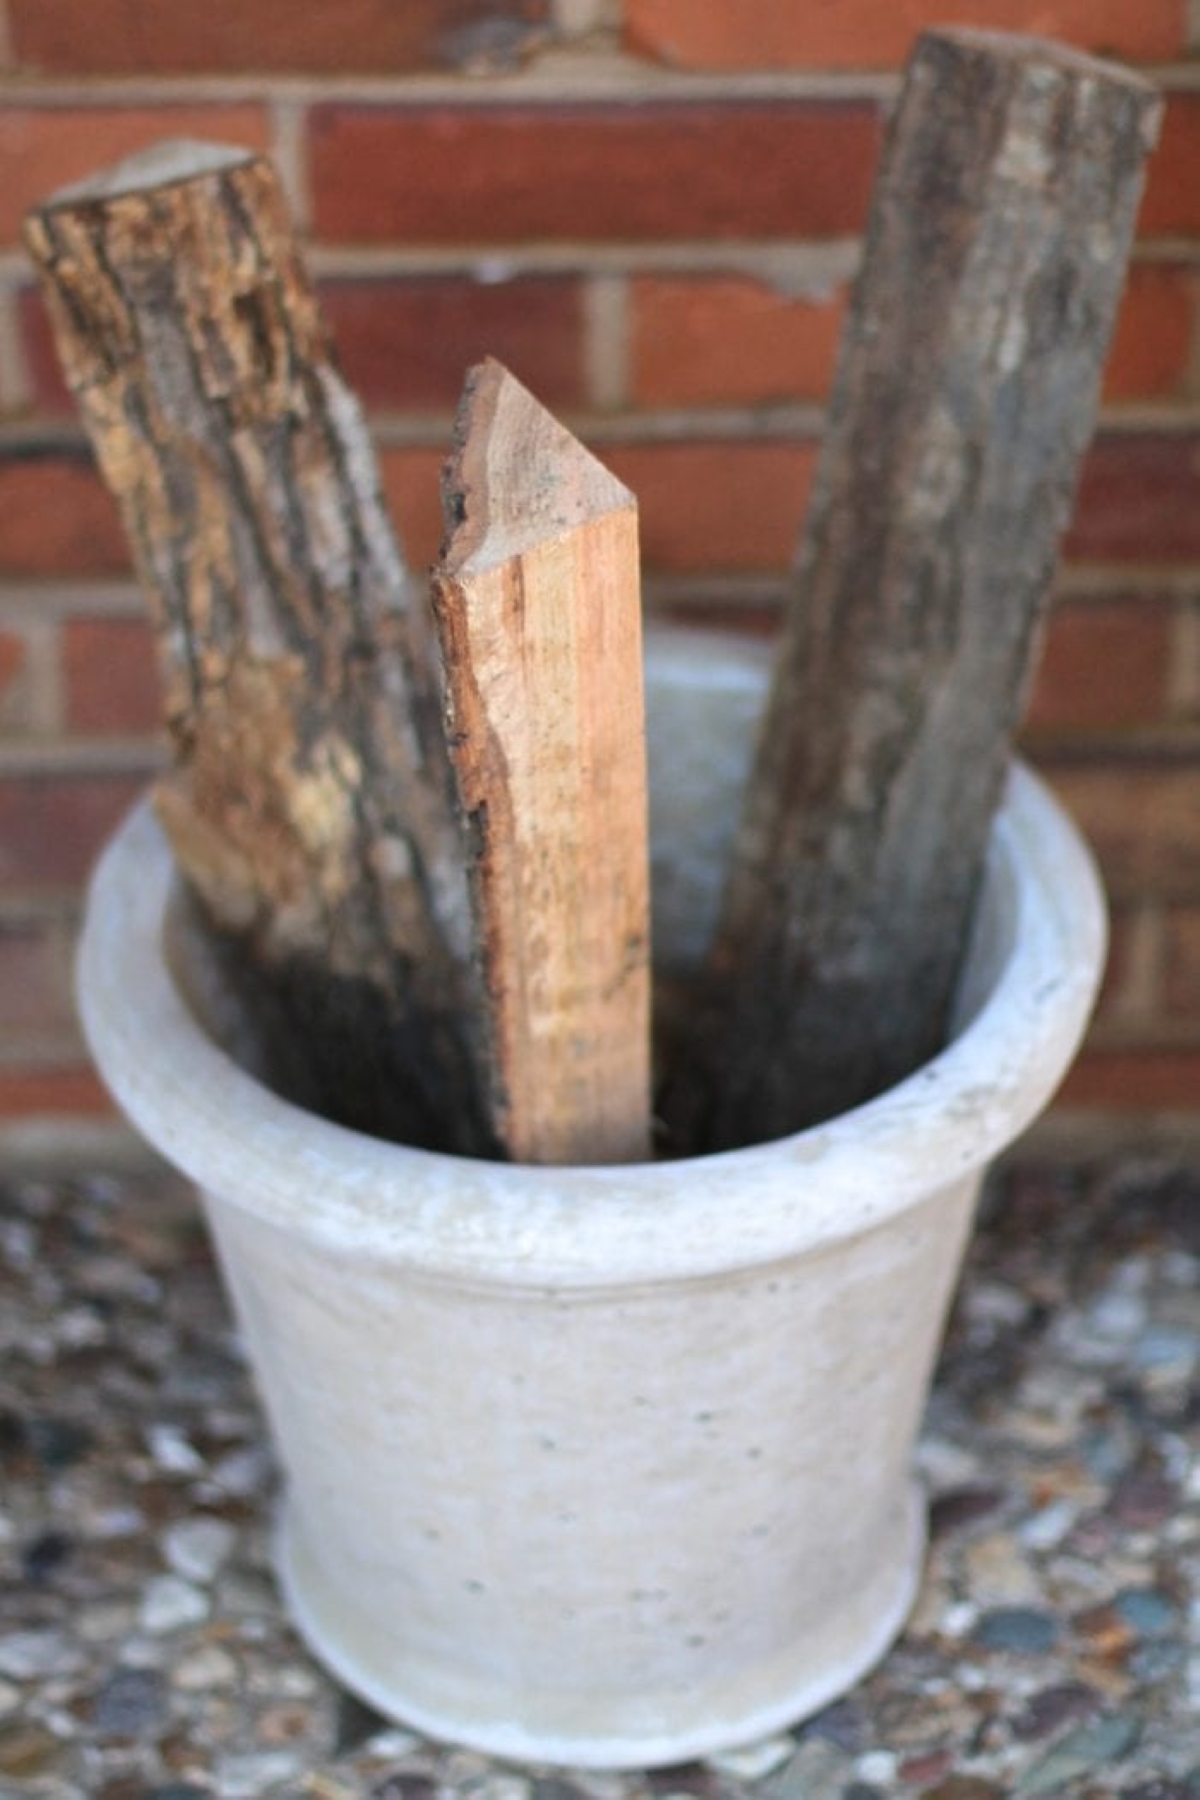
- Birch logs or firewood
- Pine or evergreen branches – Learn more about Christmas Greens and Greenery Garlands here.
- Pinecones
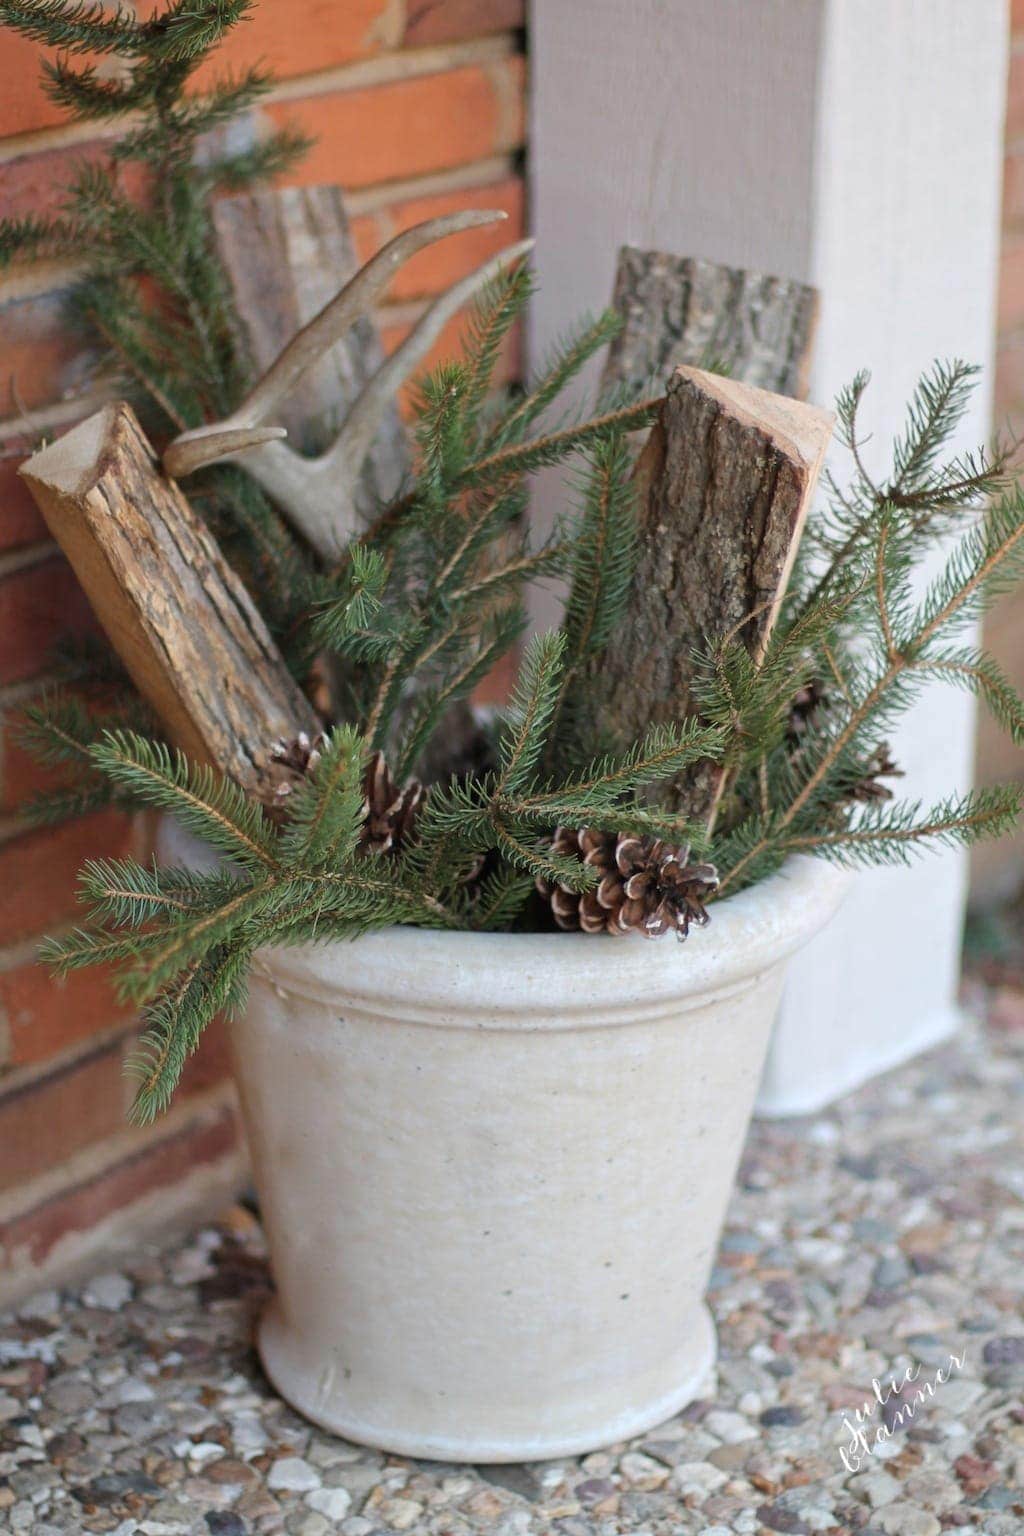
- Optional: Antlers
- Optional: Battery Operated Twinkle Lights
- Other elements you can include may be found antlers, holly berries and other seasonal greenery.

Amazon Storefront
Follow my Amazon Storefront to find more holiday looks for less.
Winter Planters for Front Porch
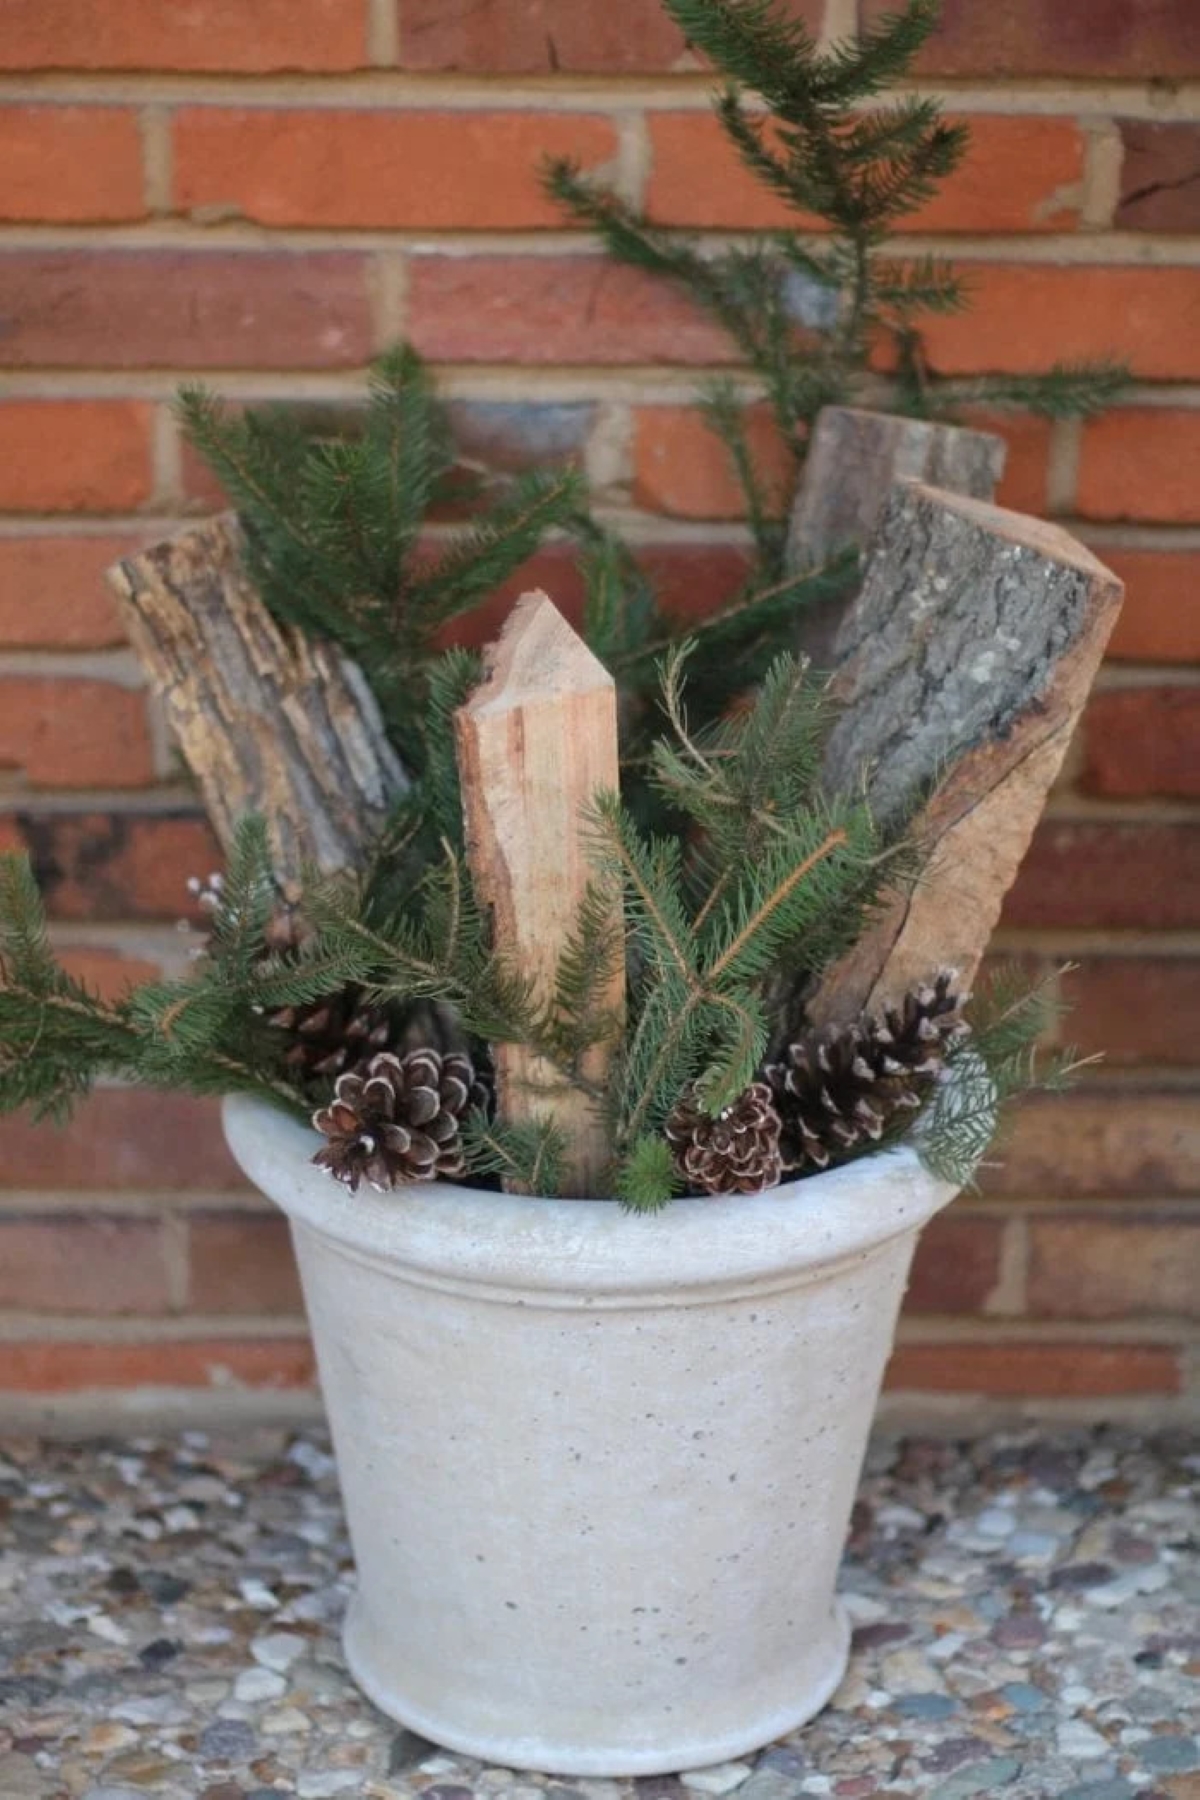
- Crumble paper bag and insert into the bottom of your planter for height and to act as a floral frog.

- Next, add logs, leaning them out and alternating direction to show the different textures.
- Add branches of greenery inserting them into the nooks of the paper bag to secure them working around your logs.
- Now add pine cones, stem down. “Latch” them on to your branches and logs at the base of your planter.
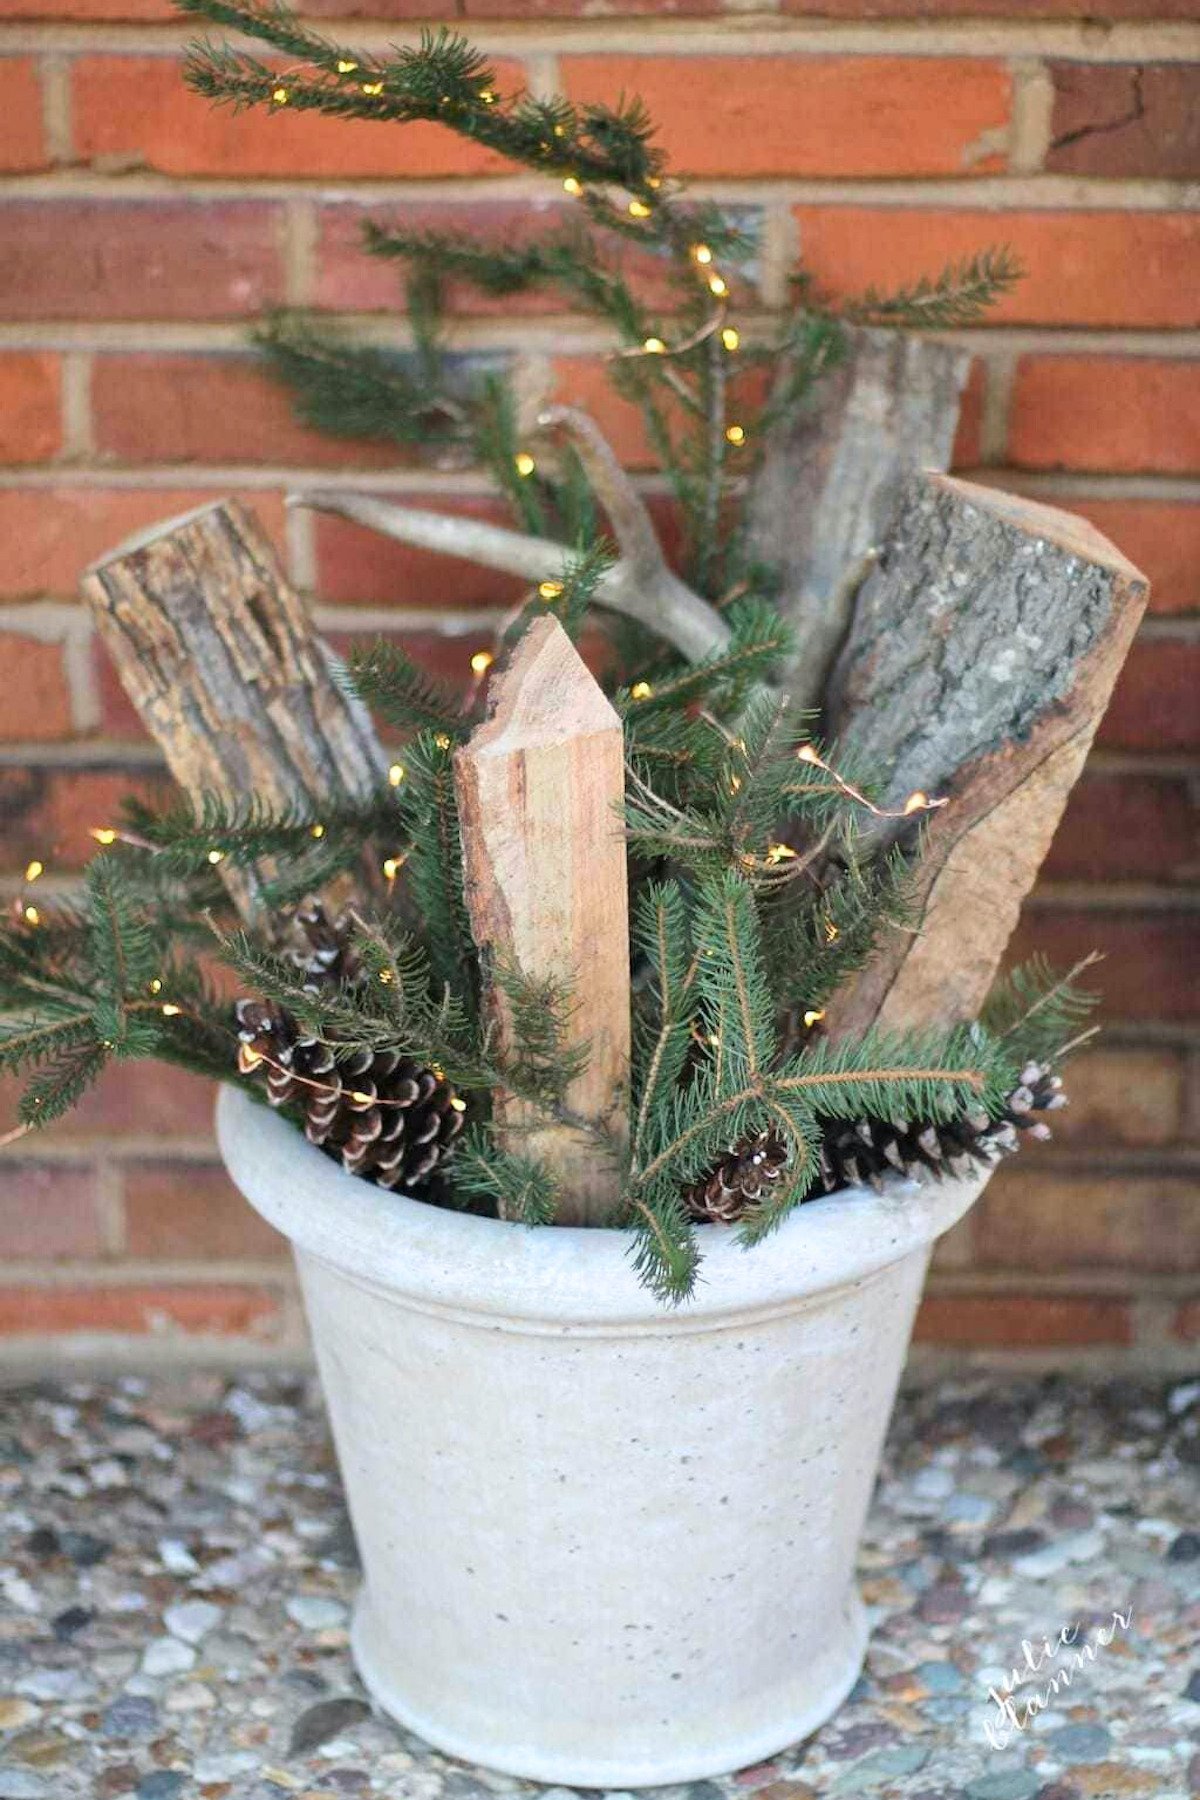
- To make it more festive for the holidays, add in battery operated twinkle lights. Set them on a timer, so they automatically come on every evening!
- Other elements you can include may be found antlers, holly berries and other seasonal greenery.

Tips
- Winter planters for a front porch often need to be able to handle frost and snow, so make sure you’re choosing a container that won’t crack when the temperatures drop.
- Can’t find pretty birch logs? Use firewood, like we did!
- Collect pine cones for free, or purchase a bag from your local craft store. You can also buy pine cones here.
- Cut evergreen branches from your yard for free, if you can. Or, check your local home improvement stores! Often, they’ll cut the bottom branches off of fresh Christmas trees and give those clippings away for free.
- Preserve your fresh greens for longer with these tricks: How To Keep Live Christmas Wreaths And Live Garlands Fresh.


How do you keep the fresh greenery fresh?
I allow it to dry, I think it’s just as beautiful or even more beautiful dried. There are products to help maintain freshness like WiltStop and WiltProof or you can spray them with water weekly. When outdoors in the cool air they tend to last significantly longer with no effort.
wish you would have a book we could by.
I just may next year! What would you like to see more of? Thanks for making me smile, Karen!
My daughter and I did this!! We both used boxes we already had. She had an old dynamite
box and I had and old Lucerne Milk box. They turned out sooooo cute!!! Thanks for the idea!!!
So fun! Glad you enjoyed it! The Lucerne box sounds beautiful!
Oh I absolutely love this. My porch is usually so boring this time of year. Cannot wait to do this, using galvenized tubs. Cannot wait.
Thanks, Rhonda! Happy Thanksgiving! I’ll have plenty more 5 minute decorations coming soon!