Learn how to make your own planters with this easy step-by-step tutorial to make window boxes that will add color and charm to your home. These DIY boxes are simple to make and even simpler to fill with beautiful blooms!

Simple Window Boxes
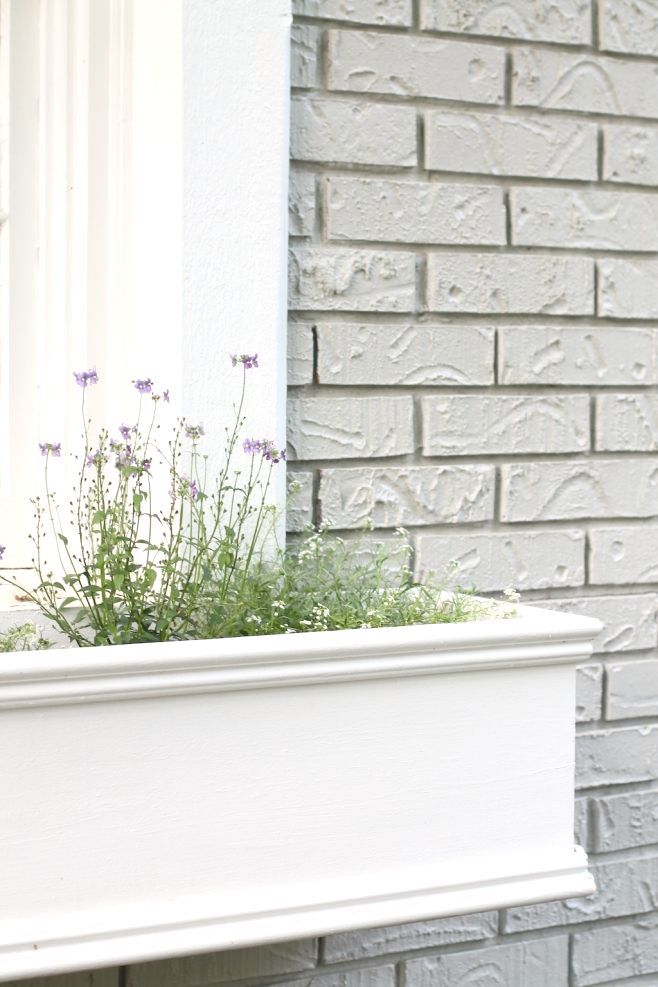
When we originally purchased our house, we knew the existing window boxes (actually shelves for planters) were victims of wood rot. I’ve been anxious to replace them, since I knew they would add so much charm and color to the front of our home. I’m already dreaming of ways to fill them for each season!
These window boxes are a simple DIY project that you can do in a weekend. Chris and I picked up the supplies one night and got to work immediately the next day.
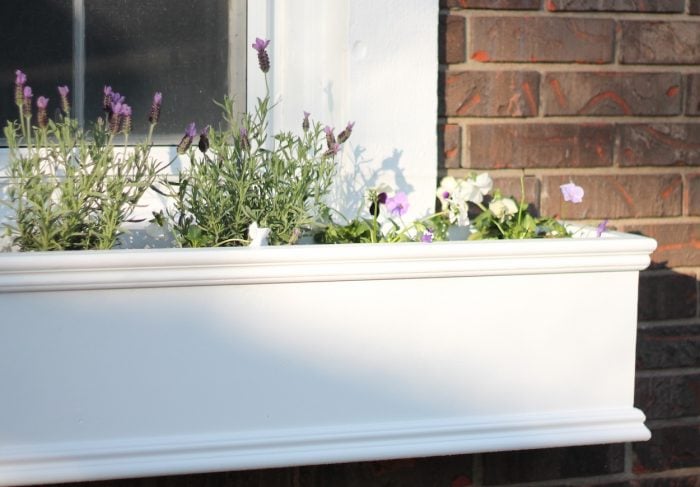
While window boxes are usually the same length as the window they are hanging below, ours will be 6″ larger on each side to conceal damage that the existing ones will leave.
How to Make DIY Window Boxes
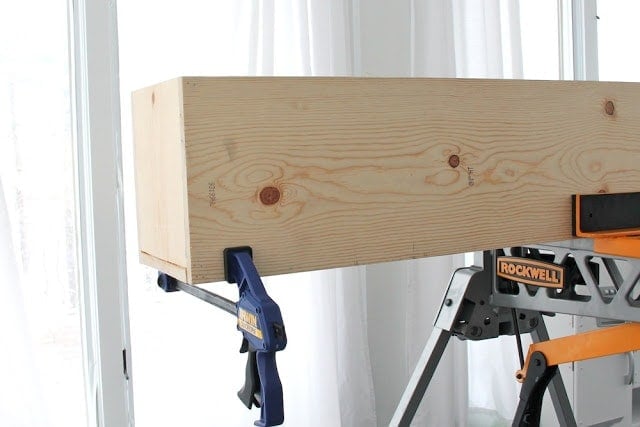
First, you need to decide how big you want your window flower boxes to be. We built our window boxes 62″ long {just a bit longer than our windows} after assessing the damage the originals left. This ended up being a blessing in disguise, because I actually love how they look.
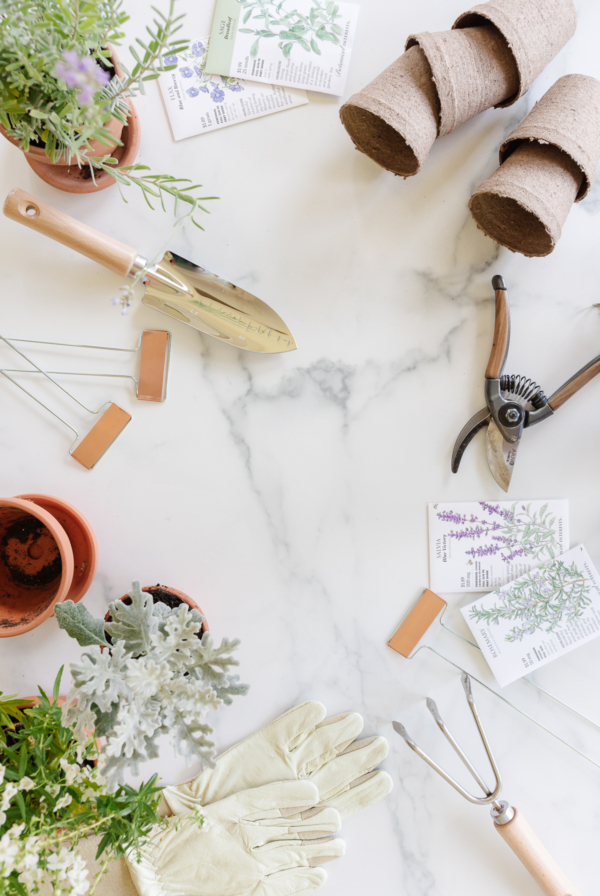
Supplies Needed
- Wood (We used Pine but Cedar is ideal)
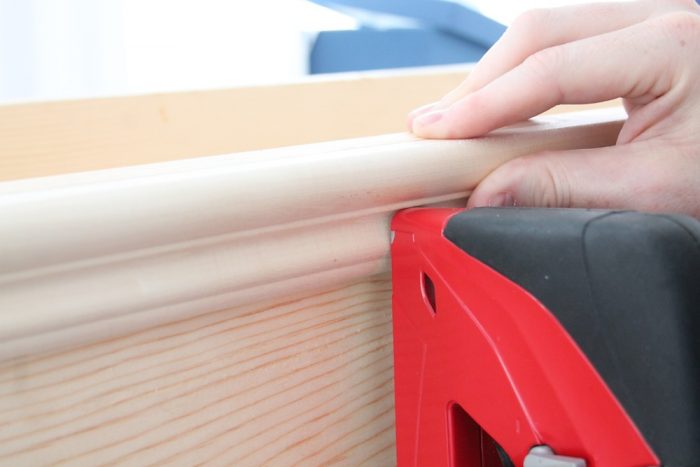
- Nail/Staple Gun
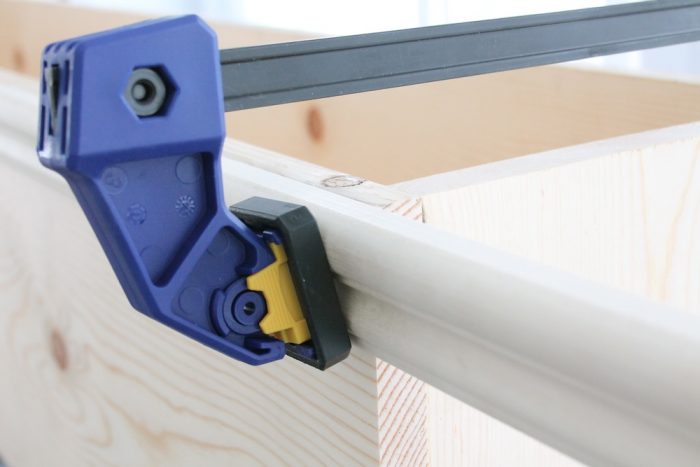
- Clamps
- Exterior wood screws
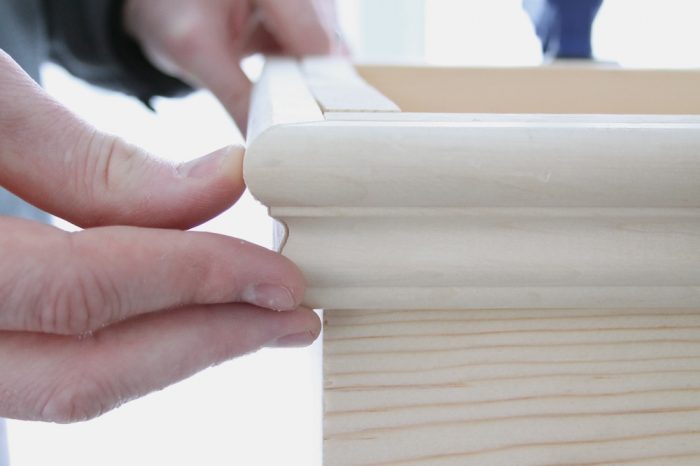
- Trim (3/4×1-3/4″ accent colonial shown)
- Waterproof wood glue
- Sand paper
- Primer
- Paint
- Drill
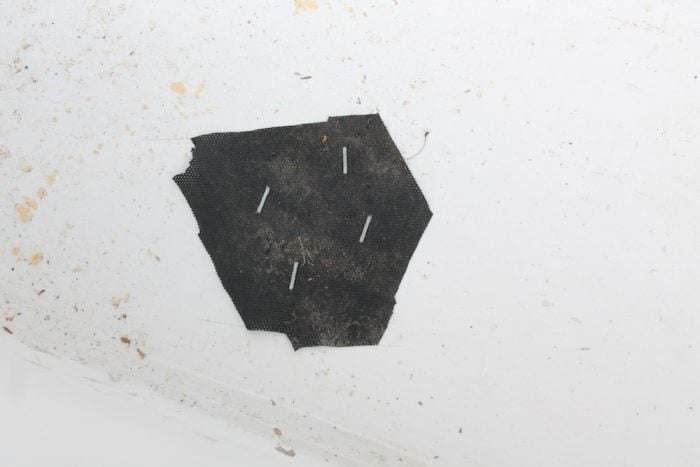
- Weed barrier
Instructions
- Using a nail/staple gun adhere 5 boards together to form an open-top box. Use clamps to hold them in place if needed.
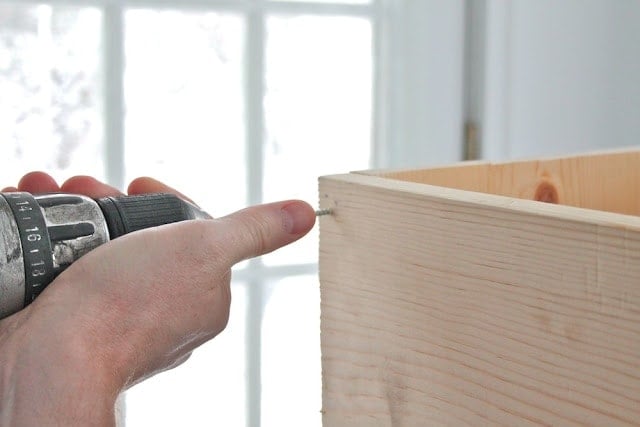
- Use screws to ensure they are secure.
- Clamp accent trim pieces to the top, bottom or both.
- Use a nail gun to adhere the trim.
- Use waterproof wood glue to give it a perfect finish along the seams before sanding (for an even edge).
- Prime the wood boxes inside and out to reduce wood rot before painting.
- Drill drainage holes throughout the box.
- Staple weed barrier over holes to keep soil from draining through.
- Hang.

Tips to Fill Planter Boxes
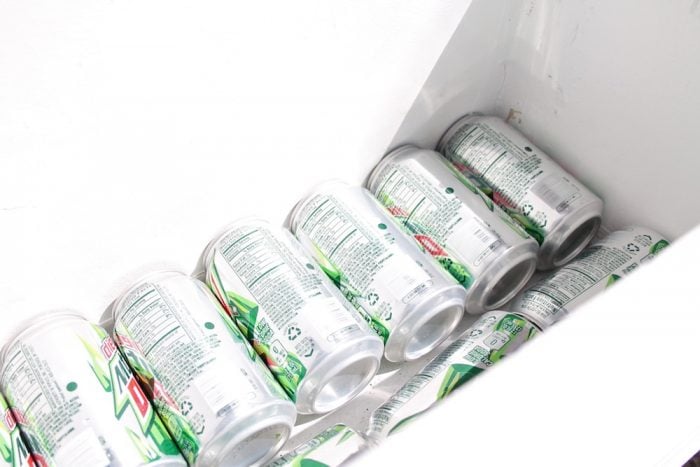
- Use empty aluminum soda cans or pine cones to fill the bottom of planter boxes without adding a lot of weight.
- Use potting soil, which is much lighter and includes fertilizer for plants, versus top soil.
Planting Window Boxes
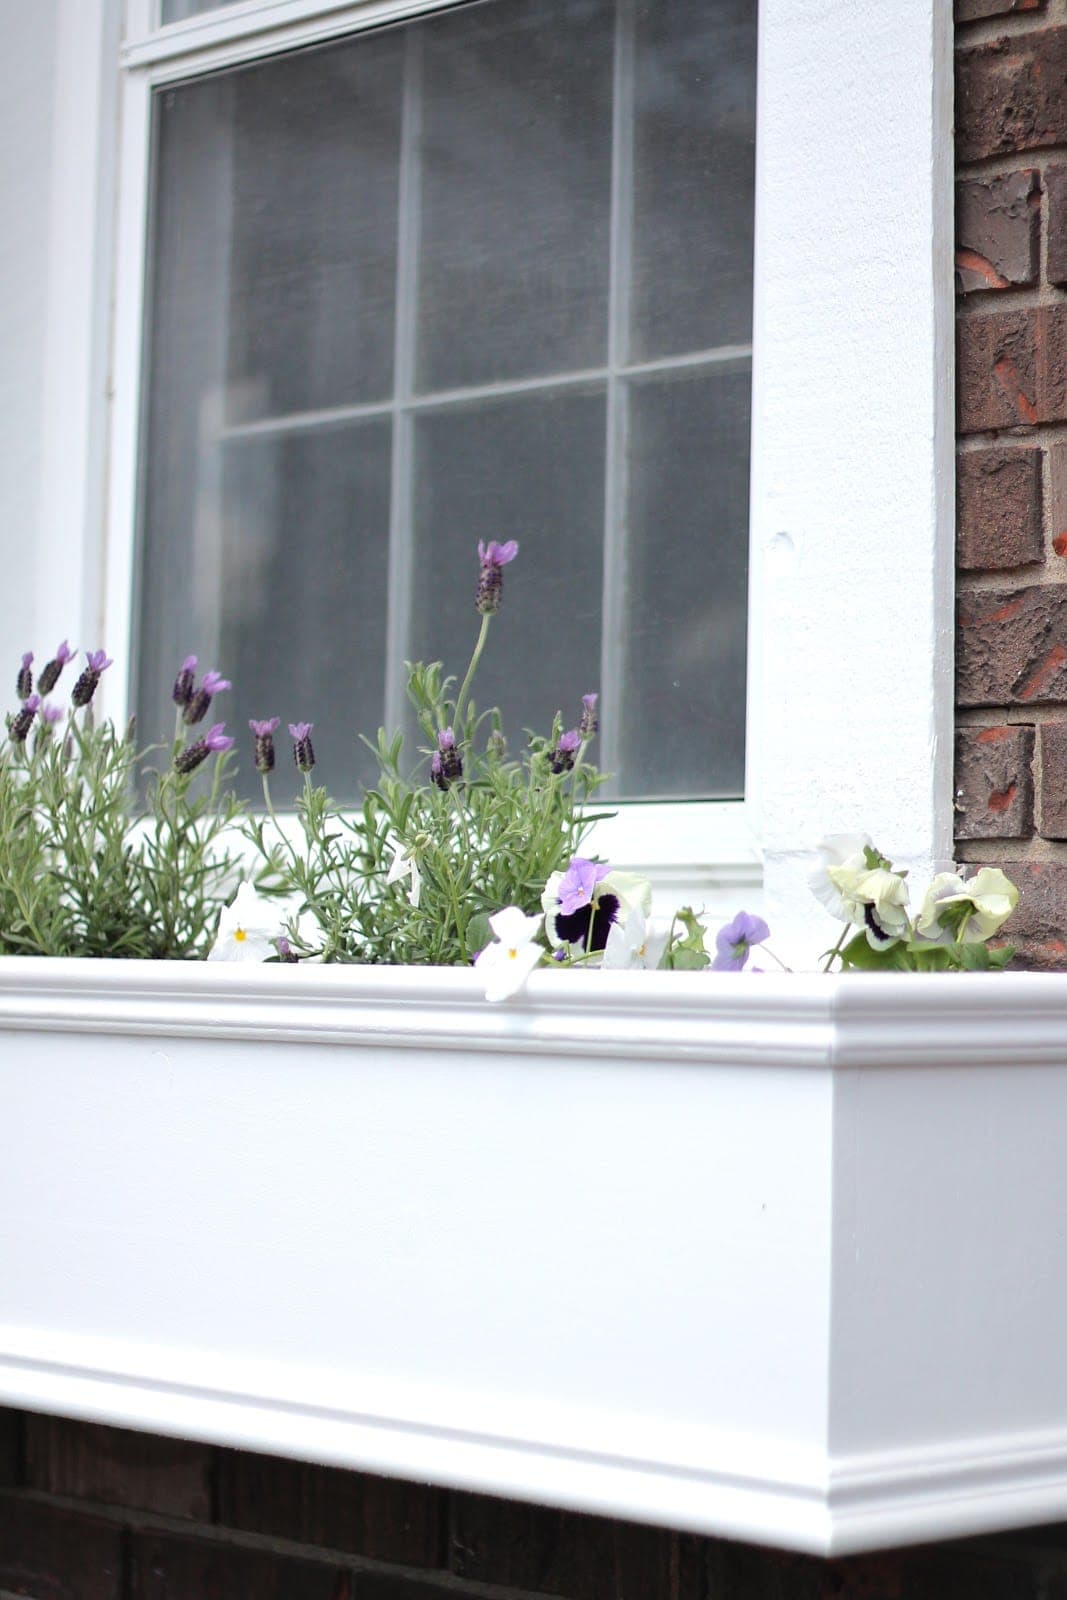
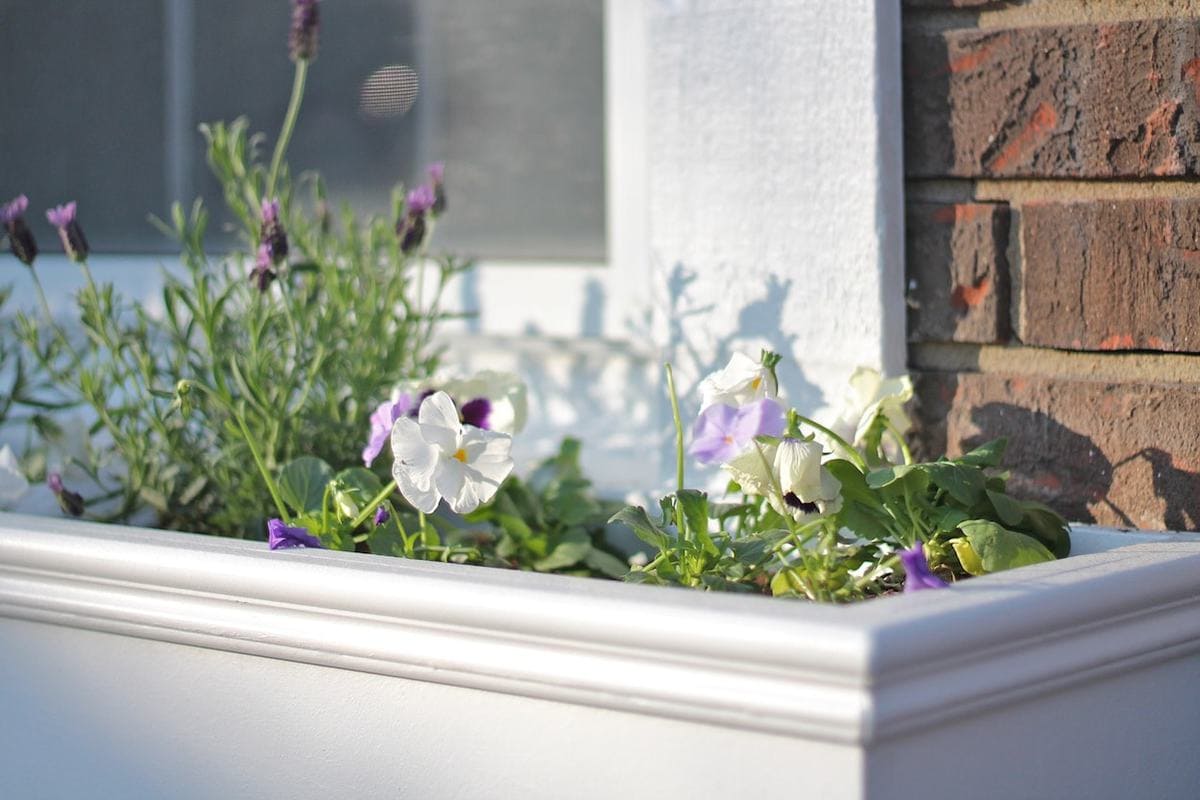
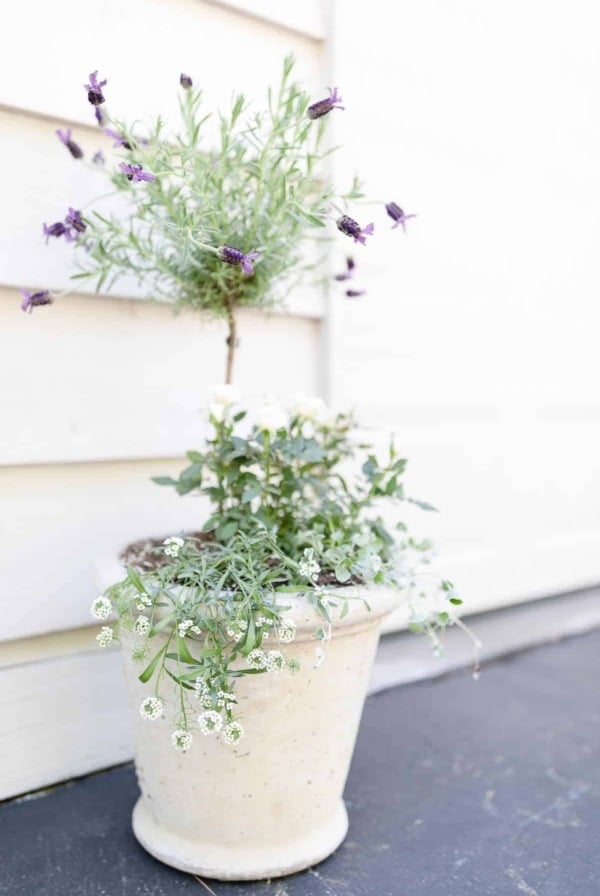
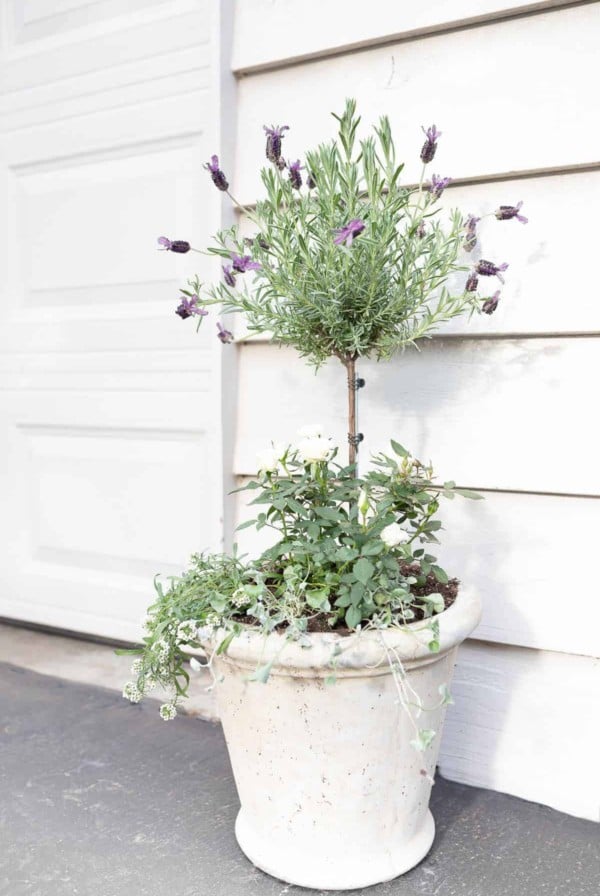
For these window boxes, I chose to add an edible garden. Some of my favorite edible flowers include begonias, carnations, chrysanthemums, clover, day lilies, lavender, lilacs, pansies, peonies, impatiens, and tulip {petals}.
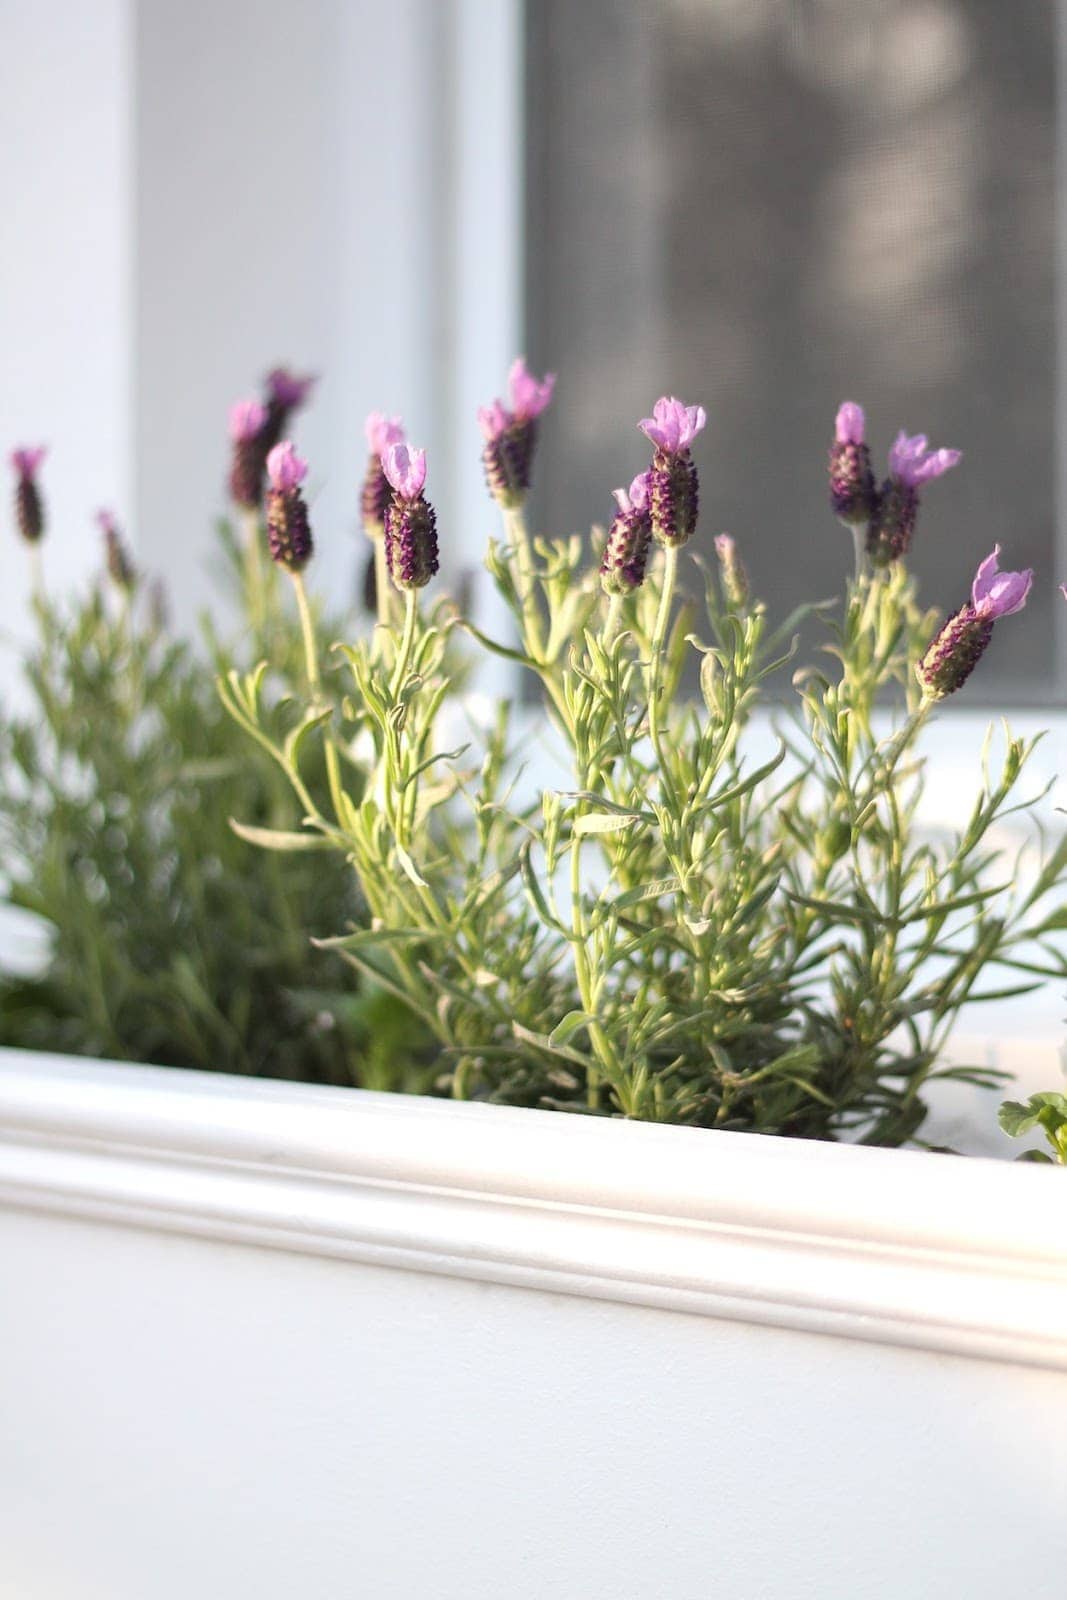
Since I was planting in early spring, I knew I could rely on pansies and lavender, knowing that the colors would compliment our home and landscaping plans well.
As you may already know, I love lavender for its beautiful aesthetic, fragrance and versatility. Click here for some of my favorite lavender uses. I chose pansies because they are great for garnishes and salads, plus the height of the lavender balances the pansies.


I am totally agree with your oppinion.this blog post is very encouraging to people who want to know these topics.
Thanks Angela! Nice to “meet” you!
Oh these are SO perfect. They look great on the house – what a charming idea. I’ve always wondered how to add the accent details- using trim pieces is so smart! I’m also one of the Lowe’s Creative garden gals which is how I found your blog. So great to meet you!
Thanks Sandy! I love the character it added!
ohh wow! i love this DIY~!!
xo,
Sandy
Sandy a la Mode