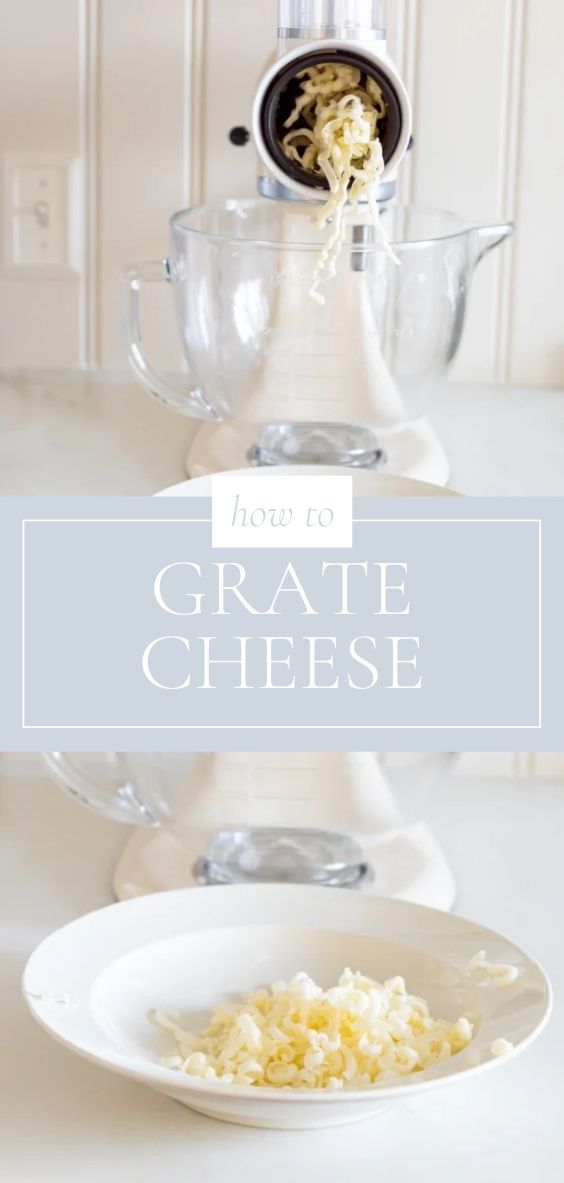
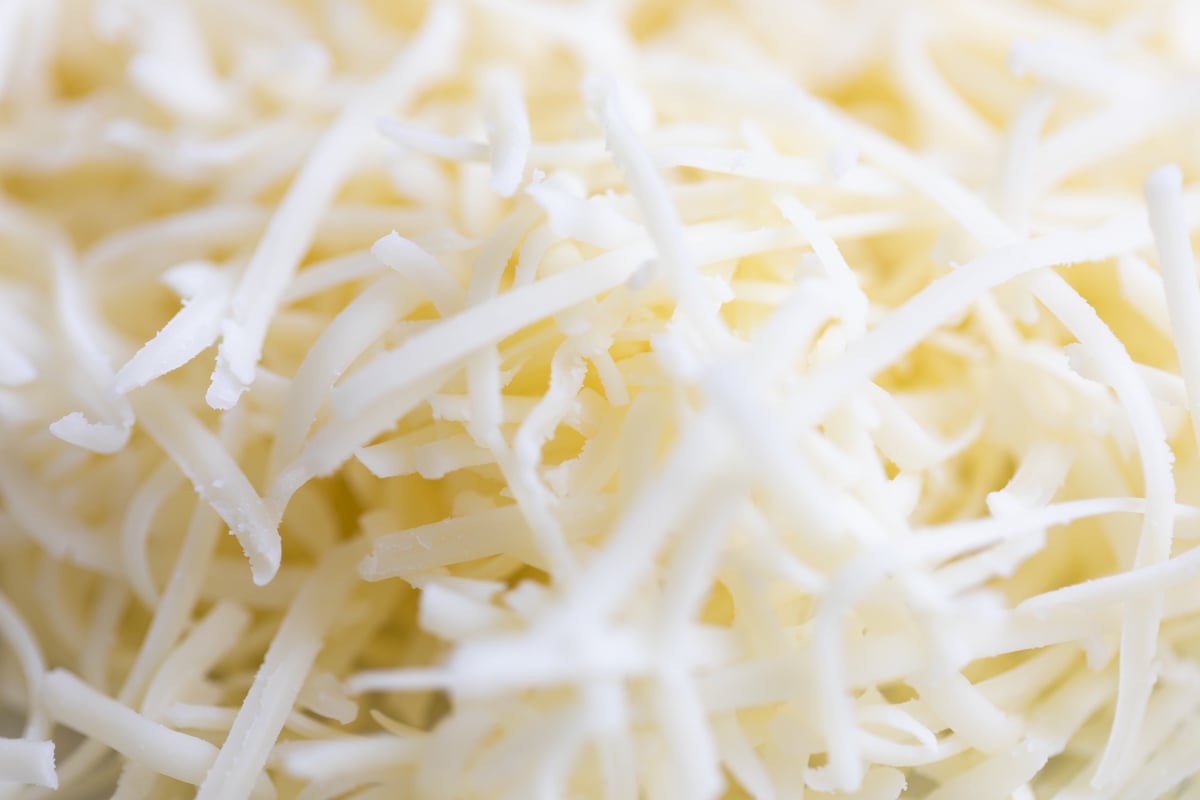
Consider this your ultimate guide on how to grate cheese! There’s nothing like fresh, creamy cheese to take any of your favorite recipes to a whole new level.
I’ve got step-by-step tutorials on using a KitchenAid cheese shredder and shredding cheese by hand, along with lots of tips and pointers to help you get perfectly grated cheese every time.
The refrigerated section at the grocery store has an endless array of grated and shredded cheeses, so why would you possibly want to shred your own? I mean, it’s the same thing, right?
Well, not exactly. The shredded and grated cheese at the grocery store has anti-caking agents like cellulose powder added to keep the individual shreds from clumping together in the package.
This powdery coating is great for making sure shredded cheese lasts at the grocery store, but it’s not so great for your cooking.
Freshly Grated and Shredded Cheese
If you’ve ever made a cheese sauce with packaged shredded cheese, you may have noticed that it has a slight grittiness to it, instead of being smooth.
Or maybe you’ve noticed that when you put pre-shredded cheese on a pizza or baked potato, each individual shred of cheese melts, but they don’t really melt together. That’s the anti-caking agent at work.
Skip the packages, learn how to grate cheese at home, and your mac and cheese will be smooth and creamy, your homemade pizza will have the perfect cheese pull, and your lasagna will taste just like the kind you get at your favorite Italian restaurant.
Why You Should Shred Your Own Cheese
Choosing the Right Cheese: Shredding vs. Grating
See the printable recipe card for complete instructions.
We’ll talk about shredding and grating cheese in this post. In recipes, sometimes the words “grated” and “shredded” are used interchangeably. Technically speaking, grated cheese is finer, while shredded cheese is…well, shredded.
Hard cheeses like Parmesan, Pecorino Romano, and asiago are best suited for finer grating because they have a texture that’s more crumbly thanks to their dryness. These hard cheeses can be used in sauces, salads, and other dishes.
On the other hand, softer cheeses like mozzarella, cheddar, and Monterey jack are best for shredding. While they’re fabulous in sauces too, these cheese can also be used for tacos, pizza, and casseroles.
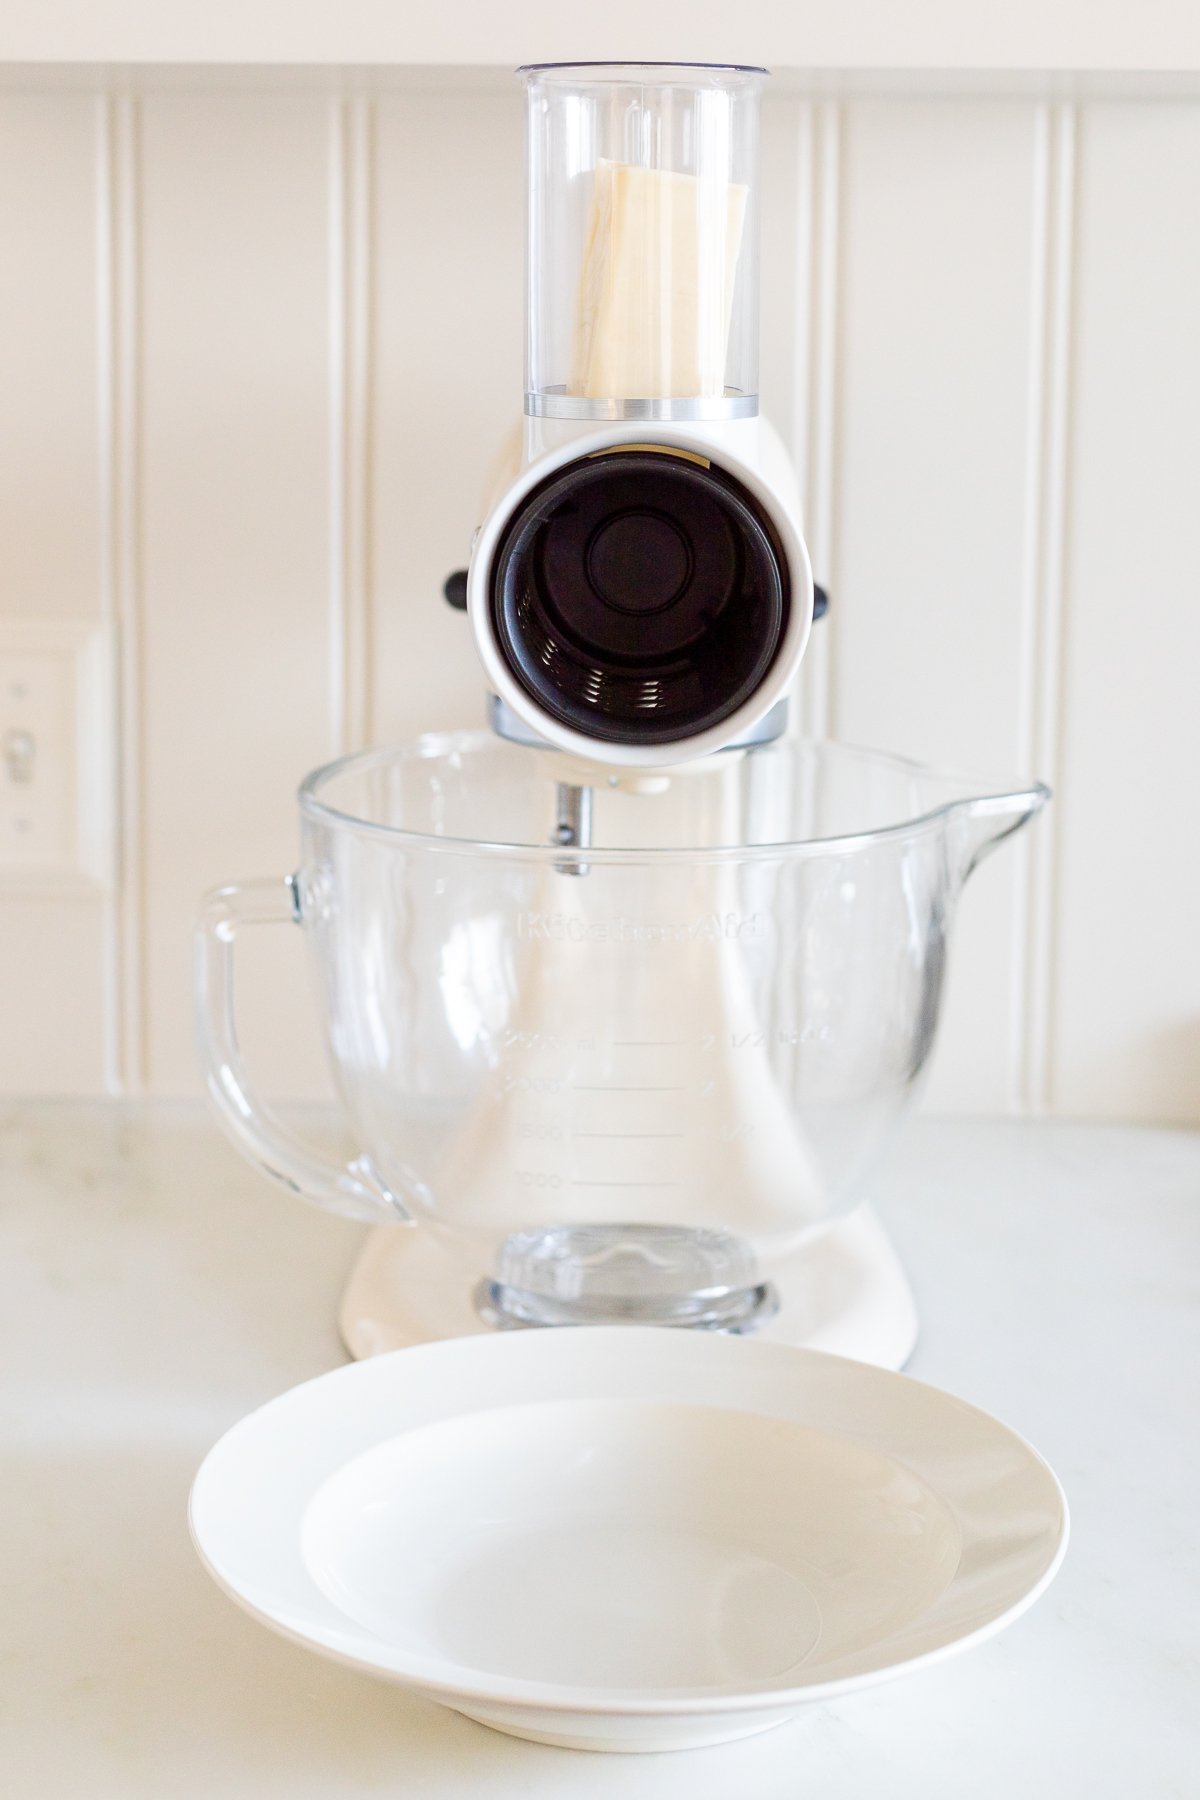
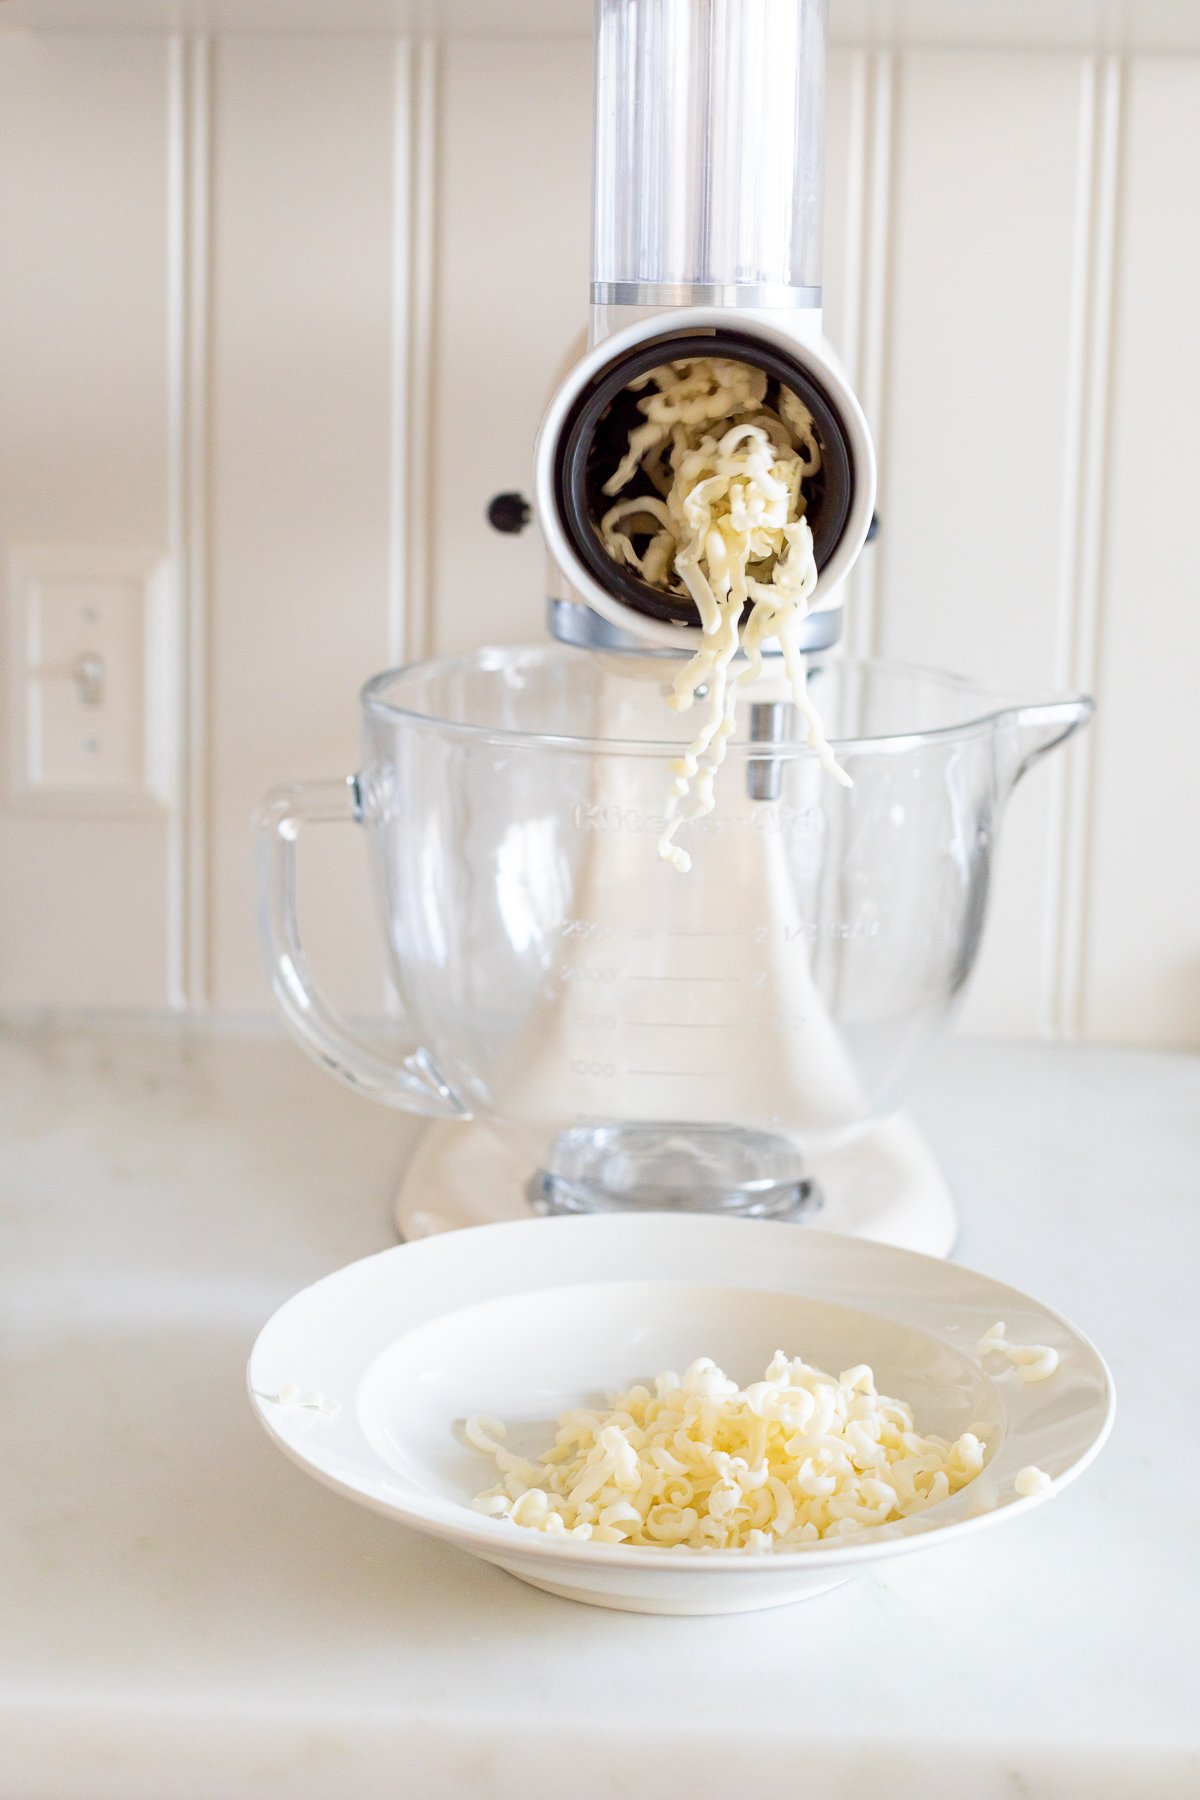
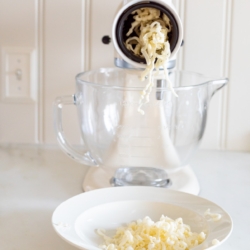
How to Grate Cheese With a KitchenAid Mixer
An overview, visit the printable recipe card for complete ingredients and instructions.
- Prep – Start by attaching the KitchenAid slicer/shredder attachment to your mixer with either the medium shredding blade or coarse shredding blade. Place a large bowl underneath to catch the cheese as it comes out.
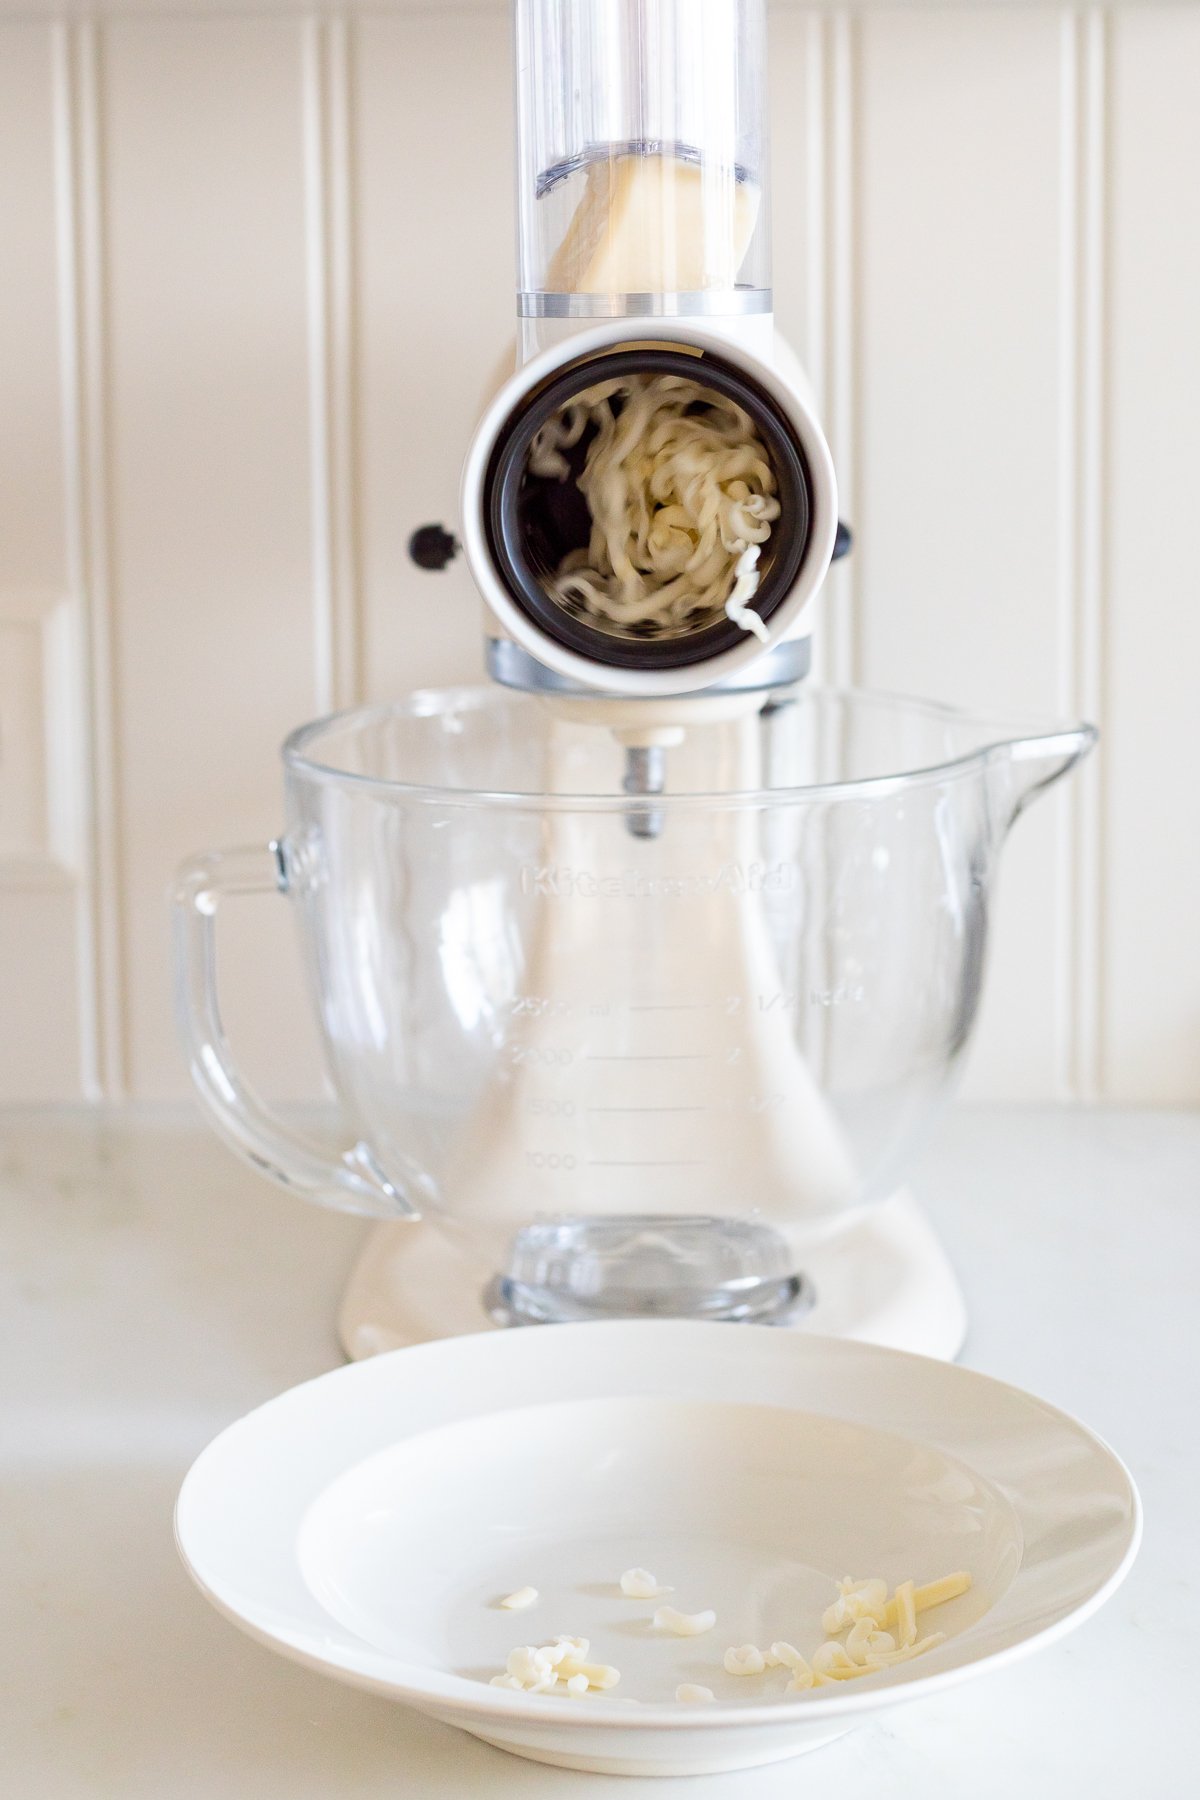
- Add the cheese – Load the block into the tube of the slicer/shredder attachment and start your mixer on Speed 4. Use the food pusher to push the cheese block into the feed tube.
- Adjust – Increase or decrease the speed, but keep in mind that shredding at a higher speed can make a mess!
How to Grate Cheese With a Box Grater or Rasp Grater
A rasp grater is a good choice for hard cheeses, while a box grater will work for hard or softer cheese; use the smaller hole size for hard cheese and the larger size for softer cheeses like cheddar.
- Prep – Start by cutting the cheese into smaller pieces that fit the size of your grater. For easy cleanup, spritz the grater with olive oil or cooking spray to keep the cheese from sticking.
- Grate – If you’re using a box grater, set it on its side. For a rasp grater, set it over a bowl. Use a firm back-and-forth motion to grate the cheese, but don’t press so hard that you crumble the block.
- Finish – If you used a box grater, carefully empty the grated cheese into a bowl.

Tip
If you’re shredding a very soft cheese, like fresh mozzarella, freeze it first. This will make it easier to shred without clogging your grater or shredder/slicer attachment.
Other Options for Shredding and Grating Cheese
If you don’t have a grater or a KitchenAid slicer/shredder attachment, here are a few additional options for how to grate cheese:
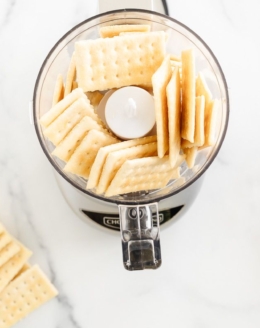
- Use the shredding attachment on your food processor.
- Use a vegetable peeler to make thin strips of cheese for melting.
- Use a mandoline slicer fitted with the grater attachment.
How to Store
- Room Temperature – Fresh cheese should not sit out at room temperature for more than two hours while serving.
- Refrigerate – Transfer the grated cheese to an airtight container or resealable plastic bag and store in the refrigerator for up to a week. Keep in mind, though, that without the cellulose, the cheese may begin to clump together after a few days. This is especially true of moist cheeses like fresh mozzarella.
- Freeze – For longer storage, freeze your cheese and use it within three months.
Frequently Asked Questions
No, grated cheese and shredded cheese are not the same, although sometimes the term is used interchangeably. Grated cheese is made using a box grater or rasp grater and yields finer pieces of cheese than shredded cheese does. Shredded cheese typically uses a larger hole size and yields longer strips of cheese.
It’s easier to grate cheese when it’s cold, as it’s less likely to stick together, clog the holes in your grater, or break. You can freeze soft cheeses like fresh mozzarella before grating to make the process easier.
Yes, grated cheese melts easily when heated and it’s ideal for adding to sauces, pastas, pizzas, and more. Even Parmesan, which isn’t known as a good melting cheese, will melt smoothly into a sauce when freshly (and finely) grated. Once you know how to grate cheese, you won’t buy those green containers of store-bought “shaky cheese” ever again!
If you only need a little bit of grated cheese, a box or rasp grater is probably your quickest option because you won’t have to haul out your mixer and clean the slicer/shredder attachment afterwards. For a larger amount of cheese, a KitchenAid mixer is definitely the way to go. You’ll also spare yourself a sore arm by having your mixer do the work for you!
Tips
-
If you’re wondering how to grate Parmesan without a grater, use the vegetable peeler method, then place the strips of cheese in a zip-top bag, seal it, and use your hands to crumble them up.
-
Set a piece of parchment or wax paper under the box grater while you shred the cheese. When you’re done, you can roll it up and funnel the stray bits of cheese into the bowl with the rest.
Join Now!
Hungry for more easy recipes? Sign up for my free recipe club and have amazing recipes delivered directly to your inbox each week!
More Cooking Basics
How to Grate Cheese
Ingredients
- Block of cheese
Instructions
To Grate Cheese With a KitchenAid Mixer:
- Start by attaching the KitchenAid slicer/shredder attachment to your mixer with either the medium shredding blade or coarse shredding blade. Place a large bowl underneath to catch the cheese as it comes out.
- Load the block of cheese into the tube of the grater attachment and start your mixer on Speed 4. Use the food pusher to push the cheese block into the feed tube.
- Increase or decrease the speed, but keep in mind that shredding at a higher speed can make a mess!
To Grate Cheese With a Box Grater or Rasp Grater:
- Start by cutting the cheese into smaller pieces that fit the size of your grater. For easy cleanup, spritz the grater with olive oil or cooking spray to keep the cheese from sticking.
- If you’re using a box grater, set it on its side. For a rasp grater, set it over a bowl. Use a firm back-and-forth motion to grate the cheese, but don’t press so hard that you crumble the block.
- If you used a box grater, carefully empty the grated cheese into a bowl.
Julie’s Tips
- If you’re wondering how to grate Parmesan without a grater, use the vegetable peeler method, then place the strips of cheese in a zip-top bag, seal it, and use your hands to crumble them up.
- Set a piece of parchment or wax paper under the box grater while you shred the cheese. When you’re done, you can roll it up and funnel the stray bits of cheese into the bowl with the rest.