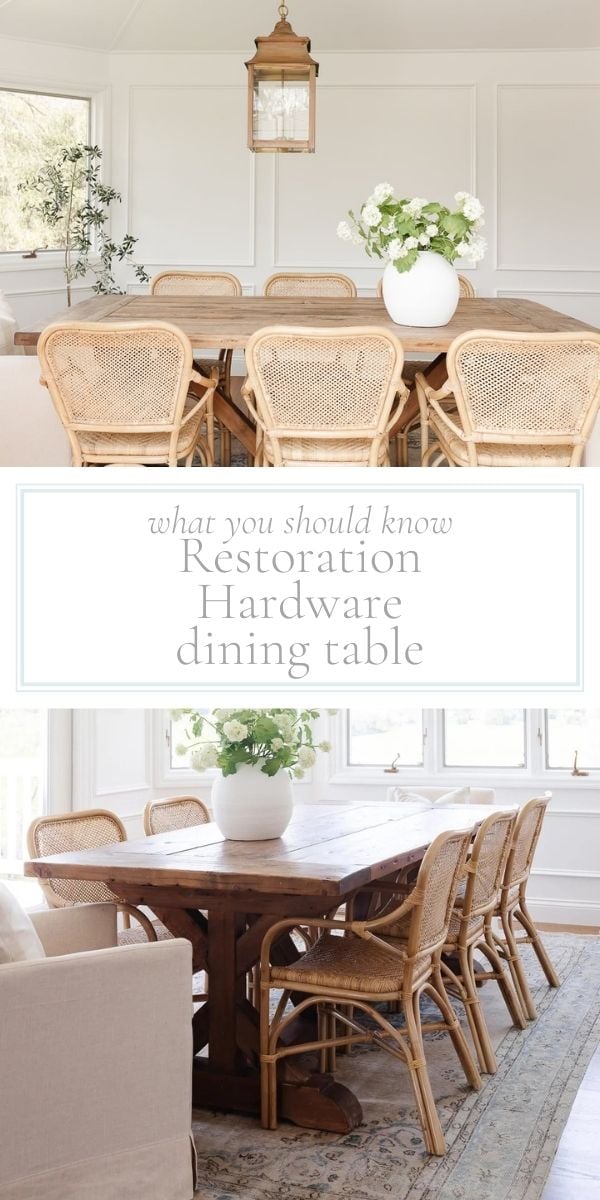
Get a real life review of a Restoration Hardware dining table! We’ll also show you how to protect your Restoration Hardware dining table, coffee table or desk.
Learn about all the options and what we ultimately went with and love seven + years later!
I haven’t written about our Restoration Hardware table since shortly after we received it because I allowed it to paralyze me. Things didn’t go as planned, to say the least, and this table caused us a lot of frustration.
The stress, disappointment and overwhelm was just too much. Instead, our family of five sat at an antique table, intended to be my kitchen desk.
It was tight. Our legs didn’t even fit underneath it. We just “closed off” the sunroom and pretended that it, along with the table, simply didn’t exist.
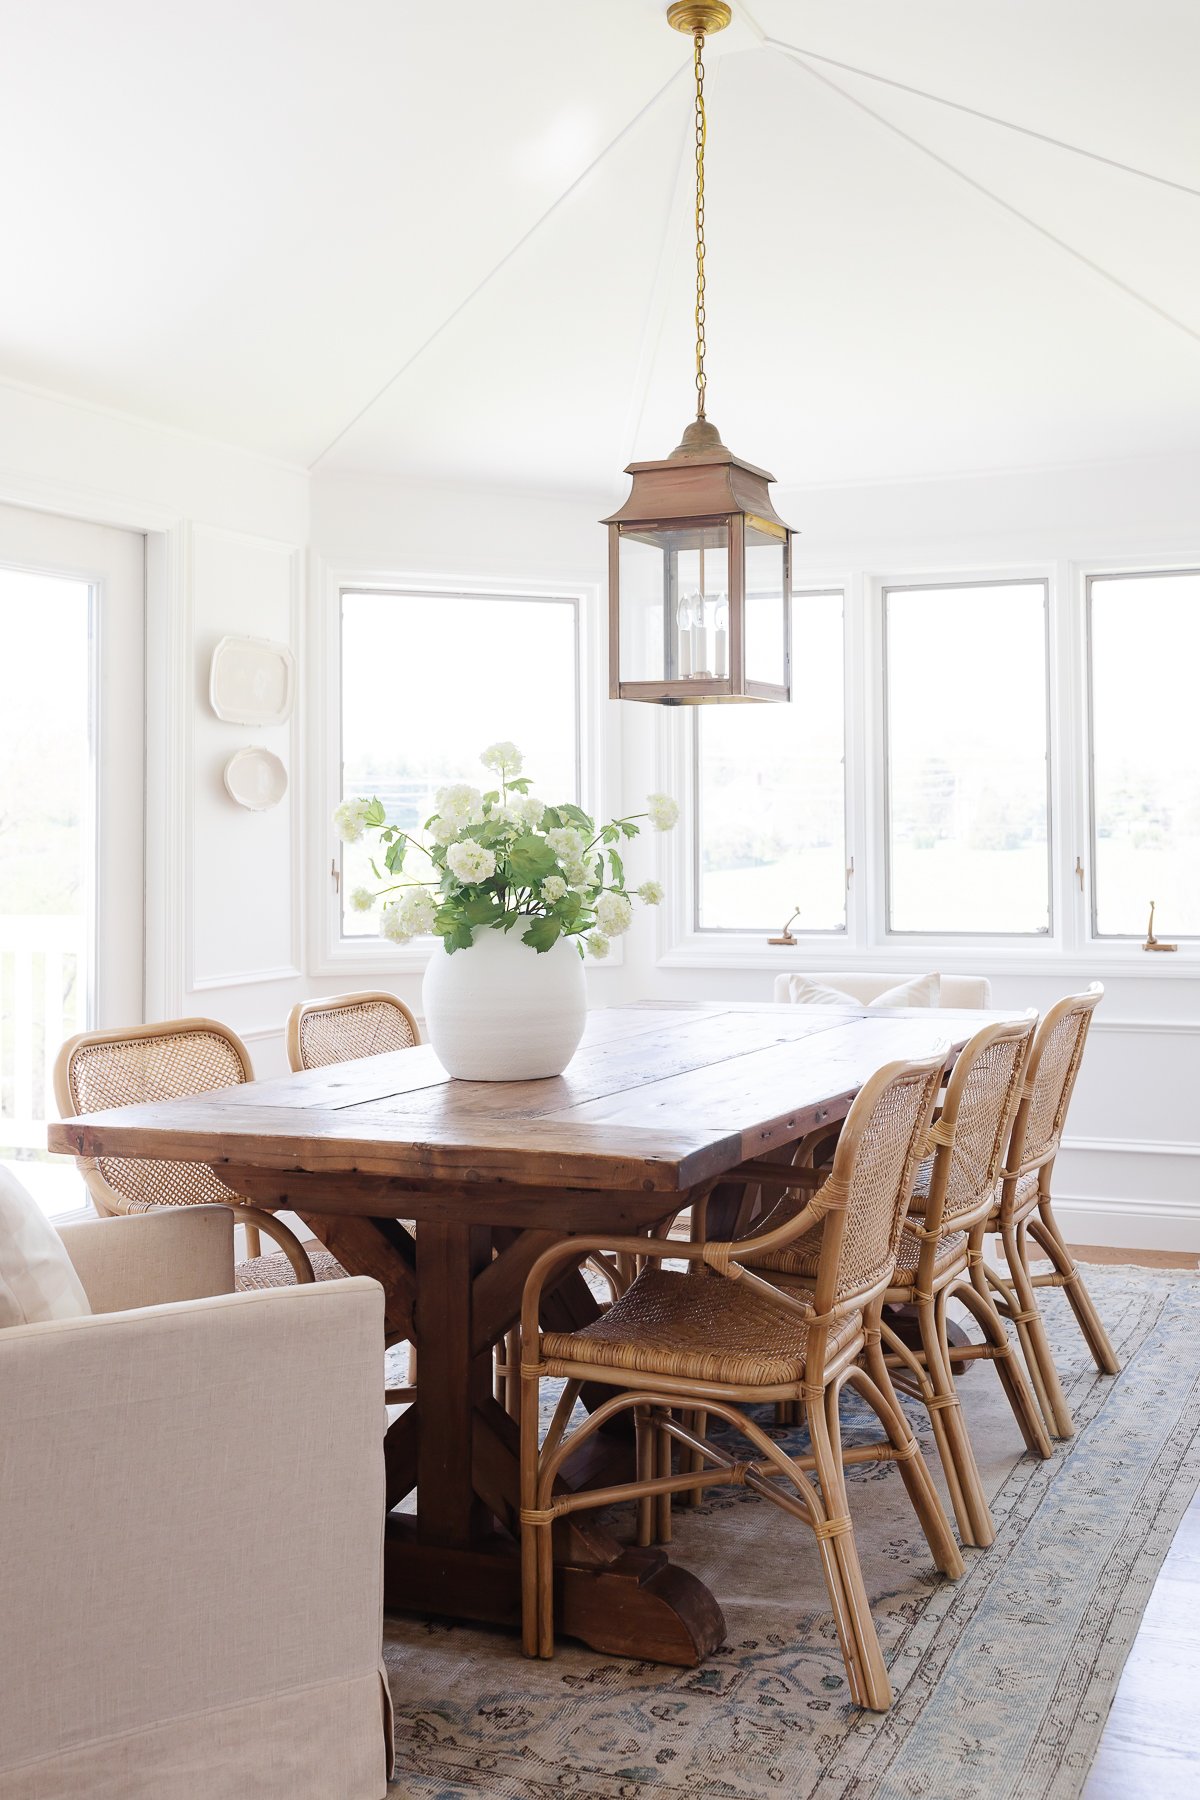
When we purchased a Restoration Hardware dining table with a natural finish, we envisioned it weathering over time. We wanted a rustic farmhouse table that would only become prettier over time – if you found your way here, you might have wanted the same thing.
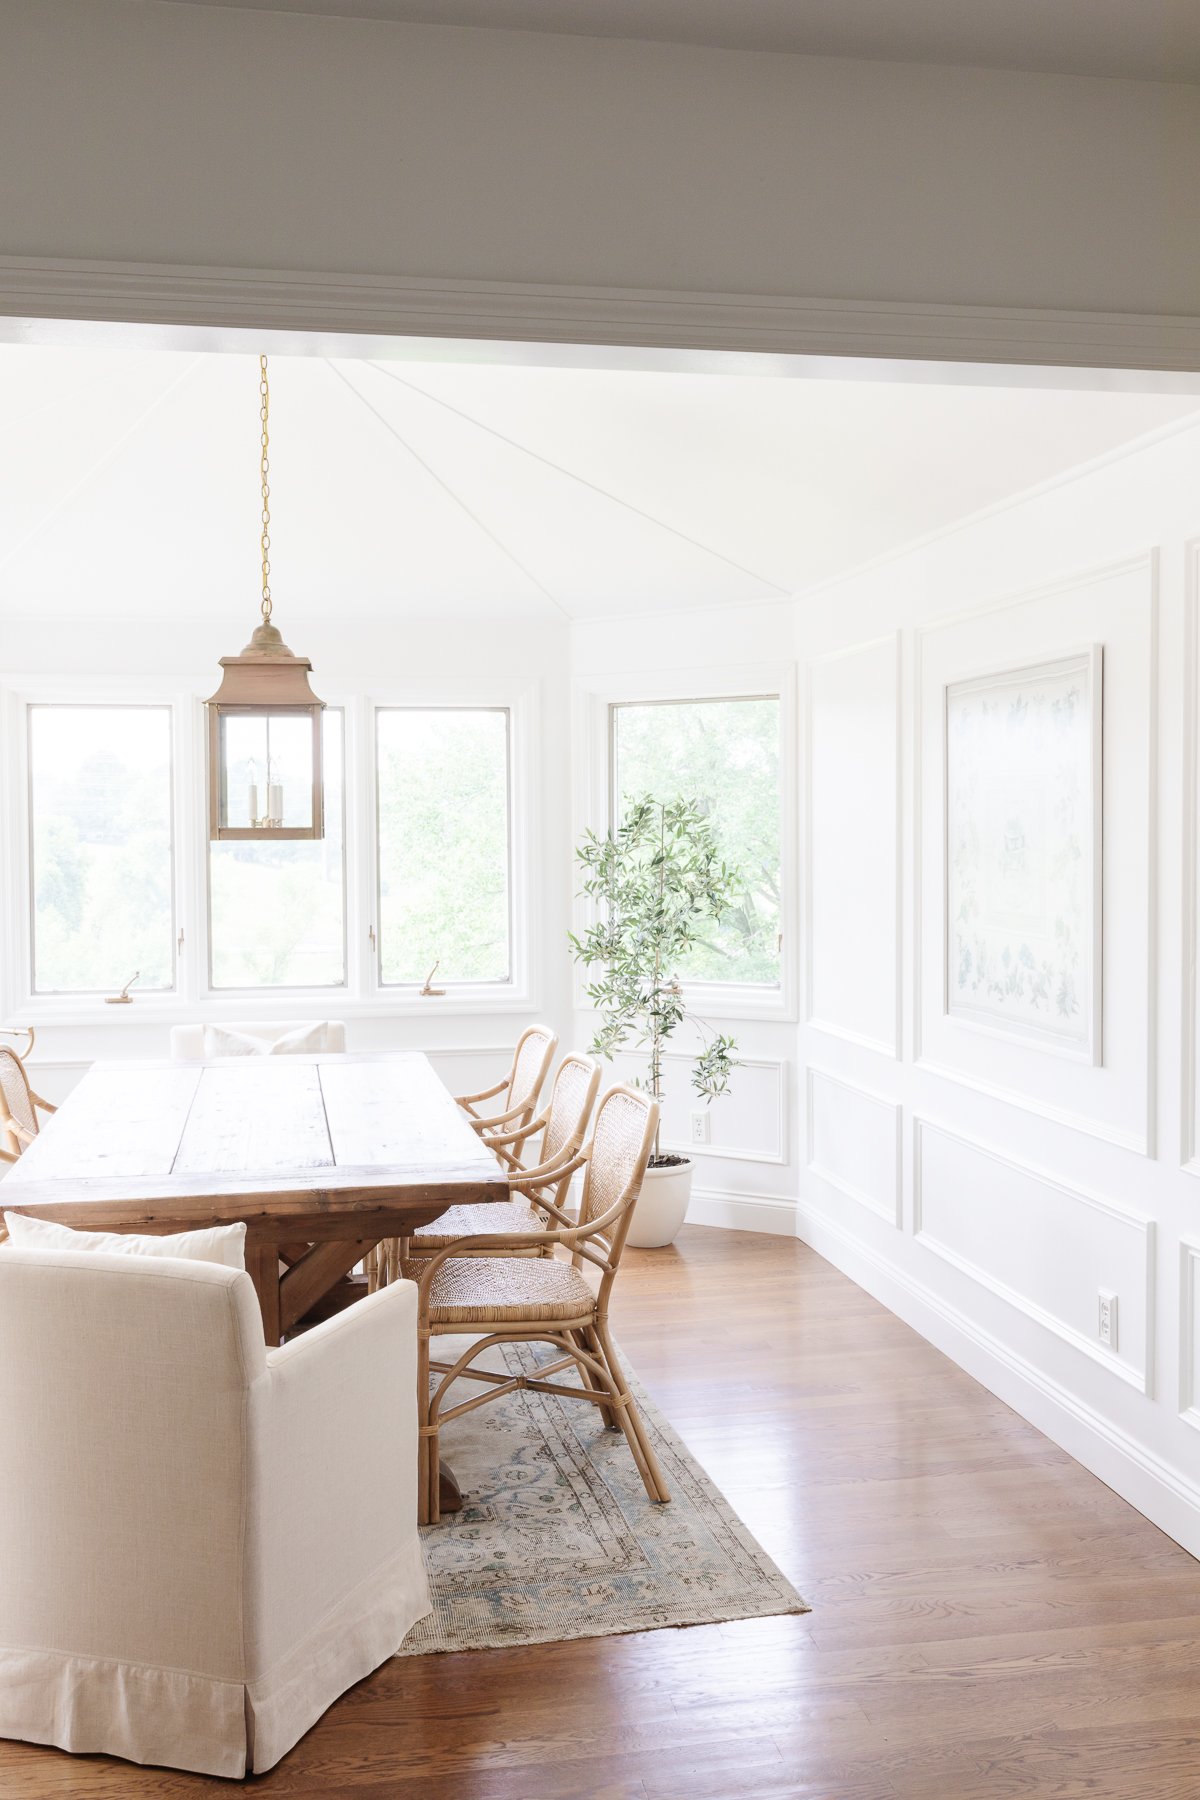
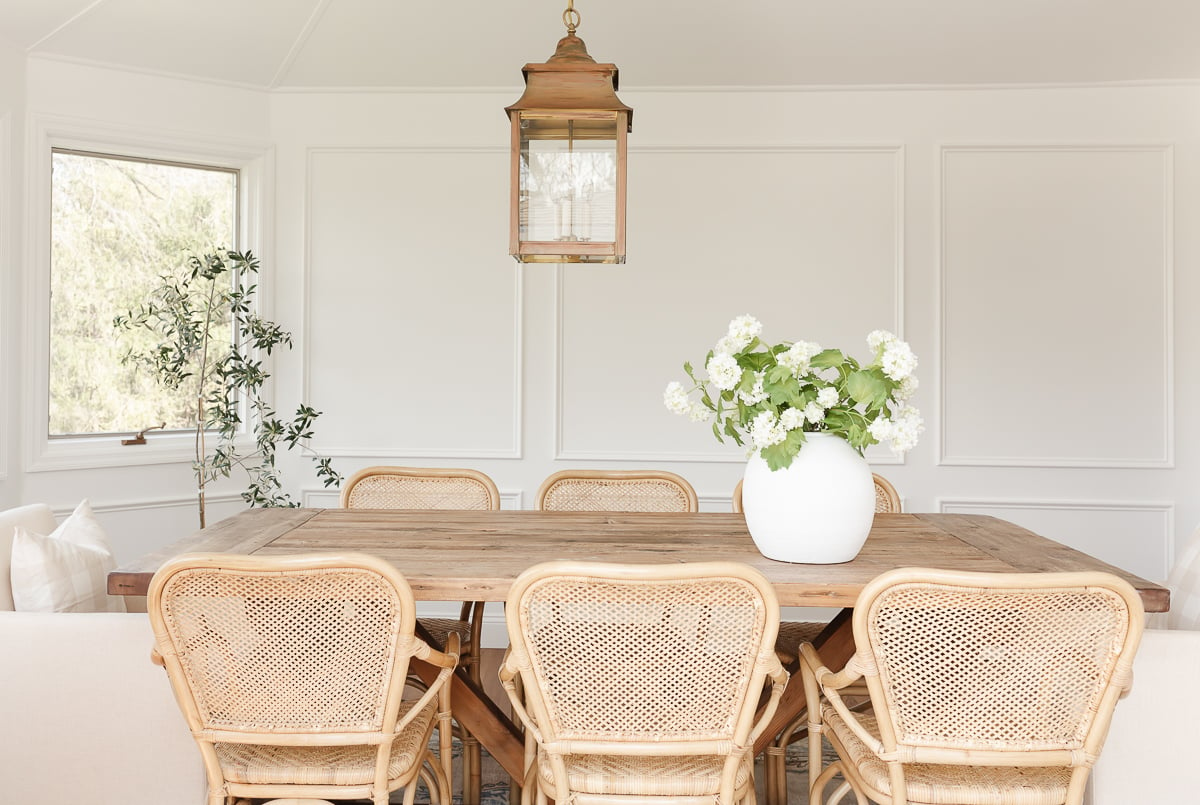
Restoration Hardware Dining Table
The reality was different, however. The first time we wiped the table down after dinner with a damp cloth, we removed the finish. You can imagine the horror!
We quickly realized the “natural” finish is a beautiful powder that is simply not practical for day to day living. That soft, dusty look is unachievable in a maintainable form.
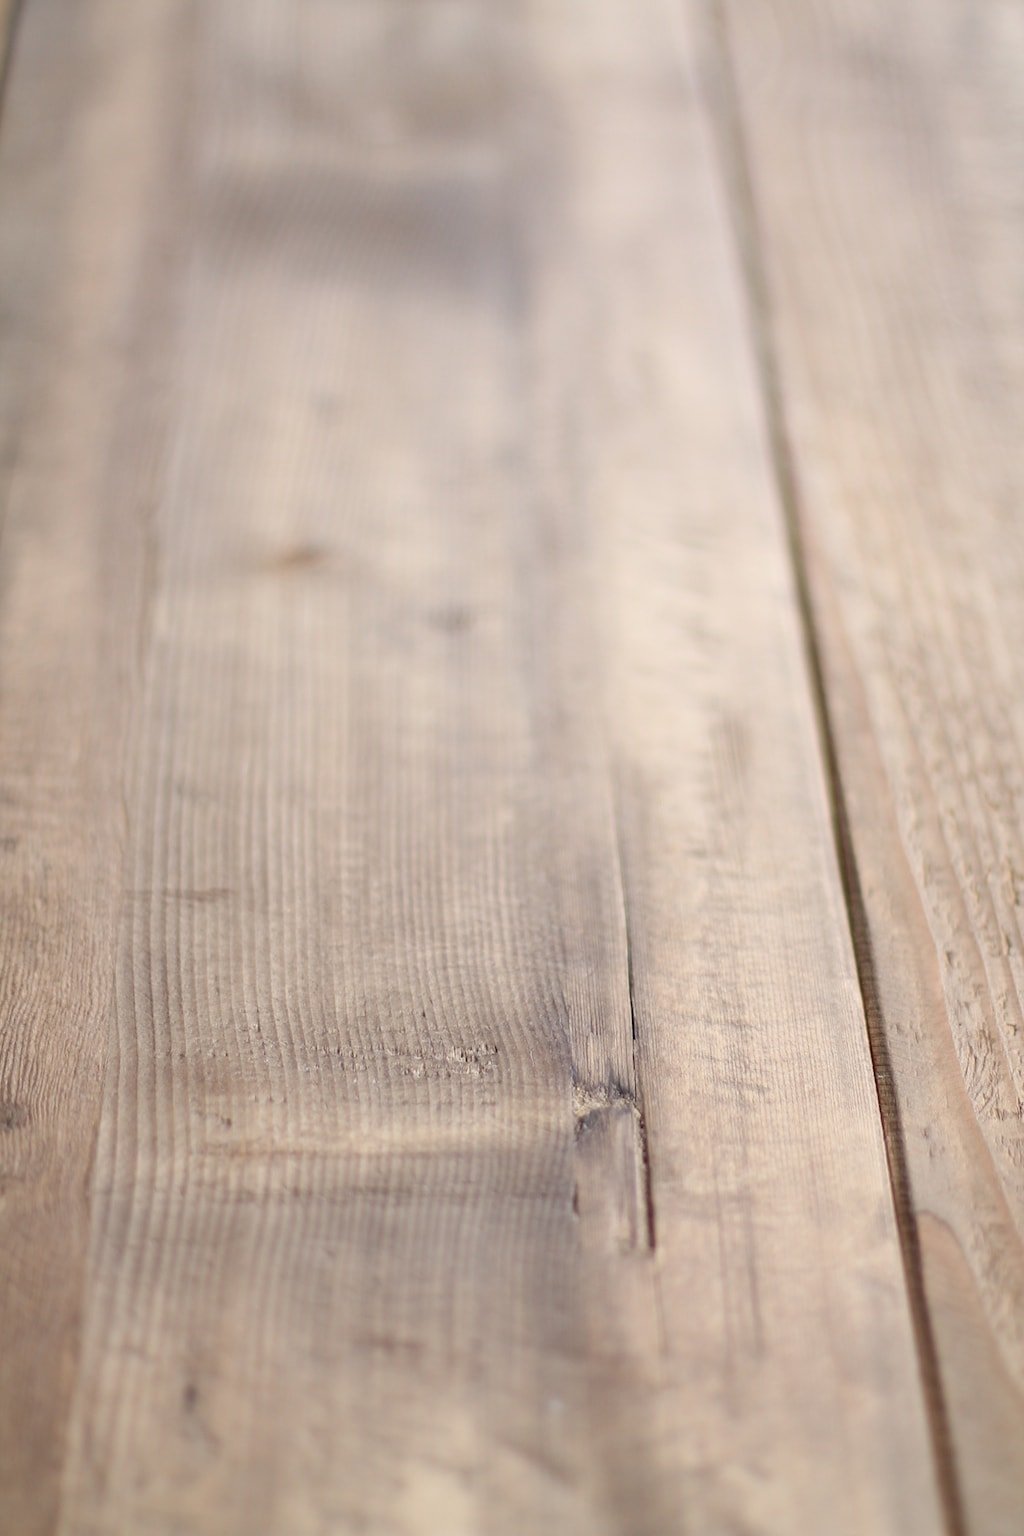
Underneath the powder the reclaimed wood table merely looked like wood purchased from your local hardware store.
We poured over the options time and time again, and realized that the perfect Restoration Hardware table just doesn’t exist. Fortunately, there are several options to protect your Restoration Hardware dining table. However, whatever product you use, will alter the finish.
We have purchased several pieces of Restoration Hardware’s natural finish including a dresser, chest of drawers and two dining room tables. We’ve had a lot of experience using the furniture over the last decade and most importantly, protecting it.
We made a lot of mistakes on our first Restoration Hardware dining table, but fortunately, you don’t have to! Today I’m sharing both how to protect and repair.
Read about How to Clean Linen Furniture from Restoration Hardware (or anywhere)!
RH Natural Finish
Restoration Hardware’s website notes on the description for the reclaimed wood table care recommendations.
“For dining tables, use of tablecloths, placemats and coasters is recommended to prevent staining. Clear furniture wax can be applied to protect the finish from minor spills. Use coasters or placemats to help prevent marks or stains.” and to “Wipe the table clean with a soft, dry cloth after each use.”
Their site also says “Care: Wipe using a damp cloth with mild soap and water, followed by a dry cloth. Wipe spills up immediately with a dry cloth.” However, that conflicts with their detailed care instructions. I (along with many of you) found that a damp cloth takes the finish right off.
After our first failure, we purchased a new RH dining table. We wanted to start fresh and fortunately were able to re-coop most of the expense we had invested in our previous farmhouse table.
We purchased this table with intention. This time we knew the powder finish would wipe off, so we took steps to protect it prior to use. Here is what we learned.
Products for Protection
- Wax
- Modern Masters Dead Flat
- Pure Tung Oil
- Polyurethane
The Pros and Cons of Each Option
Wax
Pros:
- Recommended by Restoration Hardware
- Very little alteration to the table
- Minimal sheen
- Easy to apply
Cons:
- Minimal protection
- Minimally water resistant
- Removes with solvent
- Requires reapplication
- Heat leaves rings
Best Use: Limited wear pieces like the Restoration Hardware Coffee Table, Side Table or Dressers
Modern Masters Dead Flat
Pros:
- Minimal sheen
- Very little alteration to the table
- Easy to apply
Cons:
- Minimal protection (markers, etc don’t wipe off)
- Minimally water resistant
Best Use: Limited wear pieces like the Restoration Hardware Coffee Table, Side Table or Dressers
You can purchase Modern Masters Dead Flat Varnish here.
A reader, Paula, graciously sent a photo of her table sealed with this finish. We used it on our kitchen island you can learn more about it here and the protection it provides.

Polyurethane
Pros:
- Easy to apply
Cons:
- Even the matte finish has a sheen
- Not waterproof
- Doesn’t stand up to abrasion
Pure Tung Oil
This is the option we chose. See below for more details and a step by step tutorial.
Pros:
- Waterproof
- Marker, glue, etc wipe clean
- No need to reapply
Cons:
- Alters color
- Minimal alternation to sheen with proper application (use of steel wool)
- Slightly more difficult to apply
Best Use: High wear pieces like the Restoration Hardware Dining Table
You can purchase Pure Tung Oil here. Use TRUE Tung Oil. There’s a difference, as Tung Oil Finish is not 100% Tung Oil.
- It’s not supposed to alter the color of the wood. However, the first coat must be used with a combination of paint thinner, which alters the finish. It released red tones in the wood we finished. A week later I found it less noticeable.
- It has a matte finish. It can have a slightly more matte appearance with A LOT of steel wool and willpower.
- It protects the wood from stains. It fills the pores, which seals the wood & allows it to easily wipe clean.
- It’s durable. After using it for a few years it has withstood oils, crayon, etc have wiped without staining.
I wish I was writing this with the perfect solution for you today, but it’s a decision each individual has to weigh. Instead, I’m sharing what we chose to do and how we’re moving forward.
How to Protect Your Restoration Hardware Dining Table
- If you recall, we immediately panicked. My first piece of advice is DON’T PANIC! Nothing good will come of it!
- If you plan to do anything with it, determine if you need to wipe the finish off first (if you’ve damaged it) or just go over the powder finish. The powder finish easily wipes off with a damp cloth. Below are pictures depicting the wood without the finish Restoration Hardware applies. Reader Lei said she used “coffee grounds and rubbed it into the spot where it had lightened”which made the omission of powder negligible.


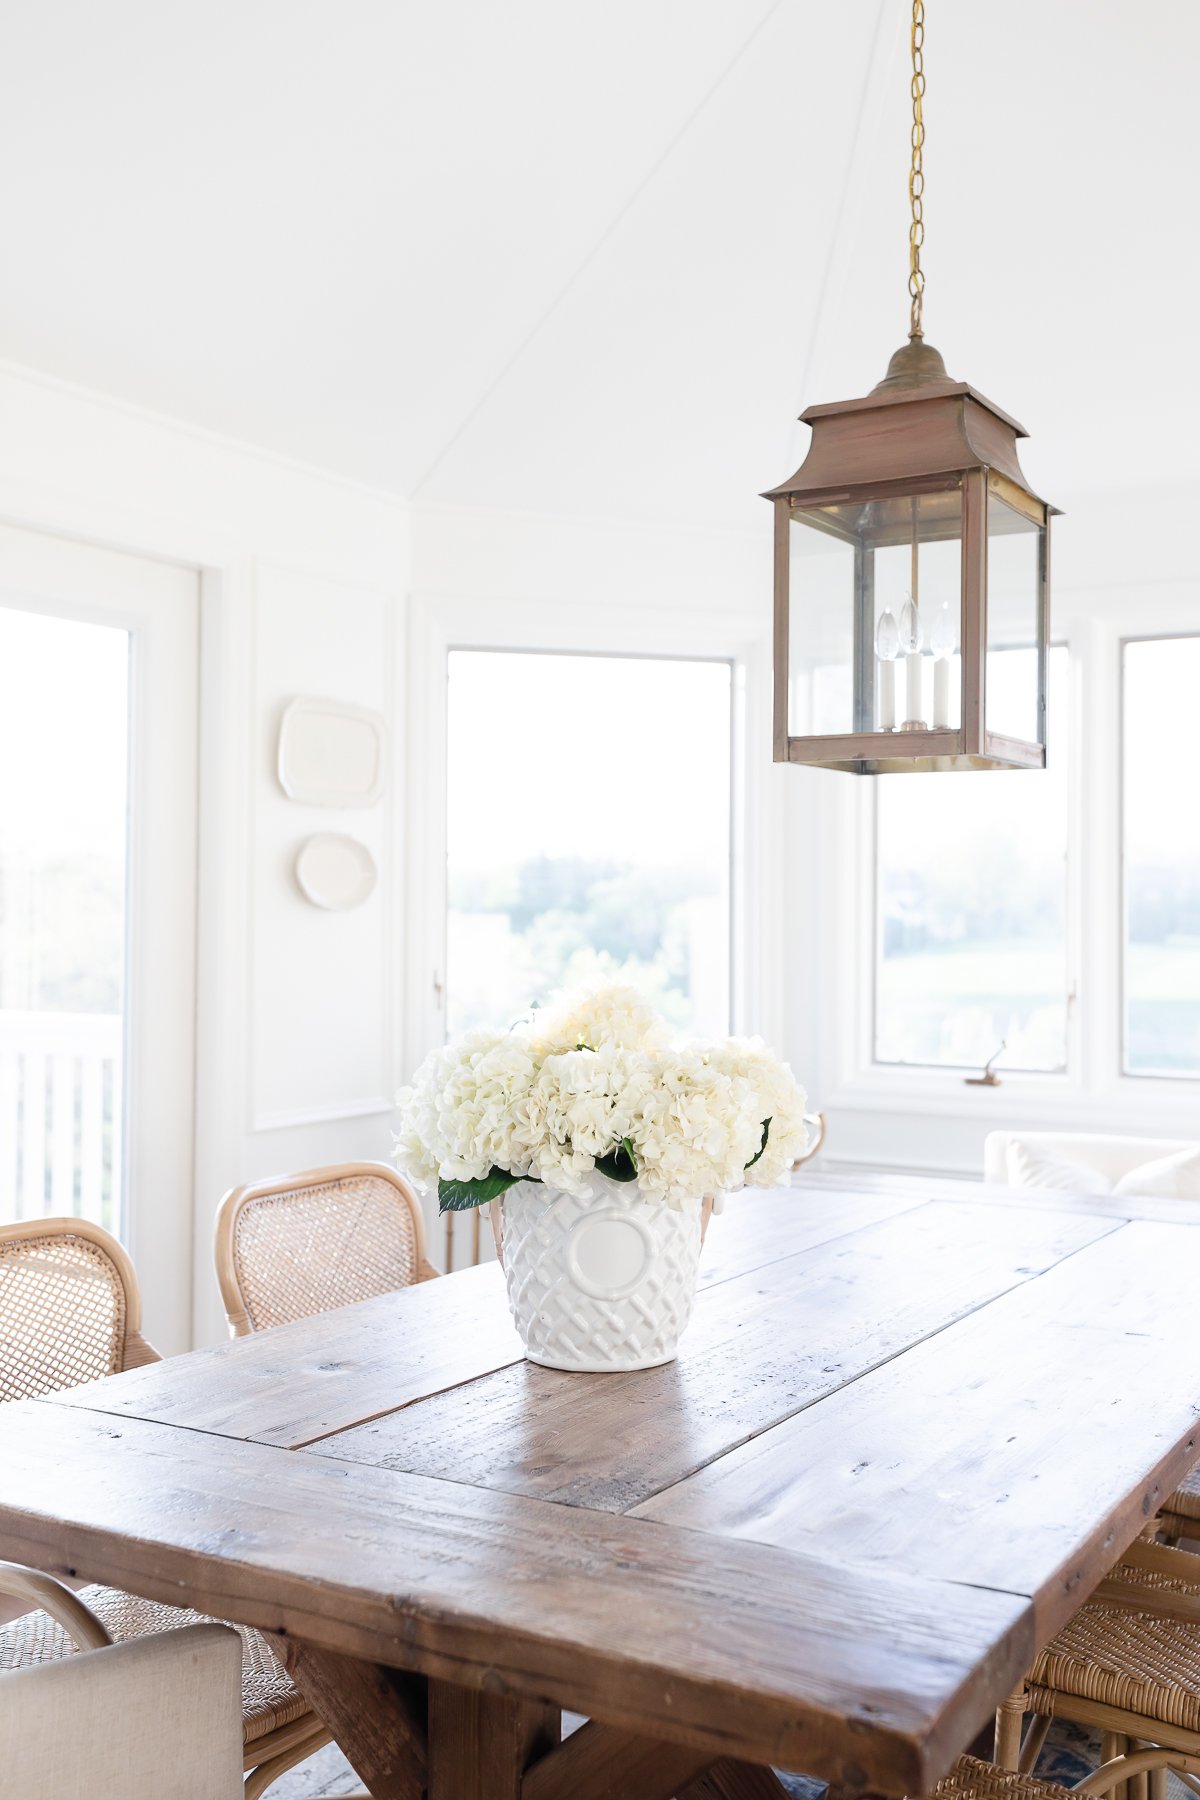
You can see the sheen from the tung oil in the picture below:

Tools and Supplies
- Pure Tung Oil
- Flour Sack Towels
- 0000 Super Fine Steel Wool
How to Use Tung Oil
- Apply Tung Oil with on with white flour sack towels.
- Have a second person follow behind to remove any excess.
- Use steel wool to dull the finish.
- Repeat.
The more muscle you put into using the steel wool the more natural your finish will be.
This method can be used with any farmhouse table or reclaimed wood table.
Update April 2019
Nearly five years later, I still receive a lot of questions about our Restoration Hardware dining table. The tung oil has held up incredibly well. To date, we have not reapplied and don’t see a need to do so.
The finish has continued to fade over time offering a softer, more natural aesthetic. All glue, marker and even candle wax have been removed effortlessly!
Update March 2024
Same story! We love our table and have never needed to change or alter the finish.
What Stain Color Best Matches Restoration Hardware’s Natural Finish?
If you have to stain your RH wood table because of a re-do, or are building your own farmhouse table to capture that look, Minwax Driftwood came the closest to the natural finish of the Restoration Hardware Dining Table.
It seeps into the pores of the wood, so the quicker you wipe it off to remove it, the less color that will be applied, however, it gets pretty dark in the grooves.
Here are some examples on various boards. I applied it and Chris followed behind wiping it off. These images are before the tung oil was applied.
In Conclusion
What did we learn?
Redefine expectations.
In the end, it’s not perfect, but it’s functional and looks nice. If you have experienced a similar situation, know that you will make peace with it, eventually!
I have learned so much from this table. One of the most important lessons is that sometimes we need to redefine our expectations.
It’s just a table.
Through all of your comments and emails, I learned that I am not alone. More importantly, I remembered that it’s just a table. Despite wasted time, money and energy, it’s still just a table.
It’s the reclaimed wood table that brought us together to help each other. If you have an experience with your table and can offer additional help to others, please leave a comment below. If this post can save someone even a few of the hours and frustration we put into our table, it’s worth it.
I hope this post has helped you make a decision you’re comfortable with to protect your farmhouse table. Please use comments below (rather than emailing) so that your questions and comments help others, too!


I have enjoyed reading your post- I don’t own the Restoration Hardware table but— my husband built an exact replica of the Pottery Barn Stafford Dining Table using Rough Sawn White Oak 2×6 boards 4 x 4 boards and 4 x 6 boards for legs and stretcher beams—this table is super solid and heavy several hundred pounds—he still has a few boards to add like breadboard etc.
(I have enclosed pictures below)
The man we bought the wood from said he uses Tung Oil — I am leary to use it as not knowing what kind to buy- I do not want this to be real dark—pretty much the exact same color as wood below or that of the Restoration Hardware table of yours.
I don’t want gloss I don’t was reds or yellows or oranges — I want exact color of your table
So my questions for you in your blog you said TRUE Tung Oil- Is this a Brand? I clicked the link and it brought me to the site of Wood River Woodcraft.com they showed various Tung Oils ( WoodRiver Pure Tung Oil – WATCO Tung Oil Waterlox Brands) None of the brands were TRUE?
I googled it and cannot find that brand? Would you be able to send me a picture of what you used and maybe more specifics
It looks too that some Tung Oils darken or are colored?– I don’t want that—
Also— you listed DEAD FLAT VARNISH — cant find that– is that a brand? I found on Amazon Modern Masters DP609-32 Dead Flat Varnish, Is that what was used in the one picture submitted 11-11-16 by Paula Any help would be super-
Thanks for sending the photos, it’s beautiful! He did an incredible job. Any reds, yellows or oranges are natural to the wood you chose and typically are brought out/enhanced buy products. This is the Tung oil we used, but there are others. Just make sure it says 100%. A lot have additives that will add color to your table.
We used Dead Flat for our kitchen island base.
I realize this thread started years ago. However, I have recently moved my st James dark dining table from never used area to every day kitchen use! Is there any solution for protecting this piece of furniture? Is tung oil a no go donto yhe chrijf effect? A clear no sheen varnish? I don’t know where to start? Any help is appreciated! Thank you thank you!
I bought the Salvaged Wood Trestle Table from RH in 2008. I’m not even sure what you mean by ‘powder finish’. I’m guessing it got wiped off during Thanksgiving ’08’s clean up. My table sat in our dining room and was used once, maybe twice a year until last year. That’s when we moved into our forever farmhouse. We eliminated a formal dining room so we now use this beautiful table daily. Fast forward a year…. daughter and 6 and 3 year old moved in 3 months ago and now the table has many marks, stains, etc. Also I haven’t heard anyone address the SPLINTERS. I wiped the table with a damp paper towel a few days ago and it was literally shredded because of the rough wood. And I still get brown residue on my towel when wiping up after a meal. I’m sure my almost 10 year old table is literally dying of thirst. I’m considering sanding the table lightly before applying the miracle cure of 100% tung oil (or the MM dead flat – what to do, what to do??). Has anyone ever sanded their table? If so, what did you use? I’m thinking just 0000 steel wool, but would love to hear about sanding experiences.
It may have been said already, but mix 1/3 Tung oil (100% tung from online, you cannot find in “regular” stores), 1/3 Turpentine, and 1/3 Boiled linseed oil. Pour it on heavy and rag off the excess. Work it in in the direction of the grain and let it sit. One coat will be helpful, two coats, is better, three coats is nice. 20 coats will give you a glossy look. Re-coat the table in this manner, every year. After 10 years you will have an old world looking table that people will drool over.
This 1/3 mix will reject oil, water… even wood glue. I use it on all of my woodworking benches.
(Note: Tung oil should never be used for outdoor furniture unless you re-coat monthly.)
Otherwise: get clear Briwax brand wax. Rub it on with a lint-free cloth. One, thin coat. Work it in in the direction of the grain. Do it again in a month. Then do it again when it looks like it needs it, but at least once a year.
Spills, drops, dents, rough-outs will only make the table better over time. Get enough spills, dents, etc and you will eventually find that it looks even more amazing, but always remember that this will take years.
If none of that is up your alley, then have a piece of thick, tempered glass cut to size and lay it on top of the table with clear, rubber feet arrayed to prevent wobble or droop. 100% protection.
Julie, after two years how has the tung oil worked on your table? Have you had to reapply since the first time?
No, it’s been amazing – wipes clean from markers, wine, etc