Picture frame moulding is a beautiful type of wainscoting that goes by a multitude of different names.
Sometimes known as shadow box trim, box paneling, picture frame molding, shadow box molding or shadow box wainscoting… the names are endless, but the style is truly timeless.
Read on for more details about picture frame moulding and find out why it might work for your home!
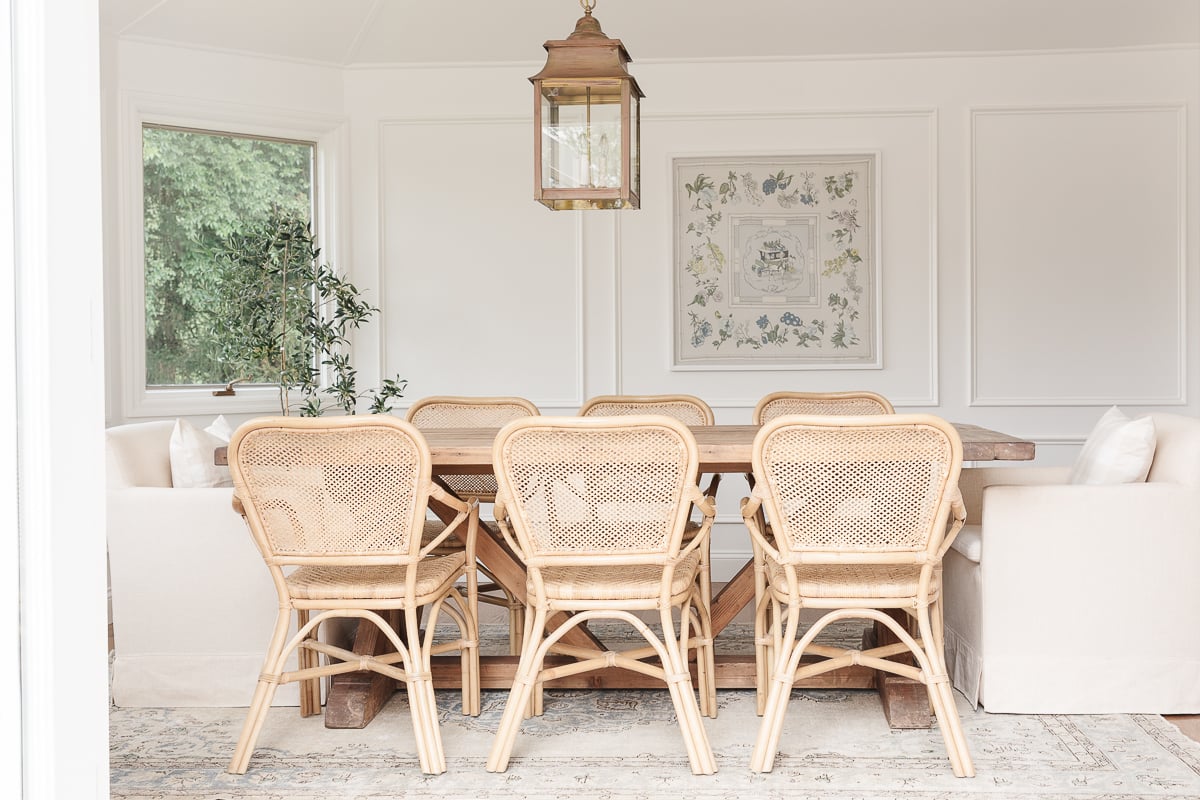
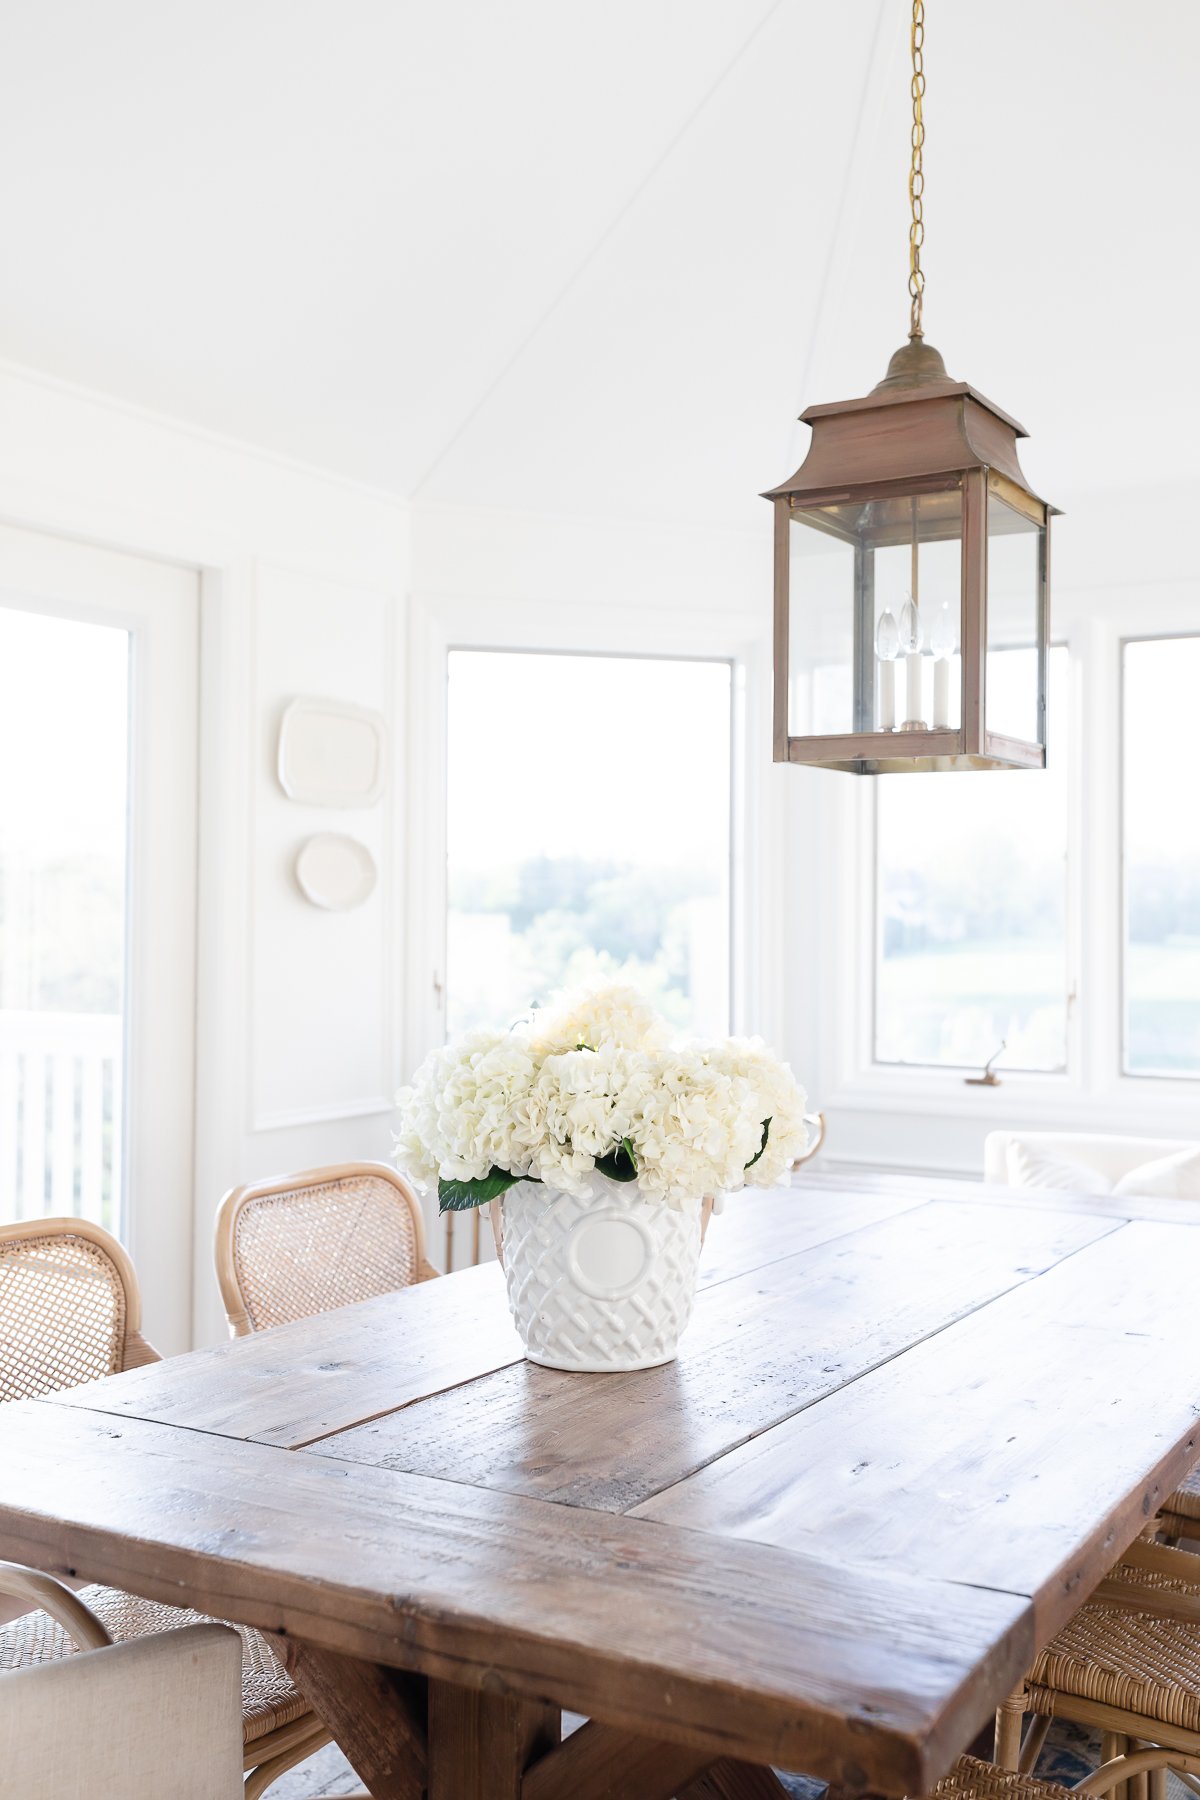
One of the reasons we chose picture frame moulding for our breakfast room was because the space lacked warmth and character. We knew that adding this style of trim would help elevate the room, creating charm and interest where there was little.
I’ve heard this style of wainscoting called every name in the book. Applied moulding, box moulding, picture moulding. For the purposes of this post, we’ll mostly refer to it as picture frame moulding for ease!
In fact, I realized as we started this post – no one even seems quite sure of how we spell moulding. Is it molding? Or do we add the u for moulding?
Regardless, if you’ve been craving a little additional texture and a more formal, elevated look in any room of your home, this box paneling moulding might be just the ticket!
Learn how to achieve this look through a DIY tutorial or buy the picture frame moulding pre-made!
What is Picture Frame Moulding?
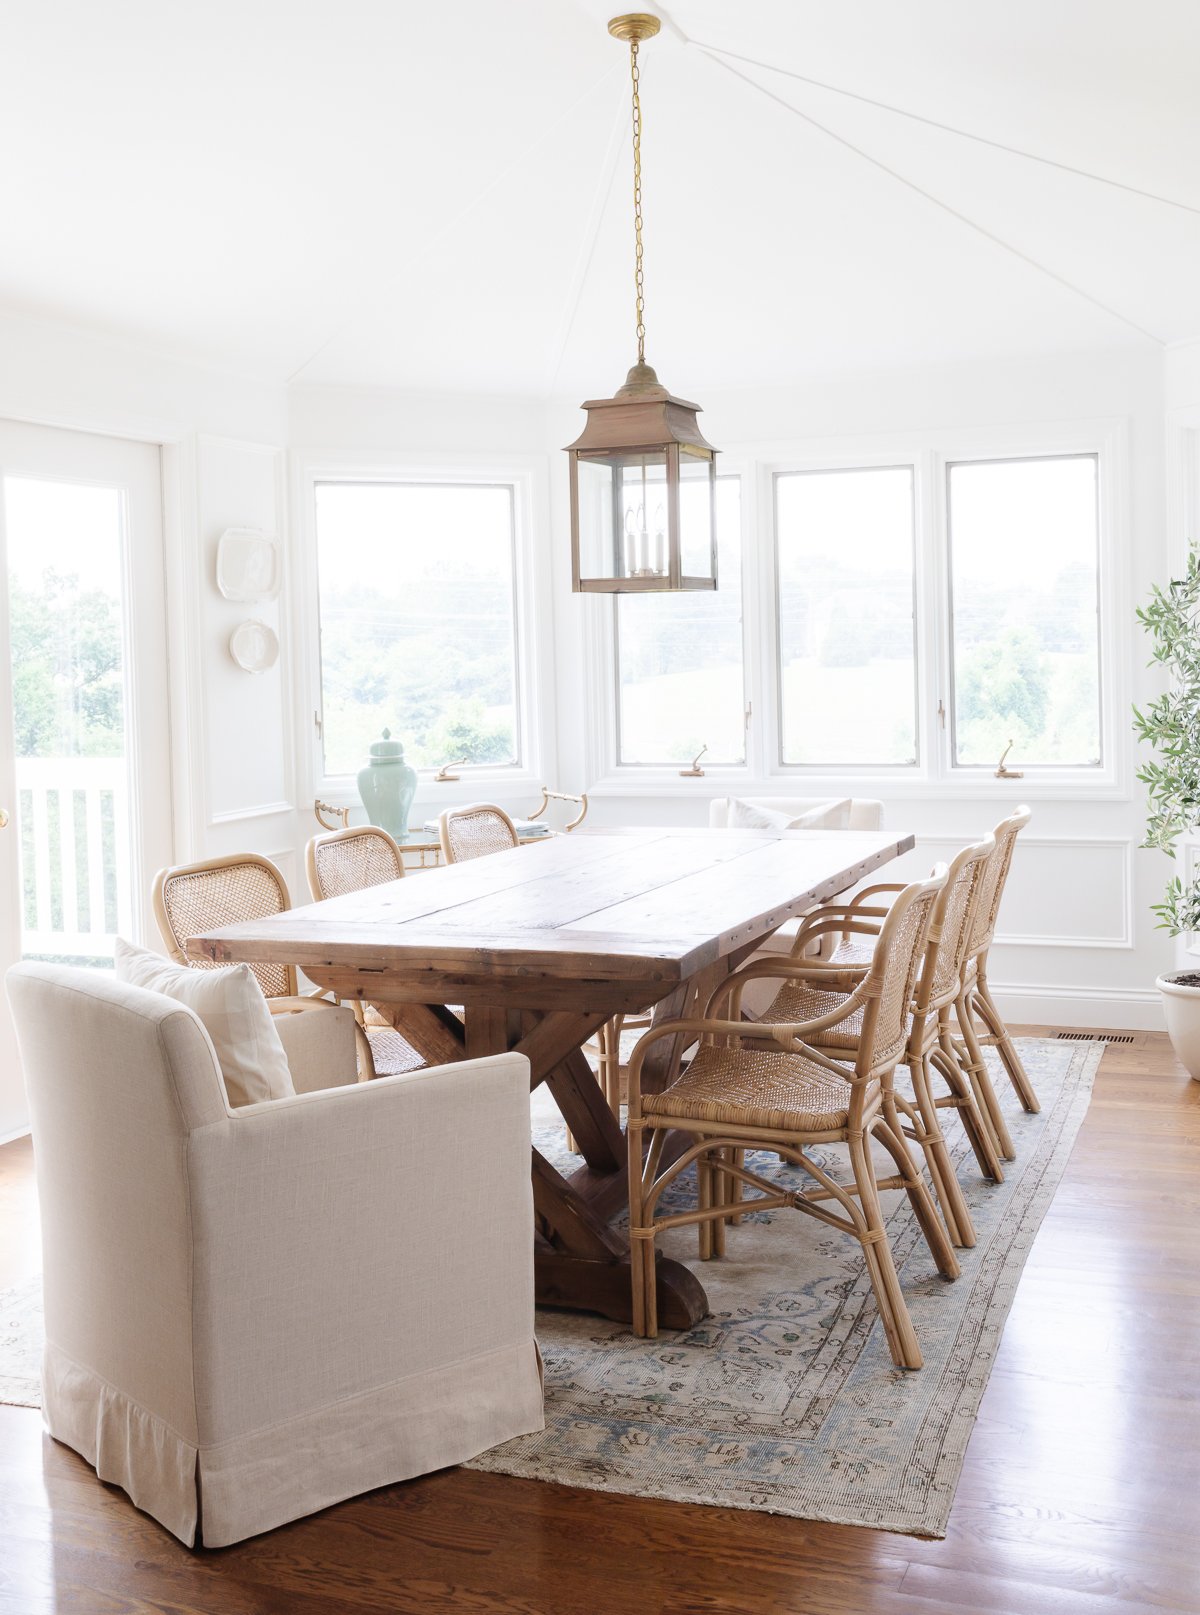
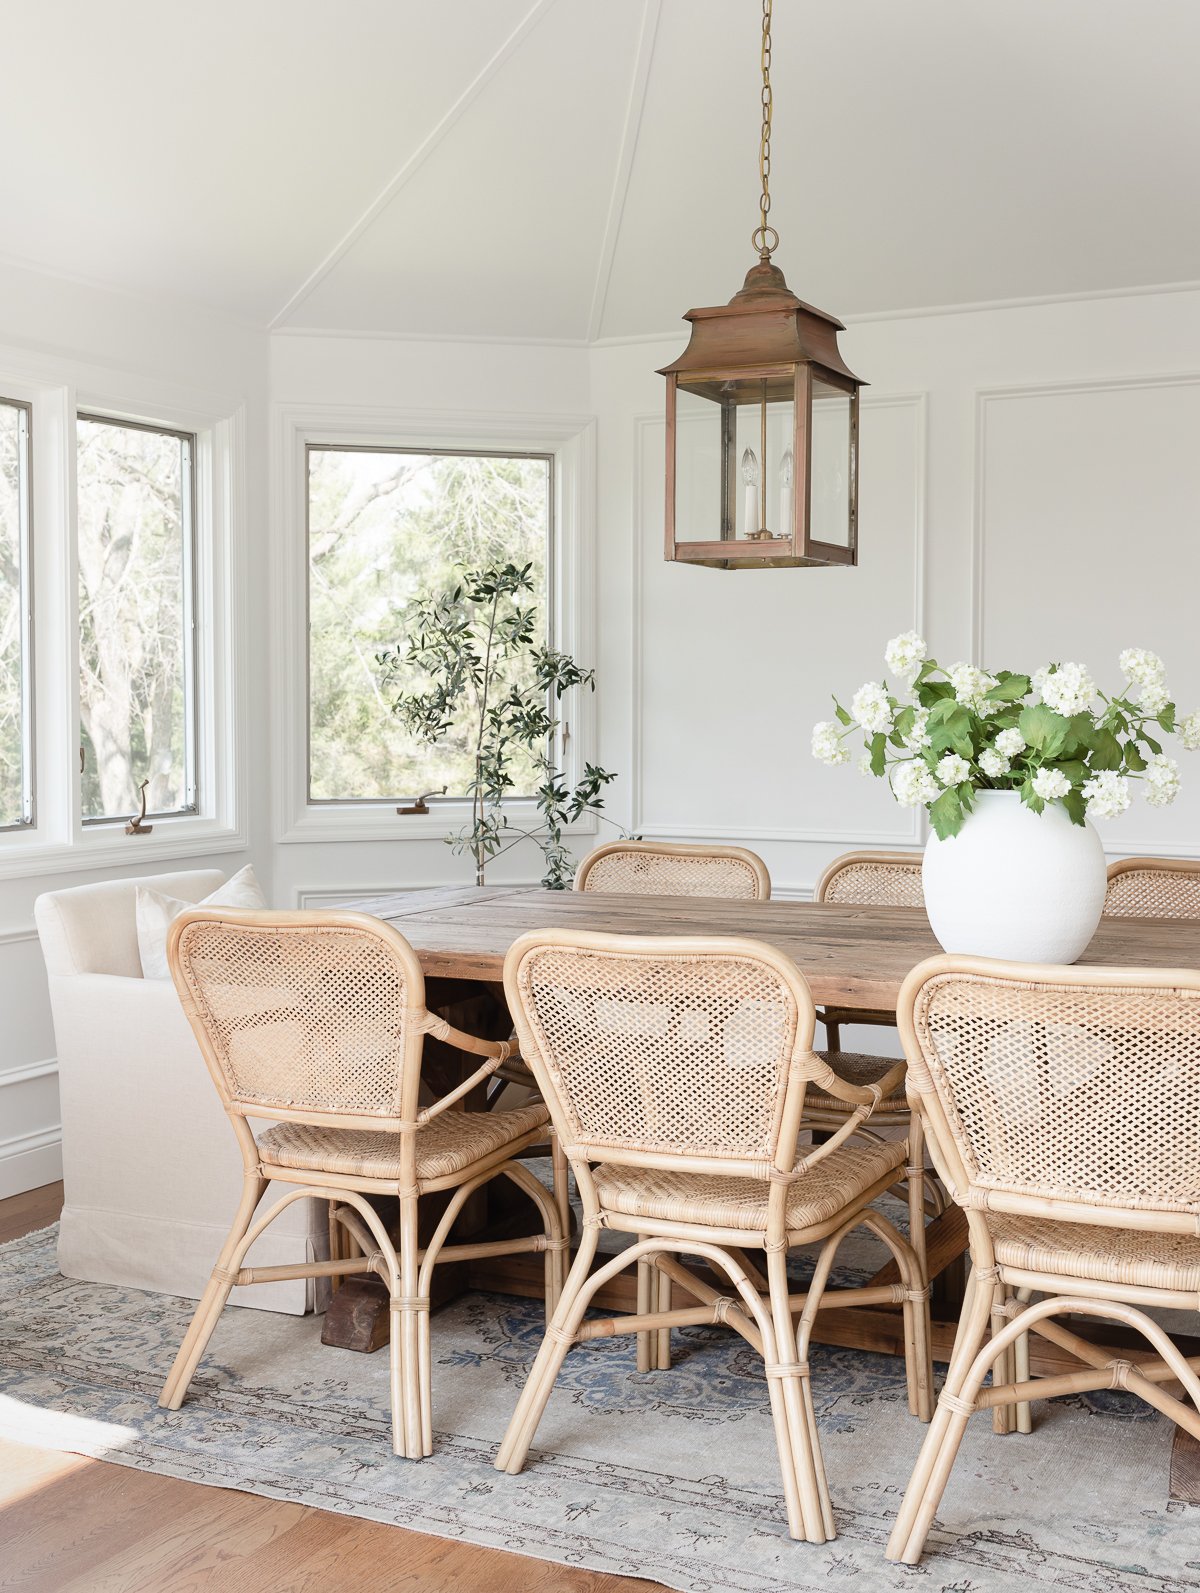
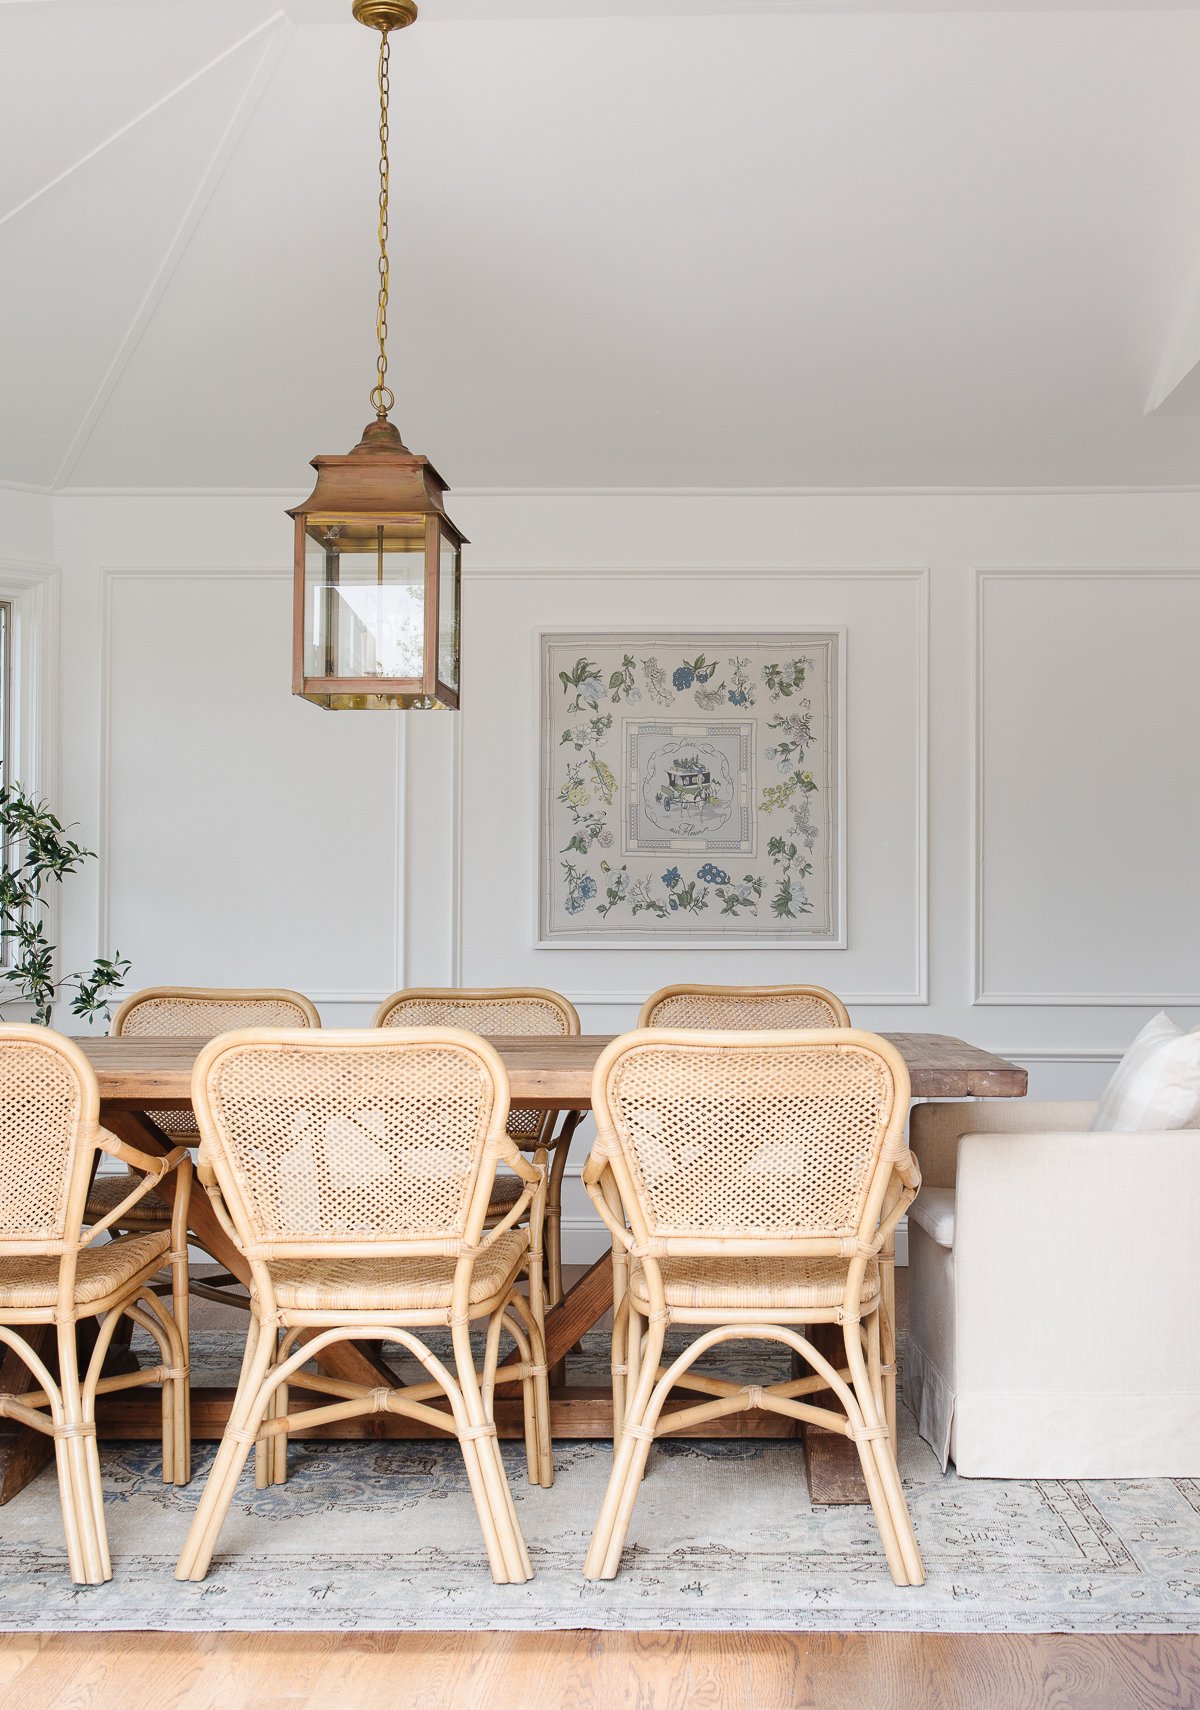
Picture frame moulding adds a boxed (often rectangular) shape of traditional moulding to your walls in the shape of a picture frame, of course.
It’s a combination of squares, rectangles etc that combine to add texture and charm to the walls of any room of your home.
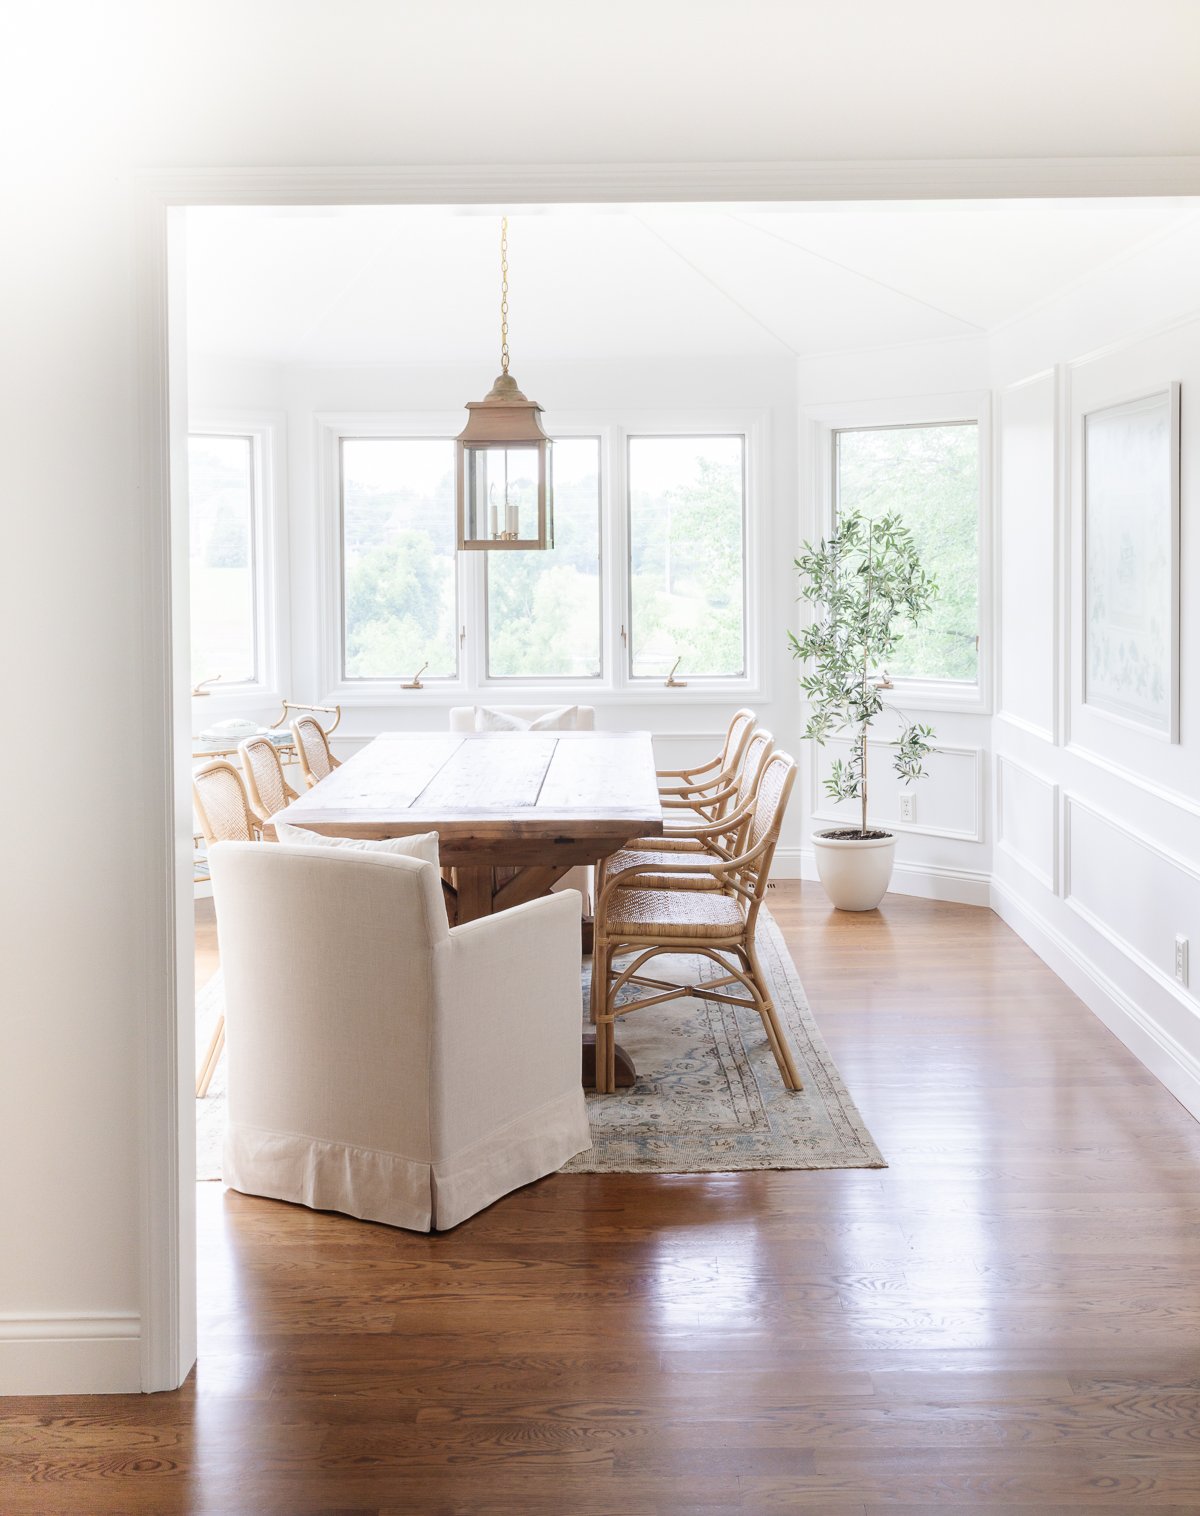
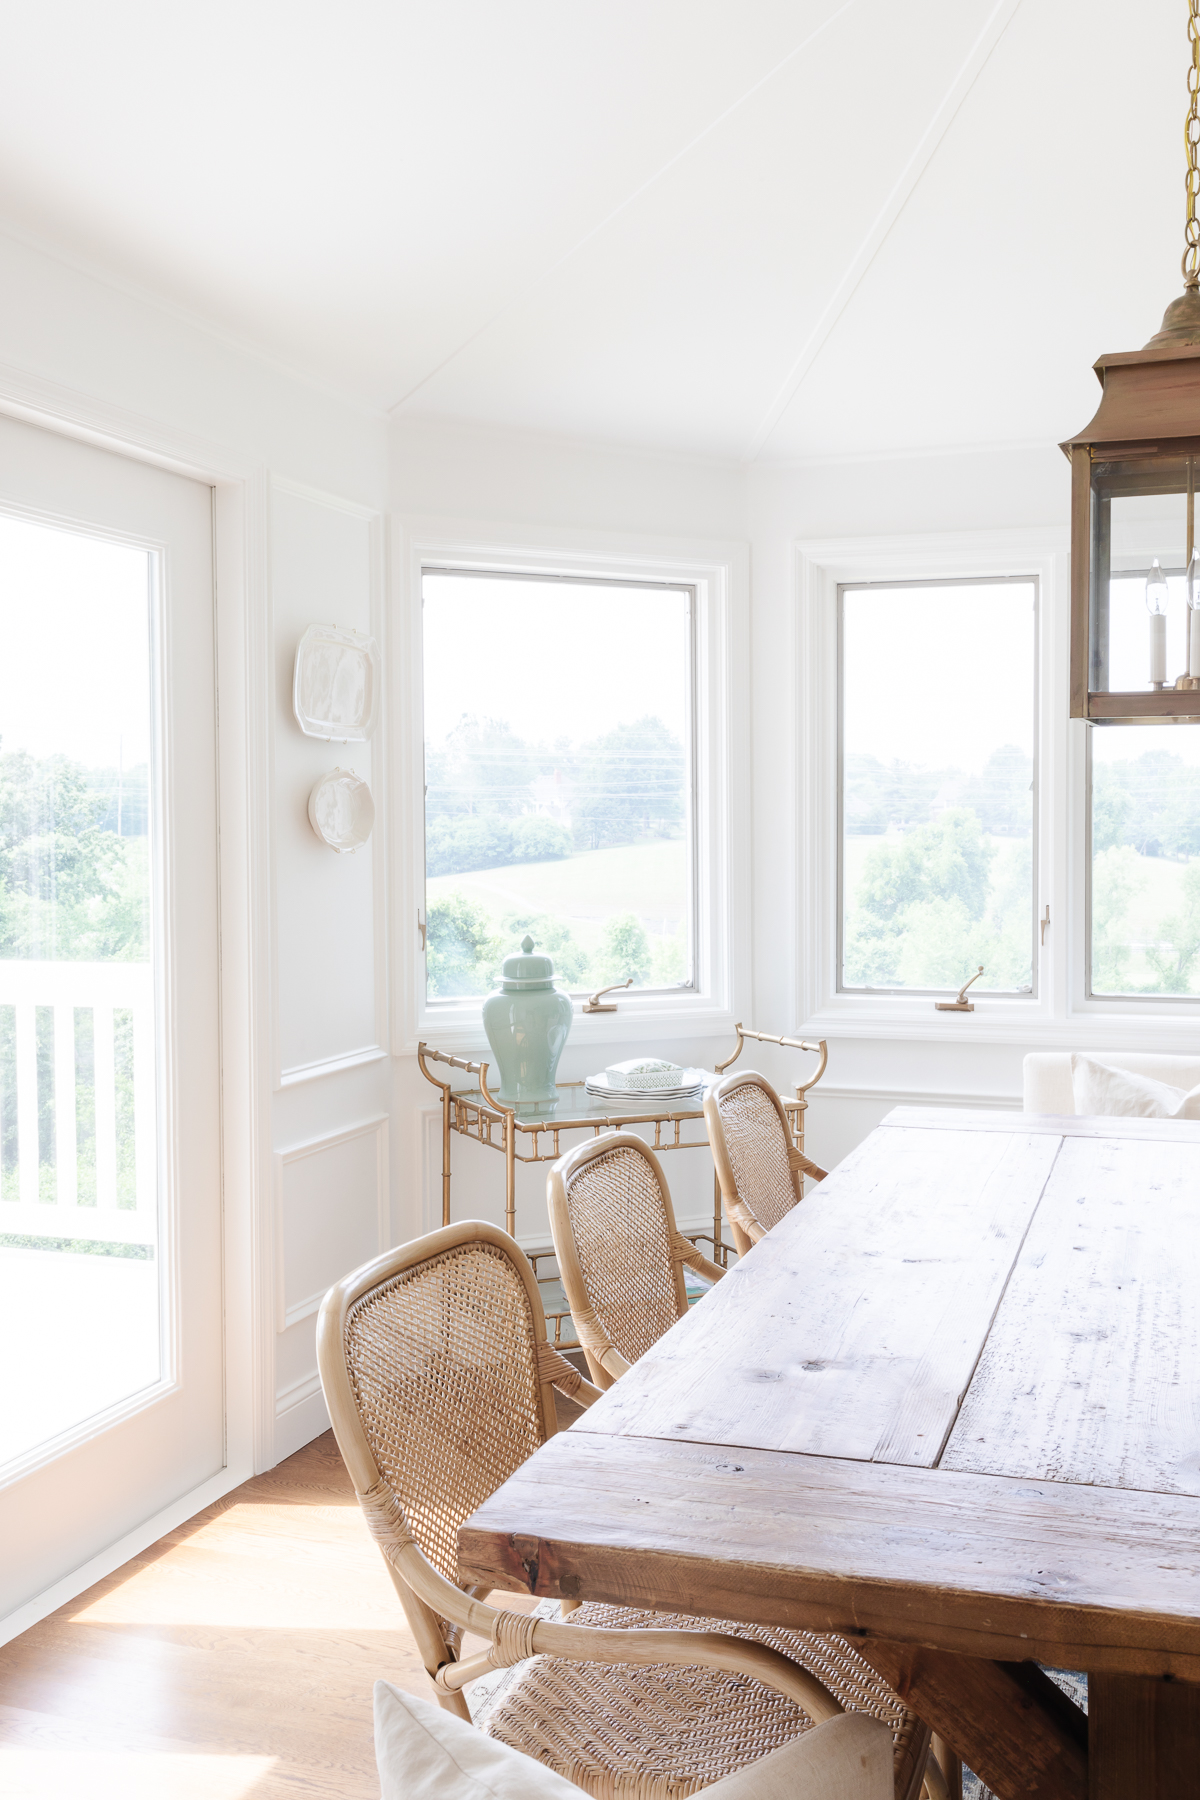
As you can see in our breakfast nook, picture frame moulding is added to the existing drywall walls with a little adhesive and nails. Anyone can take on this project, but you can also pay a carpenter or handyman to achieve the look for you.
DIY Box Paneling
This is a project that anyone can do! However, keep in mind that there are shortcut systems for picture frame moulding, too – I’ll link a few of those products at the end of this post!
With a little patience and a steady hand, let’s get started with our new picture frame paneling! P.S… don’t skip this fabulous Board and Batten wall treatment, too!
Tools
- Level
- Pencil
- Tape Measure
- Coping Saw
- Miter Saw
- Brad Nailer
Supplies
- Molding
- Adhesive (optional)
- 1¼” Brad Nails
How to Hang Picture Frame Moulding
- First, plan your layout and measurements. Consider items like working with existing chair rails and ceiling heights.
- Mark stud locations with a pencil on the wall.
- Next, pencil in your picture frame boxes on the wall to ensure even spacing and style.
- Use your miter saw to cut the pieces for each box molding section.
- Begin to attach your pieces of moulding, either with adhesive or small nails.
- Fill in any gaps where the moulding pieces aren’t sitting flush with caulking.

Tips
- Paint the walls behind your new moulding first – this makes it easier to paint the wood trim afterwards!
- Fill any nail holes with a little wood filler.
- Caulk along each section, even if the wood appears to be sitting flush with the wall. Wood tends to expand and shrink with the seasons and it will help give you a finished, clean look.
Frequently Asked Questions
Traditionally, wainscoting is a style of decorative wall paneling. It can be used in a variety of styles and manners in all different heights up the wall. Depending on the style of the home and room, wainscoting can be modern, contemporary, or evoke a traditional, formal or cottage look.
This thin strip of horizontal wooden moulding is a decorative element in a room. However, it also acts as a protective “stop”, preventing your walls from wear and tear in higher traffic areas. It’s especially common in dining rooms, breakfast nooks and foyers.
Shop This Post
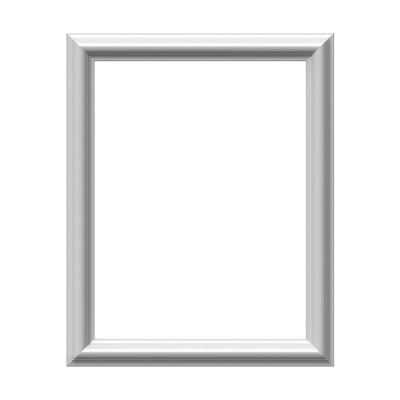
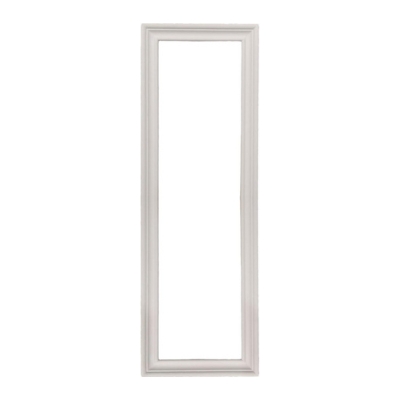
Want to take a shortcut to get this look? Try one of these picture frame moulding kits, available on Amazon! Or, shop our specific moulding, here.




I love this elegant look. We’re debating between picture frame molding and board and batten for our dining room. We have textured walls though. Would picture frame molding work on those? Obviously, with board and batten we could place MDF board down first to cover it.
Hi Sara,
Textured walls can make these projects more difficult for sure. I think I’d go with board and batten just to ensure everything lays flush and smooth.
Good luck, and happy holidays!
Julie