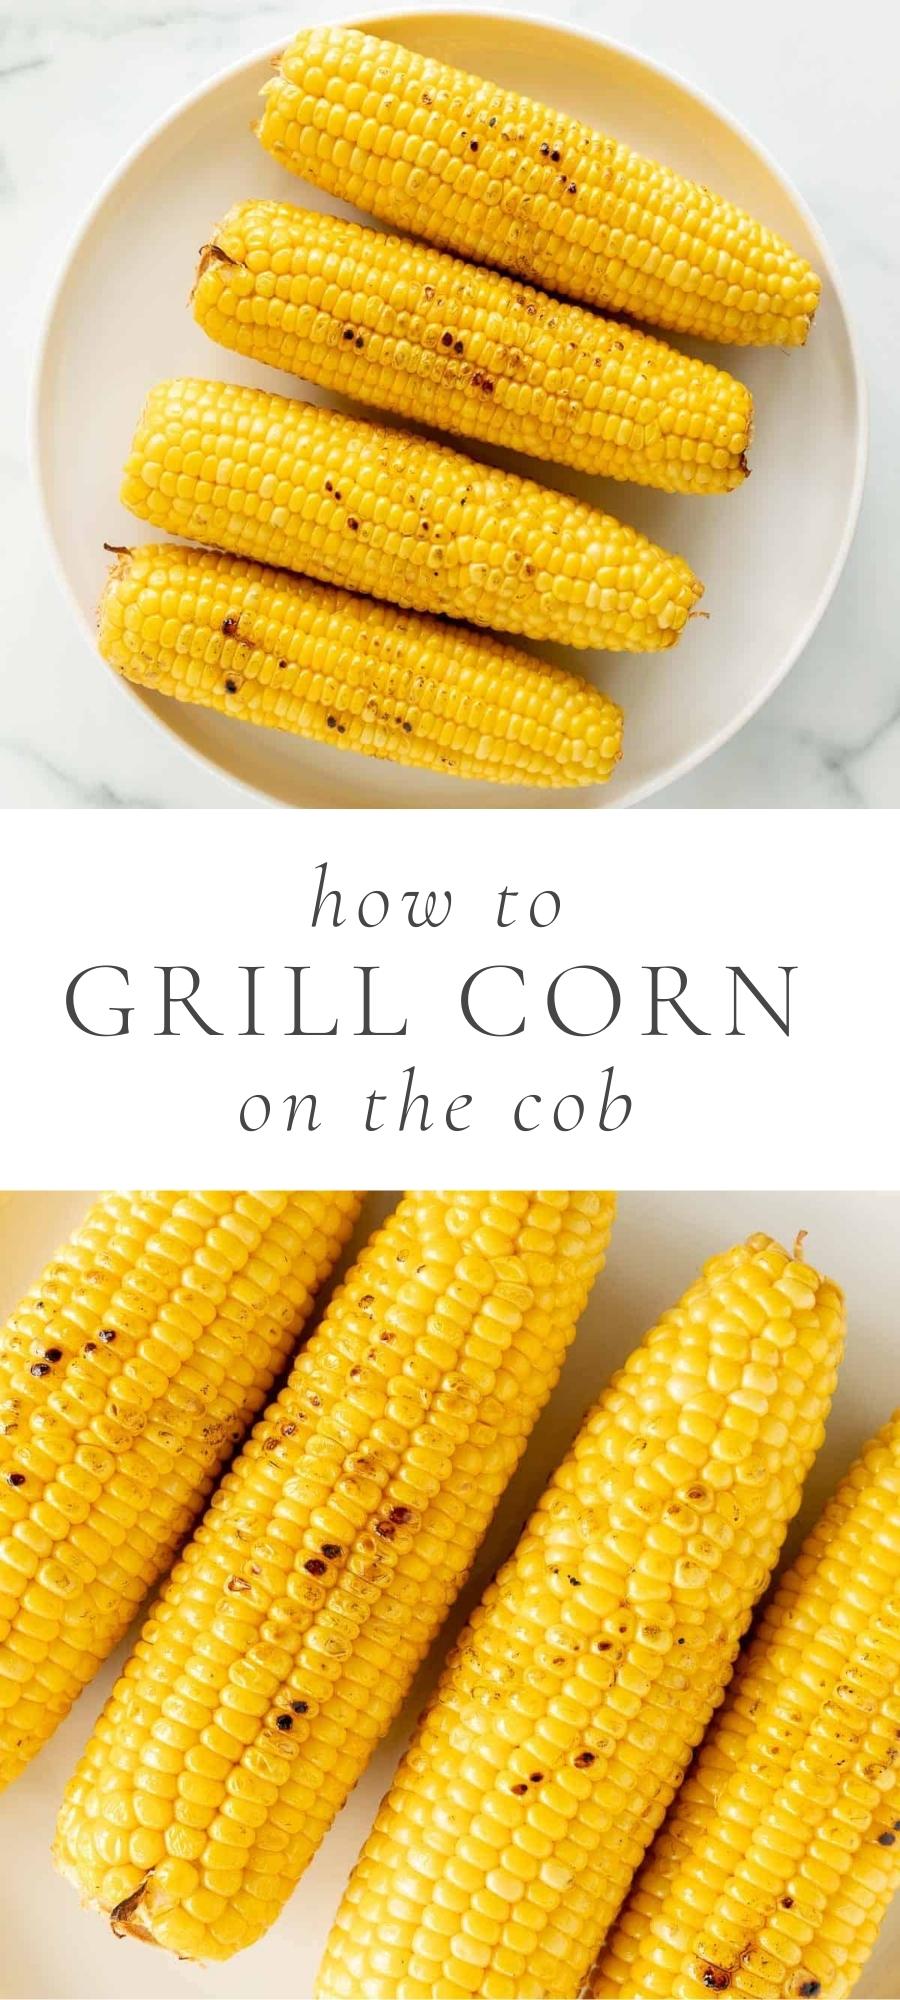
Indoors our out, this grilled sweet corn is the ultimate side dish. Cooked in a skillet for stove top corn on the cob, or grilled more traditionally, it’s made with just two ingredients.
Even better? It’s ready to serve in less than 10 minutes. It’s delightfully smoky, juicy and full of flavor whether it’s cooked on the grill no matter how you cook it!
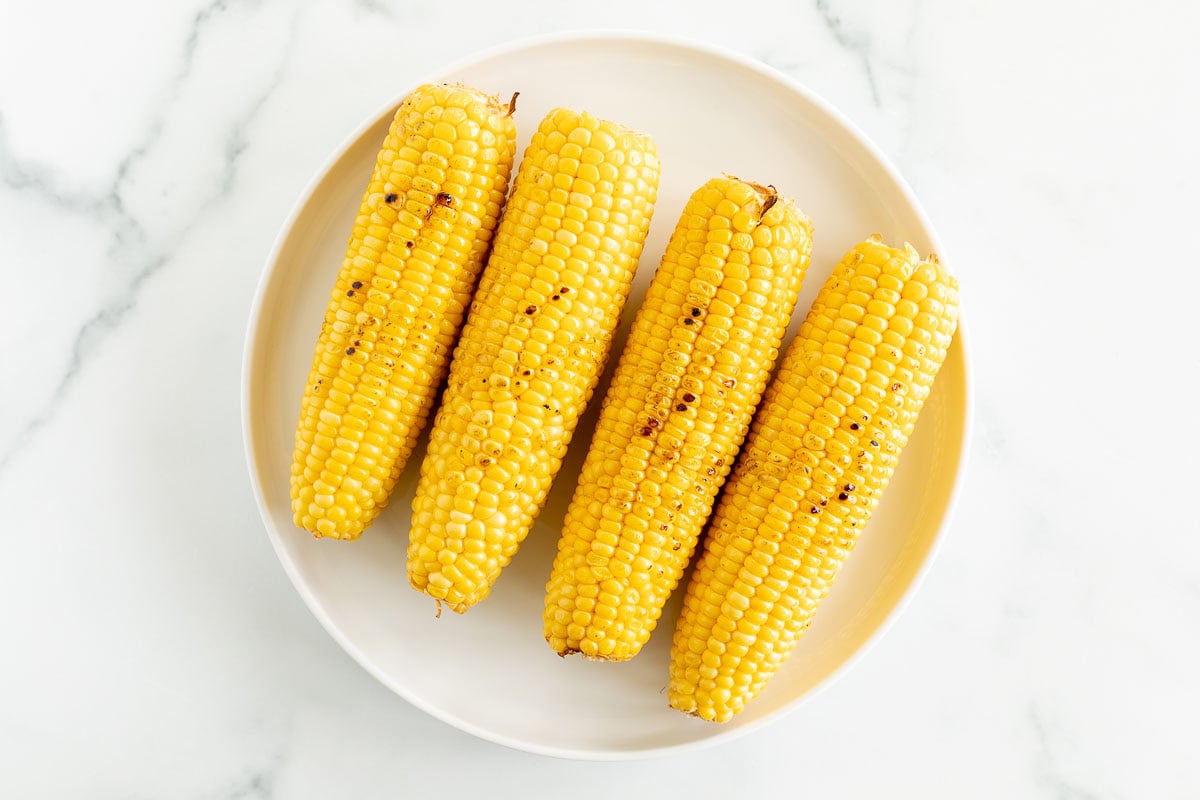
Corn is one of our summer staples because it’s a vegetable that all of our girls love and enjoy. Okay, okay, it’s not technically a vegetable at all… but in the summertime it counts, right?
But, if it’s cold outside or you don’t have a grill, don’t fret! Fortunately, grilled corn is just as easy indoors!
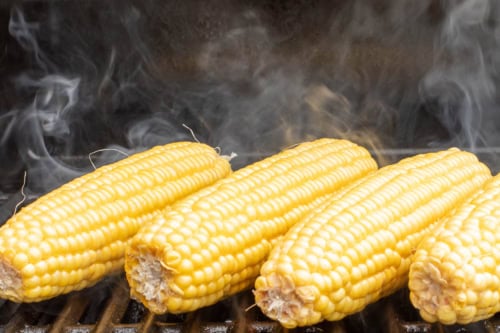
This grilled corn is our favorite method. It adds a little smoky flavor without a lot of effort. I also think it presents beautifully!
Ingredients
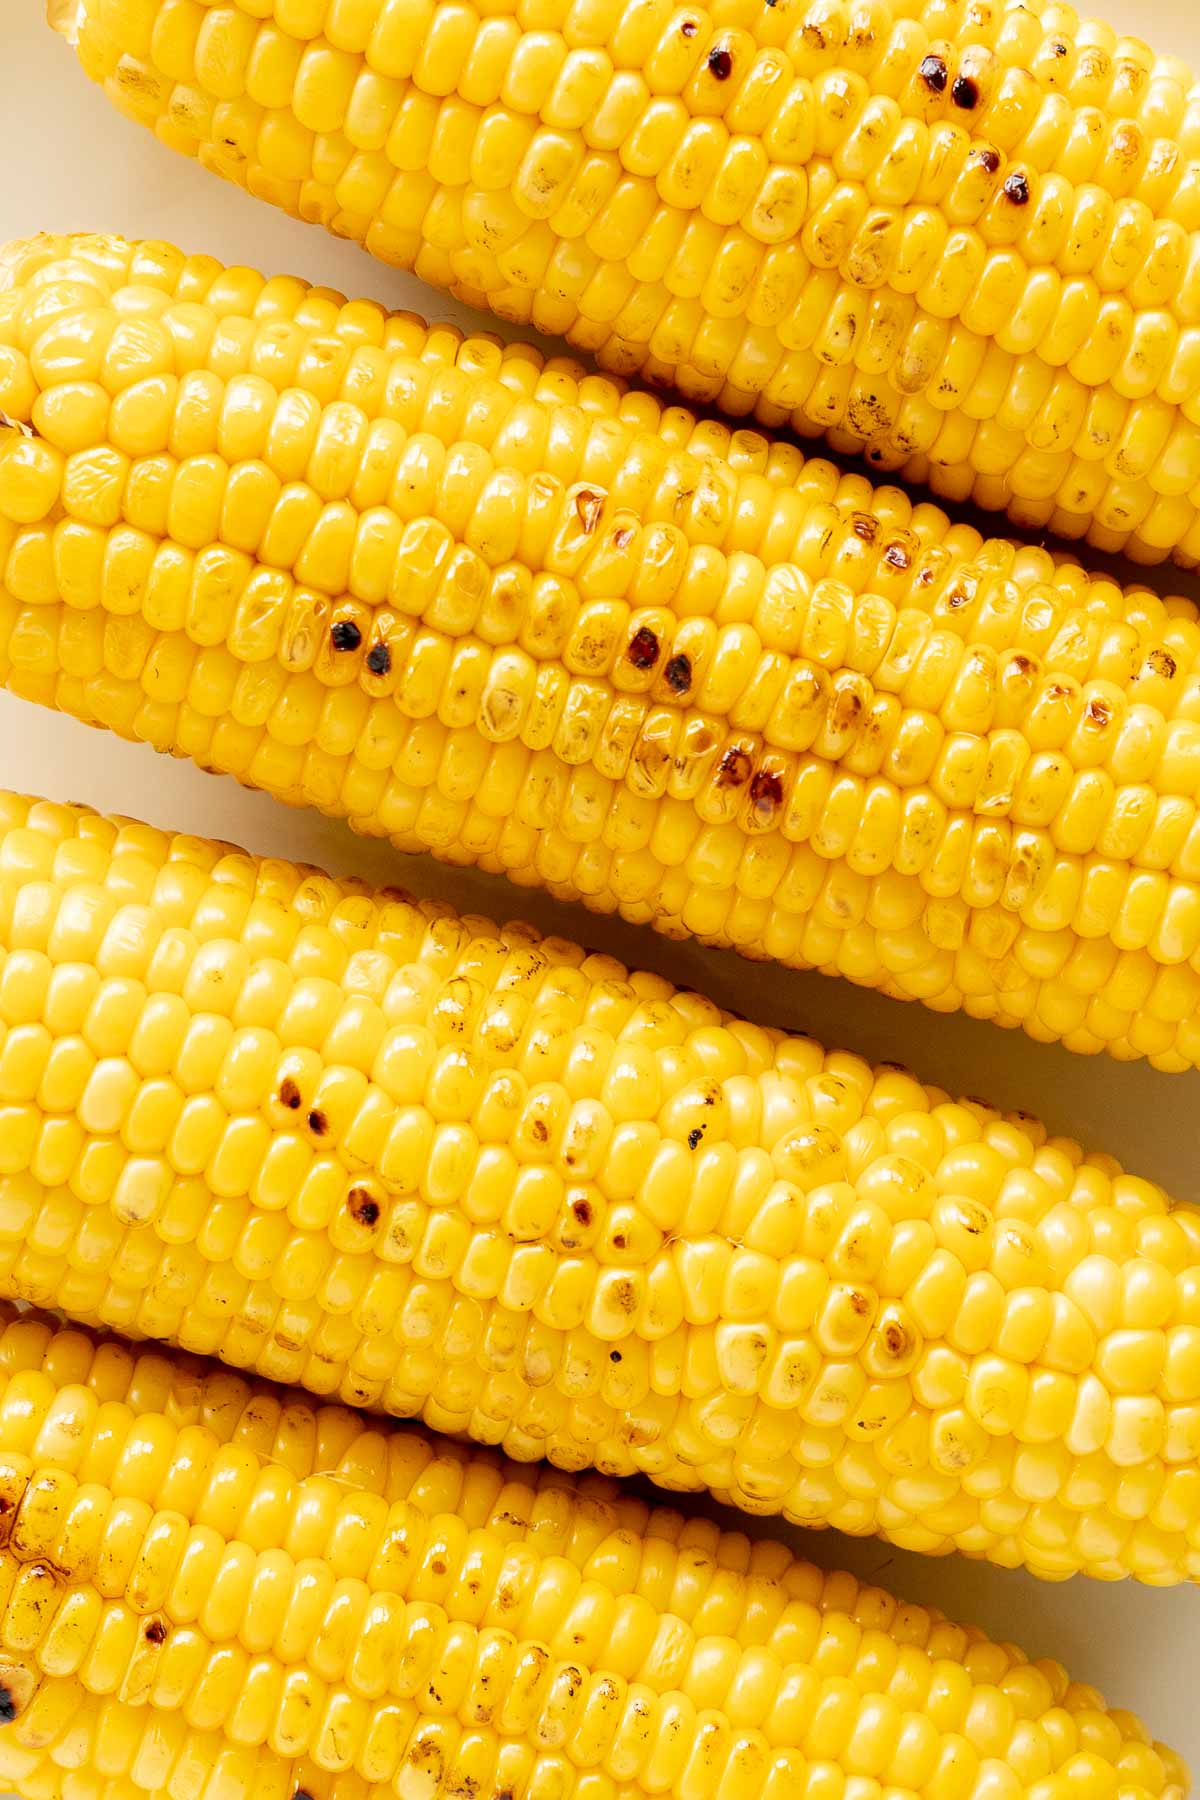
- Corn on the Cob – Choose ears of corn that have a bright green husk that is tightly wrapped against the cob. Husk and wash the corn before cooking it.
- Olive Oil – Oil and fats help to conduct the heat to help the corn cook evenly and prevents the corn sticking to the skillet. You can use butter, canola or vegetable oil if you prefer.
Variations
- Add a little spice with a dash of cumin, cayenne pepper, paprika or even a sprinkling of my favorite Homemade Taco Seasoning.
- Using butter changes the intensity of this stove top corn on the cob in an incredible way! Try it for more of a nutty, fragrant version.
- Whisk together some mayo, lime juice and garlic and stir in some queso fresco to drizzle over the corn and turn it into this Mexican Street Corn.
- Sprinkle with Everything but the Elote Seasoning.

Tips from My Test Kitchen
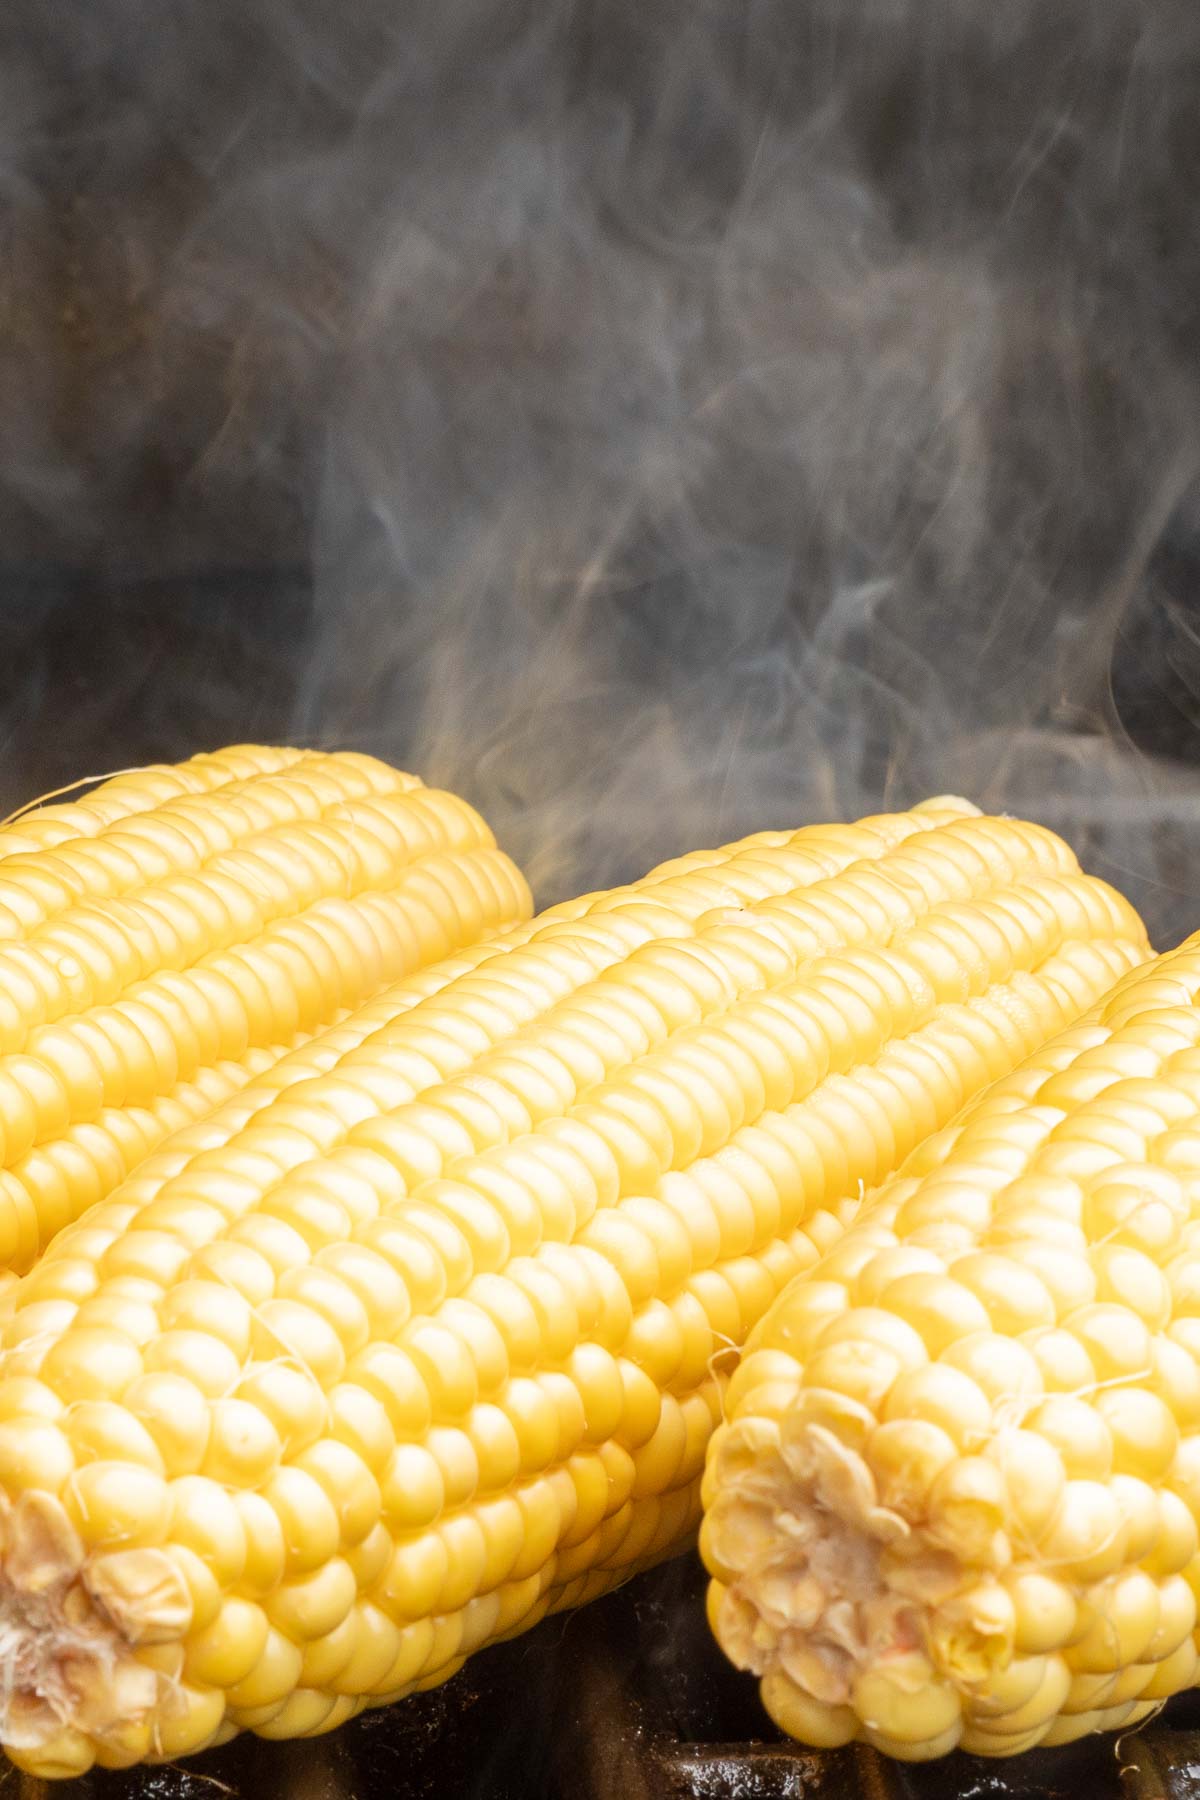
- Indoors, this corn on the cob cooks up beautifully in my favorite cast iron skillet or a cast iron grill pan.
- You can leave the husks on the corn, too! Some people believe this helps the corn maintain moisture while cooking. Simply pull the husks back a bit, strip the silks (they would burn) and pull the husks back up. Grill for up to twenty minutes- it takes longer when husks are in place.
- You’ll know it’s done when the kernels are tender when pierced with a knife.
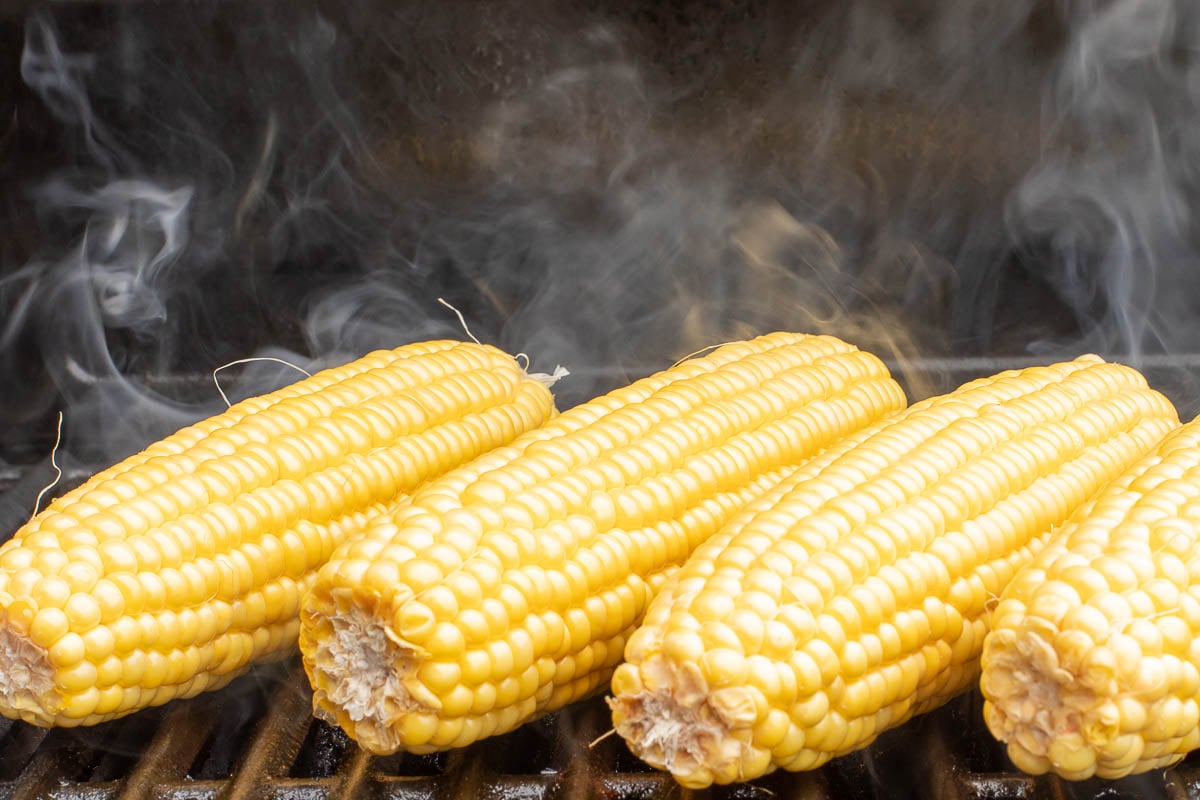
Frequently Asked Questions
If you leave the husks on, grilled sweet corn can take up to 20 minutes. If you peel the husks first, they cook much faster, generally around 8-10 minutes.
You can make this grilled corn a few hours ahead of time. Let it cool and then keep it covered. Warm it in the oven before serving – it’s a convenient way to pre-make corn if you’re entertaining.
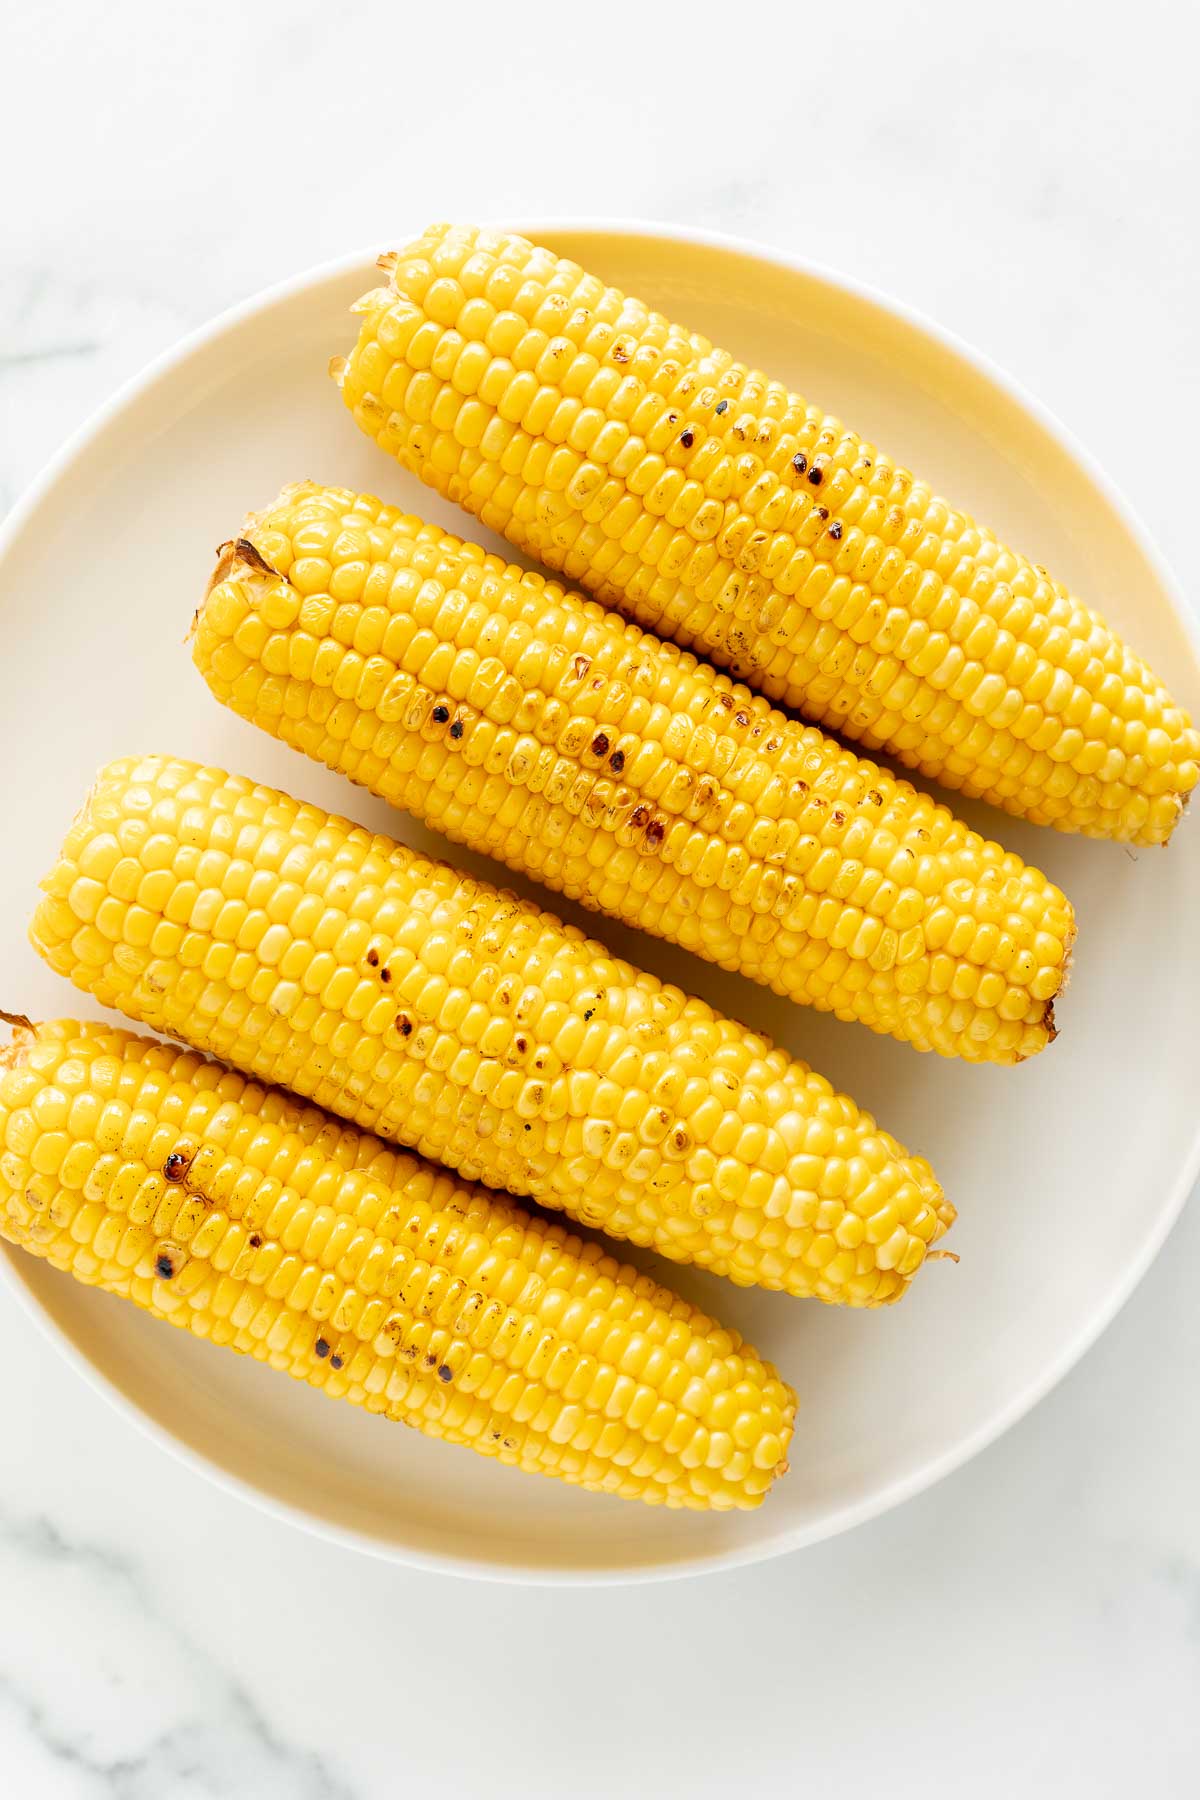
You’ll see some perfectly charred sections of the corn, adding a delightful crunch. When you poke a kernel for a test, it should burst and release a little liquid.
If you are buying corn early in the season, the corn kernels can be a little tough. You can blanch the corn in simmering water for 3 to 4 minutes to help soften it up.
Yes! If you have frozen corn on the cob, you can either let it thaw in the fridge the night before or you can cook it right from frozen in the skillet. You will need to increase the cooking time by a couple of minutes.
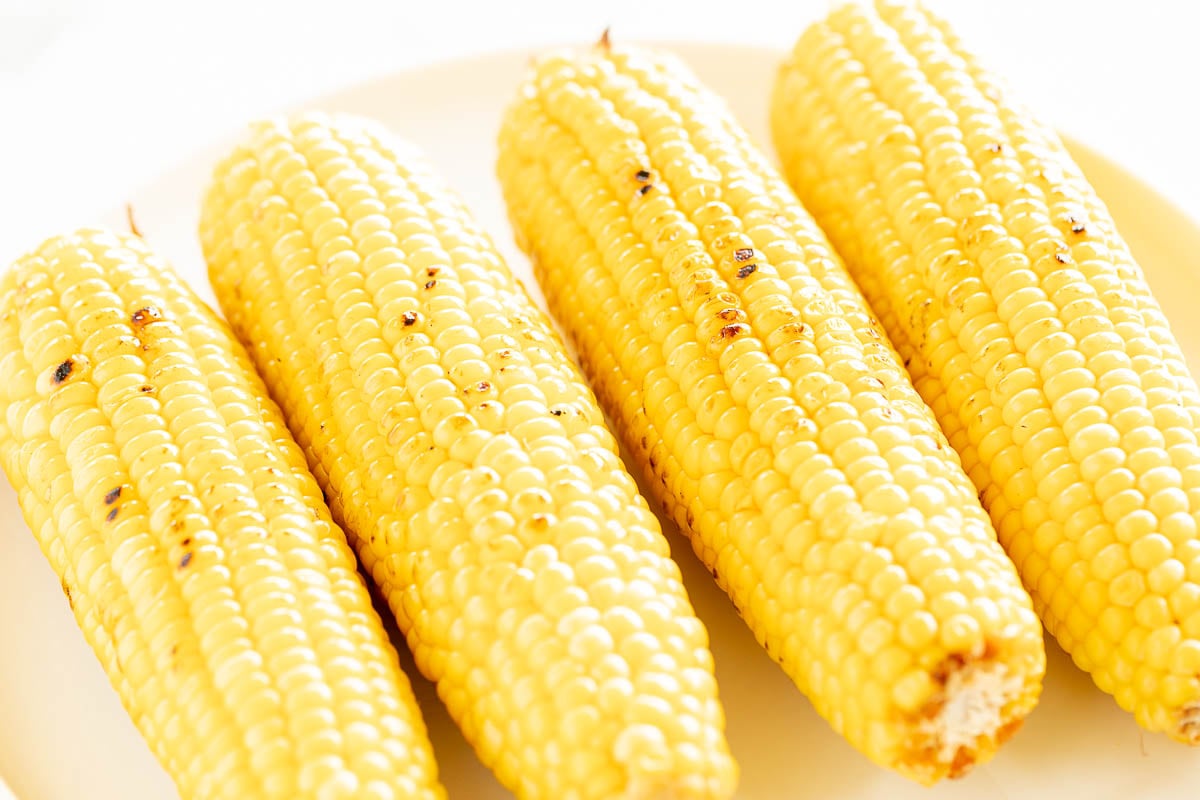
Serving Suggestions
Top with crumbled or grated cheese, or fresh herbs like rosemary and thyme. Or, sweeten with a little sugar in the pan or served on top after cooking.
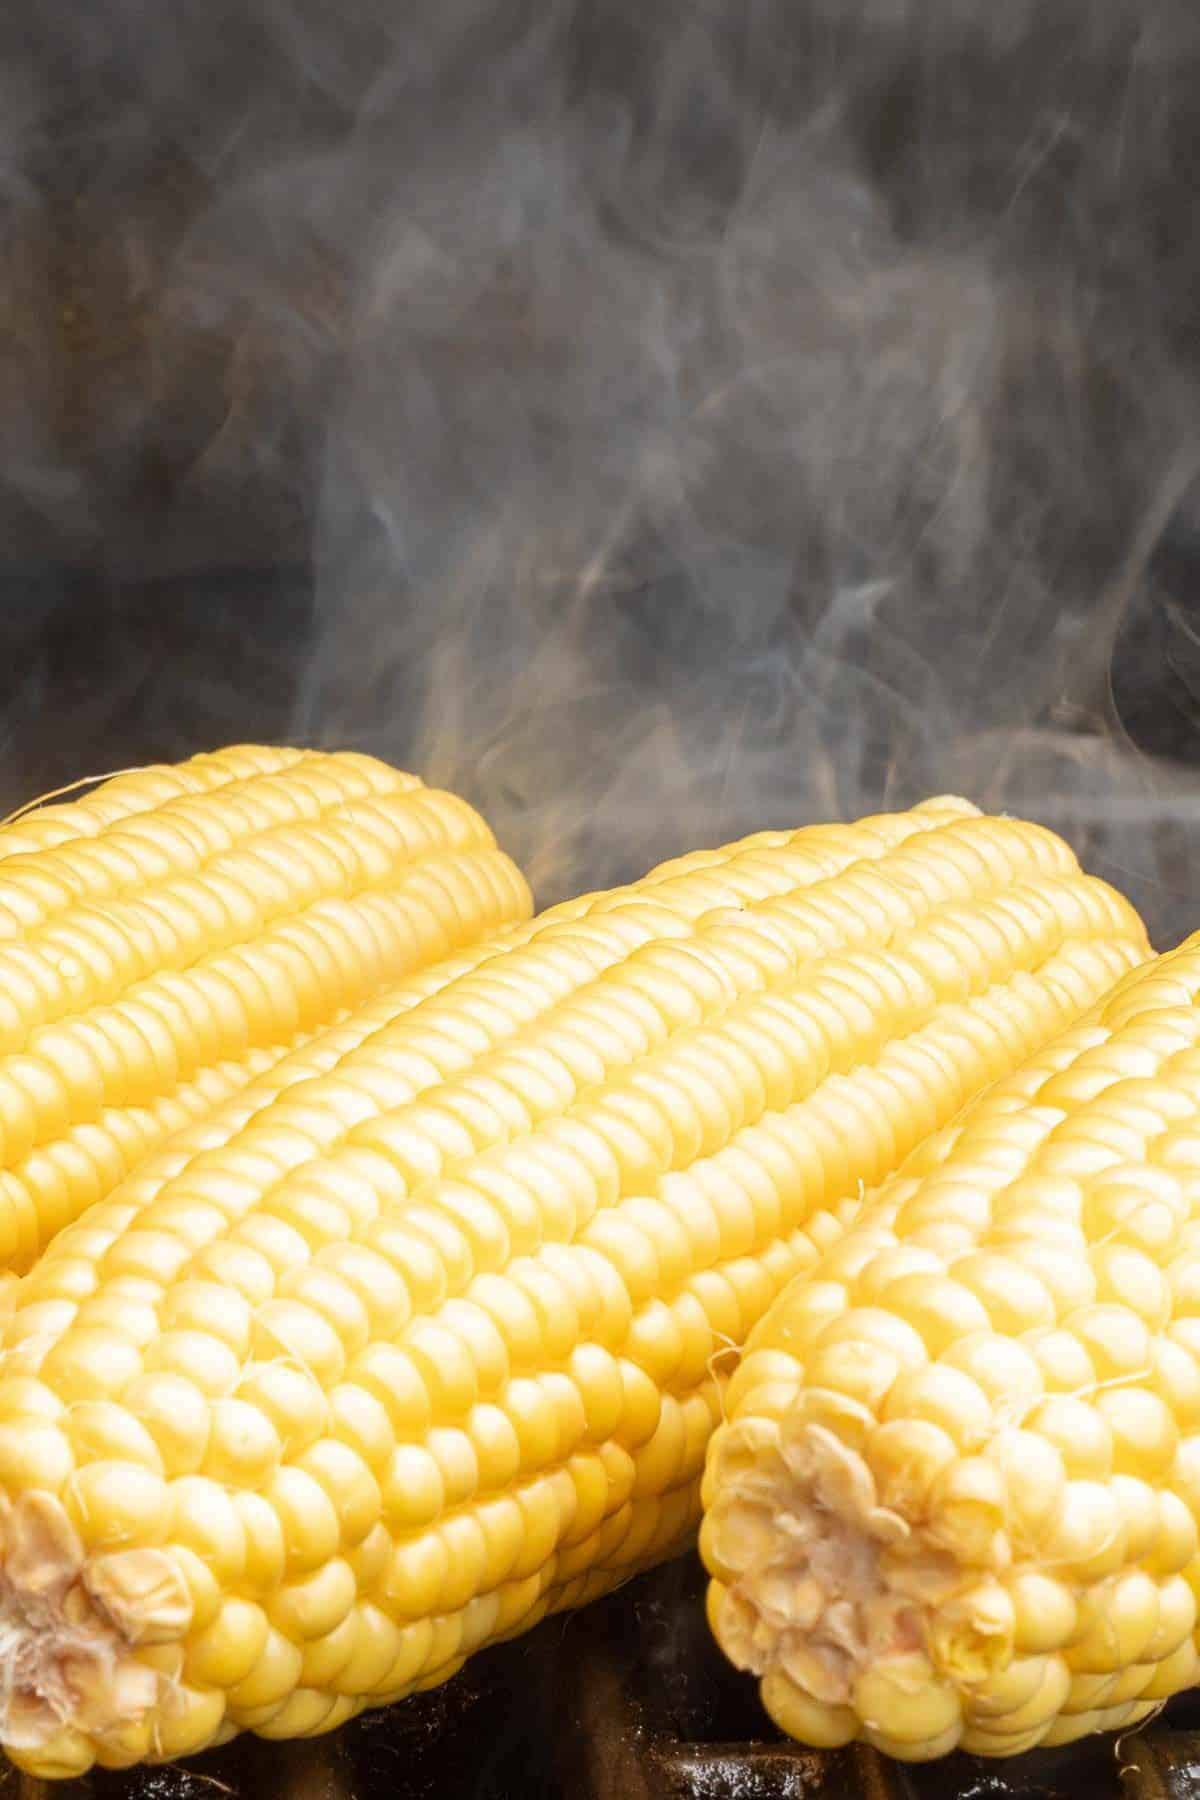
Storage Tips
You can leave your corn on the cob out for up to two hours while serving. This side dish can be packaged in an airtight container and stored for up to three days in the refrigerator.
Or, freeze your grilled corn on the cob in an airtight container for up to three months. Simply defrost and warm gently through before serving, so as not to overcook.
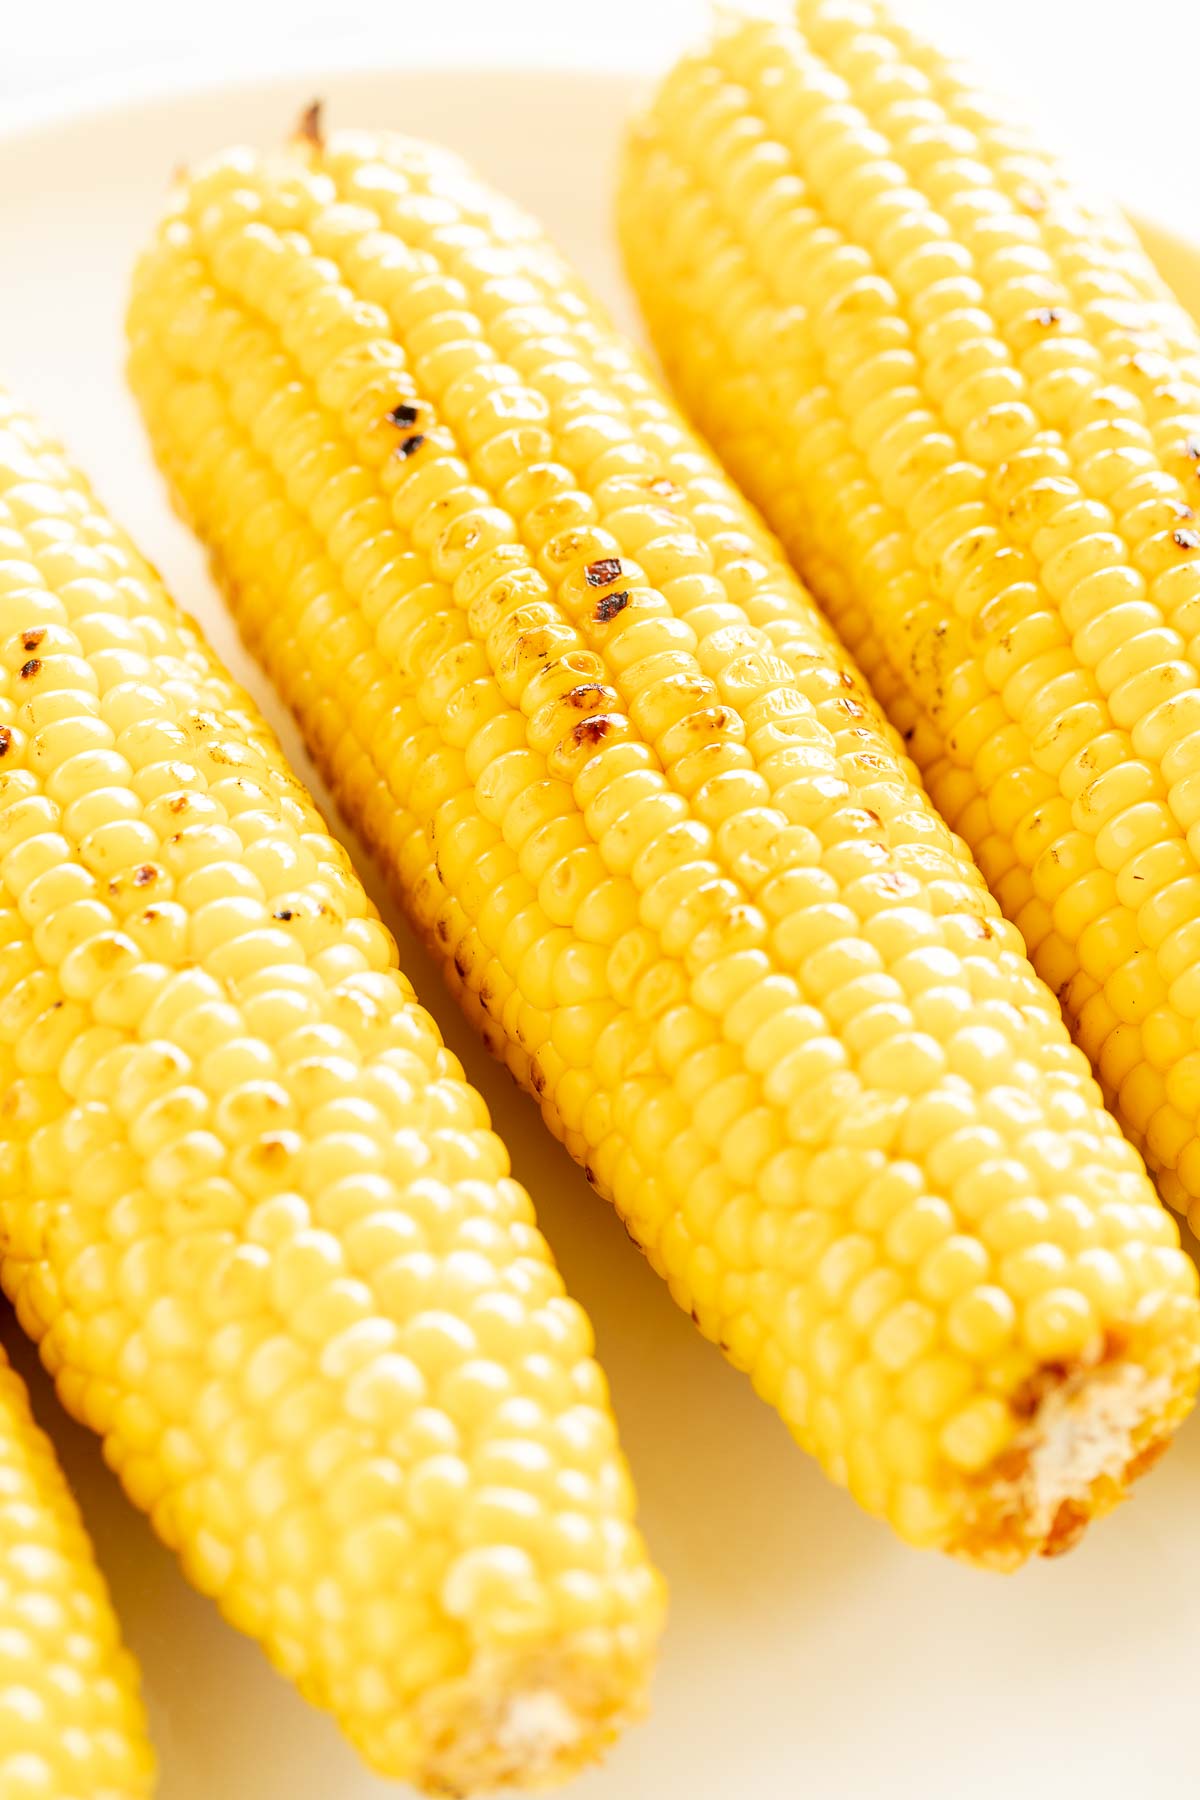
Serving Suggestions
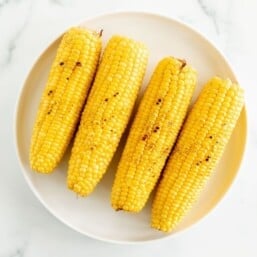
Grilled Corn on the Cob
Ingredients
- 1 tablespoon extra virgin olive oil
- 6 ears corn on the cob washed and husked
Instructions
Grilled Corn on the Cob (on the stove top)
- In a skillet (preferably cast iron), warm a little olive oil on medium-high heat.1 tablespoon extra virgin olive oil
- Add corn one cob at a time, rolling it in oil.6 ears corn on the cob
- Allow corn to cook for 3 minutes on each side until it slightly browns. Remove at about 9 minutes.
Grilled Corn on the Cob (on the grill)
- Preheat outdoor grill to medium high heat.
- Brush the olive oil over the corn on the cob.1 tablespoon extra virgin olive oil, 6 ears corn on the cob
- Add corn to the grill and rotate every 2 minutes until kernals are brown. Grill 10 minutes and remove from heat.
Julie’s Tips
- Choose corn with a bright green husk that is tightly wrapped around the cob.
- You’ll know it’s done when the kernels are tender when pierced with a knife.
Substitutions and Variations
- Olive Oil – Use butter, canola or vegetable oil if needed.
- Using butter changes the intensity of this stove top corn on the cob in an incredible way! Try it for more of a nutty, fragrant version.
- Whisk together some mayo, lime juice and garlic and stir in some queso fresco to drizzle over the corn and turn it into this Mexican Street Corn.
- Sprinkle with Everything but the Elote Seasoning.
Storage Tips
You can leave your corn on the cob out for up to two hours while serving. This side dish can be packaged in an airtight container and stored for up to three days in the refrigerator. Or, freeze your grilled corn on the cob in an airtight container for up to three months. Simply defrost and warm gently through before serving, so as not to overcook.Video
Estimated nutrition information is provided as a courtesy and is not guaranteed.


Just as good as on the grill. Still has the smokey flavor of the grill! Thanks!
Thank YOU, Michelle for taking the time to share!
Wow, I’ve never seen photos more beautiful. My mouth is watering just looking at them.
Thank you, Mark!
I love grilled corn all year round and just recently discovered how easy it is to make it in a skillet! Gorgeous photos!
Thank you, Sharon!
This is a fabulous idea! Who says grilled corn can’t be enjoyed in the winter!
Thanks, Rachel!