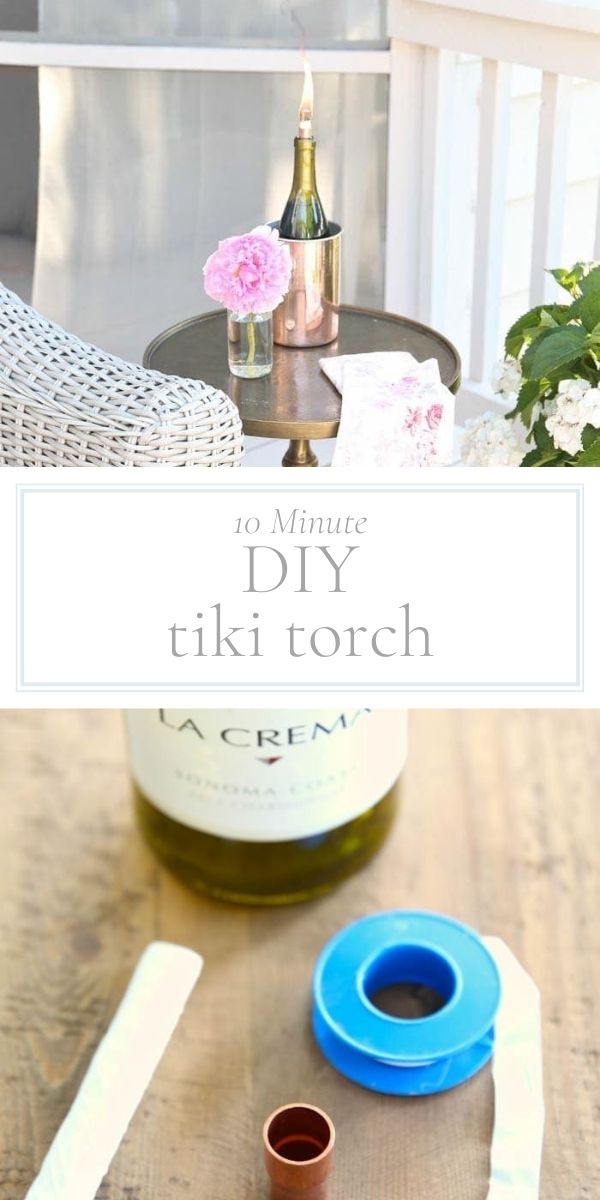
Learn how to make a wine bottle tiki torch in less than 10 minutes. Keep bugs at bay with one of these beautiful wine bottle crafts!
DIY Wine Bottle Tiki Torch
Every now and then, I like to pretend I’m an overachiever. Spoiler alert? I’m not. I’m all about 10-minute fixes.

Wine Bottle Crafts
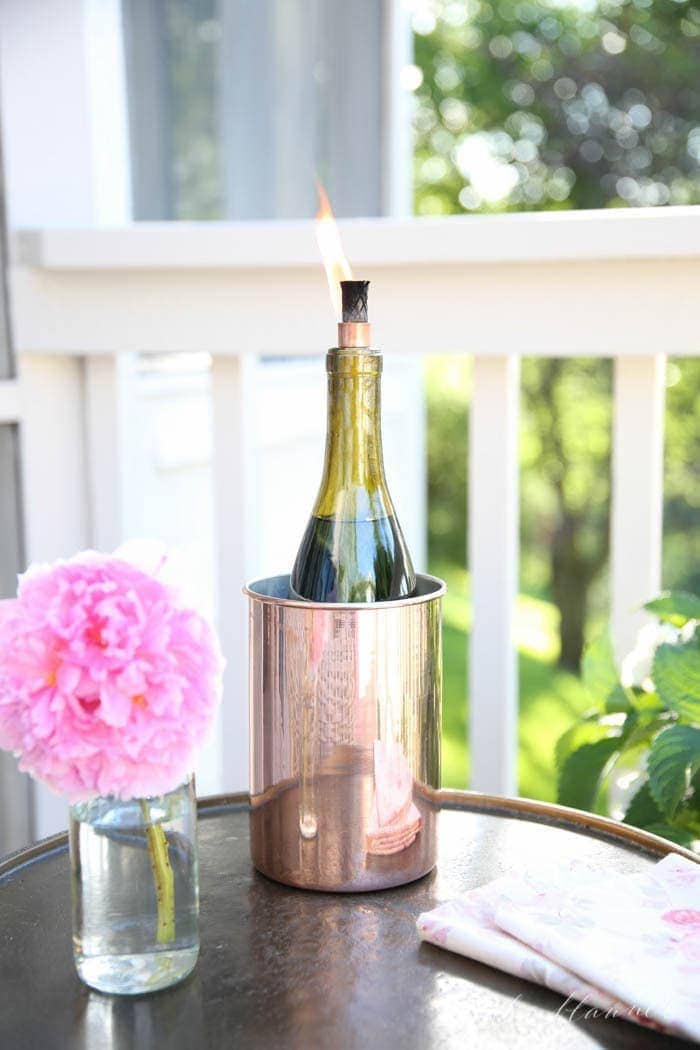
We’ve been spending a lot of time on our patio lately. I’ve filled it with lavender and catmint, but I’ve added a wine bottle tiki torch for a little extra protection from mosquitos. It’s a quick, easy and beautiful way to keep bugs at bay – day or night!
A wine bottle tiki torch also adds a little ambiance. It’s time to look at your empty wine bottles in a new light – or as a new light!

You can make your own by following this easy tutorial.

You just need a few things to make a wine bottle tiki torch, including a wine bottle! You can also use your favorite sparkling water or liquor bottle. You’ll also need copper coupling and nylon seal tape (both found in the plumbing aisle of your hardware store), tiki replacement wick and of course, tiki torch fuel.
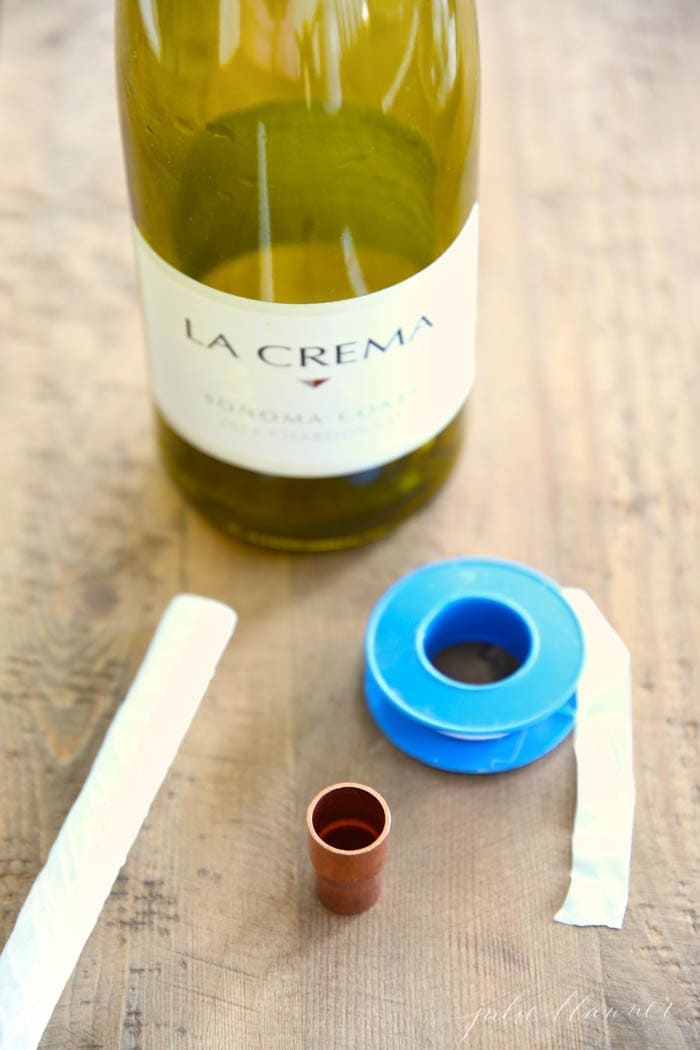
It’s quick and easy to make – as you see below just a little plumbers tape and coupling secure the wick in the wine bottle!

Types of Fuel to Use
Paraffin Oil
Paraffin oil has long been used in oil lamps. It can also be used in a tiki torch in a pinch, but won’t offer a large flame or repel bugs. Liquid paraffin is odorless and burns clean.
Odorless Tiki Torch Fuel
Store bought can be great, too! It’s odorless with very little soot. A variety are offered including citronella and cedar, citronella and eucalyptus. We use this one.
Eco Friendly Torch Fuel
Danish Clean Green Oil is 100% vegetable-oil based, non-toxic, odorless, clean burning and better for the environment than the above options.
Homemade Tiki Torch Fuel
Did you know you can make your own Tiki Torch Fuel? It’s true – and so simple! A mix of isopropyl alcohol and distilled water will suffice and burn in a tiki torch, however will not repel insects.
How to Make Tiki Torch Fuel
- Combine one teaspoon of distilled water in a 16 ounce bottle of isopropyl alcohol.
- Add essential oil to naturally repel insects.
Recommended Essential Oils to Repel Insects
- Peppermint
- Cedar
- Citronella
- Geranium
- Lavender
- Eucalyptus
- Tea Tree Oil
An ounce of fuel last about one hour.
Do not use kerosene or gasoline in your torch.


What You Need to Make a Wine Bottle Tiki Torch Supplies
- clean, empty wine bottle
- 1/2 x 3/8 copper coupling
- plumbers nylon seal tape
- tiki replacement wick
- tiki torch fuel
How to Make a Wine Bottle Tiki Torch
- Wrap the smaller portion of the copper coupling with tape until it fits snug into the wine bottle. The tape gives a little, so don’t be afraid to go overboard.
- Pull the wick through the coupling, leaving an inch of wick at the top. Set aside.

- Using a funnel, fill your wine bottle with citronella fuel.
- Inset the copper coupling and wick ensuring a tight fit.

Tip
Tip: Store tiki torch fuel in a dry, dry, and well ventilated location.
Use a bracket to hang on a fence or deck post.
More Outdoor Ideas


First: I NEED that side table! It’s so pretty. Your style=perfect every time!! Love this idea, so cute. Perfect now that it’s officially deck season!
You. Are. Brilliant.
Enough said.
Have a great day rock star.
karianne
I love this idea Julie – this will most likely be making its way to our porch this summer!
I feel like the bugs have been PARTICULARLY nasty this season, so I can’t wait to try out your tutorial…Thanks for sharing!
what a fabulous idea Julie~!! I love it!! Pinned!