Make the most of an open staircase with these under stairs ideas for a kids reading nook that doubles as an extra bed when needed!
From the moment we conceptualized this idea, I have been incredibly excited to create and share this kids reading nook with you!
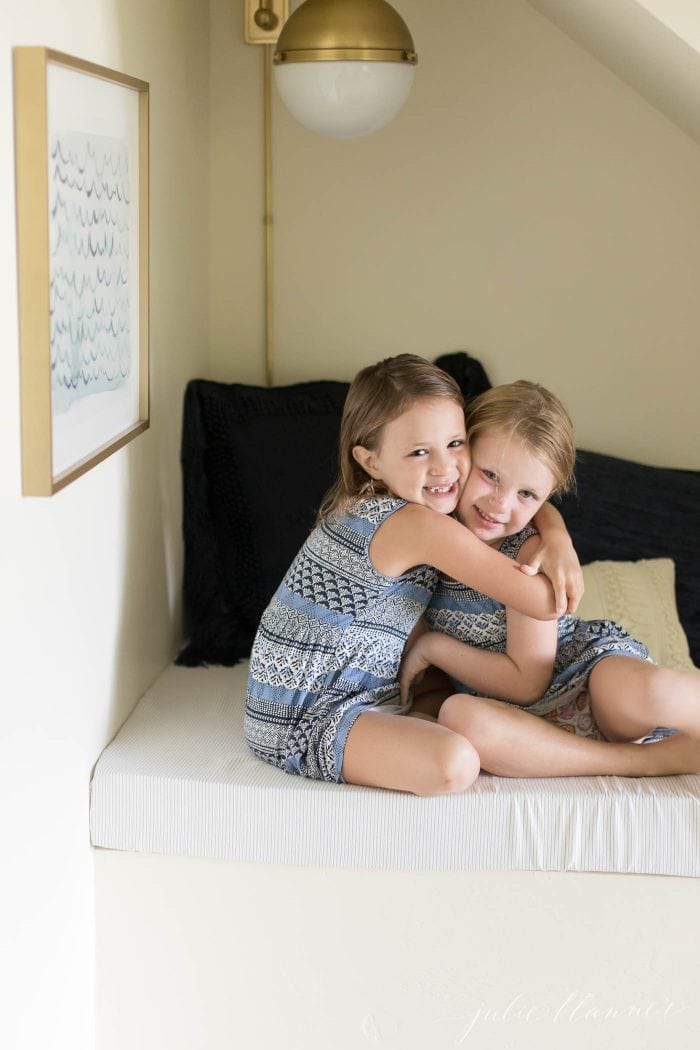
From the moment we told the girls, they have been dreaming of squeezing into the space for a little “sleepover”. Finally, both came together last fall!
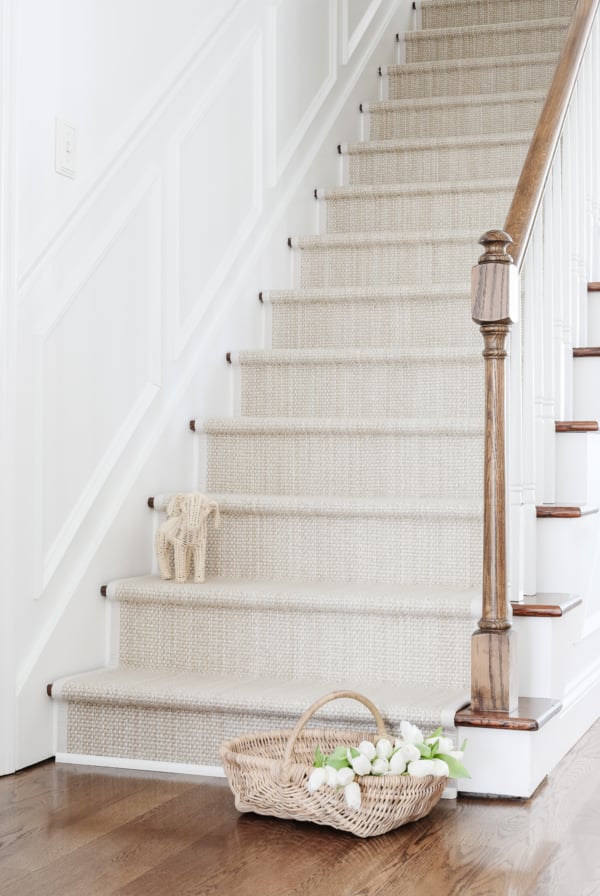
Open Staircase
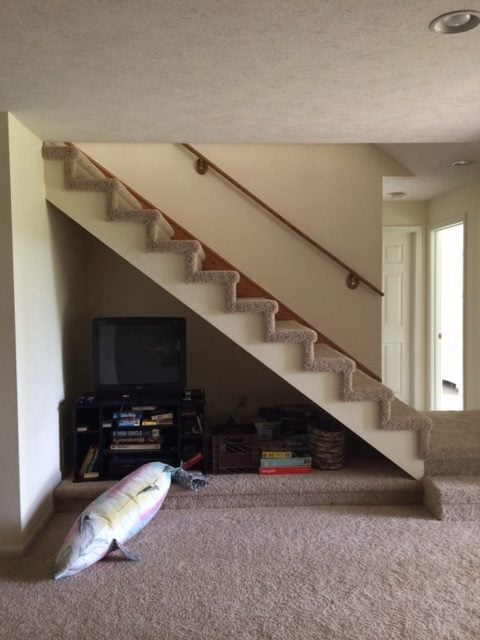
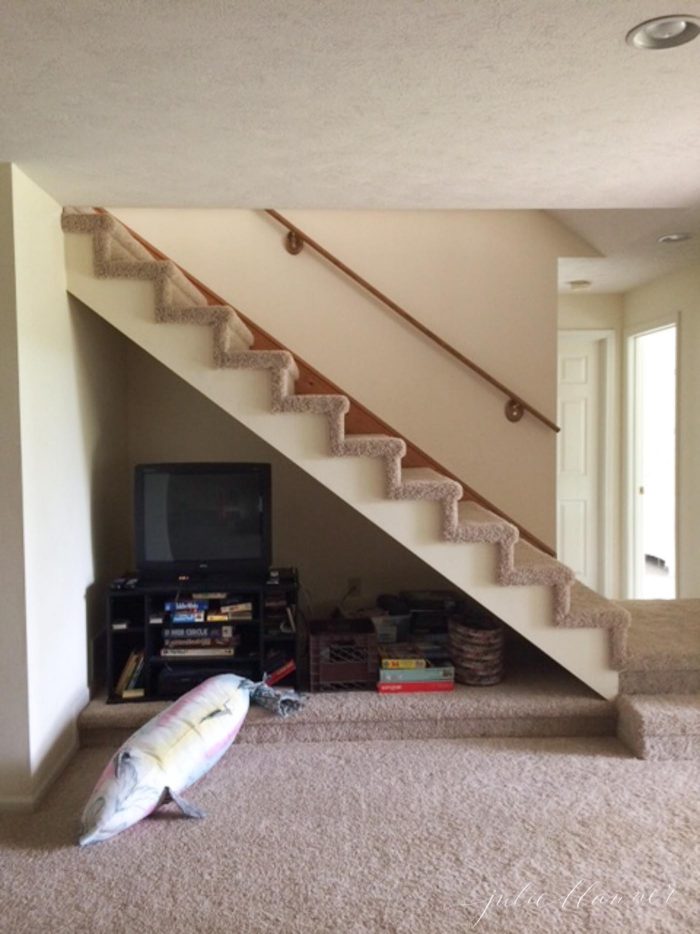
As you know, I love to start with a before photo for context. When we purchased the lake cottage we were uncomfortable with the open staircase having young children. After a couple estimates and a lot of thought, we decided to embrace it and make the most of it!
Under Stairs Ideas
Some of the under stairs ideas we considered were building a bookcase that would block the open staircase, creating a storage closet that would cover the floor to ceiling, using nautical rope and cleats to create a unique stair railing and a standard railing.
Logistics were challenging to make a railing work with the existing design and we found that the kids loved playing under the stairs!
Kids Reading Nook
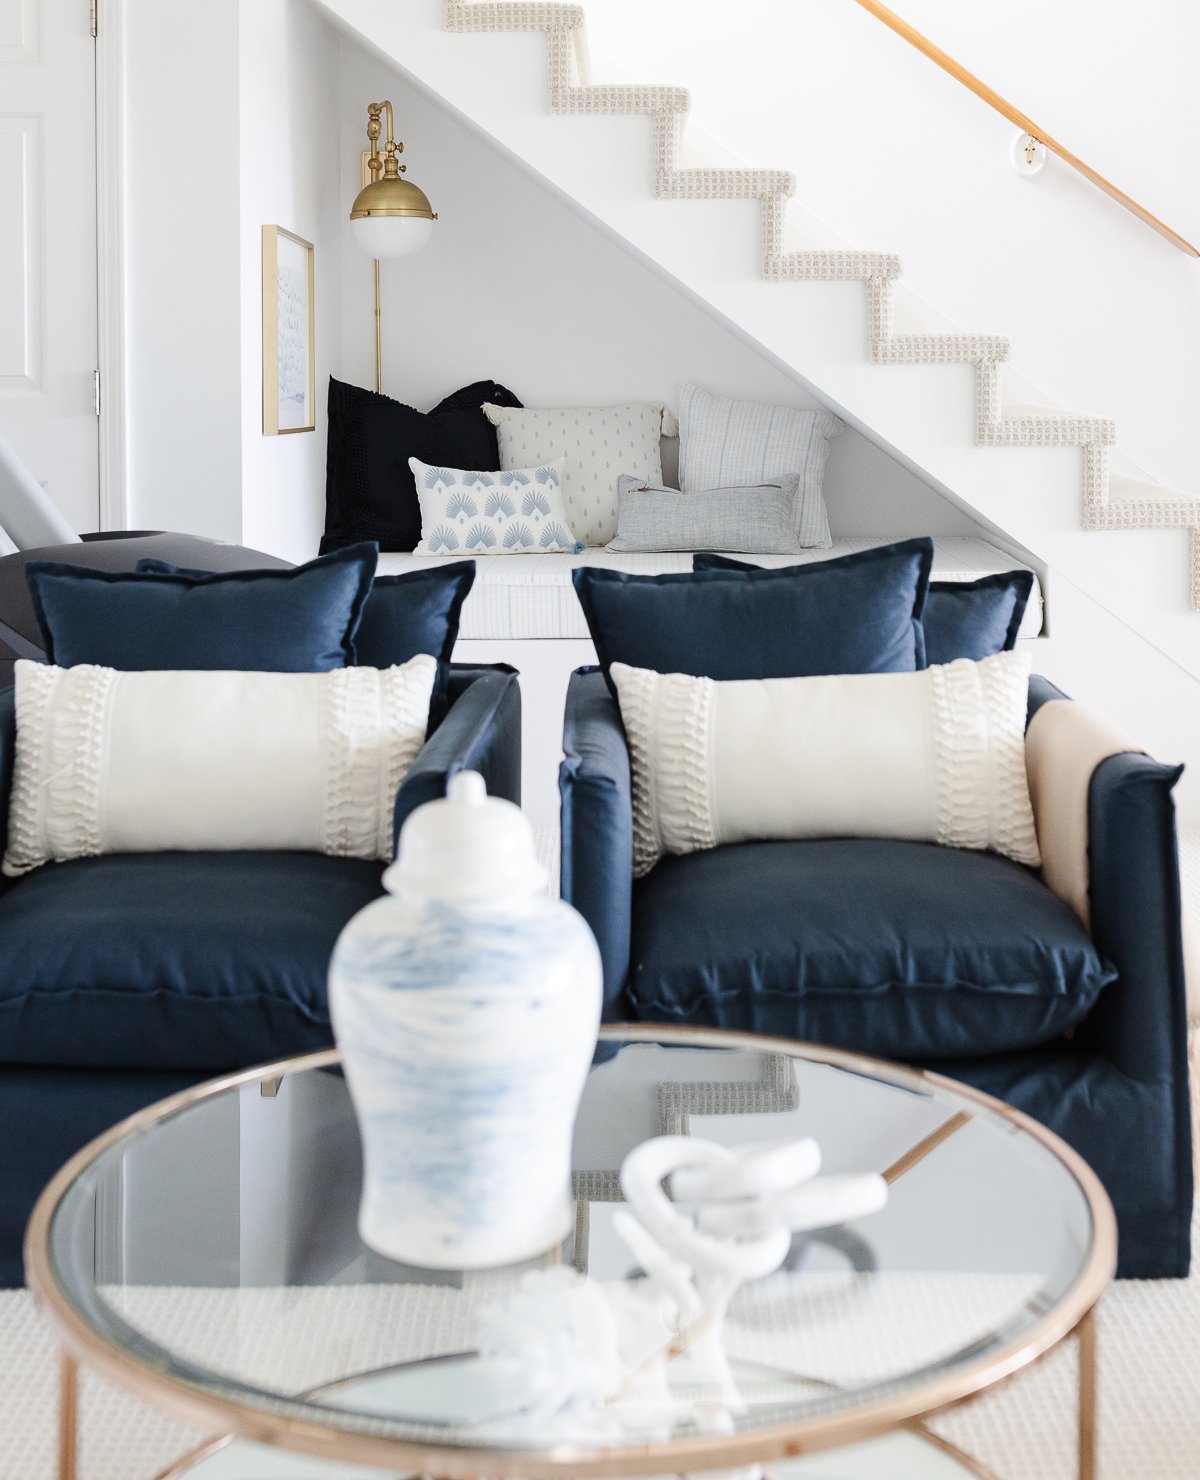
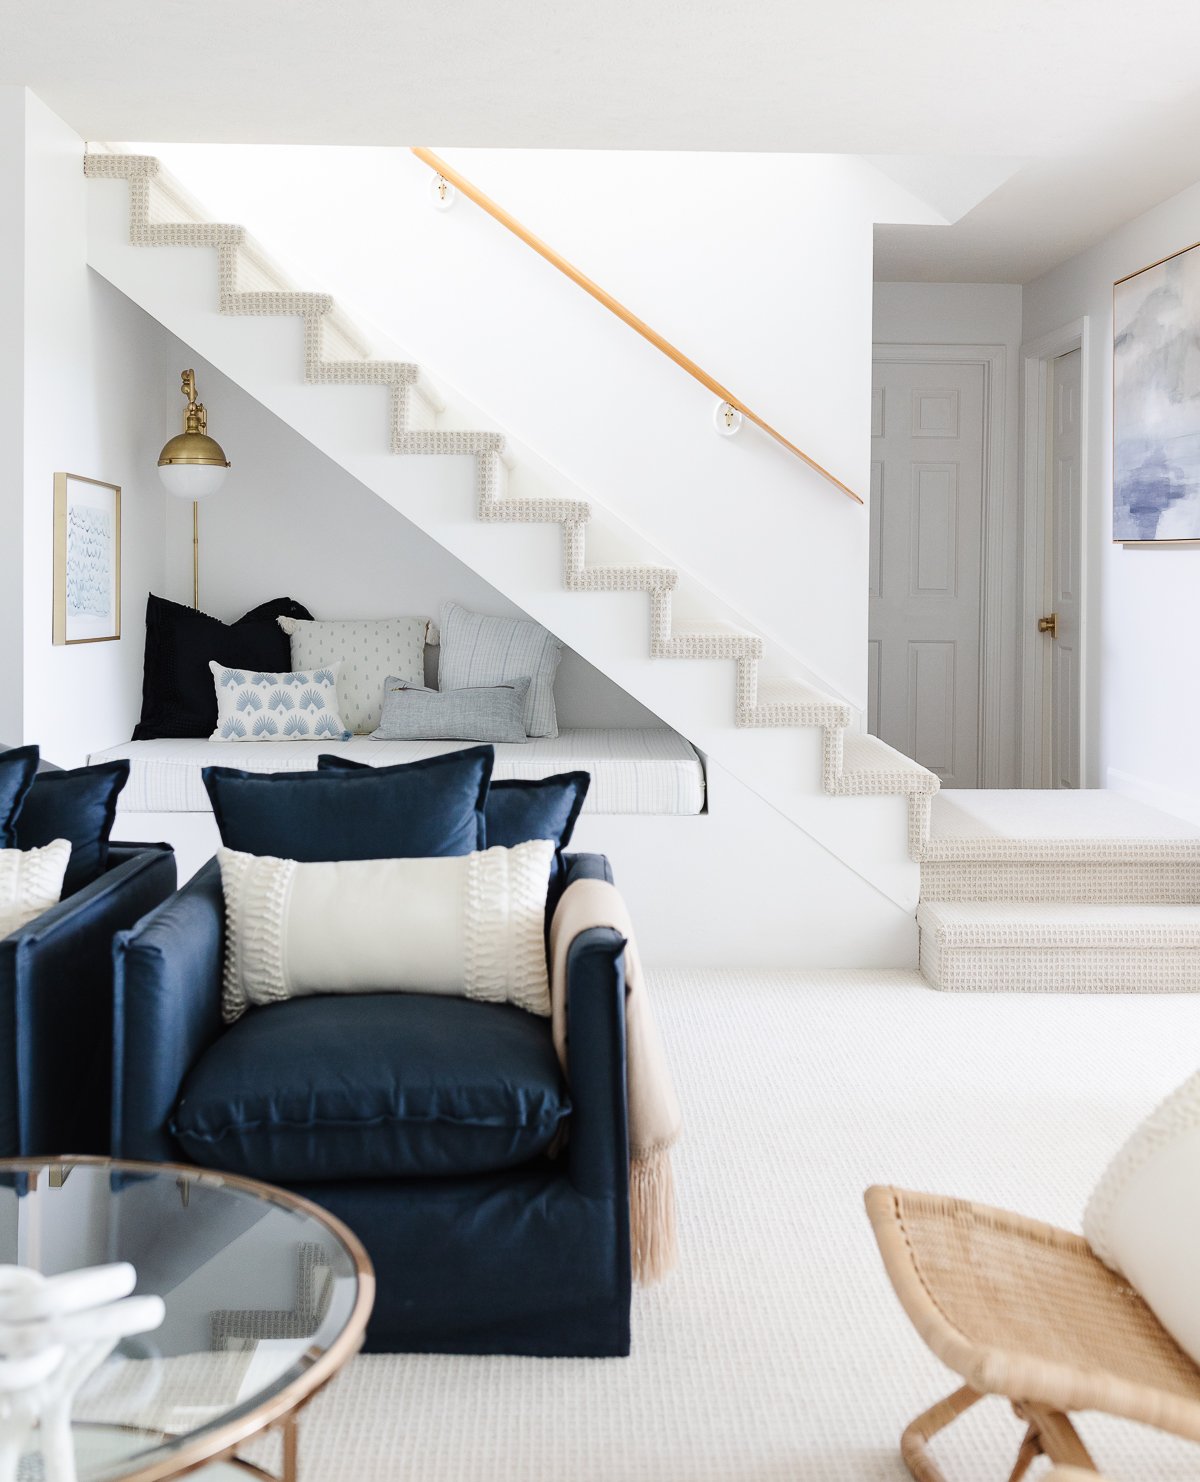
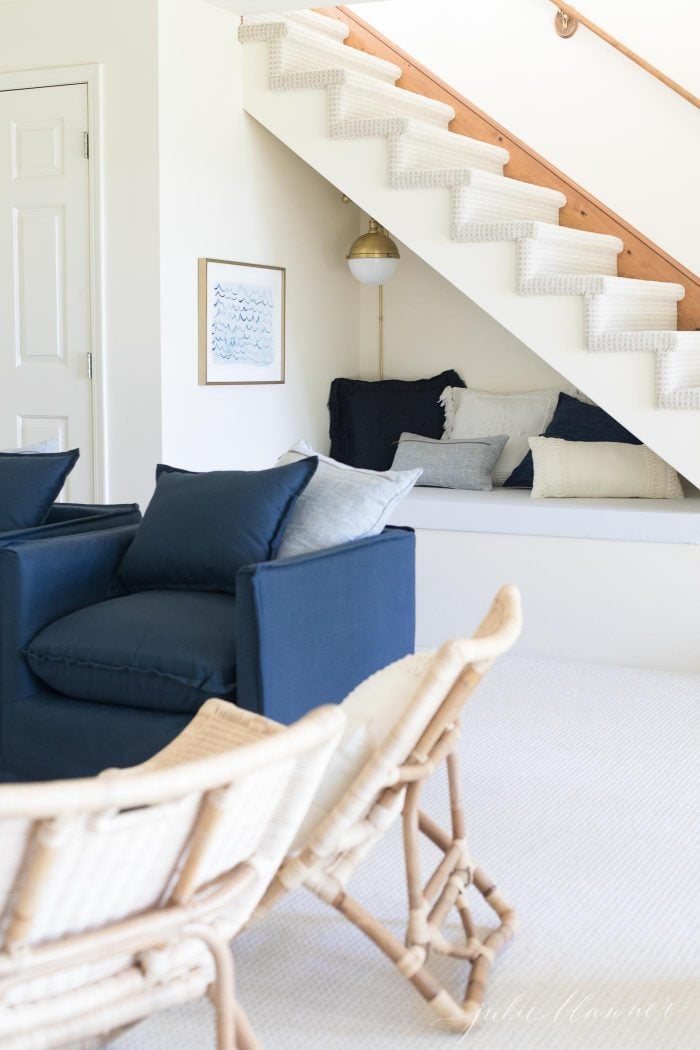
Ultimately, we decided to create a reading nook under the stairs for the girls to play and read. Even better, the nook could double as an extra bed when needed! In fact, it is just a couple inches shorter than a twin bed and wider, offering a lot of comfort in a little space. It’s a versatile space that allows us to accommodate additional guests.
Chris ventured down to the lake for a day to build kids reading nook, meanwhile, I did what I do best – shopped! I designed the space around a pretty piece of art I found that works seamlessly with our Modern Living Room. You can learn How to Choose Framed Art here.
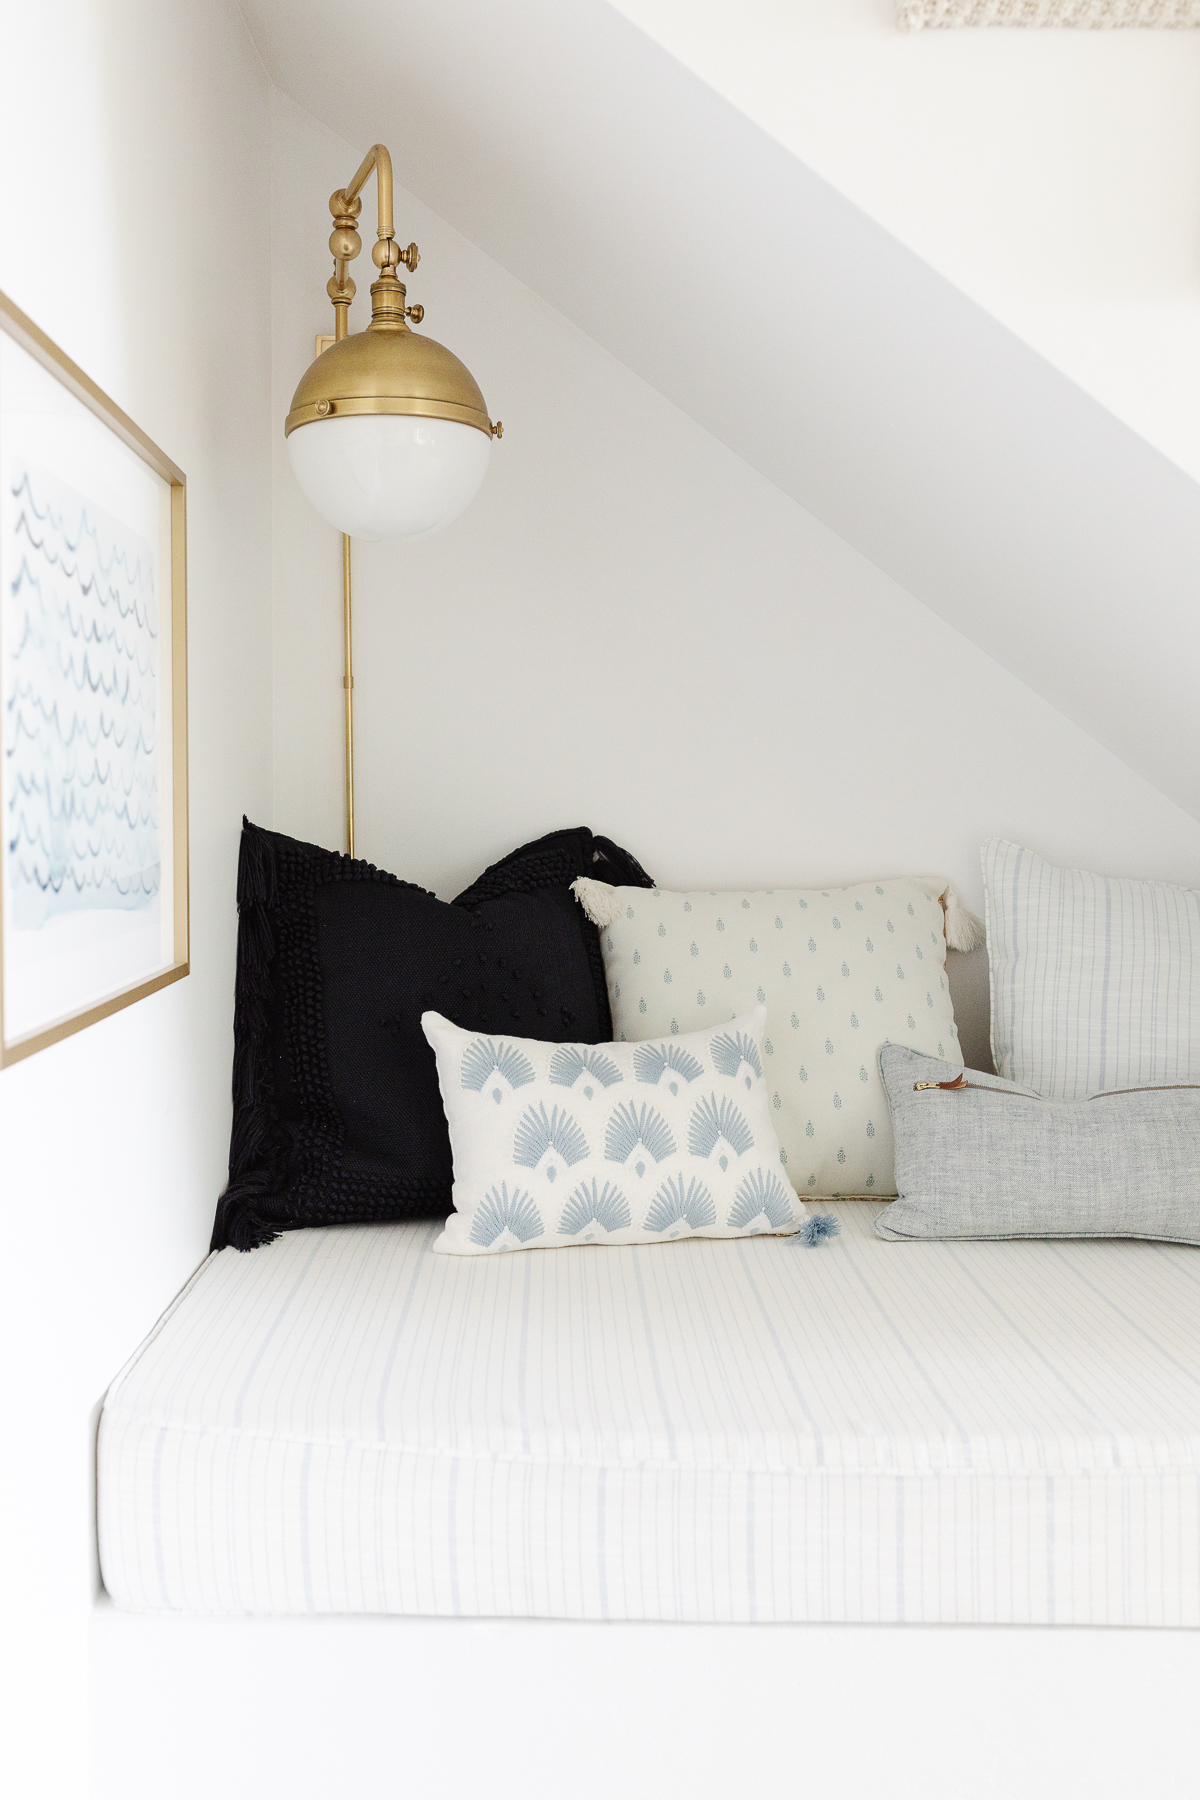
I ordered a custom cut mattress, intended for sleep knowing that no matter how the space is used, it would provide maximum comfort. You can have a custom mattress made inexpensively to your specs online that are intended for RV and boat use. Sadly, it arrived with 2 out of 3 wrong dimensions. I ordered 6″ thick to fit the space Chris built so that it would feel more significant and the width is 1″ wider than measurements I provided.
A new mattress is on its way from the more reputable company I linked to above, but I couldn’t wait to share! Eventually I will have a custom cover made, but until then, I used these oh so soft and inexpensive patterned sheets. In fact, I love them so much I might have the cover made from them.
Throw pillows add extra comfort to this cozy little nook and make the kids reading nook feel complete. (You can shop them all below.)
Finally, a beautiful brass plug-in sconce completed the space. Adding task lighting not only adds function, ambiance and gives it character, but it also defines the reading nook under the stairs. This makes it feel like an additional space or room!
I chose a plug in wall sconce for the nautical nod and my love of brass. The convenient plugin means no electrical work necessary and it’s easy to hang. For your convenience, you can shop everything you see in this post below!
Soon I’ll be sharing a detailed step-by-step tutorial to construct your own kids reading nook in an open staircase. Do you have any unique under stairs ideas?
I may be somewhat of a minimalist, but I love to maximize space! When we purchased the lake cottage the space underneath the stairs felt awkward. We considered a number of ways to best utilize it, taking cues from neighbors.
One neighbor filled in the space with a bookcase. It’s absolutely beautiful and practical as it also compensates for the lack of railing, but given it’s our vacation home, we don’t have a lot to display / fill shelves.
Previous owners used it as a media area, but we have decided that’s one of the many things we love about the lake – the lack of distraction from a tv.
We hadn’t given it much thought until we were deciding what to do with that awkward step as we prepared for new carpet throughout our home {more on that coming soon!}. We considered our needs for the lower level living room and the overall cottage – a place for the girls’ to hang out and play and more sleeping accommodations when we have a full house.
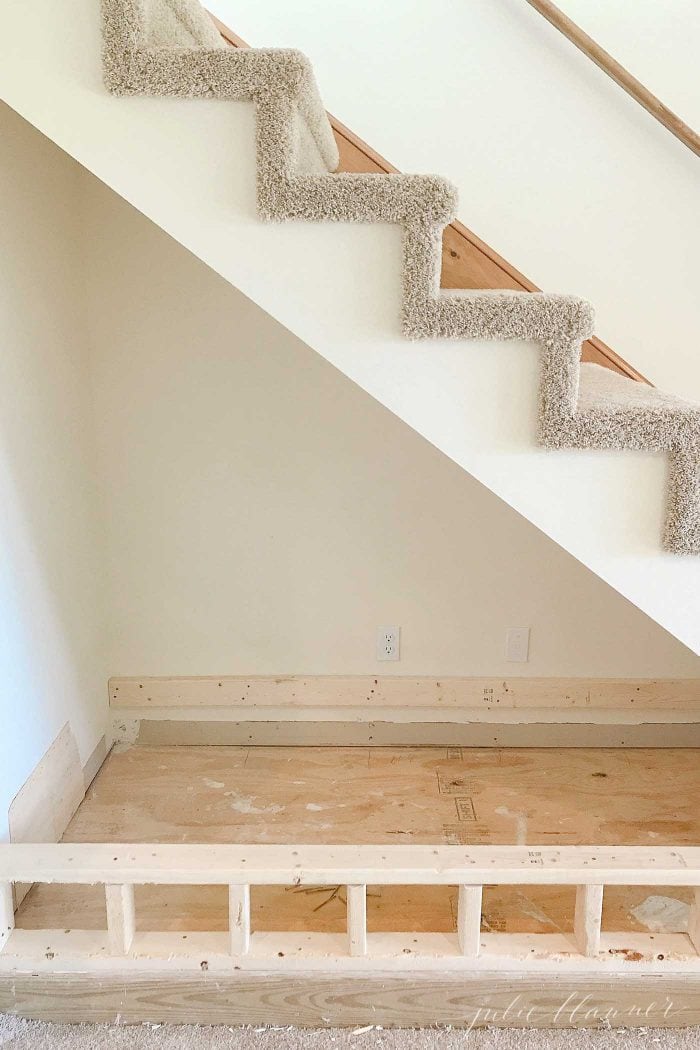
We measured and surprisingly, there was enough space to fit the length of a twin mattress! Unlike most of our projects, this one has progressed rather quickly! I sent Chris to the lake Wednesday night to build a bed/nook on his day off, and we returned to sand late Friday night, primed Saturday morning and painted Saturday night. It’s fun seeing it all come together and I wanted to share a sneak peek with you!
For reference, a before photo:
and the start of construction:
You can see how I plan to finish it and shop the look here {affiliate links}:

Once the carpet is installed, I’ll finish the space with a custom mattress and the items above to create a charming and cozy reading nook that will double as a bed when we have a full house.


Love the plug in wall sconce. Where did you get it?!
It’s Hudson Valley, enjoy!
Hi Julie! Do you happen to have the details of construction for the kid’s Reading Nook? Thank you!