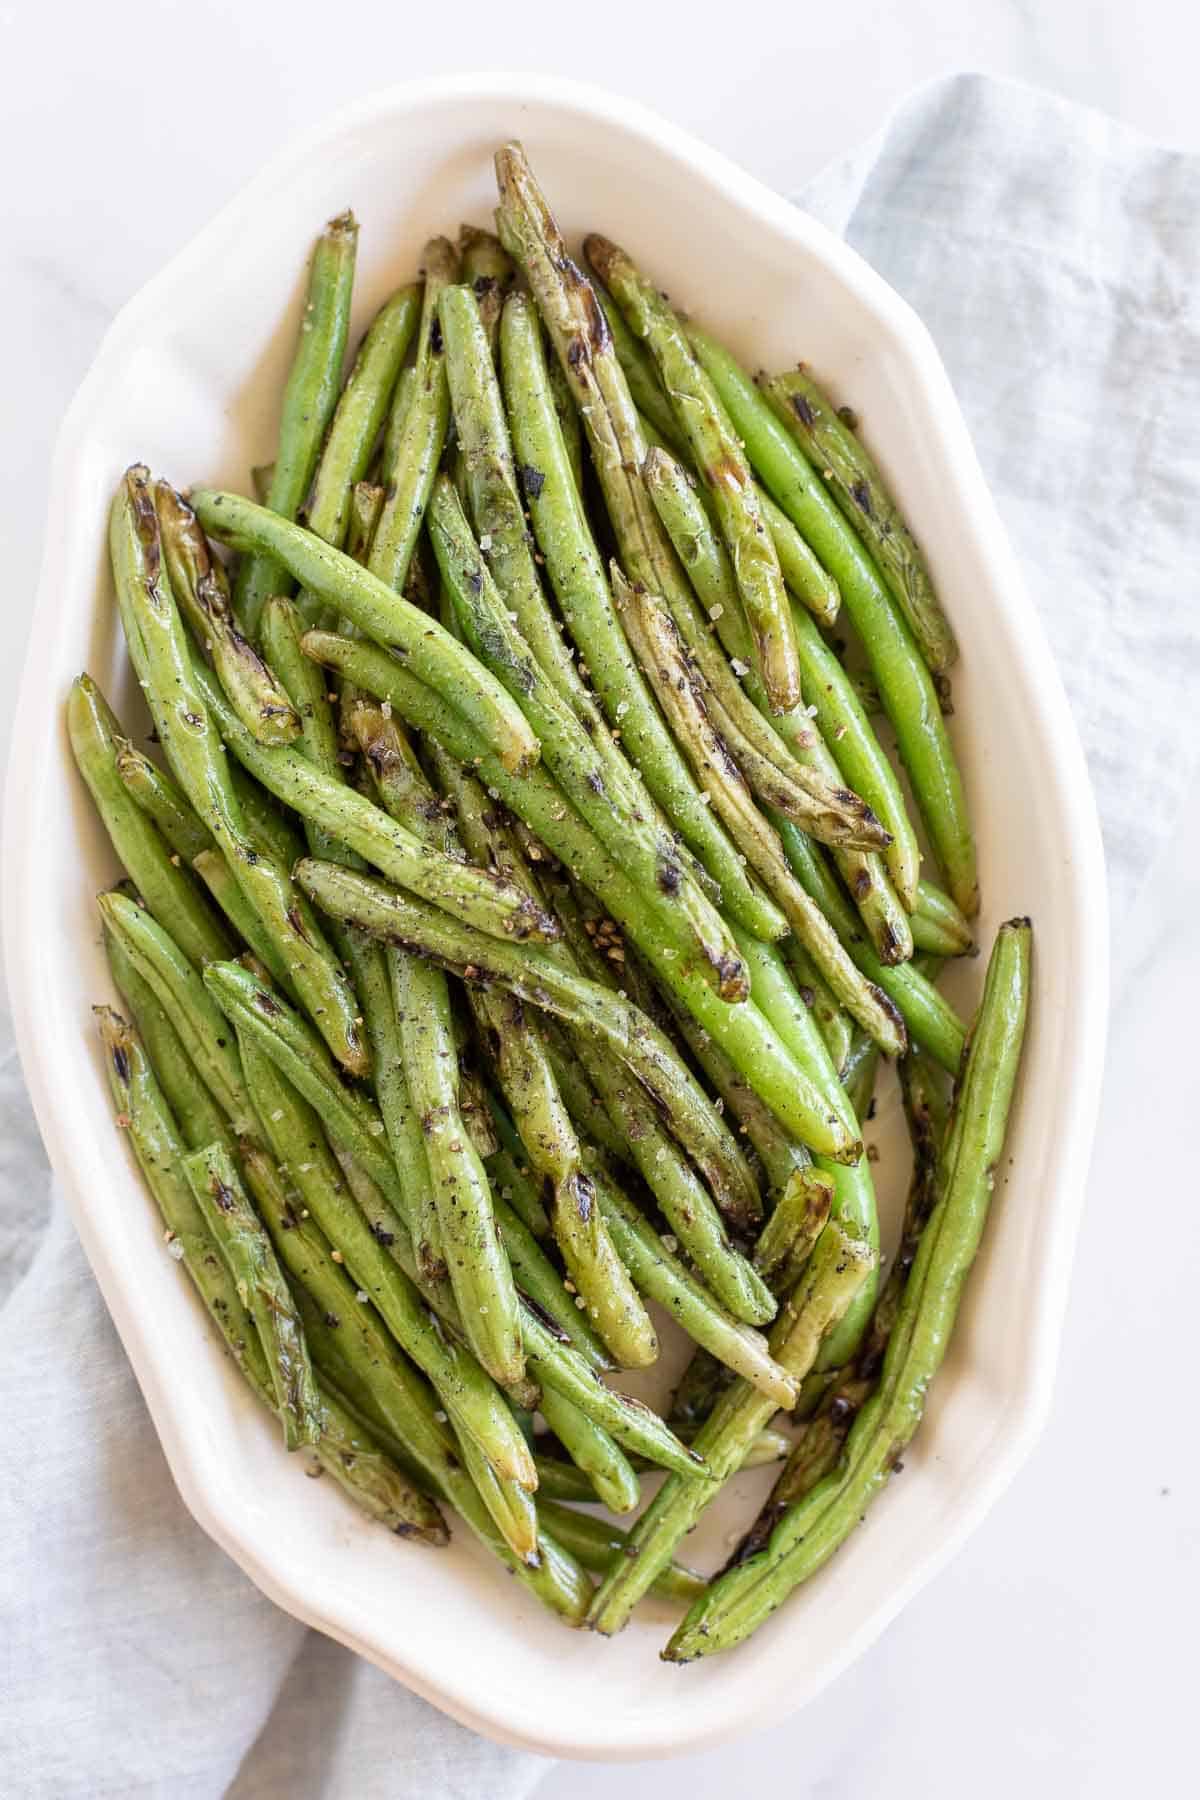
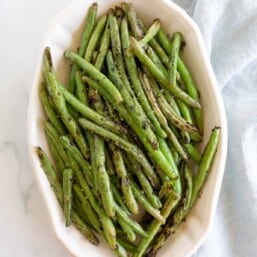
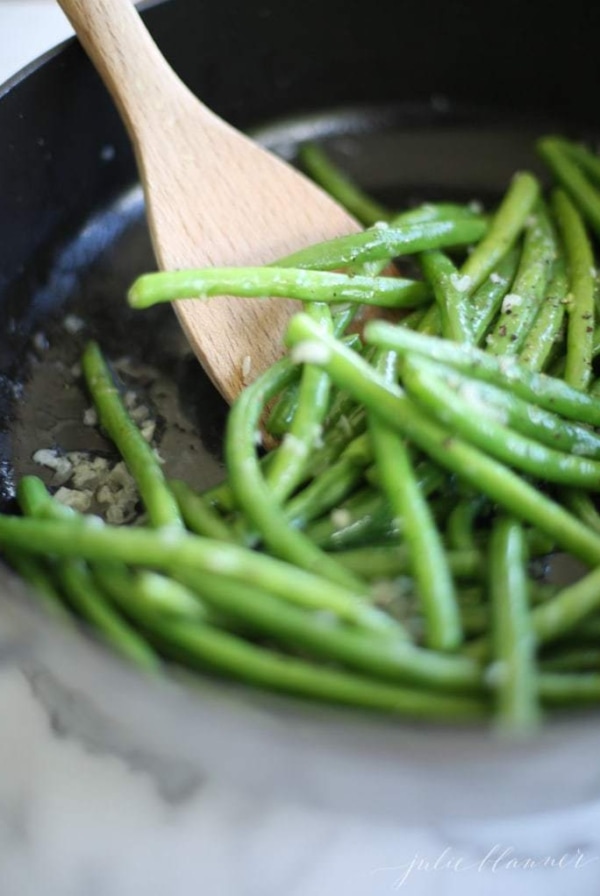
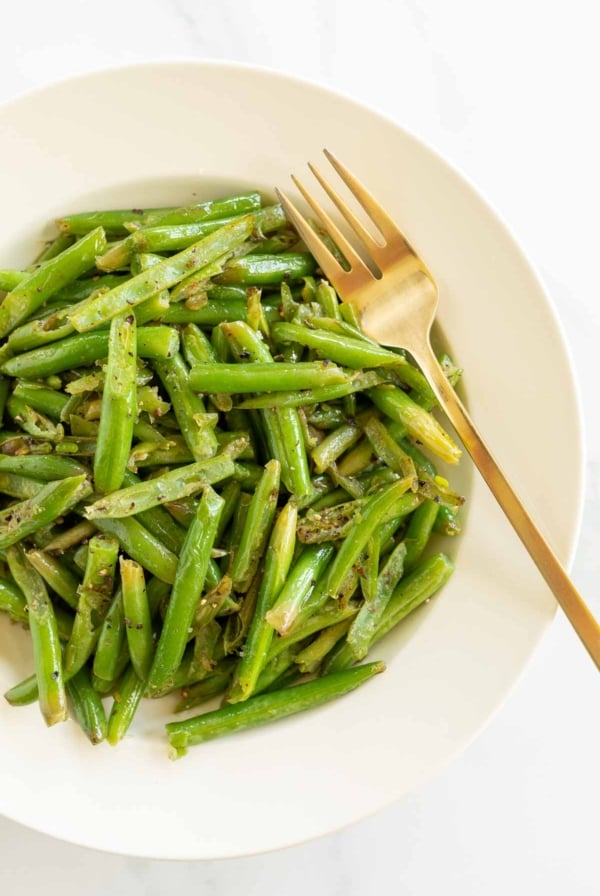
Meet my favorite healthy summer side dish! These grilled green beans are perfectly crisp, yet tender and charred just the right amount. Lean, clean and full of antioxidants, green beans can be cooked in so many different ways, but grilling is one of the fastest, easiest methods. Grilling takes basic green beans and elevates them into a slightly sweet, salty and perfectly crave-able bite.
Learn how to grill green beans to perfection in this quick and easy recipe!
I’ve recently rediscovered my love for grilling! It’s so much fun to throw things on the grill at this time of year. When it’s warm outside, and it’s something I would have normally baked or cooked on the stove top – that feels like a win!
After I realized just how incredible grilled baked potatoes and grilled sweet potatoes are, I knew I needed to perfect these grilled green beans. This method is beyond easy, and I know you’re going to love it!

Why You’ll Love this Recipe
- They cook quickly on the grill (Under 10 minutes start to finish).
- Perfect side dish with any protein – chicken, beef, seafood and more!
- So healthy – Keto friendly, low carb and Whole 30 approved.
Shopping List
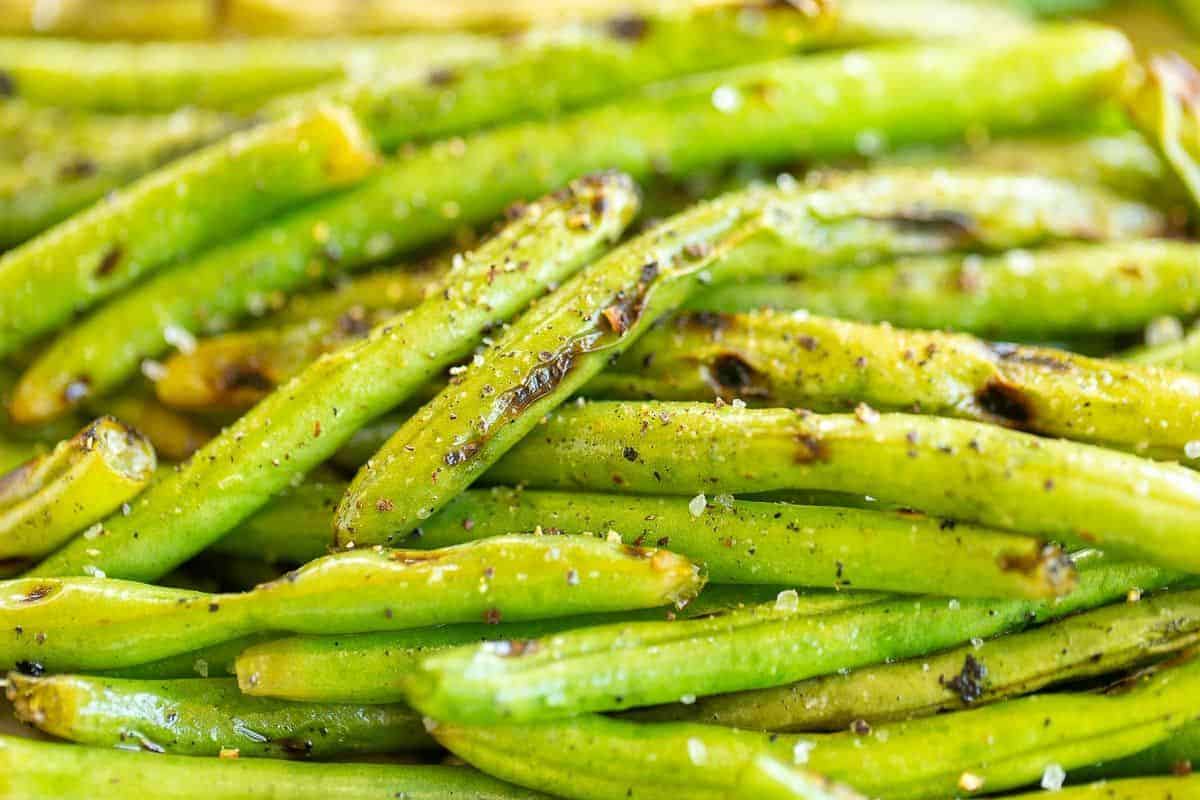
- Green Beans
- Extra Virgin Olive Oil
- Sea Salt and Pepper
Seasoning
I don’t always stick with just salt and pepper. Try adding a teaspoon of these fun homemade seasoning blends to better enhance the entrée you’re serving.
- Lemon Pepper
- Everything But the Elote Seasoning
- Everything Bagel Seasoning Blend
- Fajita Seasoning
- Italian Seasoning

Tips from My Test Kitchen
- Trimming – I generally buy green beans that have already been trimmed, just to eliminate an extra step. However, if you buy them untrimmed, it’s easiest to line them up in a group and do a big chop with your favorite knife. Goes so much faster than trying to do a couple at a time!
- Soaking – Soaking your green beans prior to grilling is unnecessary. It could cut your cooking time down just a bit, but not enough to make the extra step worthwhile.
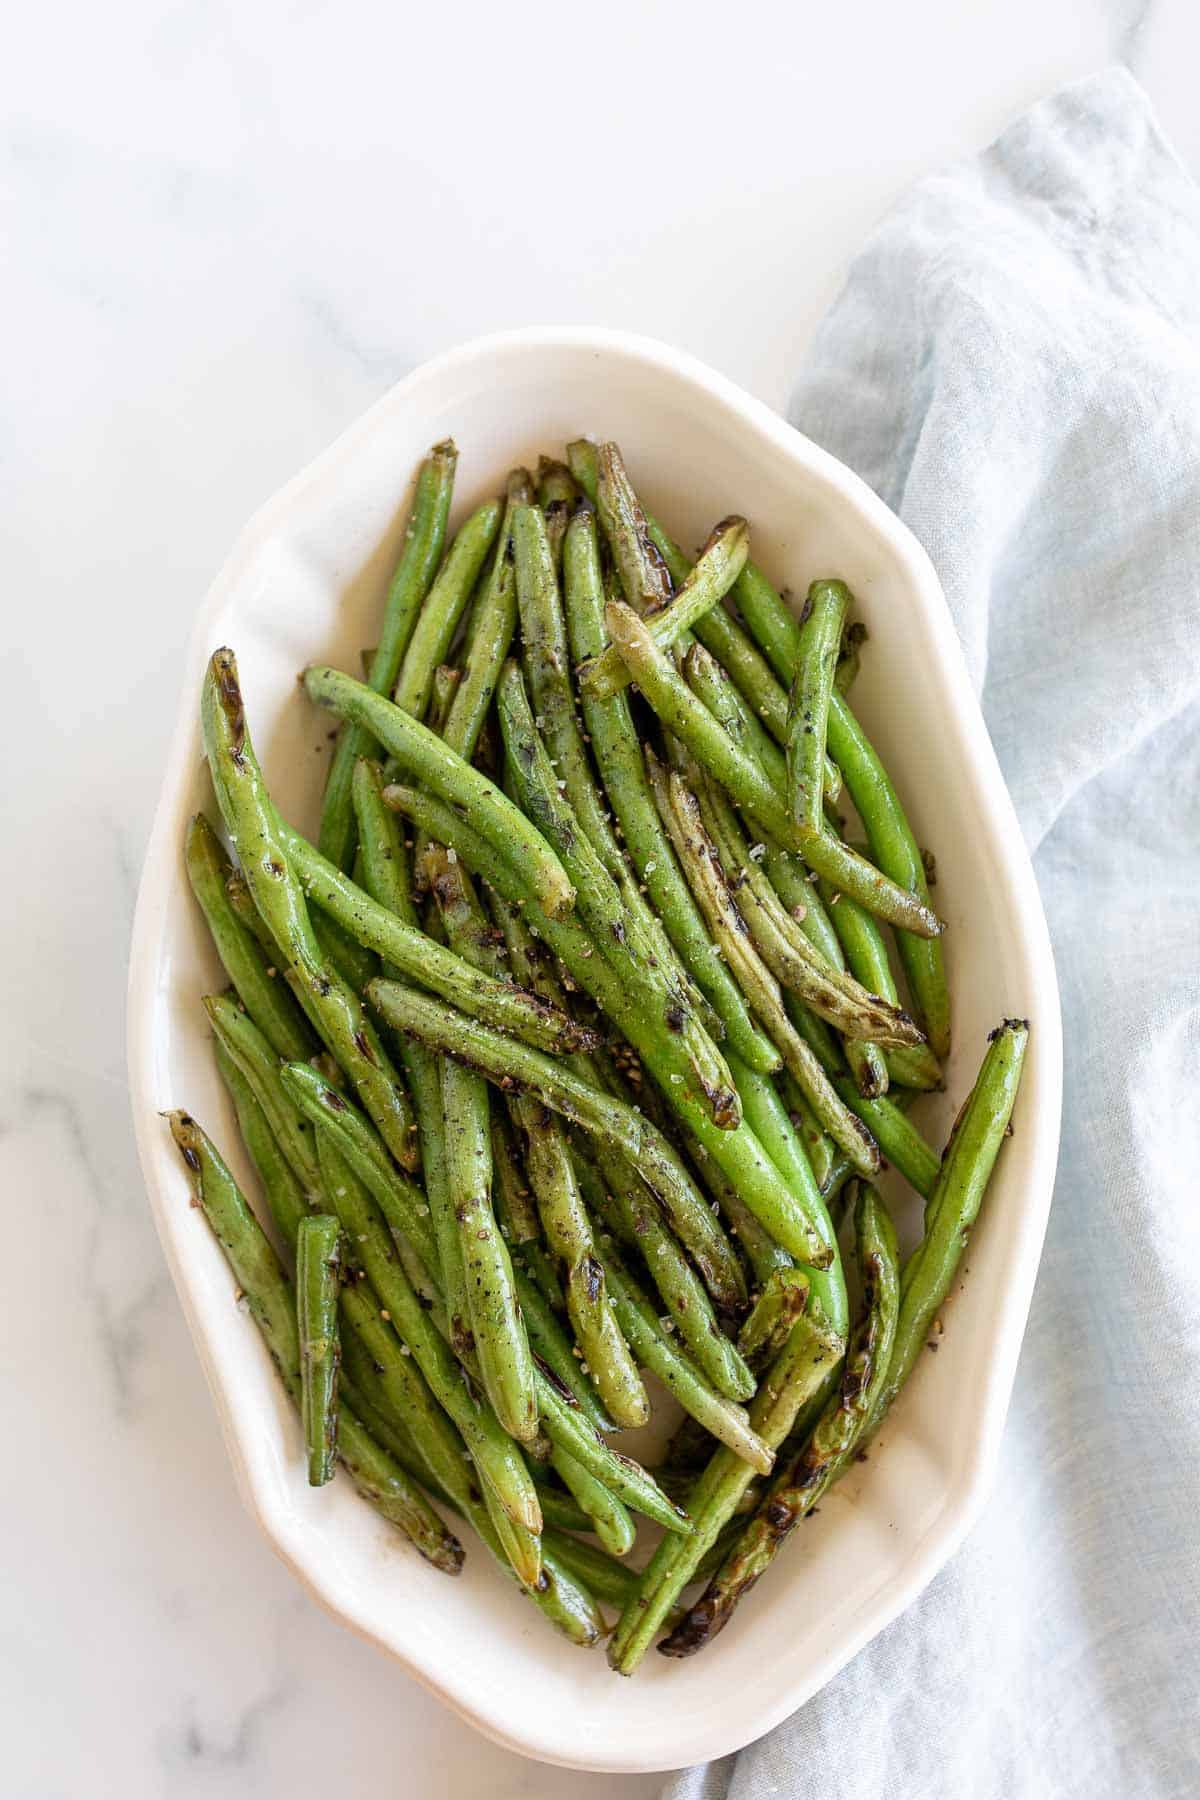
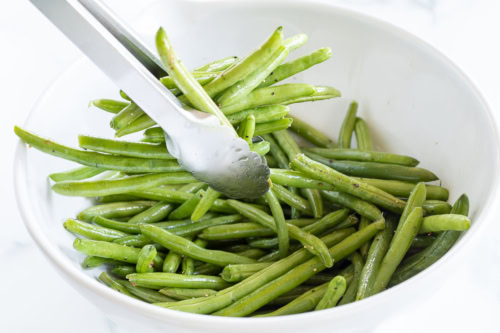
- Charring – It’s so easy to tell when grilled green beans are done! You can customize the timing based completely on your preferred level of char. Simply toss and remove when they’ve reached the perfect exterior color!
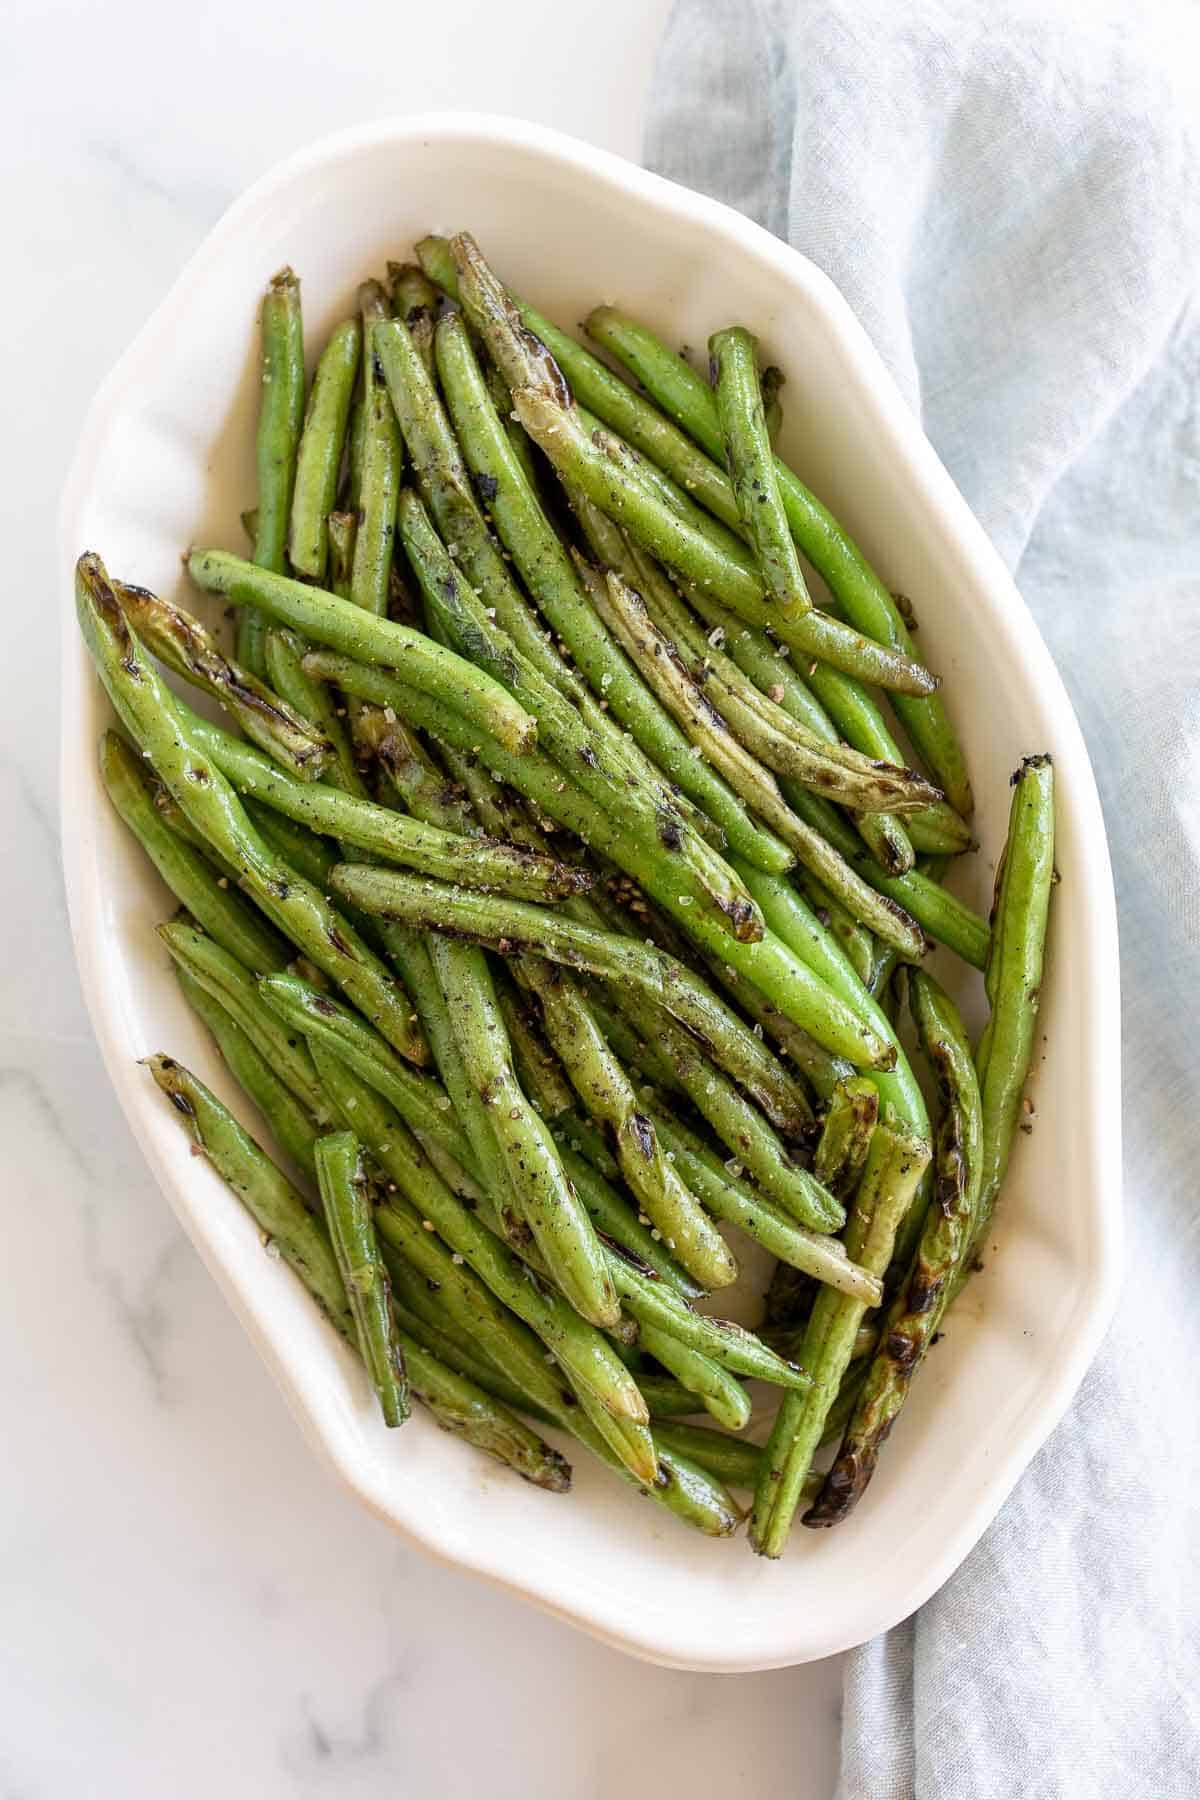
Grilled Green Beans
Ingredients
- 1 pound green beans fresh, trimmed
- ¼ cup extra virgin olive oil extra virgin
- ¼ teaspoon black pepper fresh ground, largest flake
- salt to taste
Instructions
- In a large mixing bowl, combine green beans, oil, salt and pepper (and any optional seasonings). Toss. Optional: Allow to marinate 15-30 minutes.
- Preheat grill to medium heat.
- Brush grate with oil.
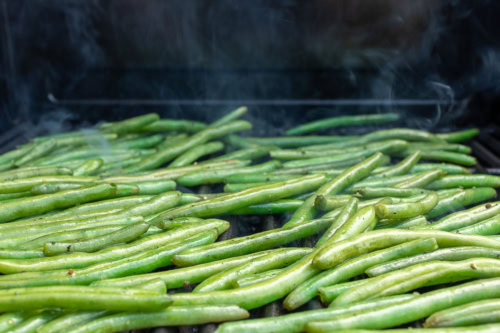
- Add green beans to grate, horizontally or at an angle. (You can also use a grill basket for ease, but we love the grill marks.)
- Grill 4 minutes until slightly charred and rotate. Grill 3-4 minutes longer after turning, and remove from heat.
Julie’s Tips
- Soaking – Soaking your green beans prior to grilling is unnecessary. It could cut your cooking time down just a bit, but not enough to make the extra step worthwhile.
- Trimming – I generally buy green beans that have already been trimmed, just to eliminate an extra step. However, if you buy them untrimmed, it’s easiest to line them up in a group and do a big chop with your favorite knife. Goes so much faster than trying to do a couple at a time!
- Charring – It’s so easy to tell when grilled green beans are done! You can customize the timing based completely on your preferred level of char. Simply toss and remove when they’ve reached the perfect exterior color!
Seasoning Variations
I use fresh cracked sea salt and pepper in this recipe. Add a teaspoon of any of the following seasoning blends for a different flavor profile in this grilled green beans recipe.- Lemon Pepper
- Everything But the Elote Seasoning
- Everything Bagel Seasoning Blend
- Fajita Seasoning
- Italian Seasoning
Storage
Grilled green beans can remain at room temperature for up to two hours while serving. Store for 3-5 days in an airtight container in your refrigerator. I freeze our leftover grilled green beans in a tightly closed Ziplock bag or in an airtight container for up to three months.Video
Estimated nutrition information is provided as a courtesy and is not guaranteed.
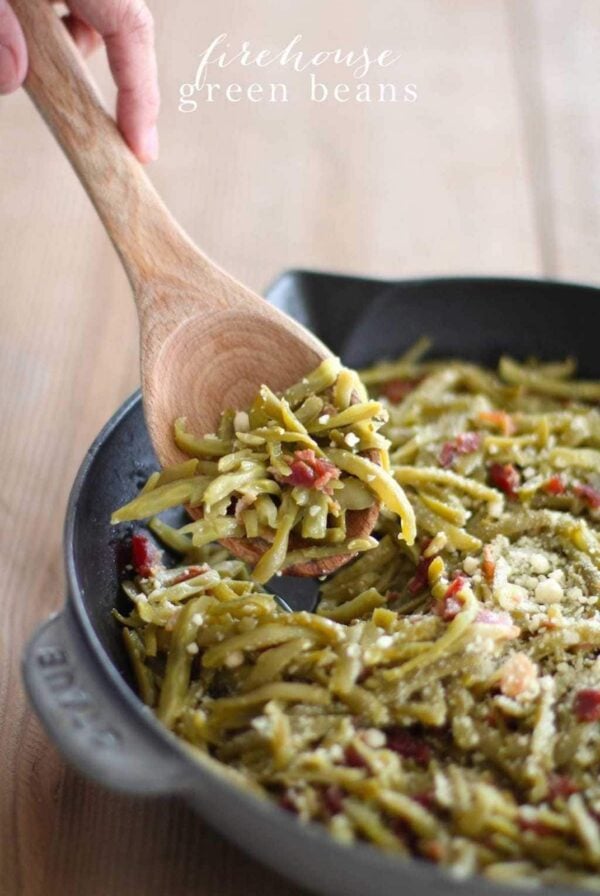




Finally made thee tonight–on the stovetop with a grill pan. They were excellent!
Love it! Thanks for taking a moment to share, Claire!