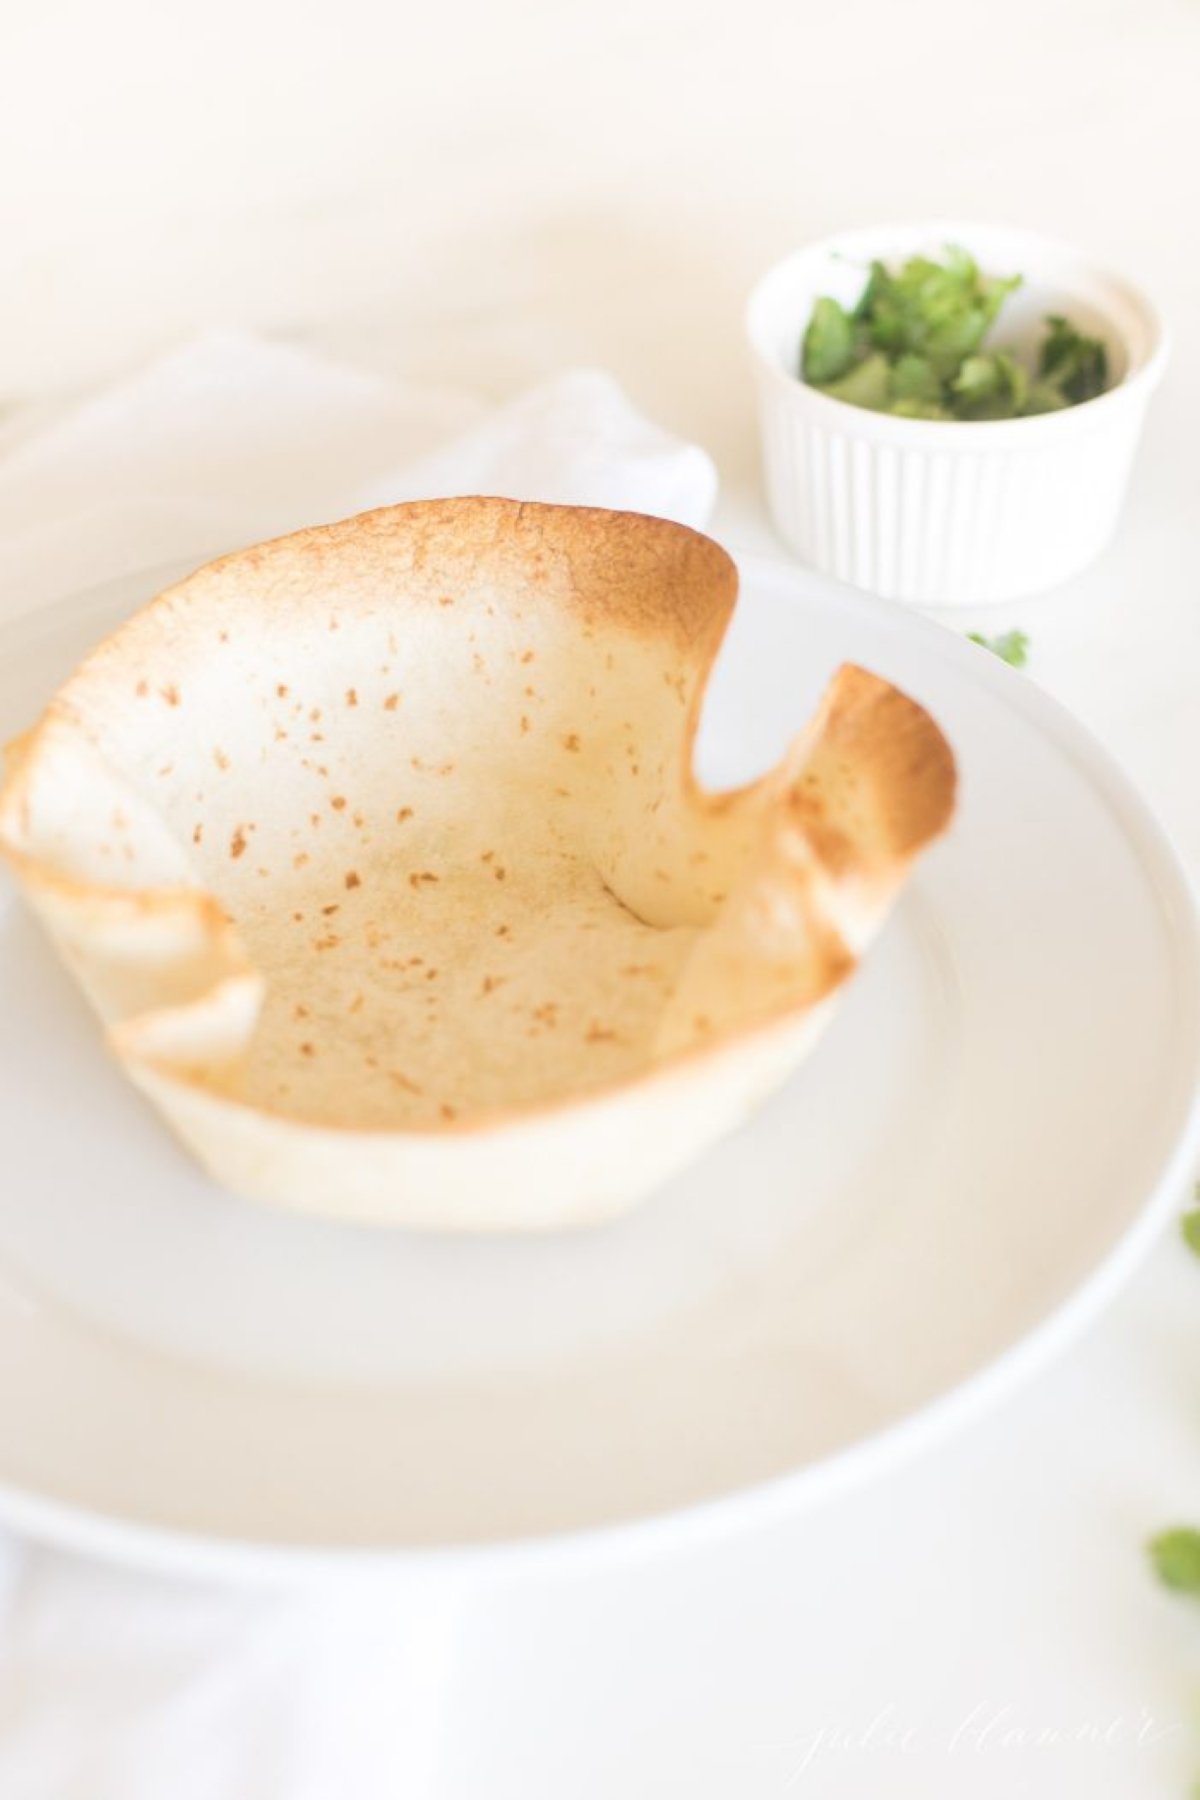
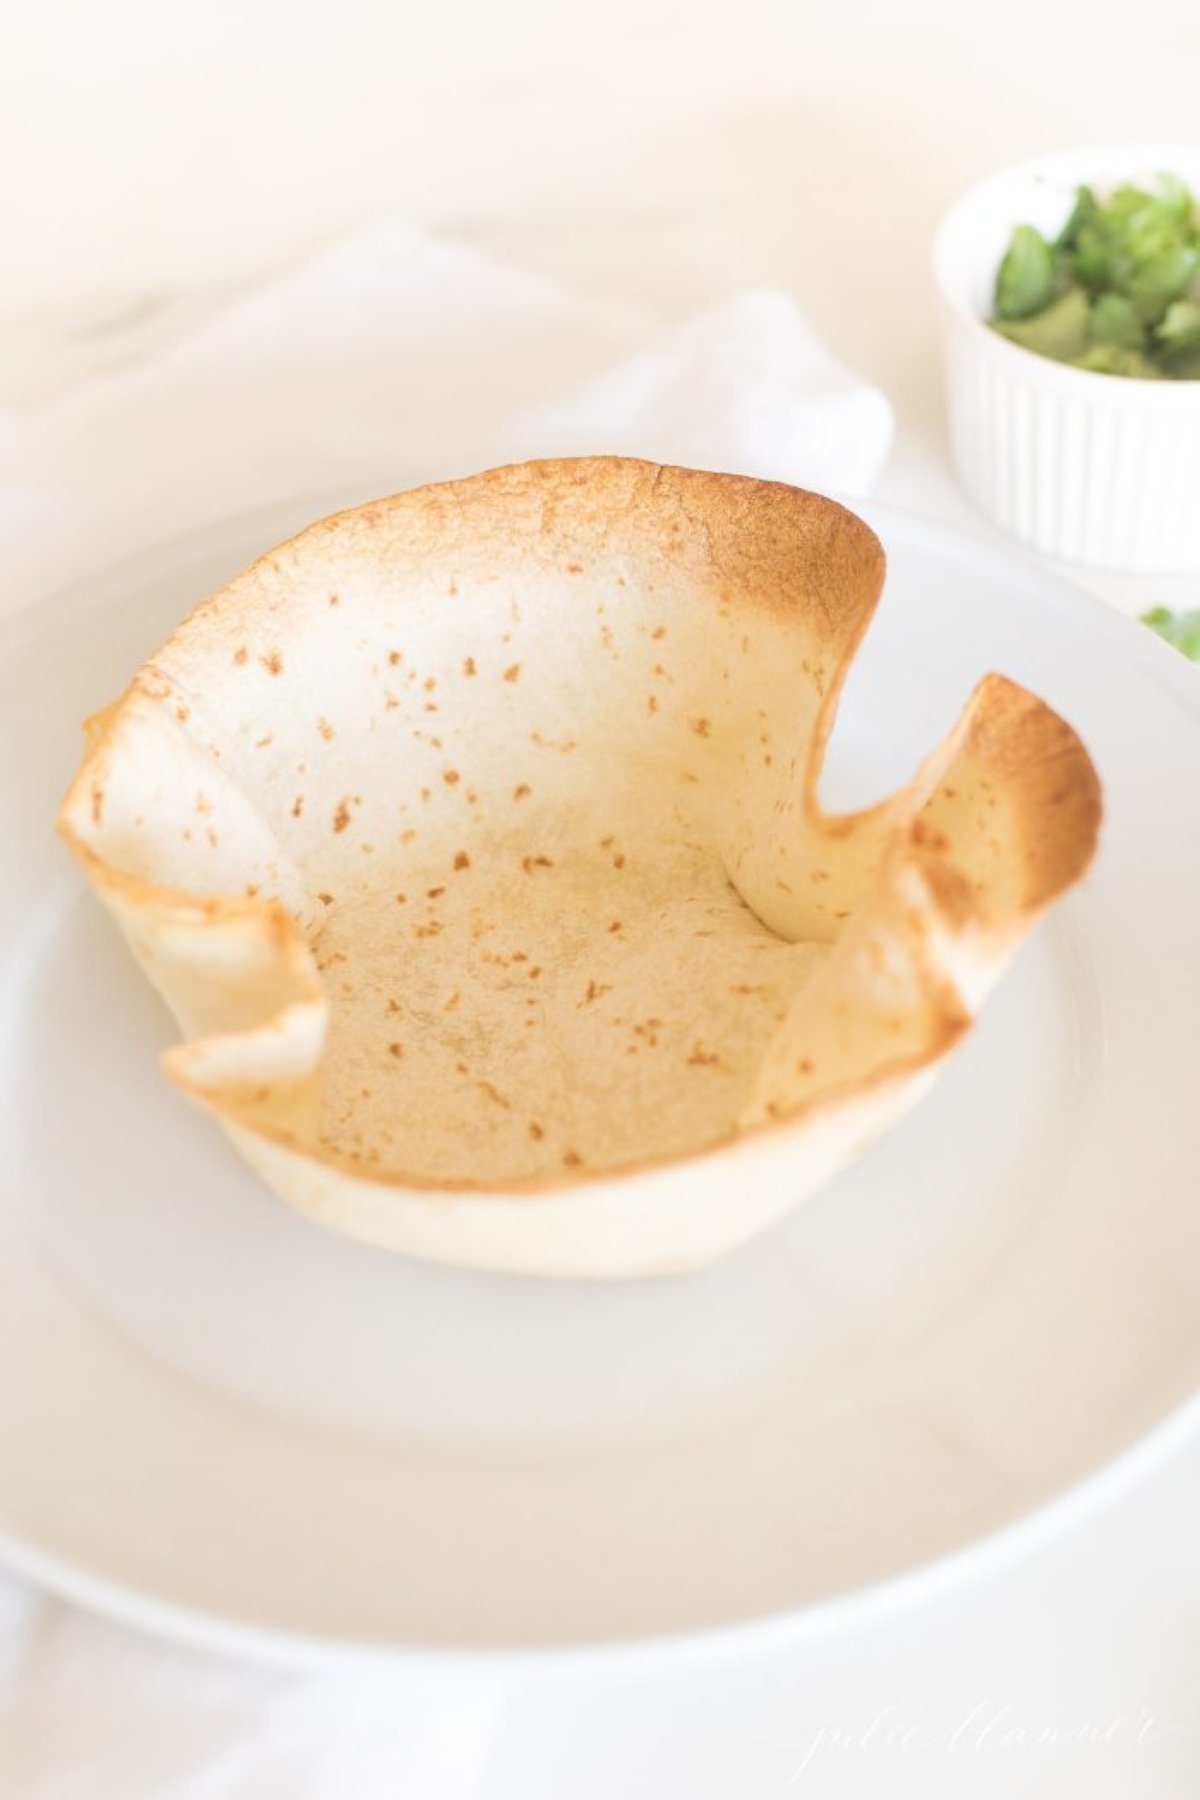
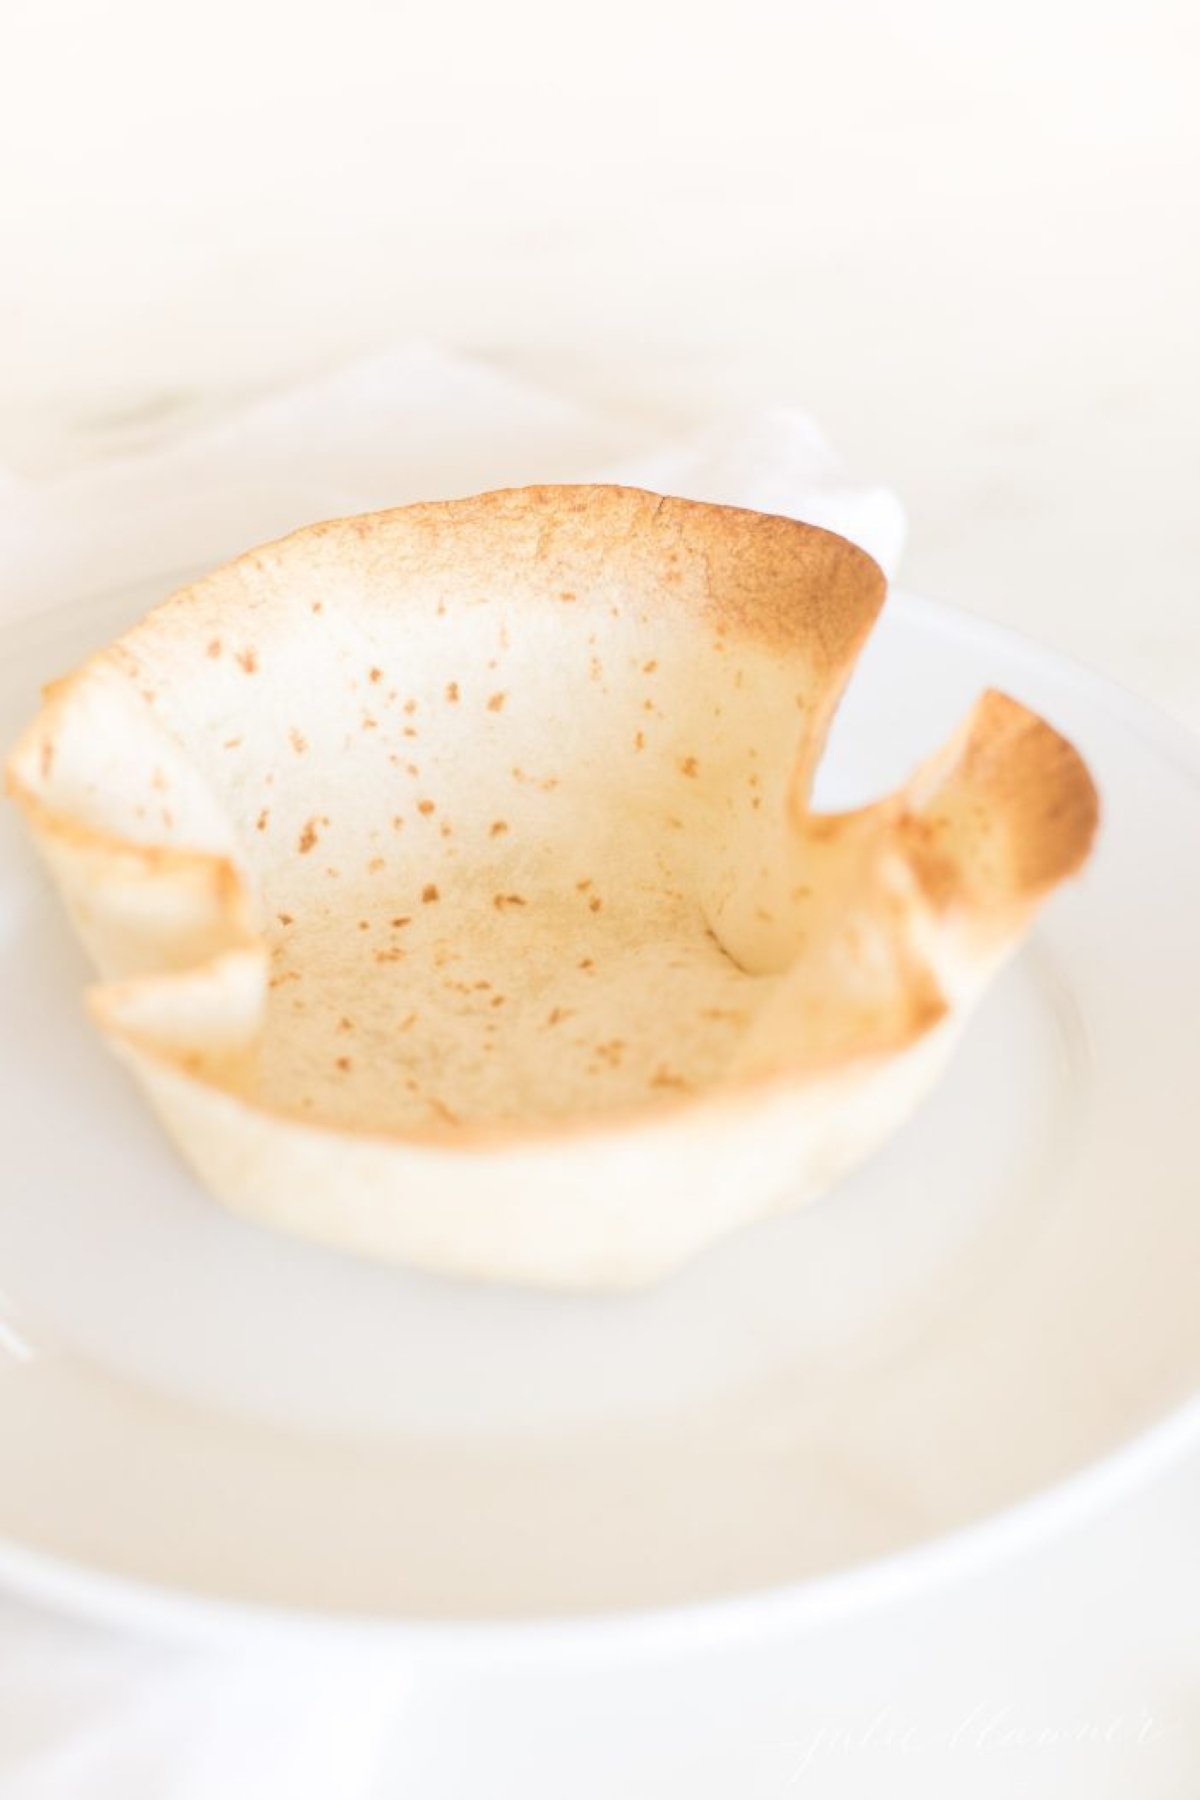
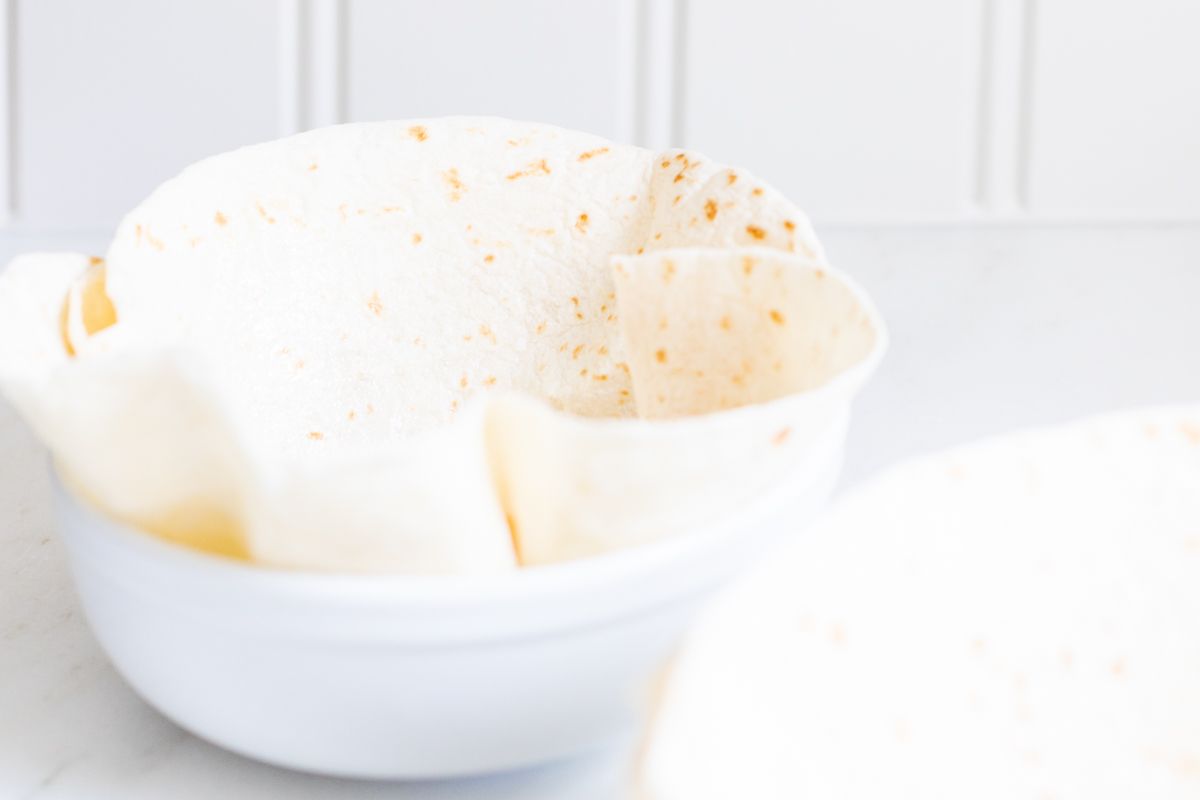
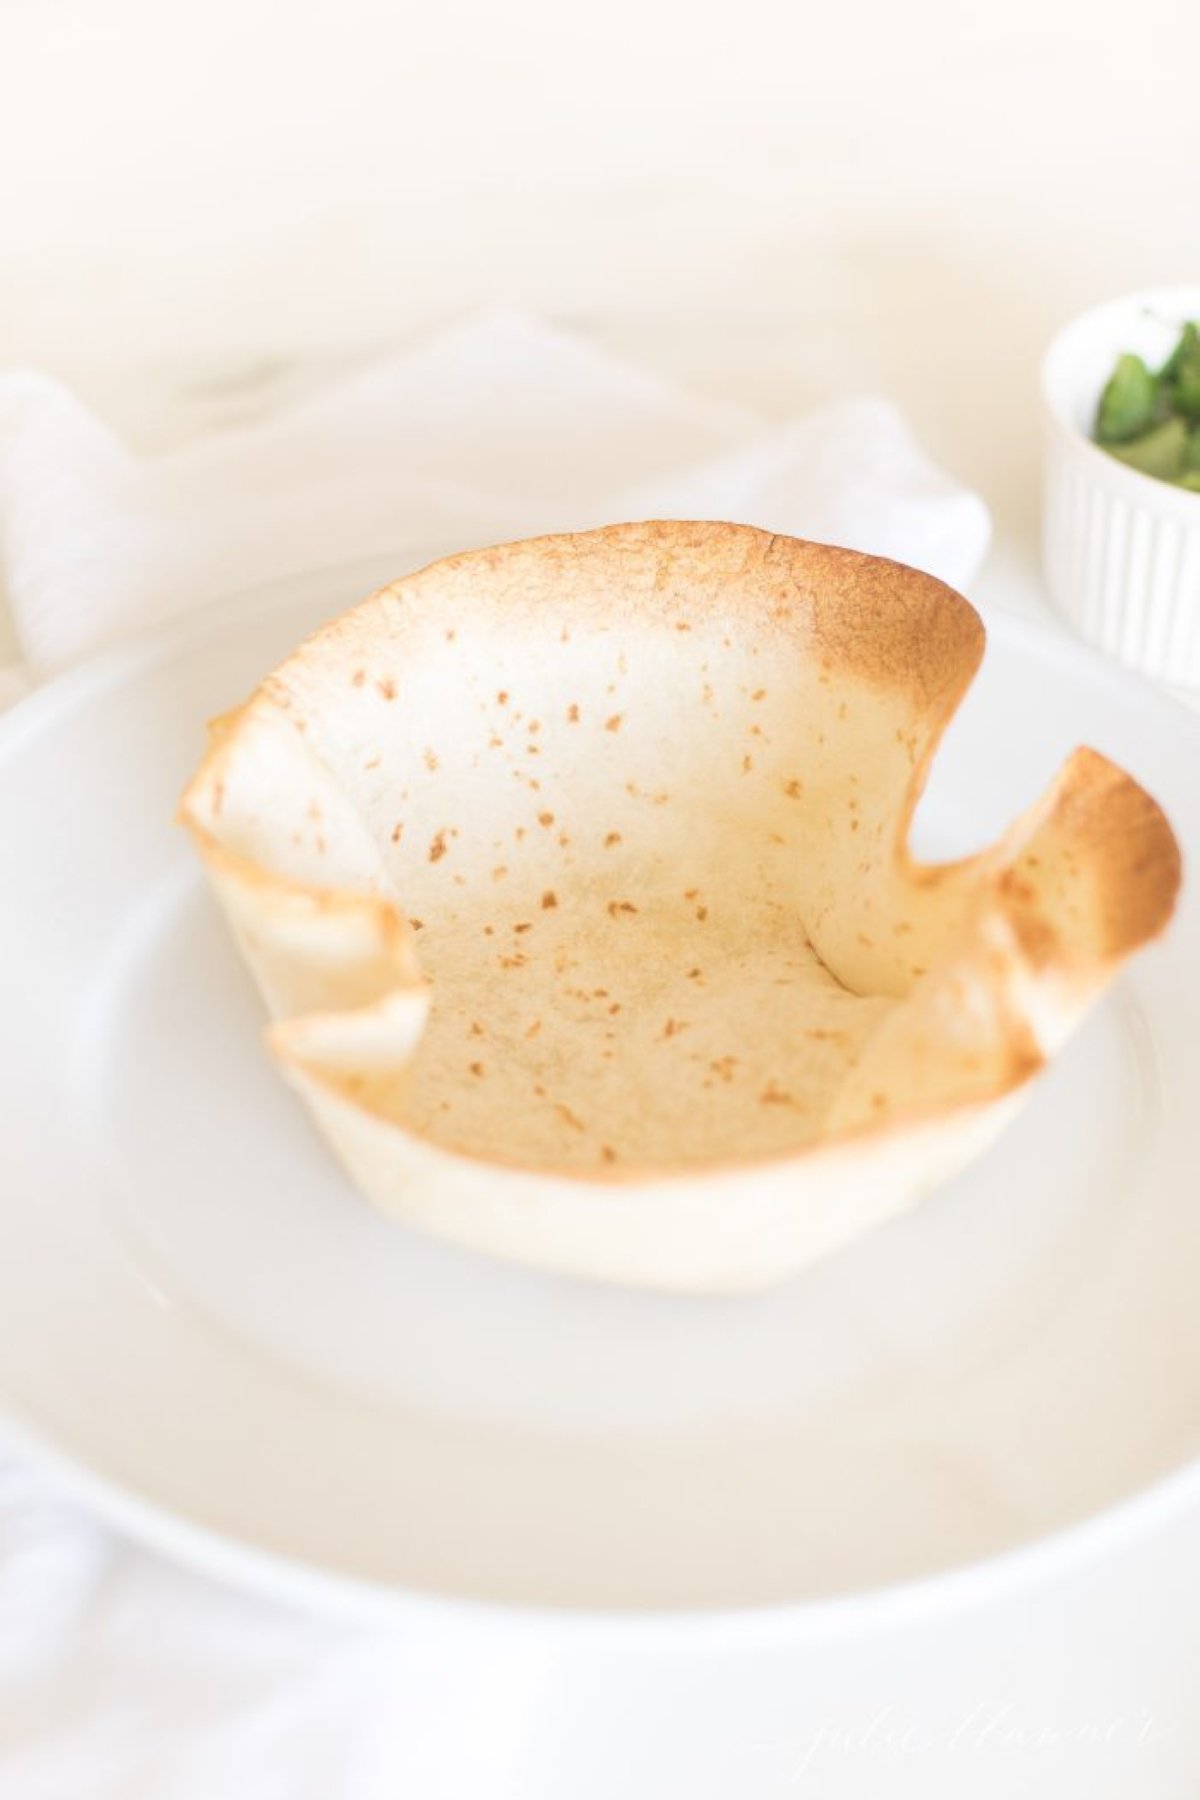
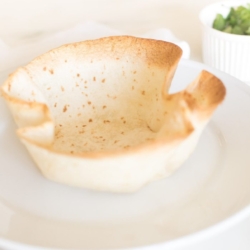
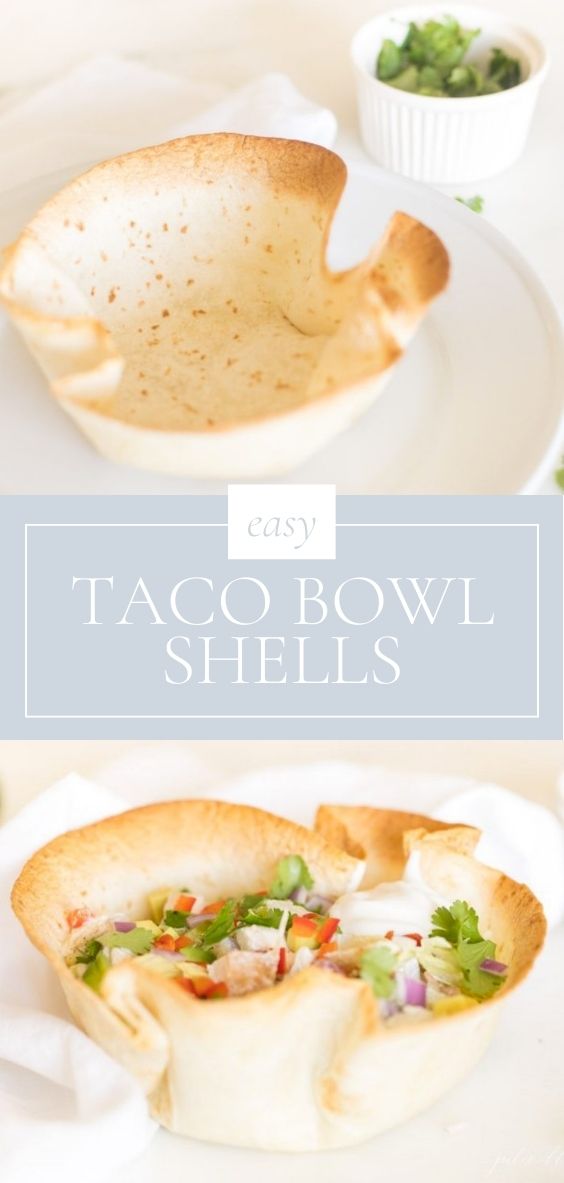
Easy homemade taco bowl shells for taco salads are made in the oven in just a few minutes.
Impress dinner guests with this effortless baked flour tortilla made into fun taco bowls that are so easy to customize!
I’m always looking for ways to mix up our easy weeknight dinners. I like to make an effortless dinner that looks as beautiful as it tastes, especially when entertaining family and friends.
These bowls are a simple way to elevate your taco salad. They give the illusion that you’ve been working in the kitchen all day. In reality, they take just a few minutes to make!
They create a memorable presentation without the effort. This taco bowl recipe is the perfect way to elevate your favorite Mexican recipes!
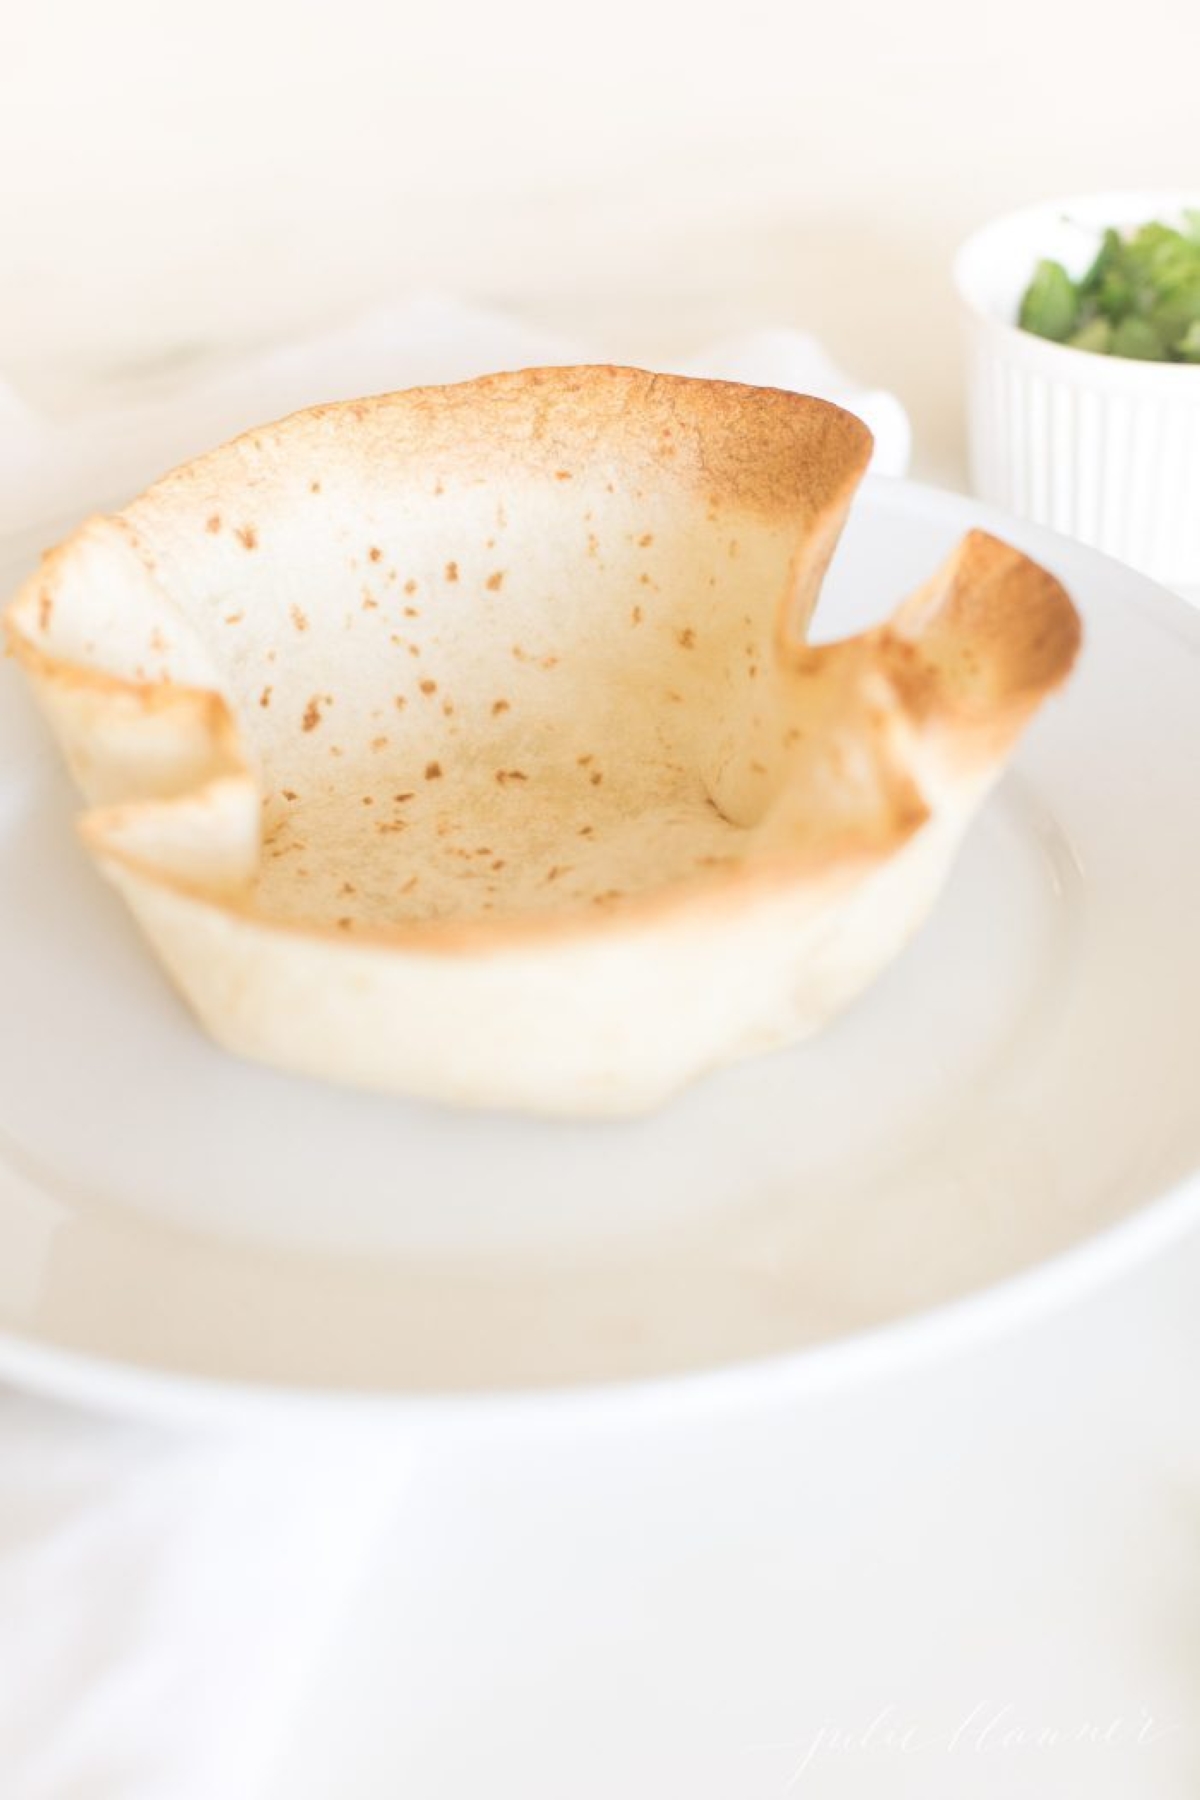
Taco salad bowls are so easy to make and delicious that you’d never guess they are light in calories, too! With less than 150 calories, these darling shells are the perfect way to serve taco salad without guilt.
If you’re anything like our family, we like to eat Mexican-inspired dishes at least once a week for dinner. These homemade taco bowls are such an easy way to elevate a simple meal!
Why You’ll love these Taco Bowl Shells
- Easy to Make
- Minimal Ingredients
- Kids Love Them
- Such a great taco dinner upgrade!
★★★★★
5 STAR REVIEW
“”These are perfect! I even made mini bowls for the grandkids and they got such a kick out of it. Thanks for sharing!””
— ROBERTA —
They’re so easy! No fuss, no mess. They are the perfect addition to your weeknight dinner. There’s nothing better than a warm, toasty tortilla bowl filled with all your favorite Mexican flavors!
Ingredients and Substitutions
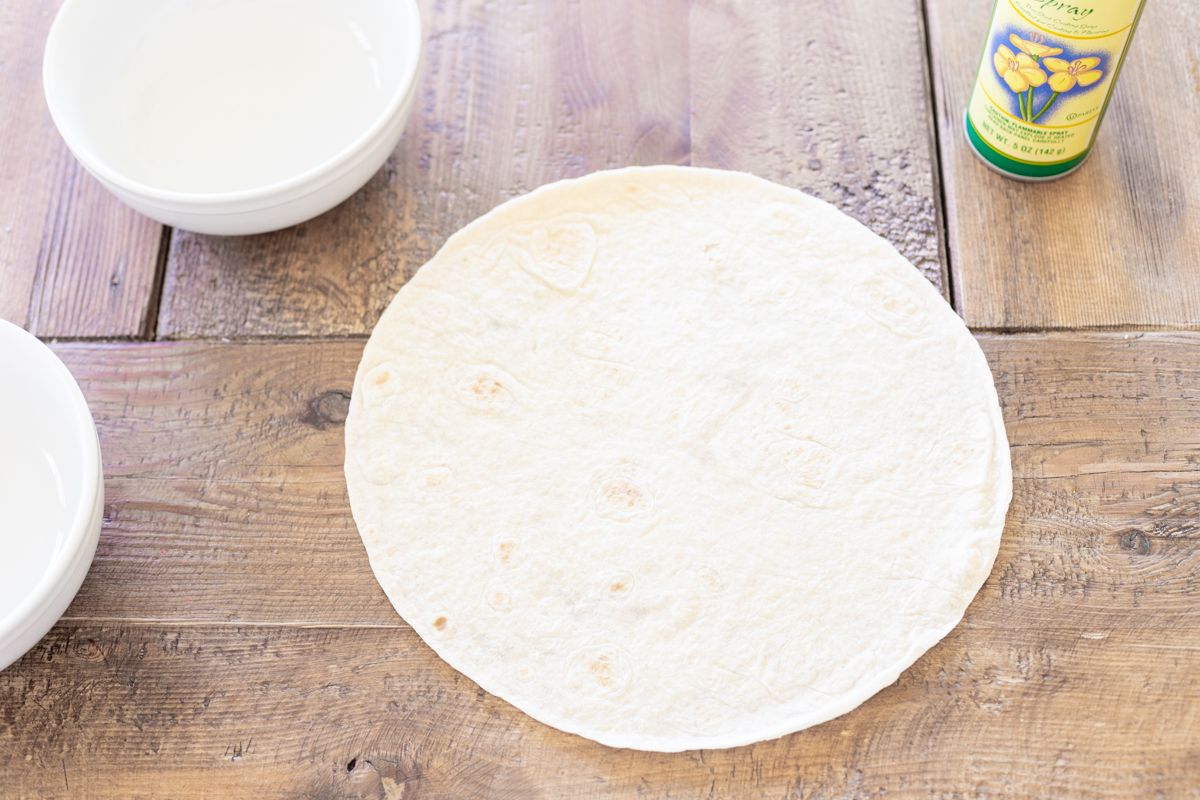
- your favorite flour tortillas (or corn)
- olive or canola oil spray
Variations
- Season – After coating with oil, season with salt and pepper, chili powder, fajita seasoning or taco seasoning.
- Add Cheese – After baking, add fresh shredded cheese to the bottom and bake one minute.
- Make Dessert Bowls – Coat with cinnamon sugar for a delicious dessert bowl! It’s perfect for serving strawberries and cream, fruit salad, homemade ice cream and more!
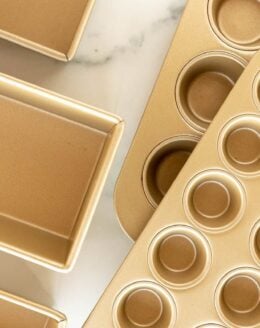
Tools to Use
How to Make
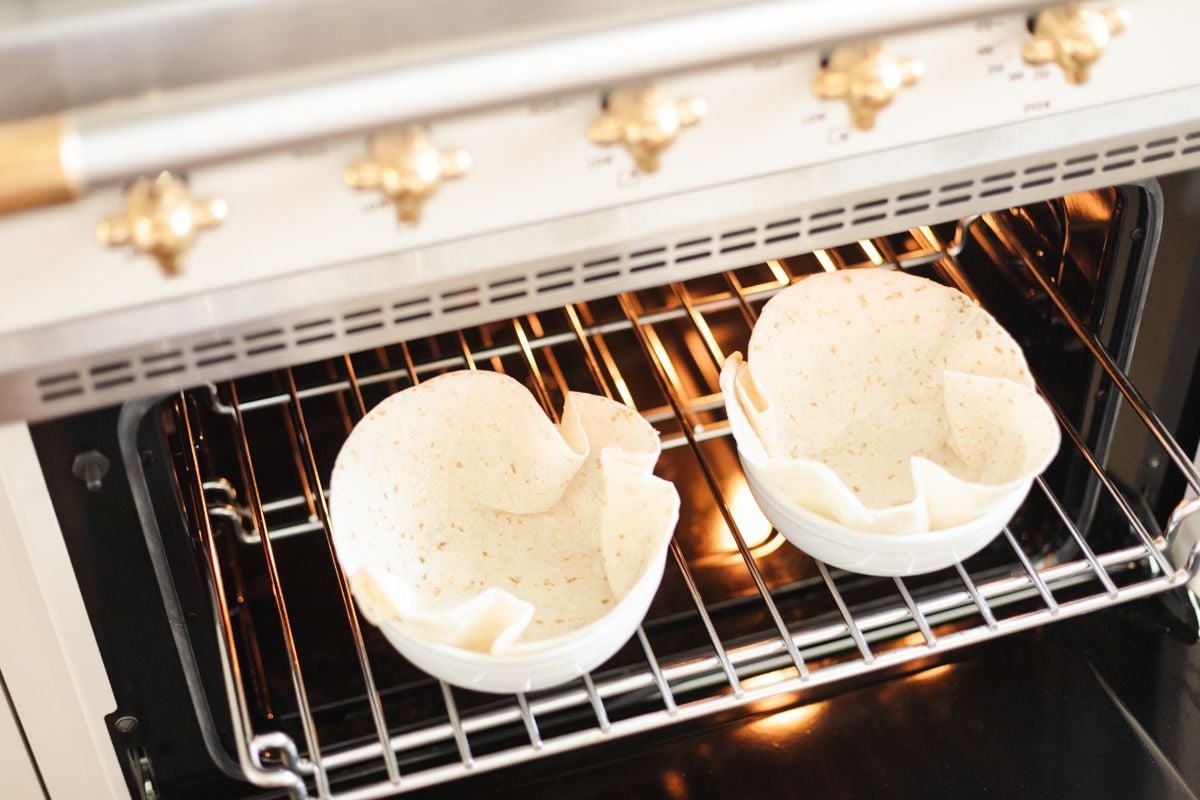
- Prep – Preheat oven to 325 degrees.
- Coat – Lightly coat flour tortillas with oil spray.

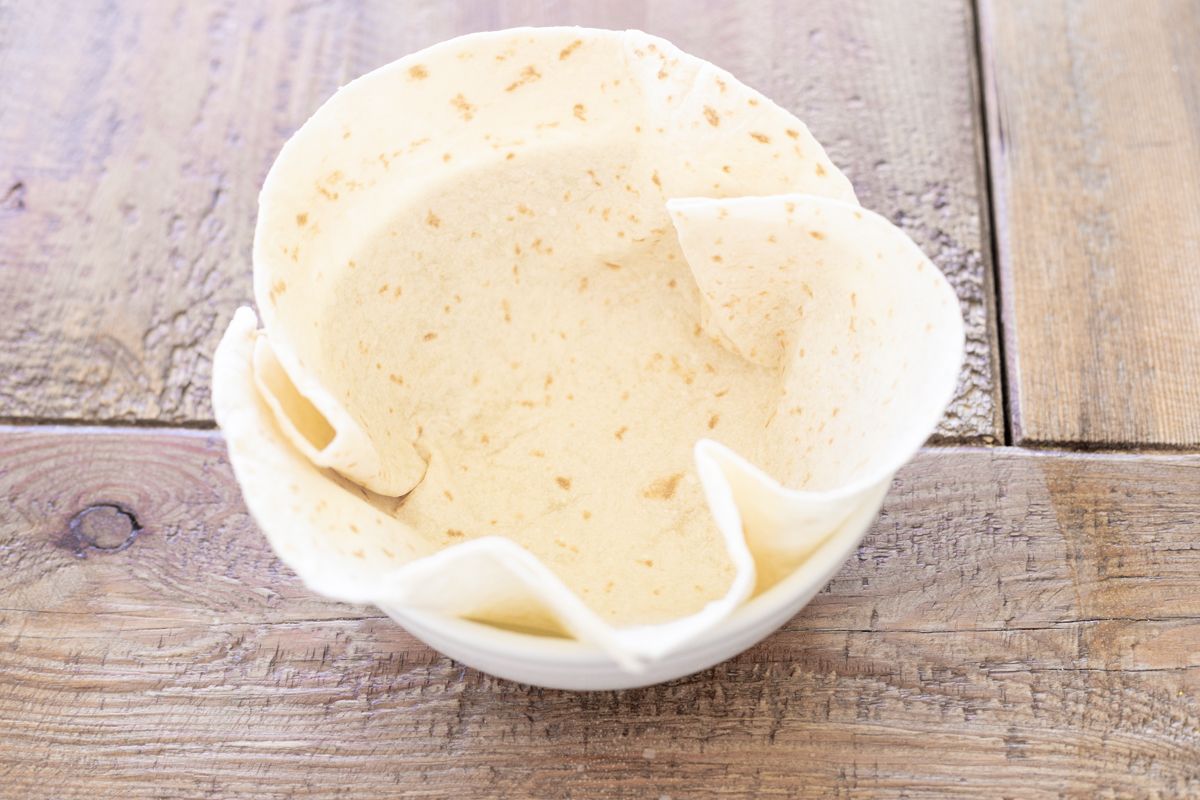
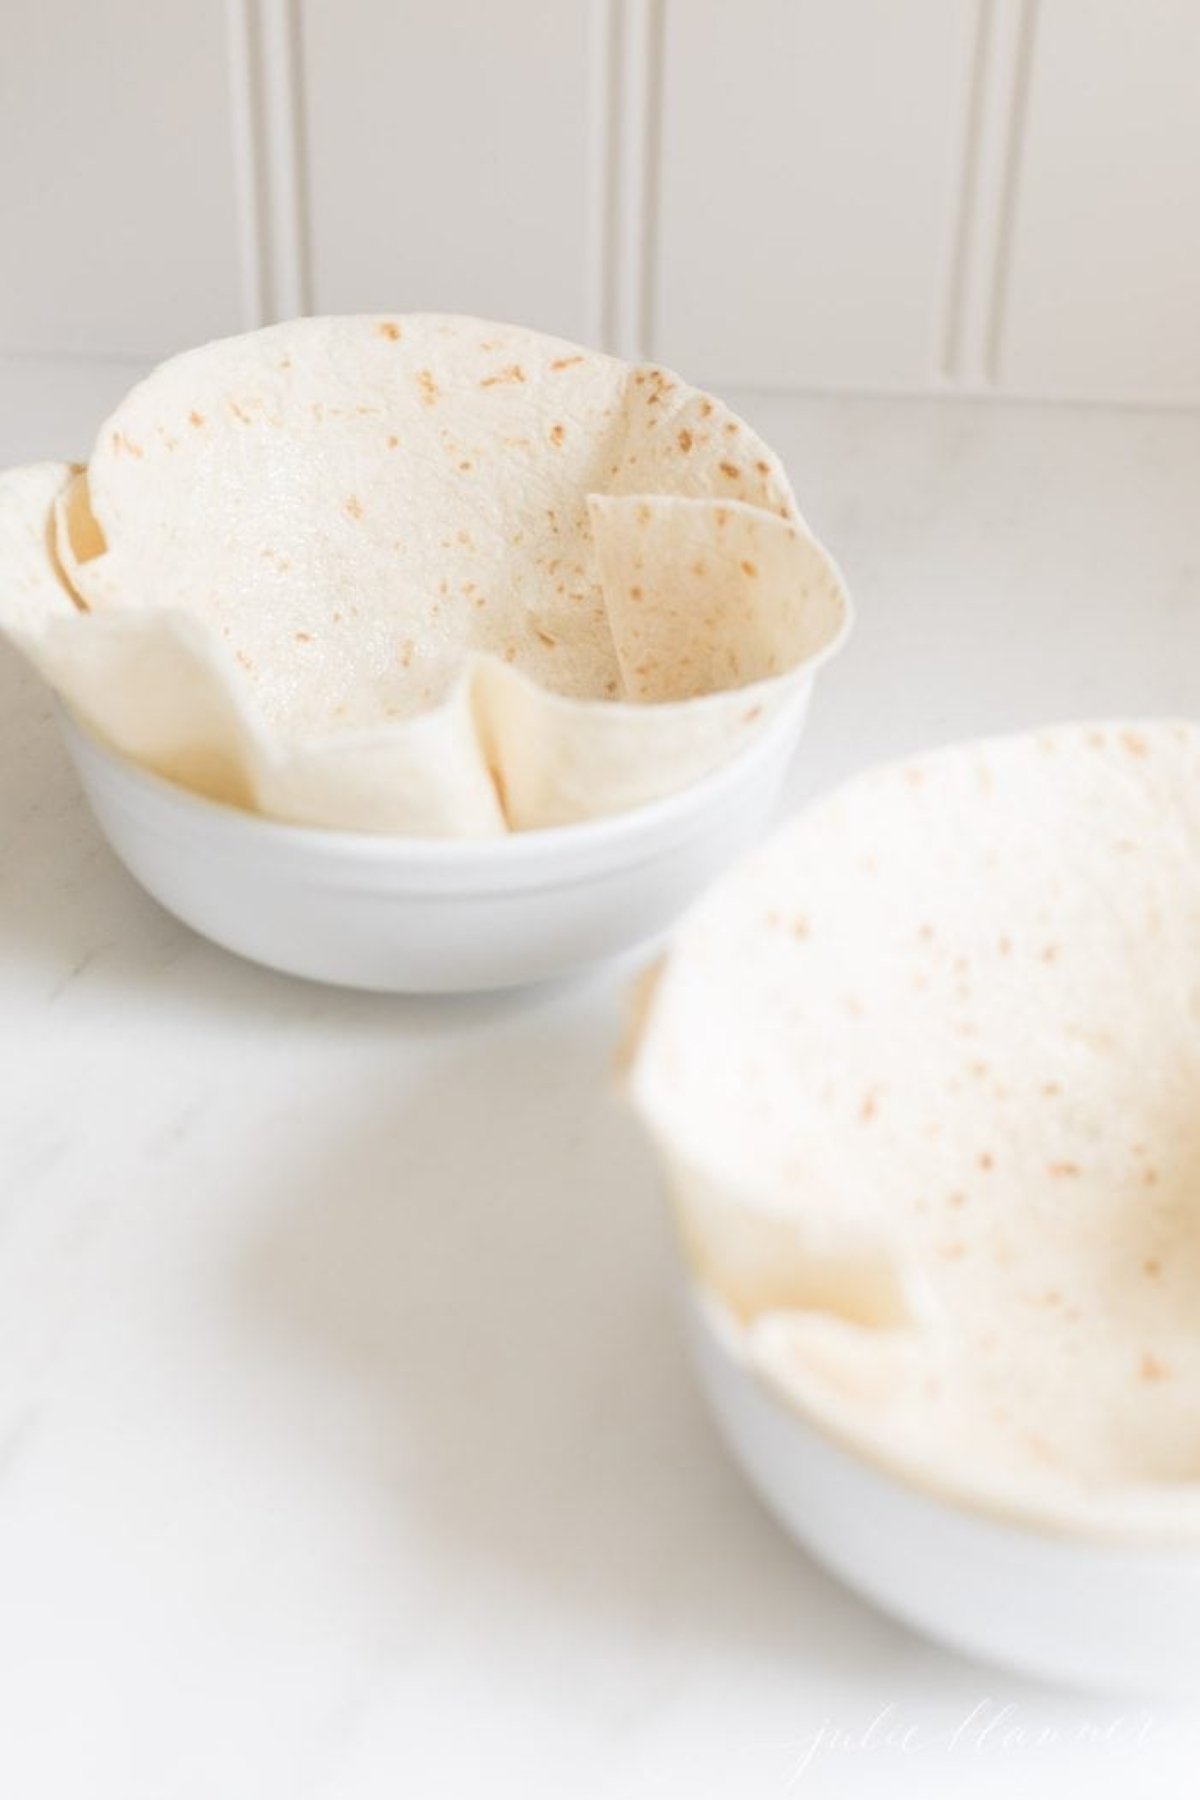
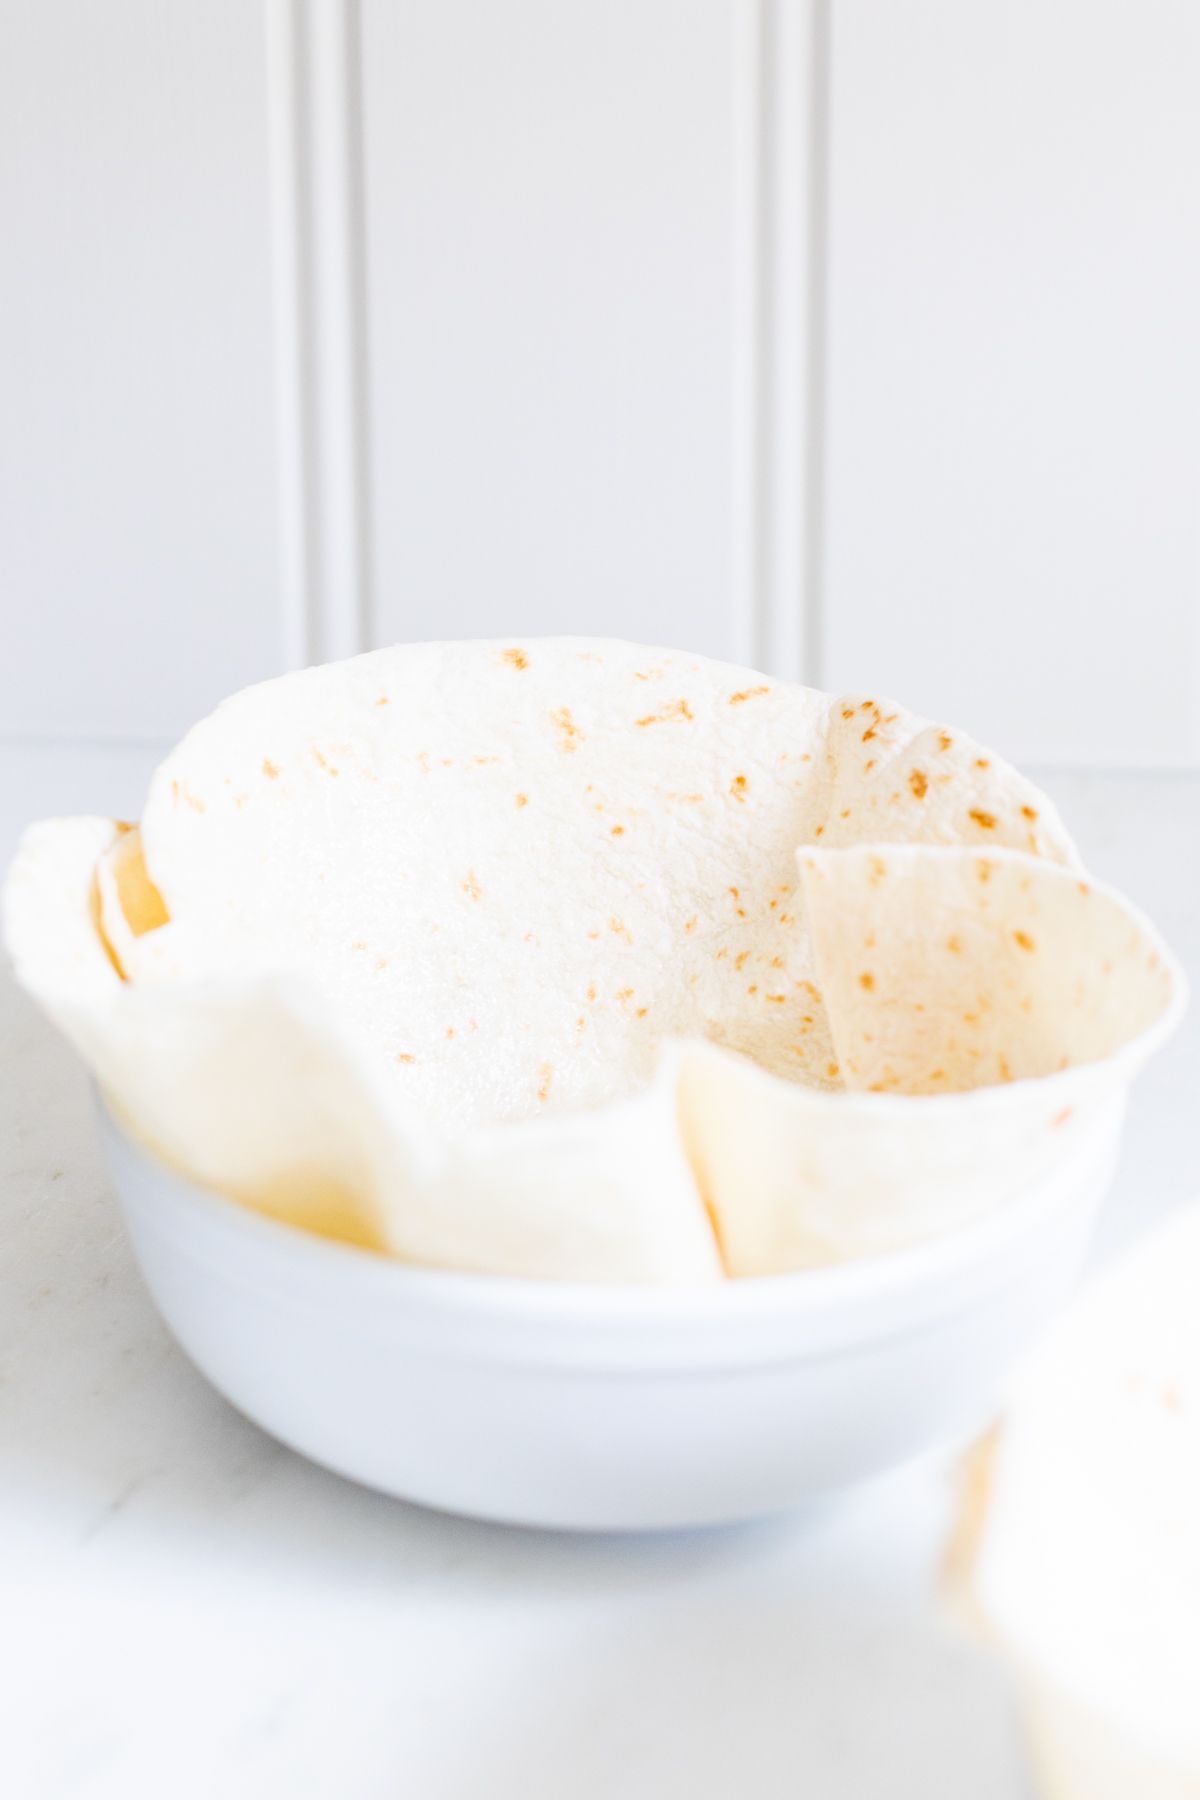
- Form – Shape in an oven safe bowl or tortilla shell mold. Alternatively, for smaller taco bowls, invert a muffin tin and place small corn tortillas in between to form bowls.

- Bake!

Tips
- If you have one nearby, a local Hispanic market will carry fresh tortillas. You can often find them at your favorite grocery store!
- If your tortillas are tearing, try warming them in the microwave or stovetop first. This makes them softer to help shape into bowls without tears.
- Experiment with sizes. Mini tortillas are great for kids or smaller servings, and larger burrito-sized tortillas are great for hungry guests. (*For smaller tortilla bowls, try tucking the mini tortillas into an upside down muffin tin to form them into a bowl shape!)
- For an extra indulgent touch, line the bowl with cheese!
- If you’re making several at once, place bowls on baking sheets. This will allow you to put them in the oven and remove them with ease.
Scaling up, down or substituting? You’ll love this printable Measurement Conversion Chart!
Serving Suggestions
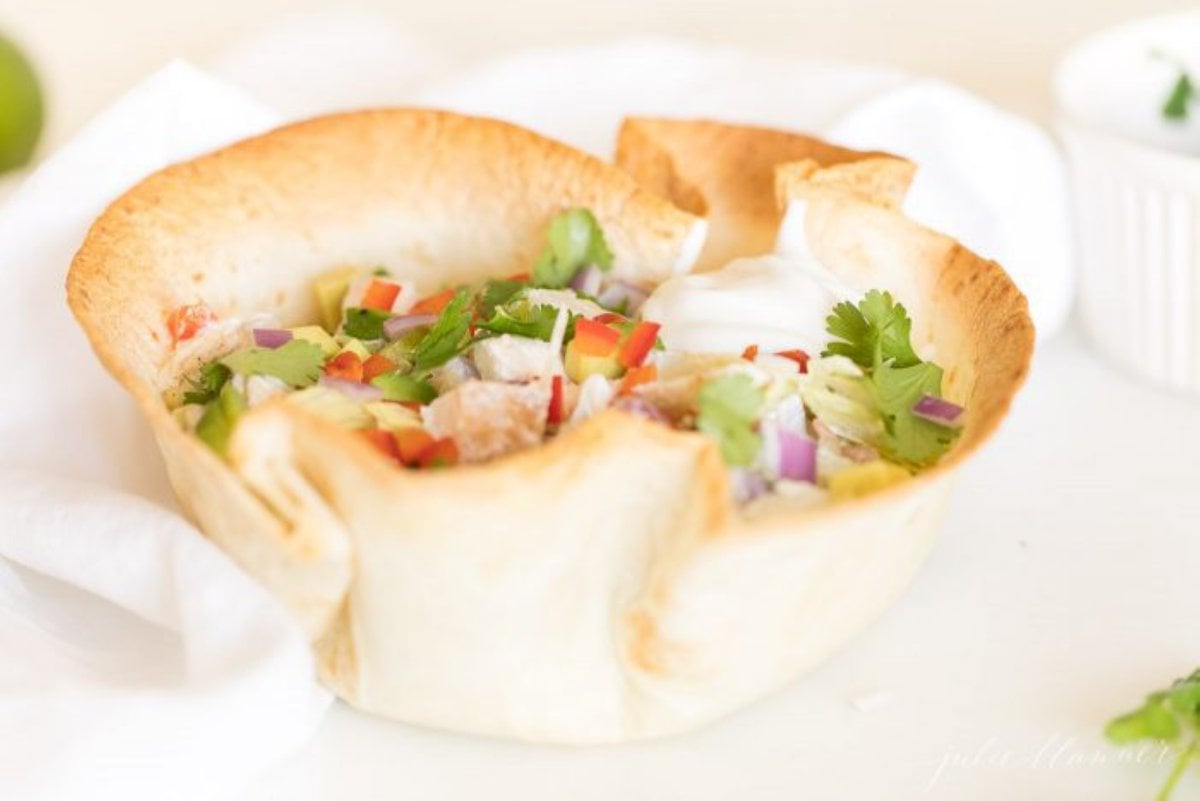
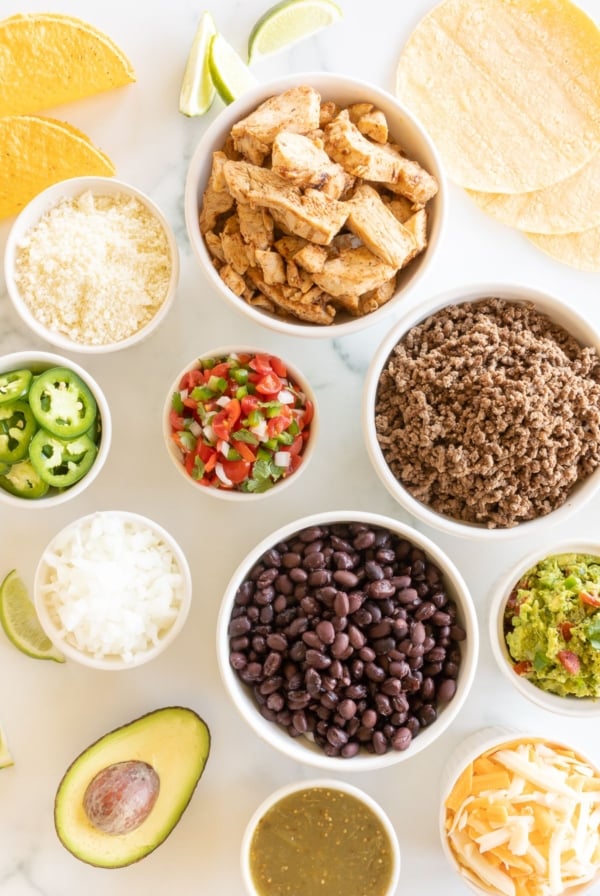
- Taco Salad shells are also an adorable way to serve dry accompaniments for a taco bar like cheese, onions, cilantro and lettuce.
- My favorite Taco Salad recipe – so flexible by using all your favorite ingredients. (Some of our family favorites are chicken or ground beef, ground turkey, black beans, lettuce, cilantro, sour cream, guacamole and lettuce.)
- Any Mexican salad! I especially love them with this Cilantro Lime Vinaigrette.
- Dips like my Chipotle Corn Salsa Recipe, Queso Blanco White Queso Dip, Velveeta Cheese Dip, or Cream Cheese Bean Dip (Mexican Bean Dip).
Dietary Considerations
- Gluten Free (*if you choose a gluten free tortilla, of course)
- Dairy Free
- Nut Free
- Vegan
How to Store
- Room Temperature – Cool tortilla bowls or cups on their bowl, muffin tin or mold for three minutes. Transfer to cooling rack. Store cooled bowls in an airtight container or sealed plastic bag up to 2 days.
- Refrigerator – You can store these tortilla bowls in the fridge for up to 4-5 days, in an airtight container.
- Freezer – Yes, you can freeze your taco bowl shells. Store in an airtight freezer bag and store for up to six months.
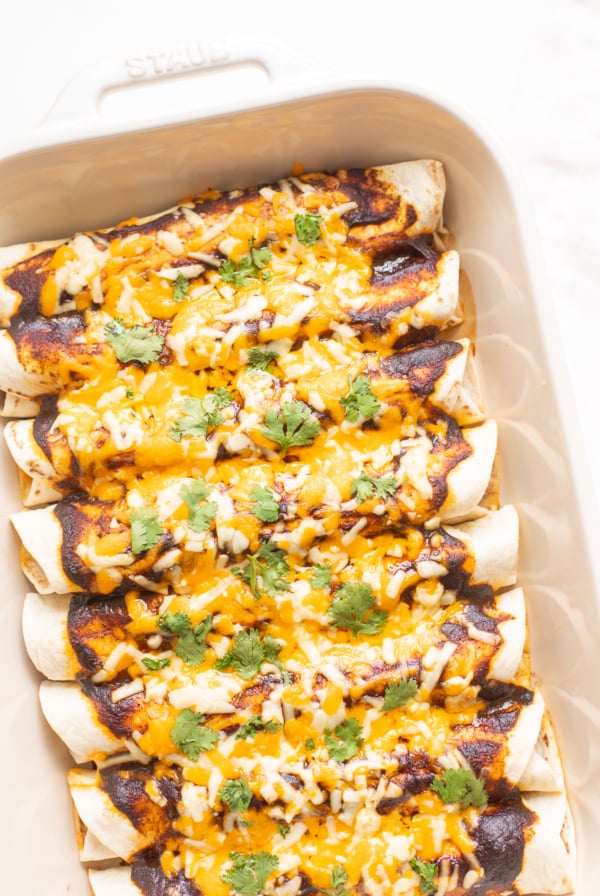
More Tex Mex Inspiration

Easy Taco Bowl Shells
Ingredients
- ¼ teaspoon cooking spray olive or canola or brush olive oil on
- 1 tortilla flour or corn
Instructions
- Preheat oven to 325° F.
- Spray both sides of tortilla and place in a bowl, mold or inverted muffin tin. Carefully mold with your hands to desired shape.
- Bake 8 minutes or until just brown.
Julie’s Tips
Variations
- Season – After coating with oil, season with salt and pepper, chili powder, fajita seasoning or taco seasoning.
- Add Cheese – After baking, add fresh shredded cheese to the bottom and bake one minute.
- Make Dessert Bowls – Coat with cinnamon sugar for a delicious dessert bowl!
For Smaller Taco Bowls
Alternatively, for smaller taco bowls, invert a muffin tin and place small corn tortillas in between to form bowls.To Store
Cool tortilla bowls or cups on their bowl, muffin tin or mold for 3 minutes. Transfer to cooling rack. Store cooled bowls in an airtight container or sealed plastic bag up to 2 days.- Taco Salad shells are not only great for serving taco salad, but also an adorable way to serve dry accompaniments for a taco bar like cheese, onions, cilantro and lettuce.
- They are perfect with any Mexican salad! I especially love them with my favorite Cilantro Lime Vinaigrette.
Video
Estimated nutrition information is provided as a courtesy and is not guaranteed.


My family would love these! Will have to try out on Taco Tuesday 🙂
I love homemade taco salad, great tips on making the bowls 🙂
This is such a great idea! Great motivation to eat a salad!!
Taco salad is one of my family’s favorite dinners. These bowls are going to make them even better, thanks!
What a great way to switch up our taco night!! So easy too!