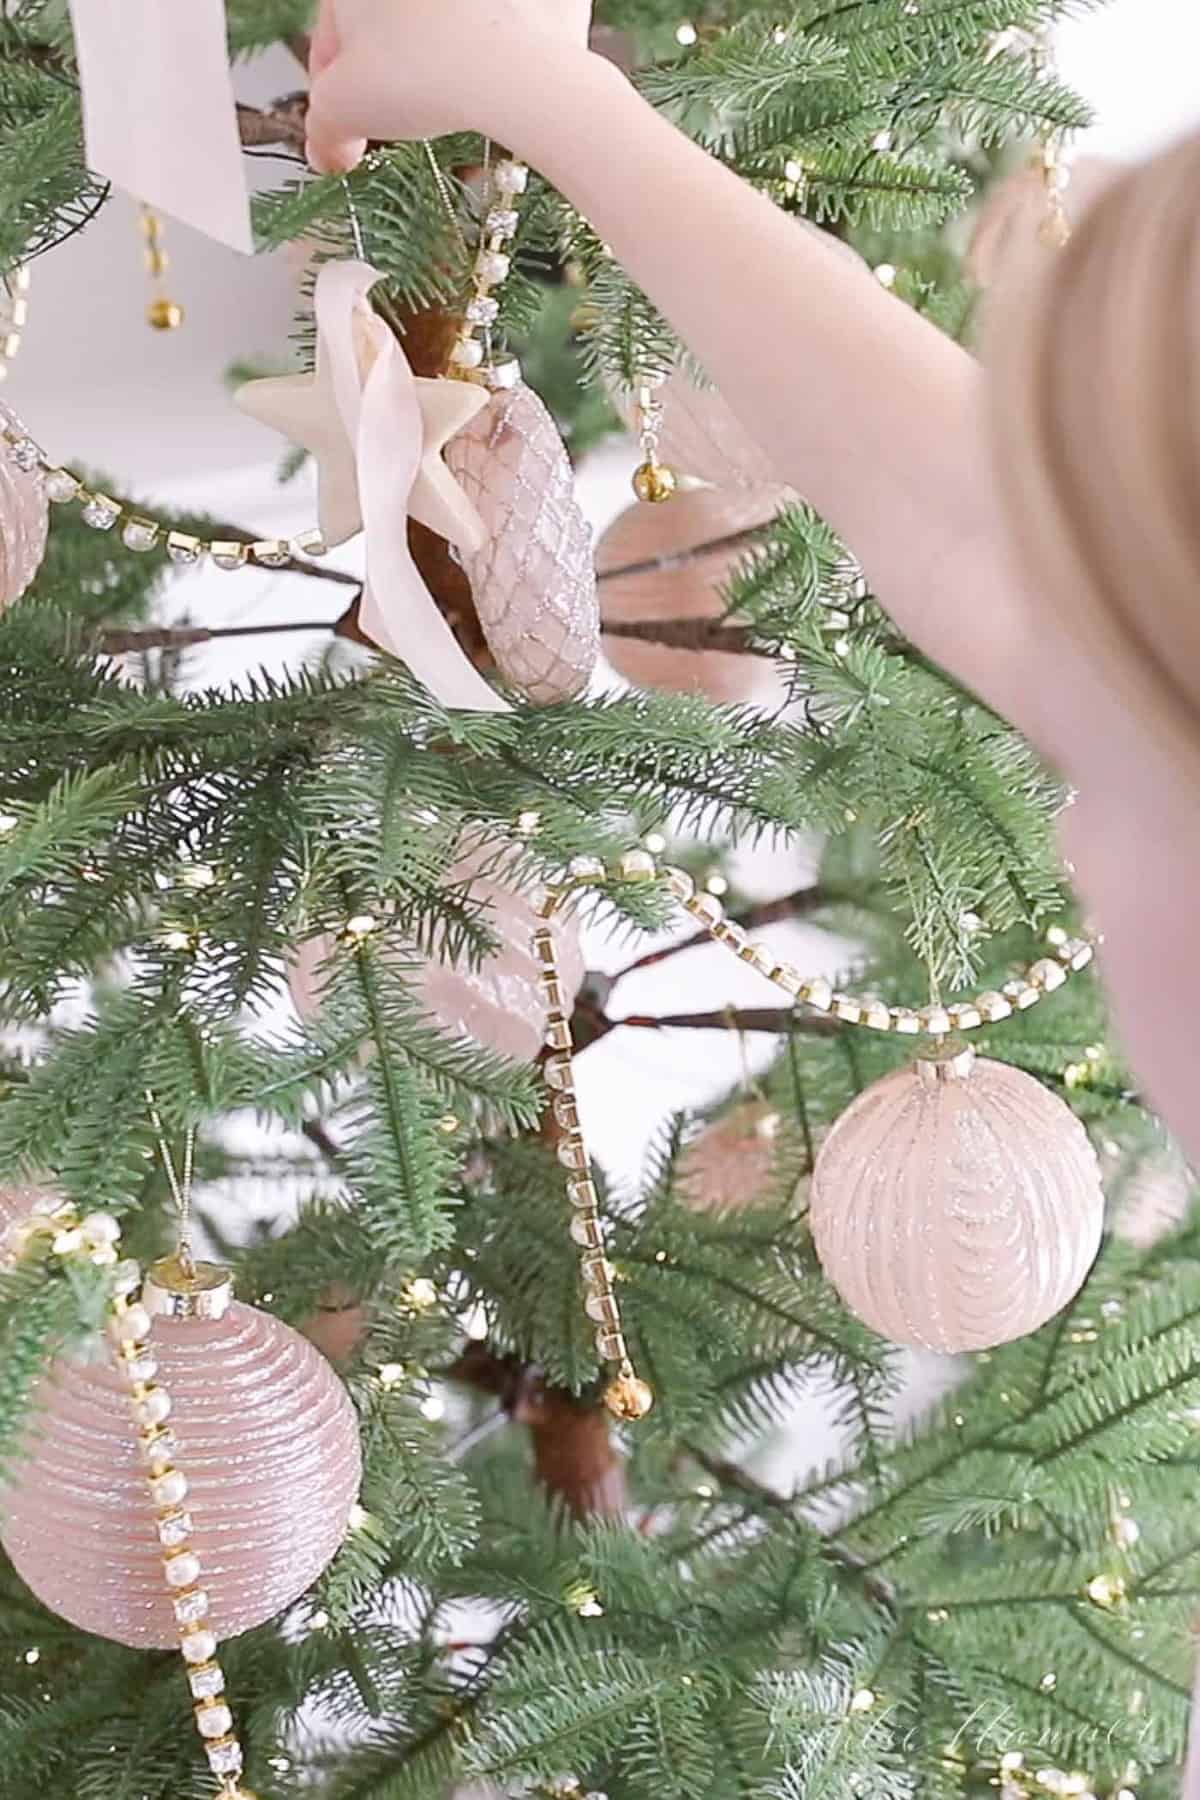
Make salt dough ornaments to decorate your tree and gifts this holiday season. This easy recipe is tried and true! I’ve been making it annually for the past 30 years – a holiday tradition I hope you enjoy, too!
One of our favorite activities to do this time of year is to make homemade ornaments for our trees, including Color Salt Dough Ornaments and Applesauce Ornaments. We even include it in our advent calendar!
Growing up, I remember making these ornaments with my best friend Liz. They’re so easy to make that her mom left us in their second kitchen unattended to finish mixing them and cut them out. Before you knew it, we grew tired of cutting ornaments and began cooking pizza.
We added an egg to the dough to make “pizza crust”, and searched the refrigerator for ingredients. Ketchup seemed like a great idea for pizza sauce and parmesan would make a great substitute for traditional cheese. Of course we had to have someone taste test it – fortunately, her little sister Maria was there.
It wasn’t edible, but it’s one of my favorite childhood memories. We continued to make them each year – it has become one of our favorite holiday traditions! It’s an excellent kids craft for the holidays!
I’m excited to share my classic salt dough ornaments recipe that has become increasingly popular through the years! It’s no wonder they go viral around the holidays! They’re quick to make and fun for all ages. They’re on of my favorite Creative Christmas Ideas and a staple advent calendar activity

Why You’ll Love this Project
- Easy – This craft is so easy, even little hands can help!
- Customizable – Customize them using cookie cutters, fingerprints, handprints or footprints for a keepsake, paint them, or make them into color salt dough ornaments.
- Versatile – Salt dough is perfect for ornaments, gift tags and more!
Salt Dough Ornaments Ingredients and Notes
This salt dough ornament recipe uses only a few staple ingredients, making it a great last minute project or gift idea! See the printable recipe card for full instructions.
- Flour – All purpose flour, no need to sift.
- Salt – Table salt preserves these ornaments, allowing you to store them year after year.
- Water -Water binds the salt and flour to make these easy ornaments.
Optional Ideas:
- Glitter – Add a little sparkle with spray glitter or mod podge and traditional glitter.
- Paint – Hand paint or use spray paint (for a solid color).
- Mod Podge or Polyurethane Spray – For maximum life, preserve added decorative elements with mod podge or spray.
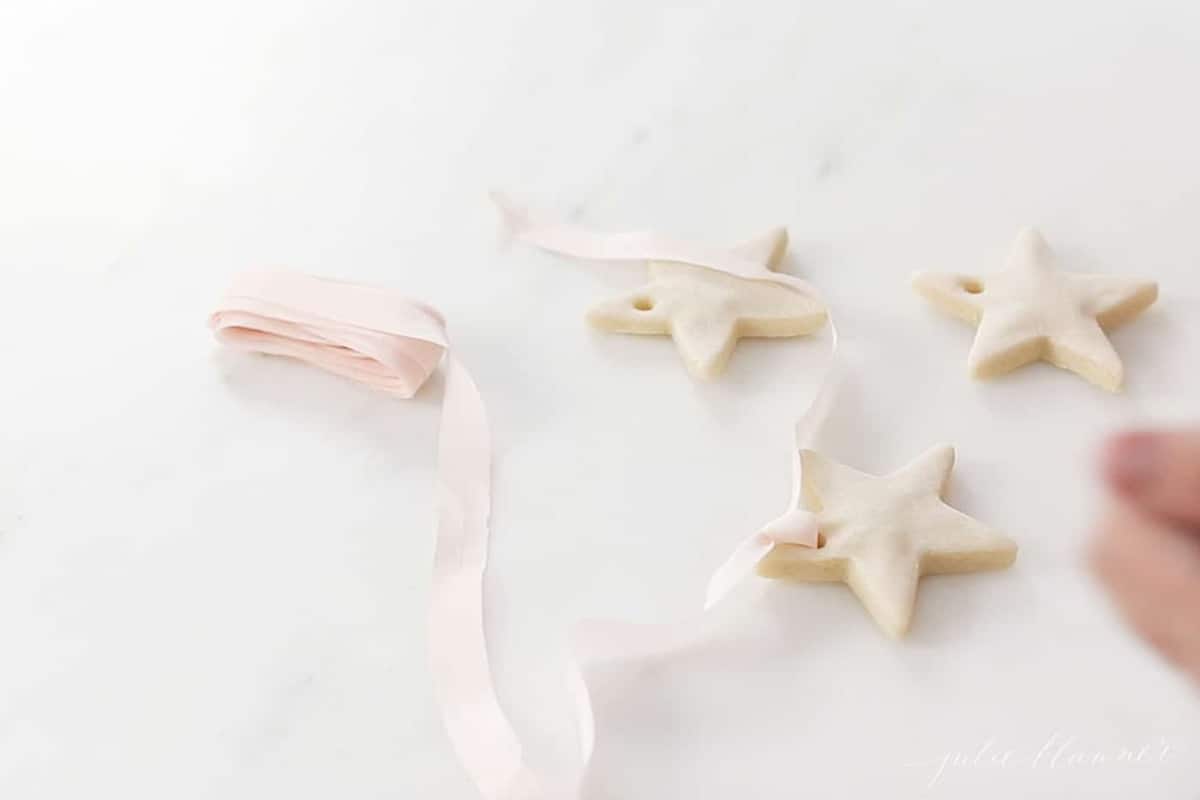
- Ribbon – Adorn with ribbon to hang the ornament.

Tools to Use
- Mixing Bowl
- Large Spoon
- Rolling Pin (I like using a Precision Pin)
- Cookie Cutters
- Straw or Toothpick
- Cookie Sheets
- Parchment Paper (not required, but easy cleanup)
How to Make Salt Dough
You can see just how easy it is to make handmade ornaments by watching the video in this post, reading the printable recipe card, or following along with the step by step instructions below!
I keep this activity limited to a half hour from start to finish. The girls help make the dough, roll it out, and cut it!
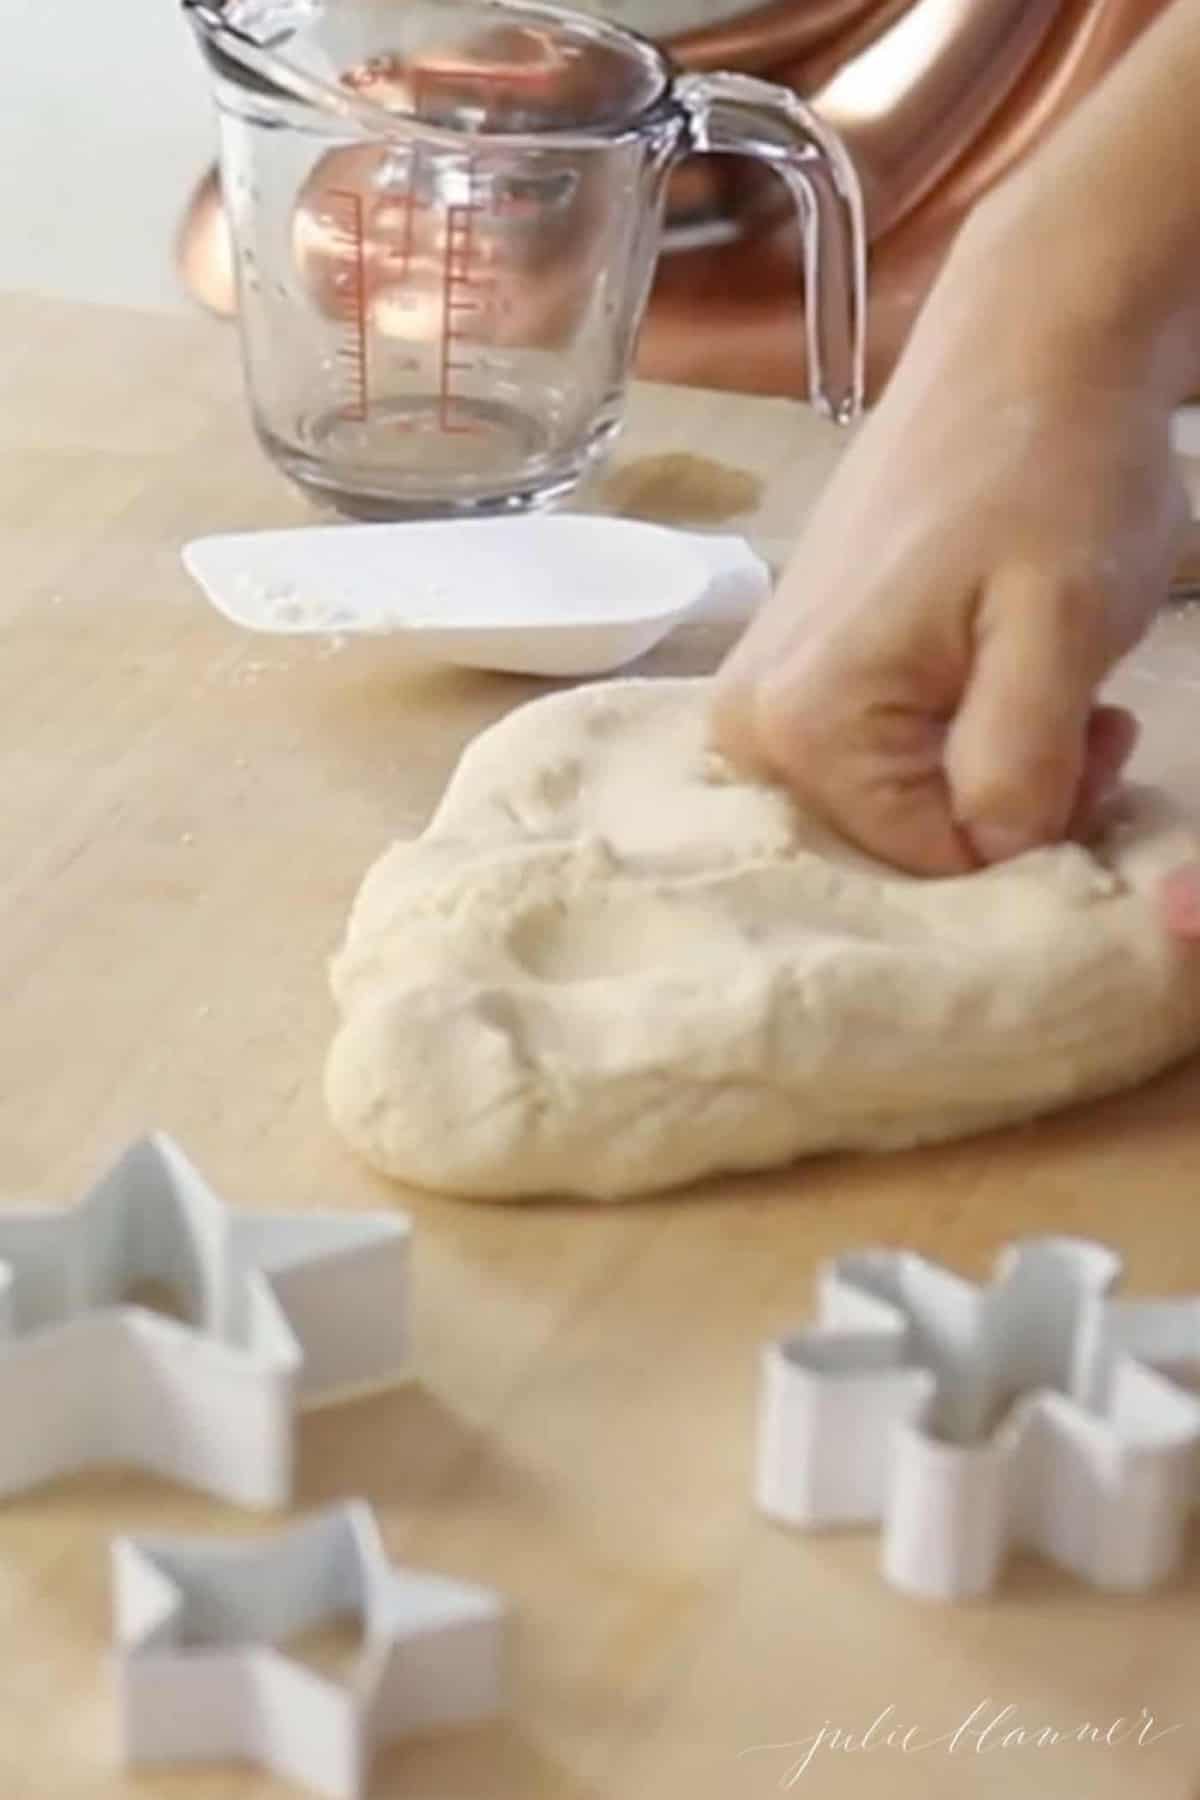
- Make Dough – Combine flour and salt, add water a little at a time. If it’s dry, can add a little additional water, but only as much as it requires.

- Knead – Knead the dough by hand or fit a KitchenAid Mixer with the dough hook to do the work for you! The more you knead the dough, the smoother it will be, yielding a smooth texture for your ornaments.

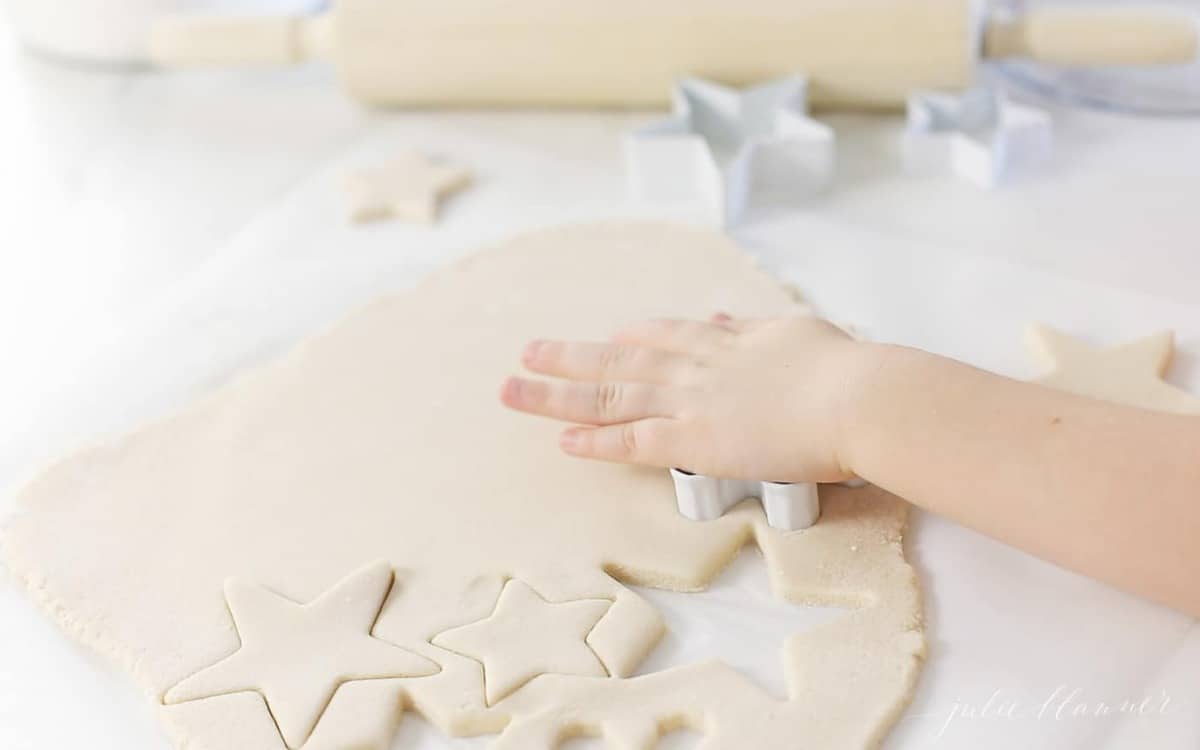
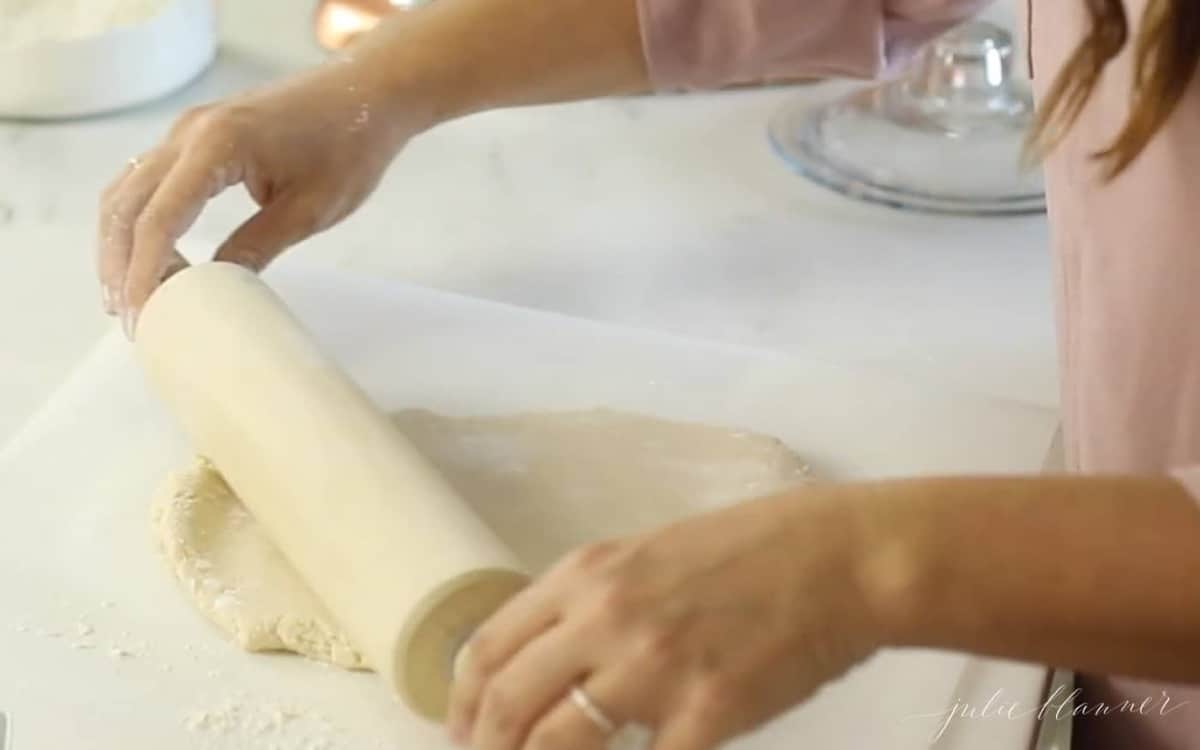
- Roll – Roll dough 1/4″ inch” thick on parchment paper or lightly floured surface for easy cleanup. Note: I like to use a precision pin to achieve an even thickness which helps them bake evenly.

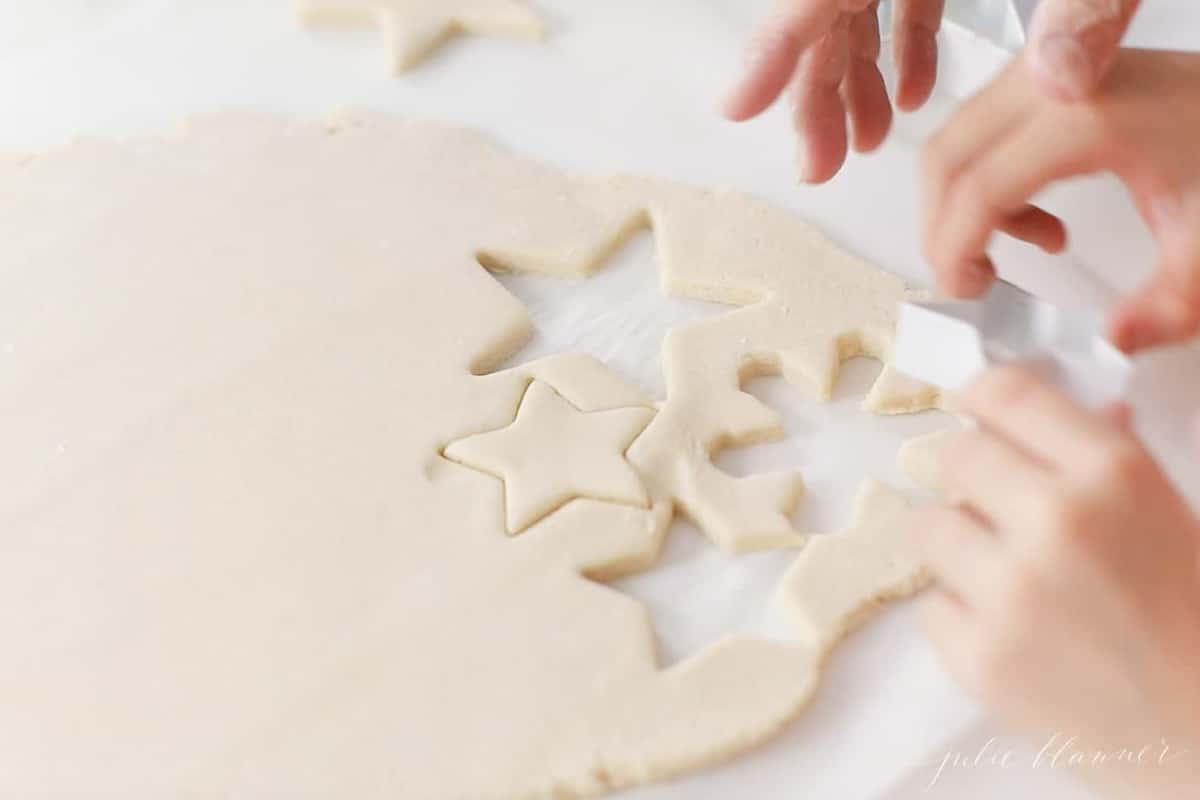
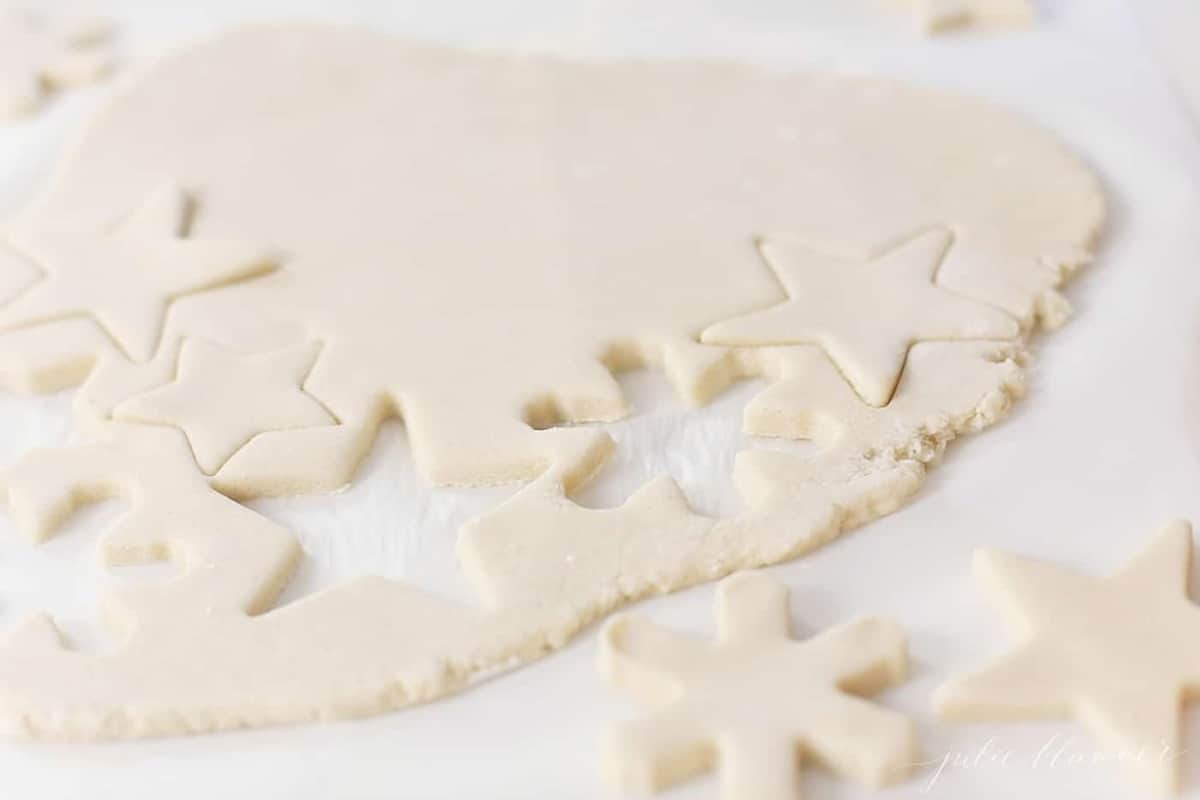
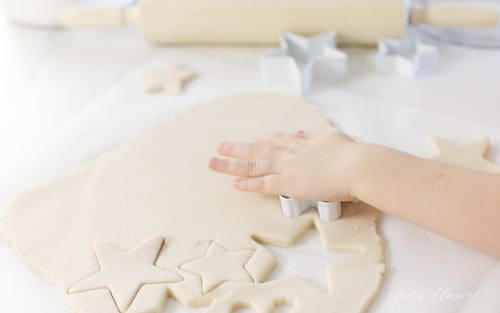
- Cut into Shapes – Using cookie cutters, gently press into dough to cut into shapes. You can remove them and place them on a cookie sheet or peel the excess dough around them and transfer parchment paper to your baking sheet.
- Optional: Press a finger or hand into your ornament for a beautiful keepsake or gift.
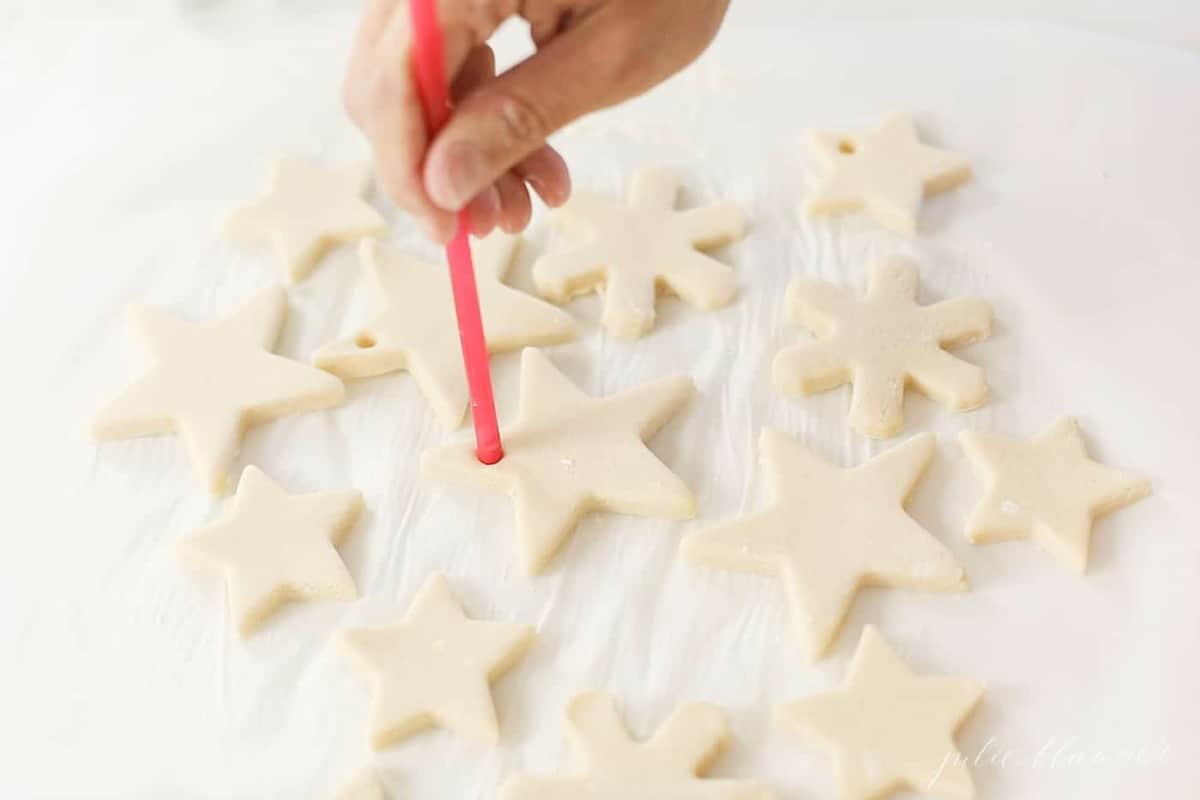
- Make a Hole – Using a straw, press into in the top leaving amble dough around to secure hooks or ribbons. It’s the perfect job for children of all ages.

- Bake – Bake until until moisture has been eliminated. Allow to cool completely. Enjoy! Hang them on the Christmas tree, add names and hang in front of each stocking or use as gift tags.


How to Make No Bake Salt Dough Ornaments
You don’t have to bake them at all if you have a little patience!
- Set them in a warm, dry place 3-7 days or until moisture has been eliminated and they harden.
More Creative Salt Dough Ideas
Make an Egg Tree for Easter
Make a Heart Tree for Valentine’s Day
Give Ornaments as Valentine’s


Variations
While I often keep them classic, there are so many ways you can customize this Christmas craft! Use your imagination to create a one-of-a-kind ornament perfect for your tree or gift-giving.
- Make Color Salt Dough Ornaments – Add food coloring to dough.
- Make them Sparkle – Stir glitter into dough before rolling, or spray/decorate with glitter after they are set.
- Stamp Ornaments – Cut into shapes, stamp and bake.
- Make Handprint Ornaments – Press a finger, hand or paw to make a keepsake ornament or gift.
- Scented – Add a few drops of essential oils to make them fragrant.
- Paint Dried Ornaments
- Add a Photograph – Decoupage onto the ornament
- Make them Shiny – Paint on glossy mod podge.
- Use as Gift Tags – tie them on with baker’s twine or a pretty ribbon for a handmade, heartfelt addition to any gift.

How to Make A Salt Dough Hand Print Or Foot Print Ornament
Such a precious way to capture those baby memories! It’s so easy.
- Follow the recipe card below, rolling dough 1/3″ or 1/2″ (this will increase dry/bake time).
- Press hand or foot into dough, applying even pressure.
How to Make Ornaments Shiny and Add Photographs
- Method 1 – Brush with Modge Podge to make them glossy. Place photo on top of the ornament and brush to cover with ModPodge.
- Method 2 – Place photograph on top of ornament and seal with polyurethane spray.
Salt dough keeps up to 1 week sealed in an airtight container (sealable bags also work well) refrigerated.
30+ years! I have childhood ornaments that are still in incredible condition. Salt naturally preserves them. You can also extend the life of your ornament using a polyurethane spray.
Dry time varies based on the thickness and size of your ornaments and the amount of water added. Time can range from an hour to several hours. Baking them removes moisture from the ornaments to speed up the process.
What to Do if Your Ornaments Get Puffy / Rise
- Reduce the temperature and extend baking time.
- Gradually add in water, only using as much as you need.

More Creative Holiday Ideas


Salt Dough Ornaments
Ingredients
- 2 cups all purpose flour
- 1 cup salt
- ¾ cup water more if needed
Instructions
- Preheat oven to 200°F.
- In a large mixing bowl or stand mixer, whisk to combine flour and salt.
- Over medium low speed, gradually add water, reserving a few tablespoons. Mix until well combined and just moist. Add remaining water 1 tablespoon at a time, as needed.
- Using your hands on a lightly floured surface or mixer fitted with the dough hook attachment, knead until smooth. (The longer you knead, the smoother your dough and ornaments will be).

- Secure a sheet of parchment paper to working surface and roll dough ¼" thick for ornaments or ⅓" thick for handprints and footprints. (You can also roll on a surface lightly dusted with flour).
- Gently press cookie cutter into dough. Using a straw, press into dough shape to punch a hole to hang ornament.

- Transfer parchment to cookie sheet and bake in a preheated oven 20 minutes. Using a cookie spatula, gently flip ornaments and bake 10 more minutes or until dry. Allow to cool.


Tips
- Reduce the temperature and extend baking time.
- Gradually add in water, only using as much as you need.
Variations
While I often keep them classic, there are so many ways you can customize this Christmas craft! Use your imagination to create a one-of-a-kind ornament perfect for your tree or gift-giving.- Dye the dough with food coloring to make Color Salt Dough Ornaments
- Add glitter to the dough
- Paint dried ornaments
- Stamp ornaments before baking
- Make a finger or paw print
- Add a photograph
- Make them shiny -Brush on ModPodge to make them glossy. Add a photograph by placing the photo on top of the ornament and covering with ModPodge.
- Seal them with polyurethane spray for a glossy look without a lot of effort.
- Add essential oils to make them fragrant.


These are a family favorite!
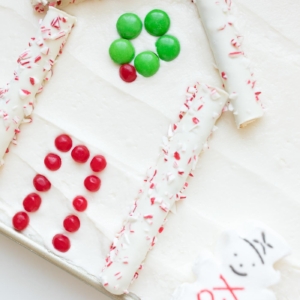
Super, we’re just making some pieces for my sons art project, he’s going to try and make a house built of sweets (made of salt dough) the recipe we had said you baked them on 100 degrees for 2-3 hours or let them air dry for 2 days ??? I just did yours and they look good and solid now, some a bit browned and burnt but we intend to paint them all anyway !! It looks like it’s going to be a bit of a ‘rickety’ house !! lol – thanks
Hi Caroline! I’m sorry to hear that, but love the idea! Smaller cutouts may require reduced baking time. I would love to see when you’re done! It sounds like a fun project.
Always admire these decorations.
This may be the year I try your recipe make some.
Do they last for the next year? How do you store them?
Thank you!
They do! Some I’ve had for more than 5 years. I also have a color salt dough recipe.
Thanks for the easy recipe! We had a lot of fun making them and filling our farmhouse Christmas tree with them!
Julie,
Gotta say you are so creative. Your mom would be so proud and I am so impressed!
I’m going to try this with my granddaughters for the first time I sure hope they turn out if so I will post later thank you