20 easy DIY wall decor ideas to decorate your home, adding warmth and personal style. These ideas are affordable, unexpected and so easy to implement.
Skip the big box wall art for a personalized look that oozes charm!

It seems I’m always trying to fill a wall somewhere in our home. We’ve lived in our fixer-upper home for several years and I love making updates and changes, so there is always more decorating to do.
See our ever-evolving before and after of our St. Louis home here, and take a photo tour of the before and afters from the lake cottage we’re renovating as well!
DIY Wall Decor Ideas
Today I’m sharing some of my favorite DIY wall decor ideas for your home. It’s so easy to add personality and charm to your walls with these inexpensive and fast ideas!
Adding personalized art to our home is a passion of mine. If I’m going to hang it on our walls, I want it to be special and reflect our family. It should tell a story or add something useful to your home!
I’m definitely not an artist! You don’t have to be super knowledgeable to learn about choosing art.
I love that when we have visitors in our home, they can find parts of our family story right on the walls. Adding artwork that is personal to you becomes a great conversation starter and a way for people to get to know who you are.
Including a variety of DIY wall decor and family heirlooms in your home instantly gives a sense of warmth and makes every space feel more interesting.
“Art and love are the same thing: It’s the process of seeing yourself in things that are not you.”
– Chuck Klosterman –
Make a Textured Plaster Art Piece
Need something quiet, but with texture? Many of these modern art pieces sell for hundreds if not thousands of dollars – but we’re showing you how to make your own DIY version in this tutorial.

Home
Textured Plaster Canvas Art
When you need the perfect subtle touch in any room of your home, consider textured wall art! Textured canvas art can be created with plaster for an incredible DIY project, or you can source some affordable textured art pieces right here in this round-up. Read More
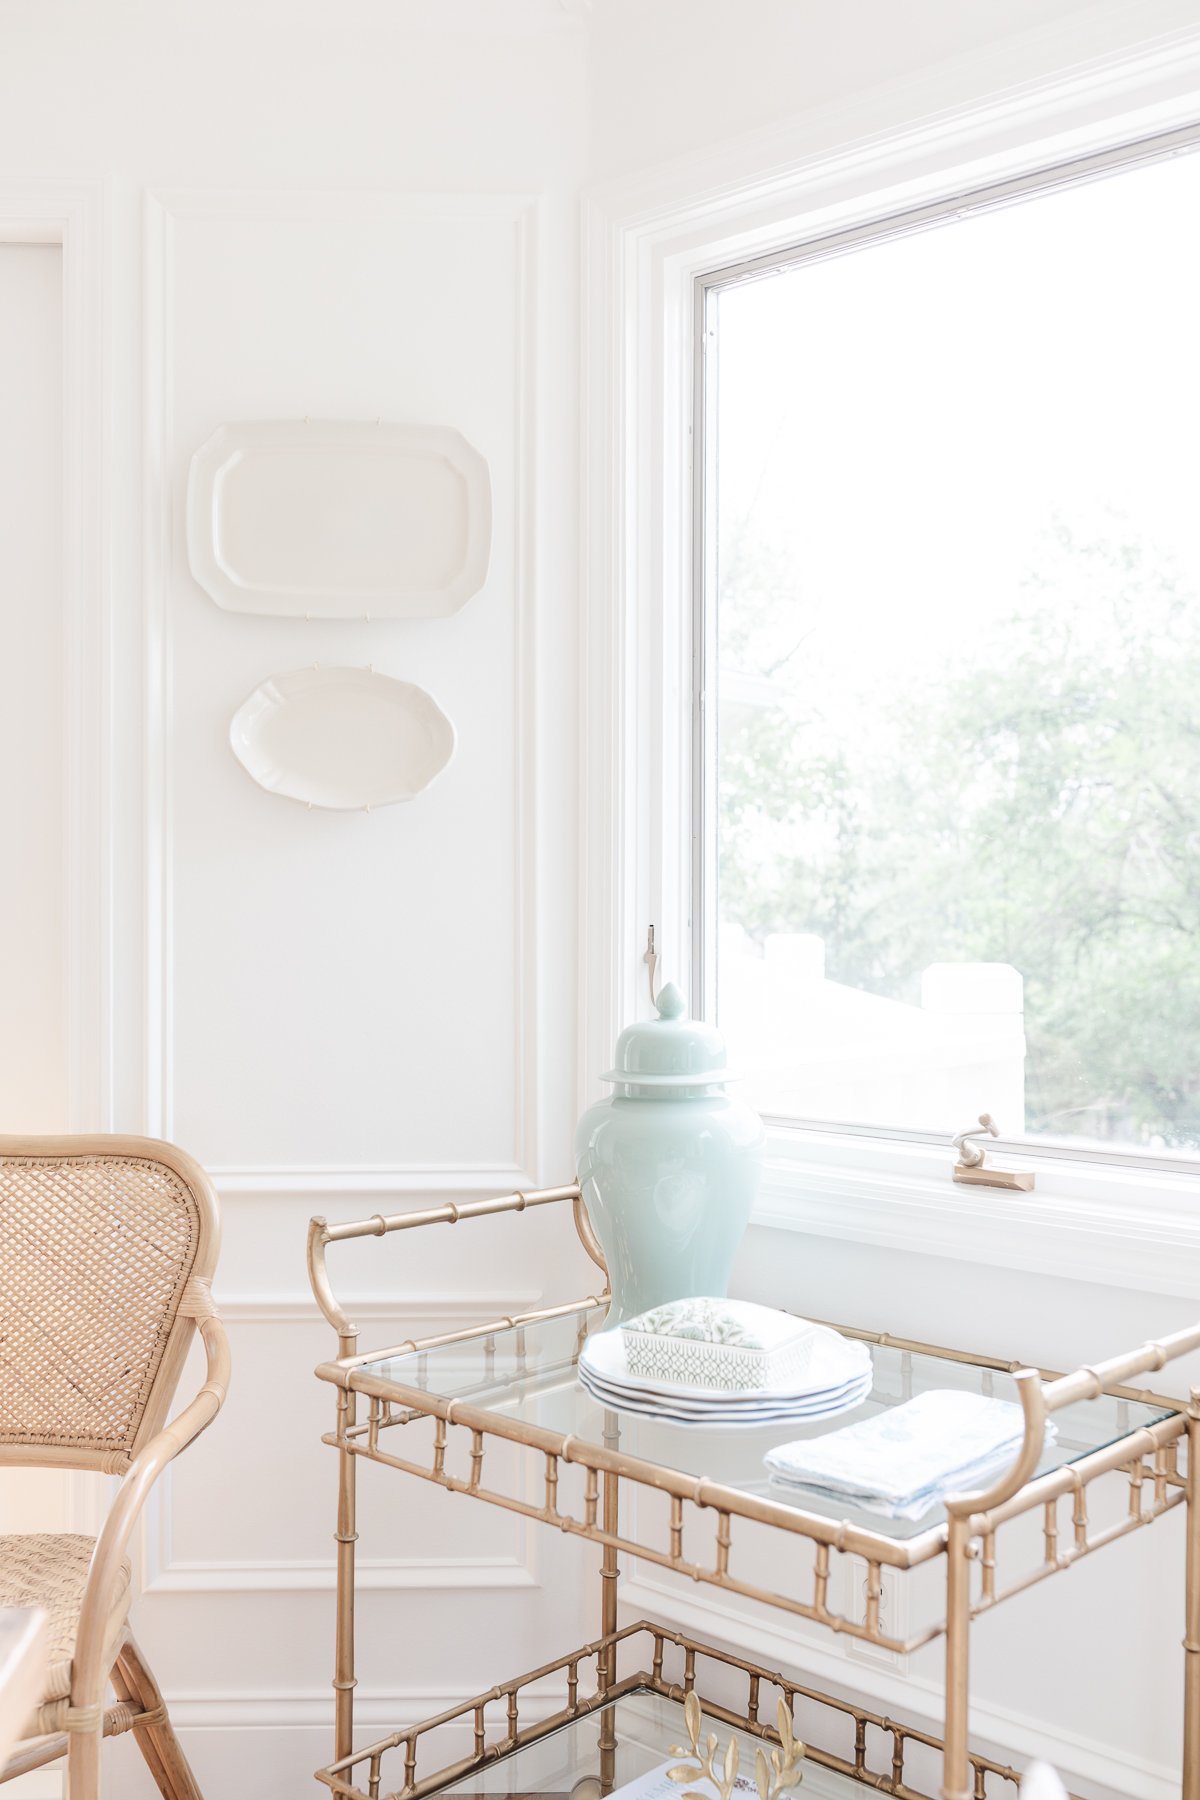
Hang Plates or Platters
In each of our homes we’ve hung platters on the walls. Because I take a minimalist approach to design and love integrating functional decor, these pretty platters double as useful entertaining pieces and beautiful wall art. You can easily remove, use the platters to serve and rehang!
Design Guides, Decor & Tips
How to Hang Plates and Platters
Learn how to use plate hangers for walls to create a beautiful and functional art display for your home. This simple technique for hanging platters and plates with plate wall hangers translates to a charming display for your walls! Read More
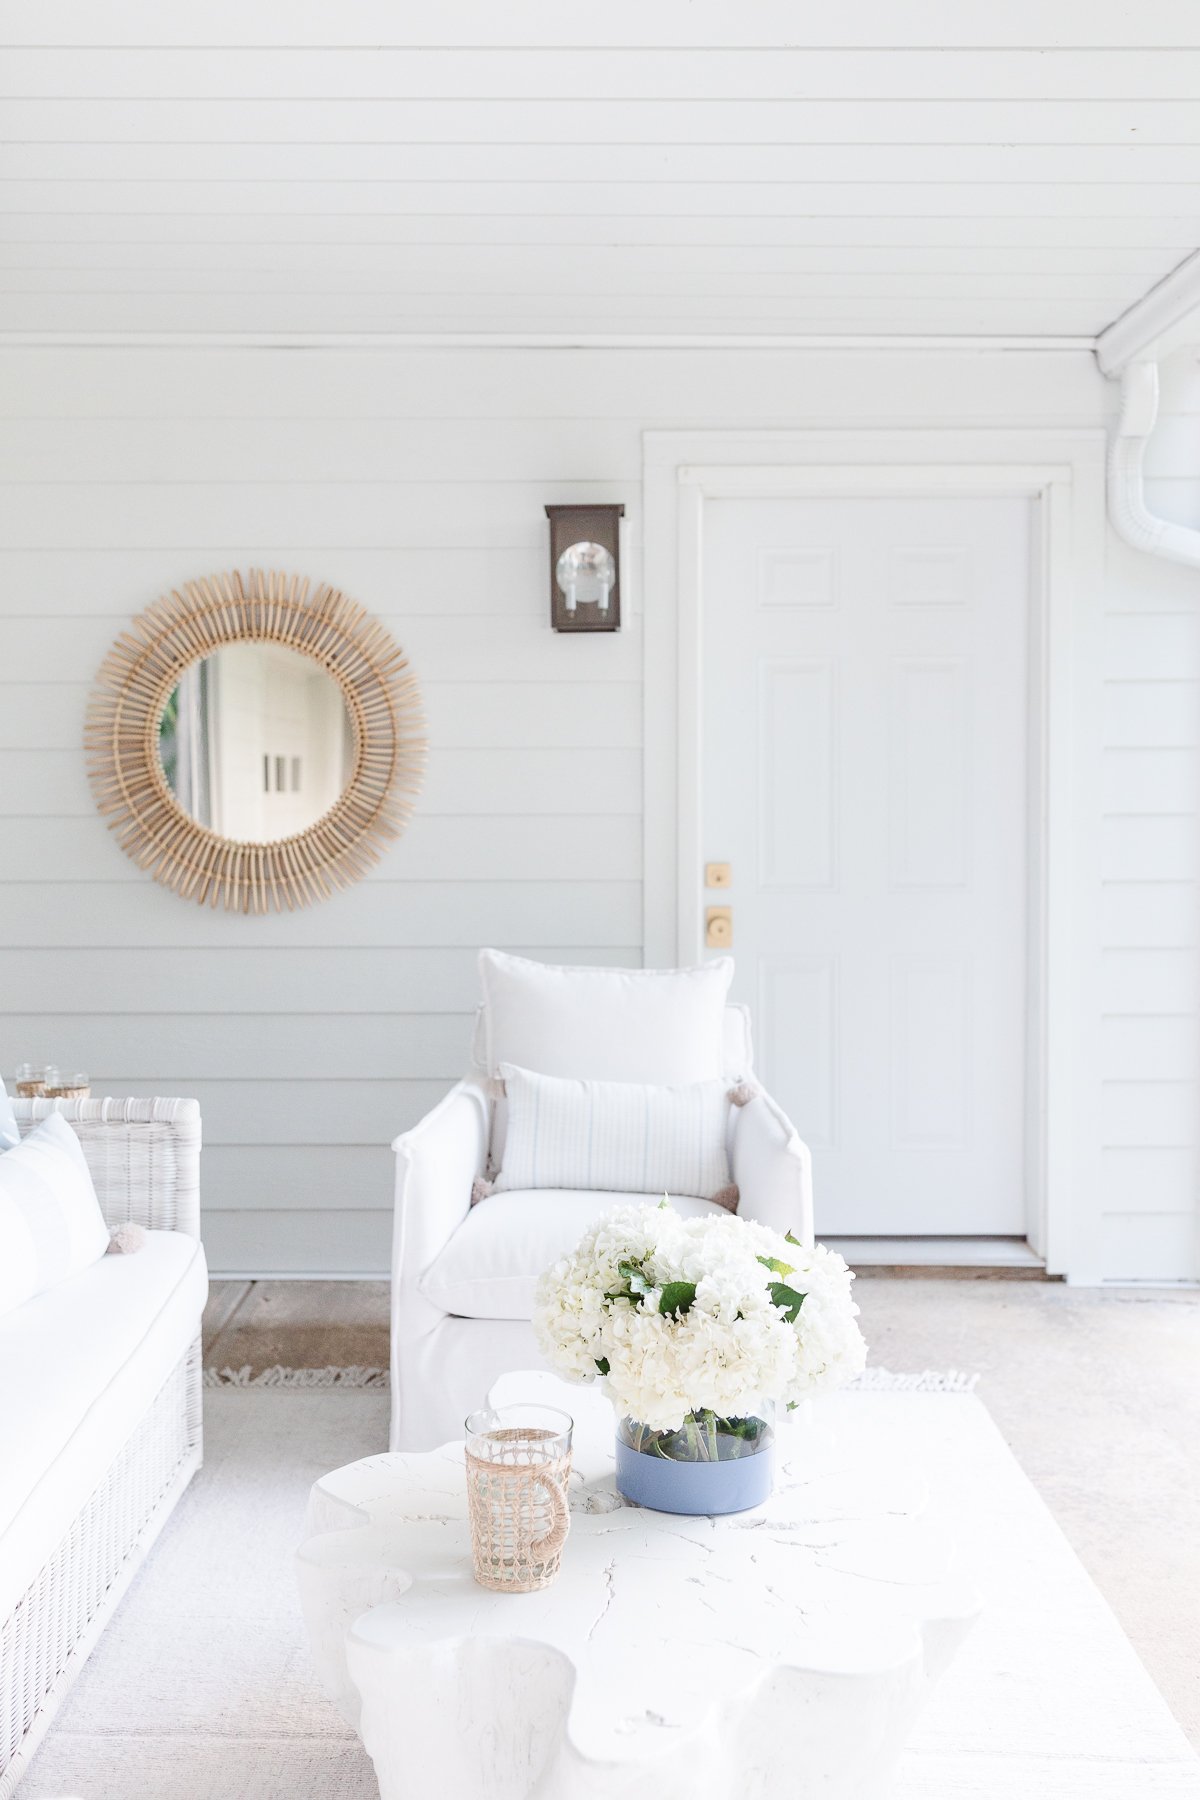
Use a Mirror
A beautifully framed mirror makes a statement and is a piece of art itself, but can also make a room appear larger. Of course my favorite reason to use a mirror is to reflect light!
Design Guides, Decor & Tips
Rattan Mirrors
Rattan is having such a big moment in interior design right now! Learn all about rattan mirrors, including what styles they work with and where to buy them. Read More
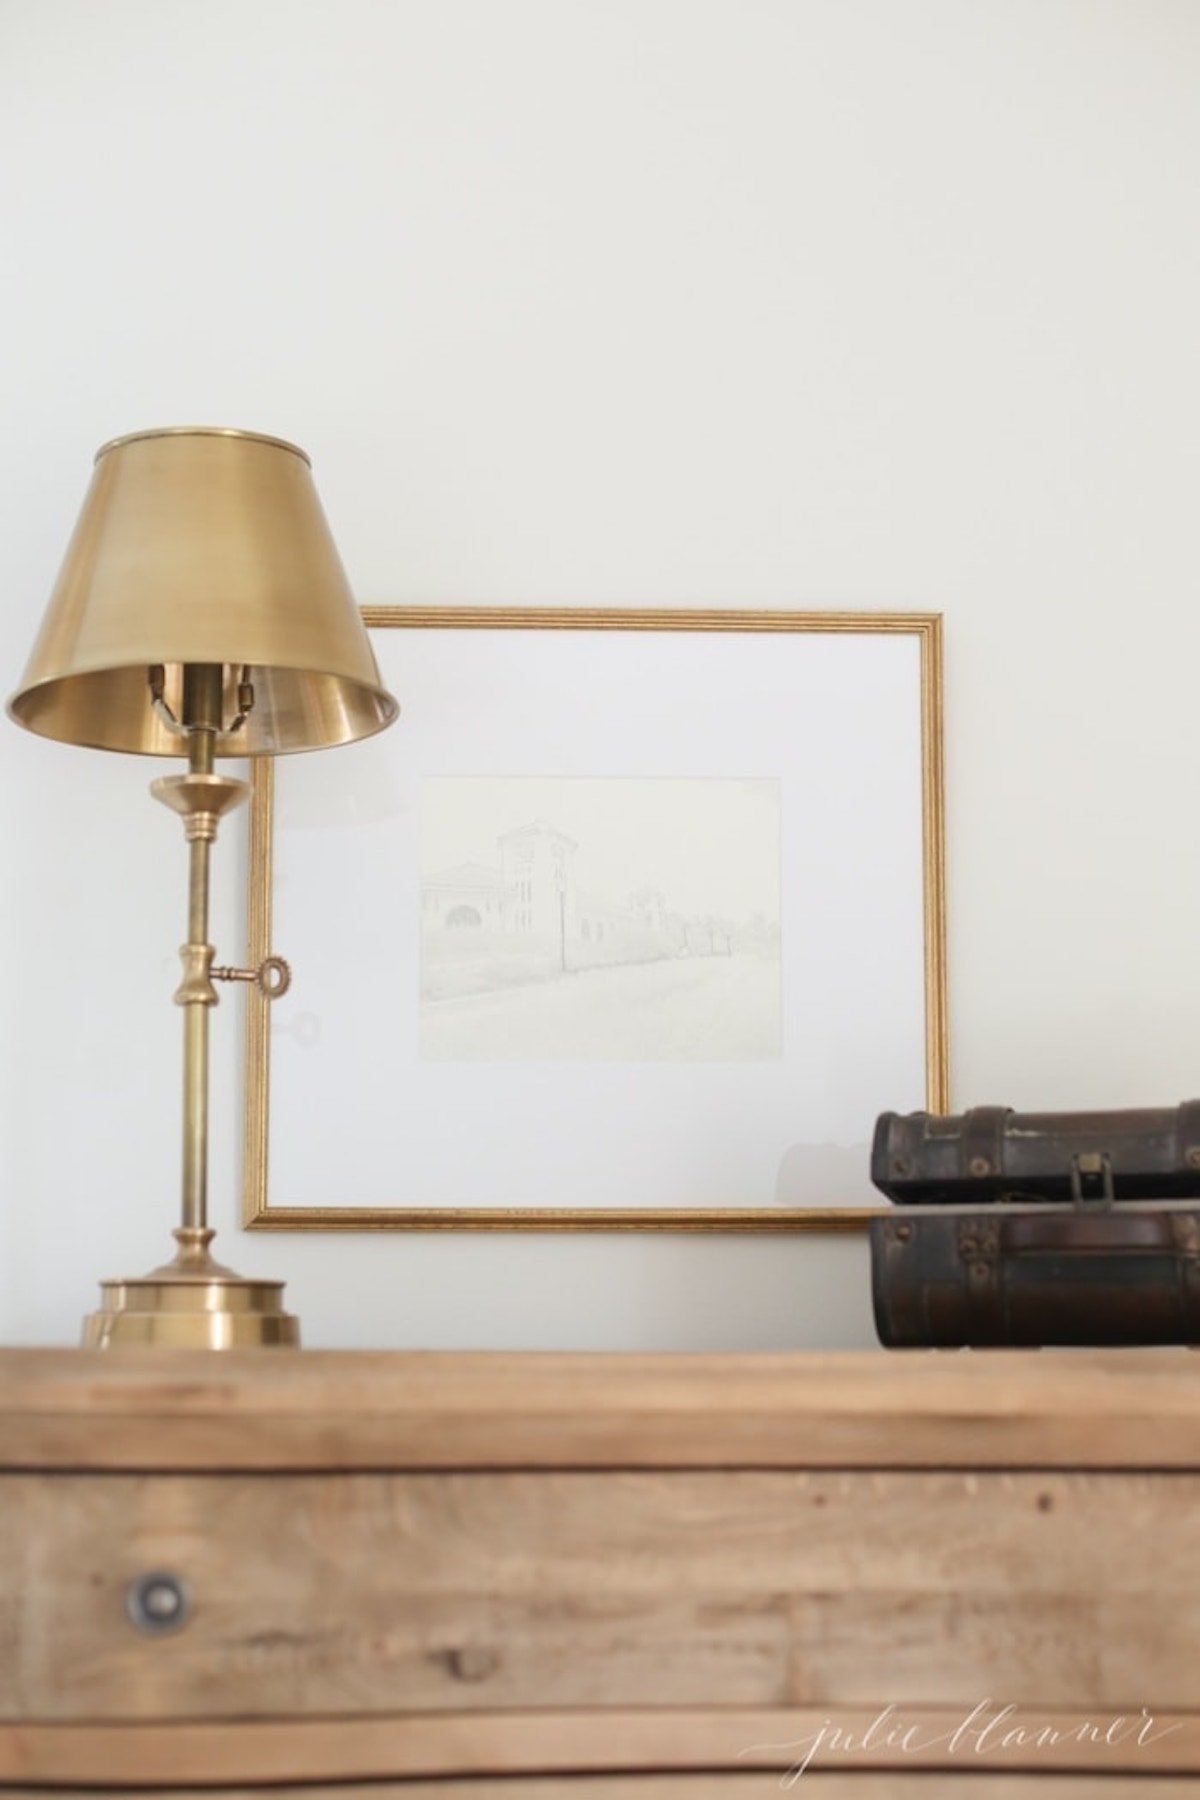
Framed Intaglios
Use these beautiful pieces for quiet, luxurious art that has historical references. They are so beautiful, but simple and restful to the eye.
This is a high end look, but we’re showing you how to create the look for less in this guide!
Use Free Downloads
A variety of sites, including history museums, botanical gardens and art galleries make vintage pictures that are now public domain available from books, line drawings/architectural sketches and more.
It’s an invaluable resource for really incredible art. The options are endless! In fact, so many prints you see available for sale online are truly available to all at no cost – it’s just that designers know the secrets that take the rest of us a little longer to figure out!
Design Guides, Decor & Tips
Free Art Sources
Did you know most paintings and prints from your favorite stores are actually public domain art? I’m sharing the best art sources that you can download for free. Read More
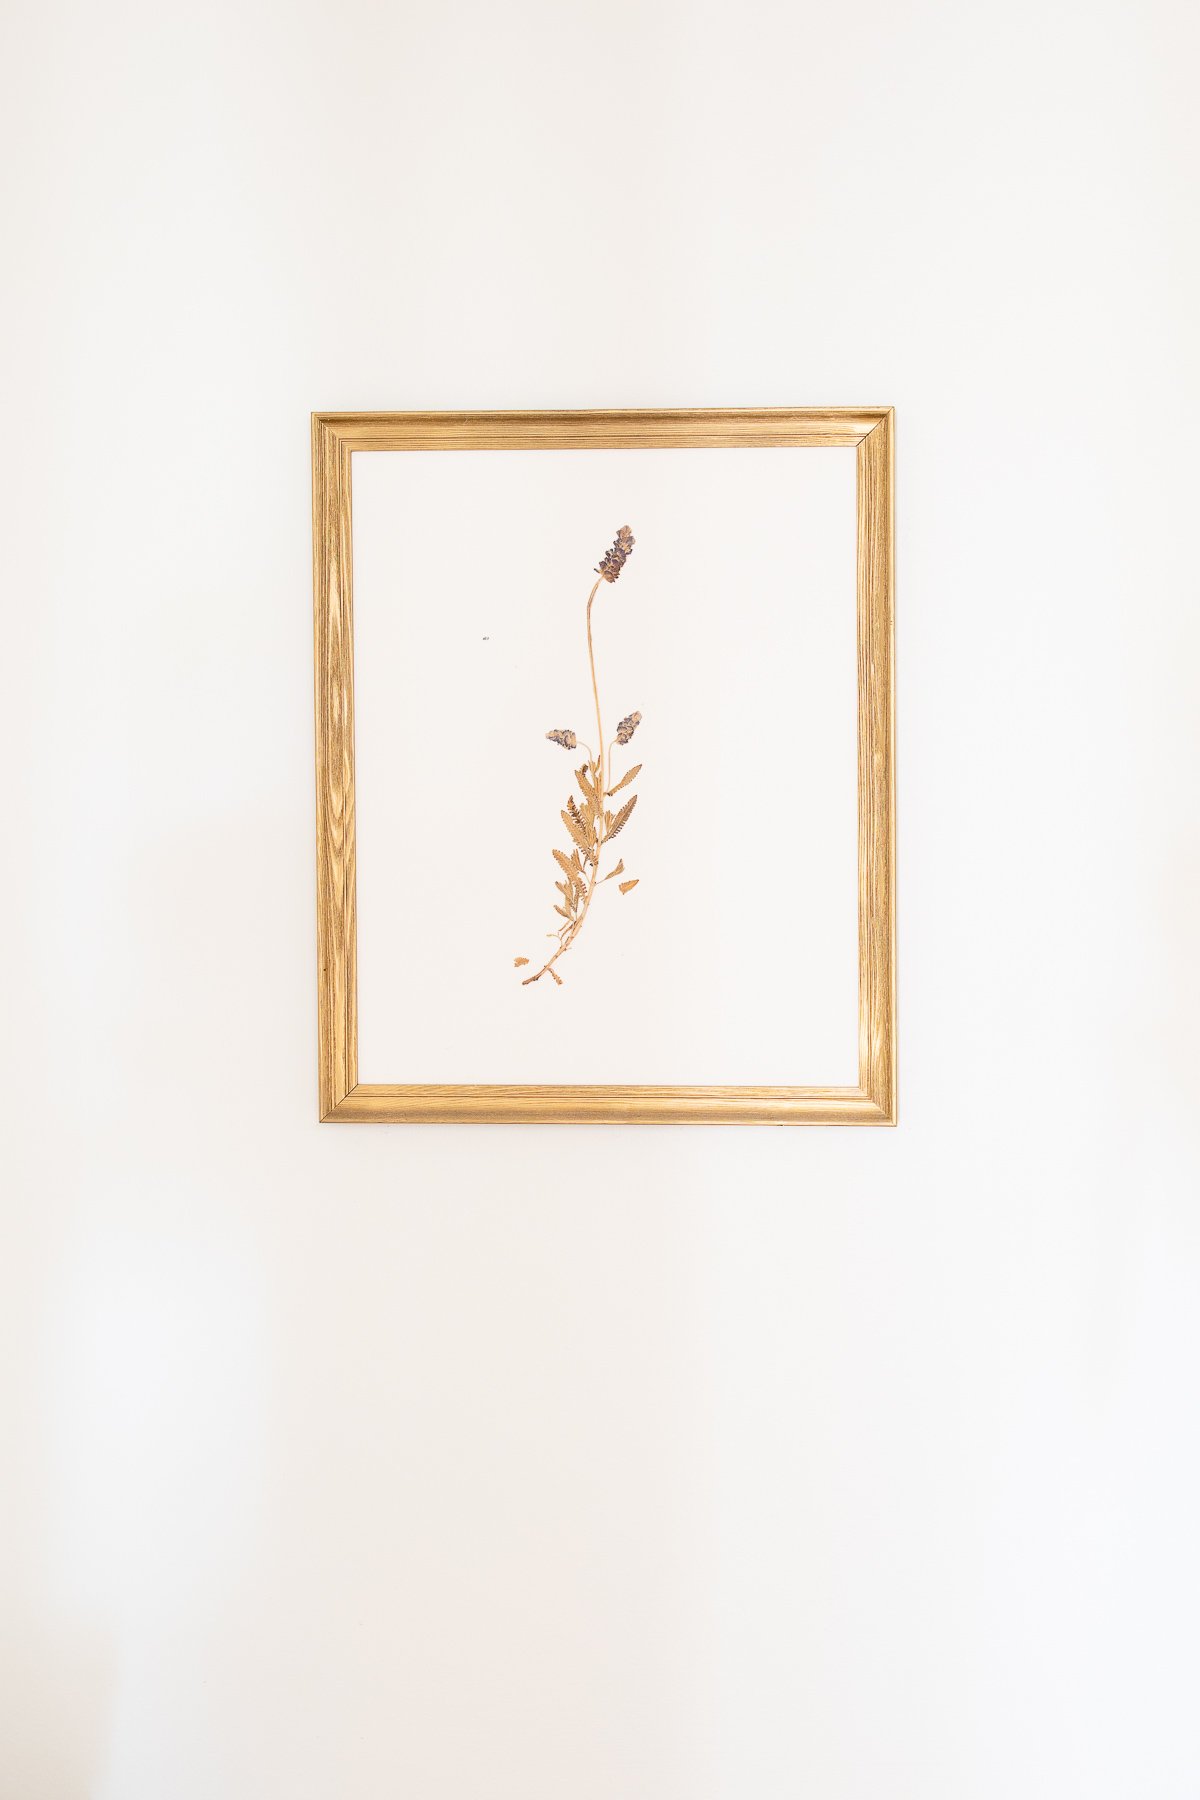
Pressed Botanicals
I’ve always been drawn to botanicals, but pressed botanicals are even more special. They just feel rich, add a little depth, and yet they are truly so easy to make. This diy wall decor is easy and inexpensive, especially in comparison to the original that inspired me!
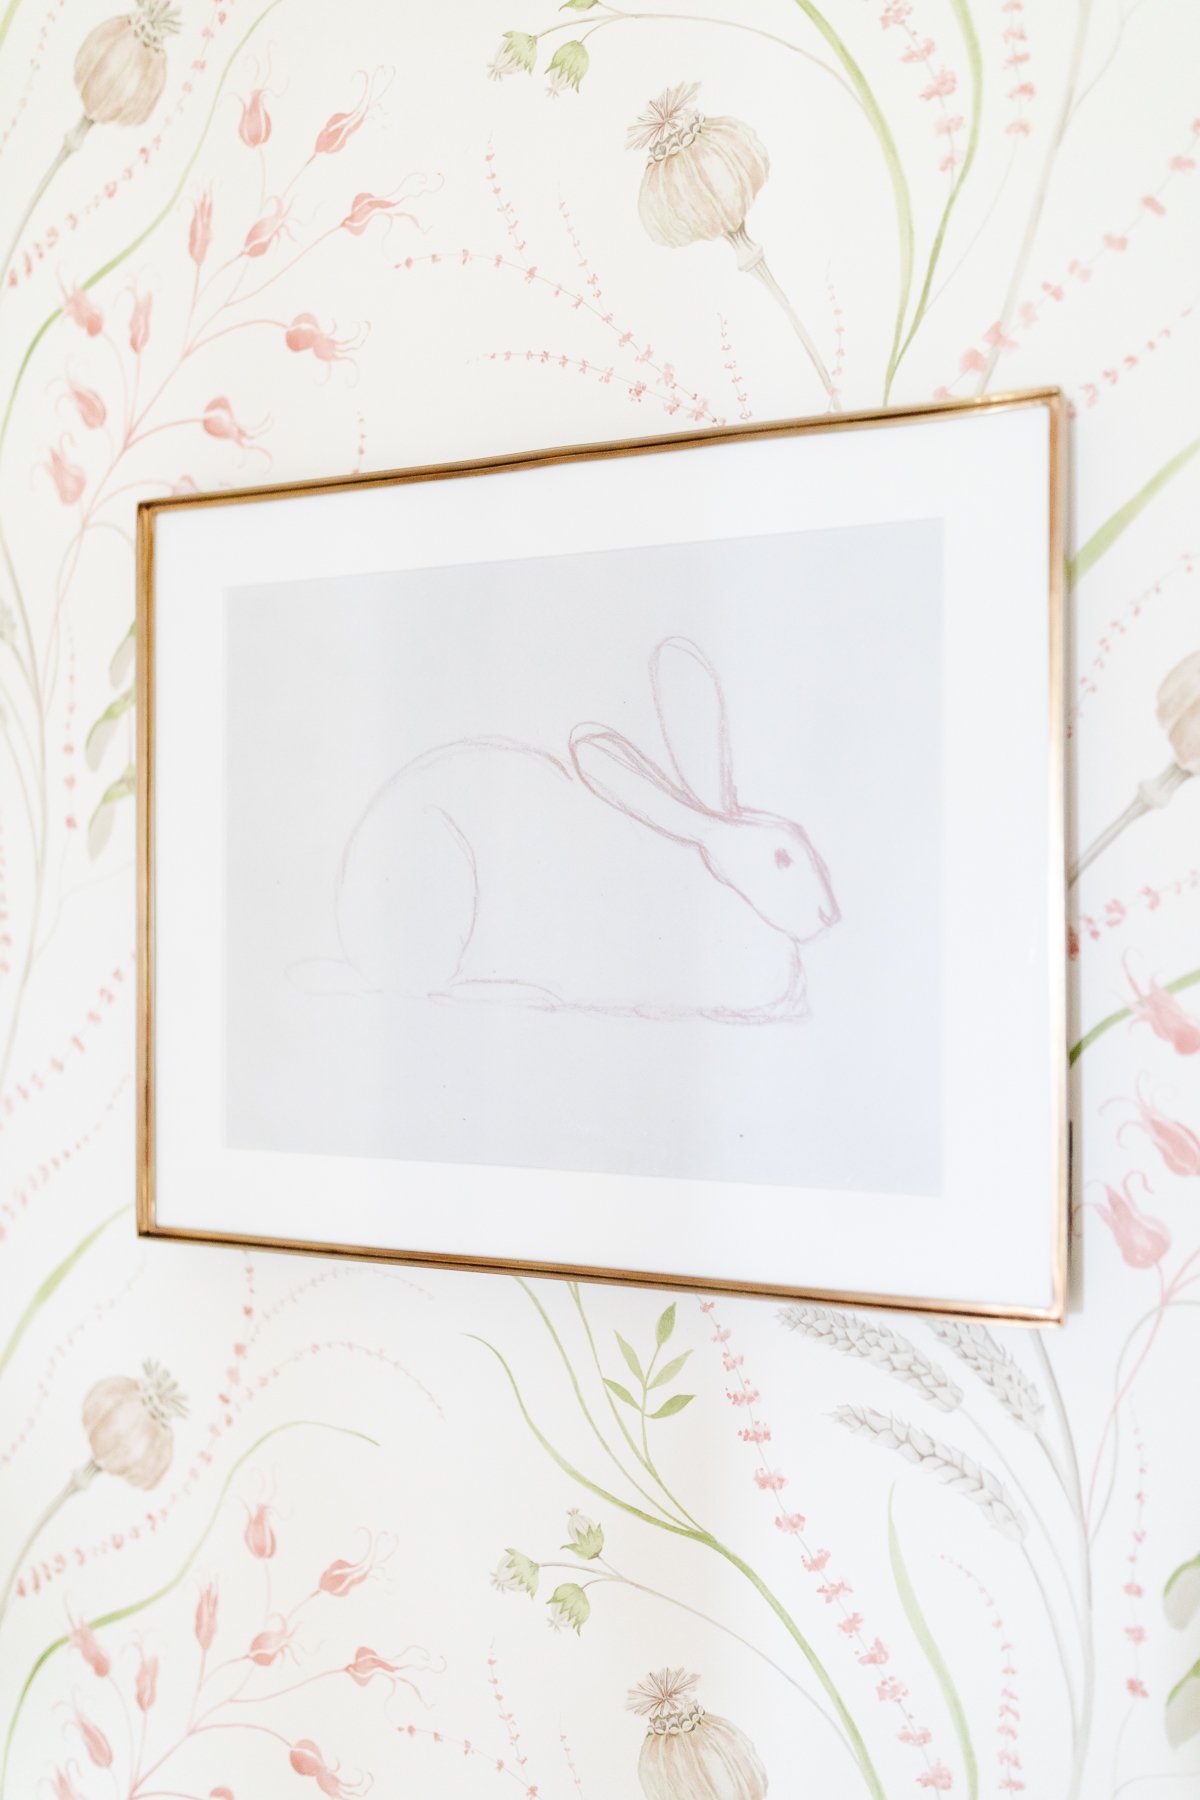
Make a Pencil Sketch
Make a pencil drawing. I know this might sound like something complicated, but I promise it’s not! If I can do it, so can you!
A pencil sketch is an easy way to add the feeling of modern, yet timeless black and white art to your spaces. I’m showing you how, and you’re going to be blown away!
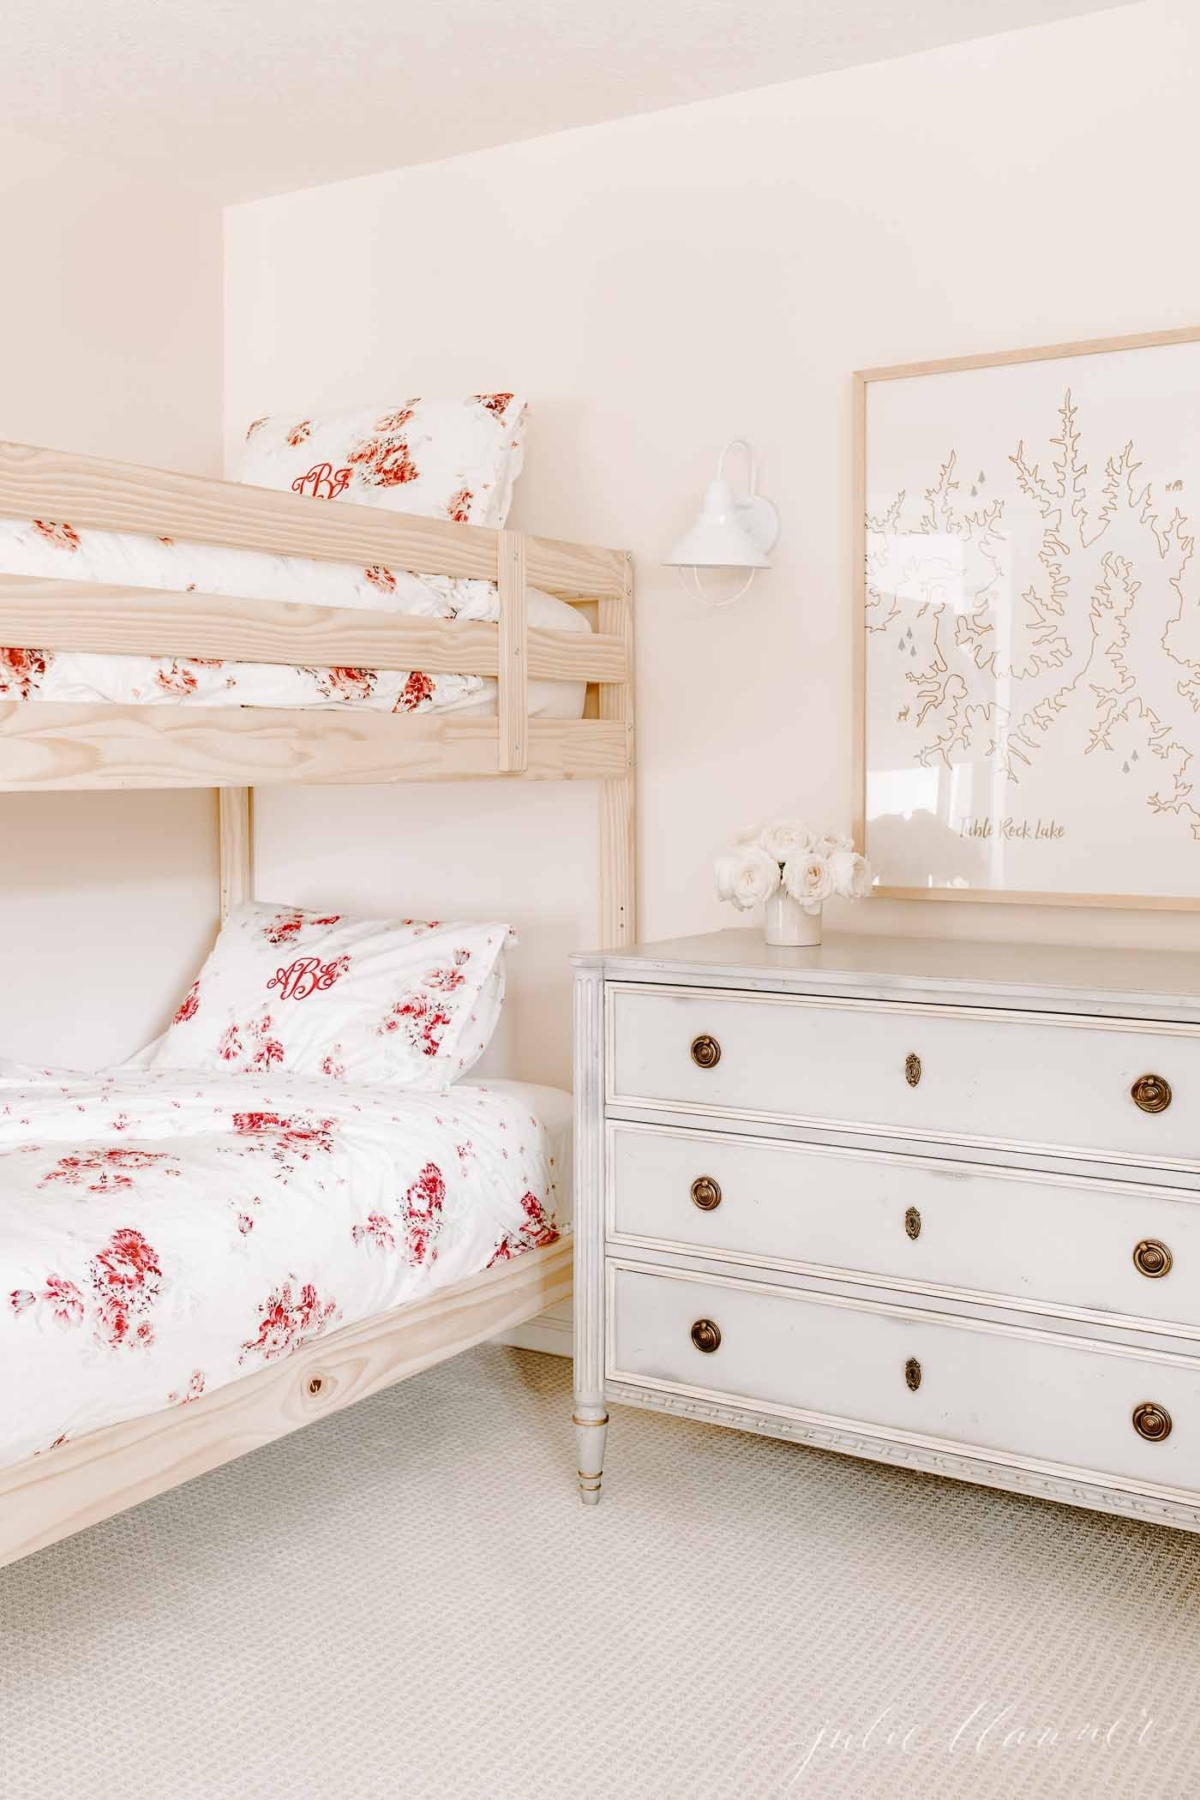
Frame a Map
Need a large piece of art? Frame a map! In fact, we had an artist create a custom map for us on Etsy – it’s common for weddings, but why not use one for wall decor too?
For our former basement guest bedroom, we framed a map of Hawaii where we honeymooned. It took just a few minutes and cost less than $30!
Home
Girls Bunk Beds
An inexpensive children’s solid wood bunk bed room makeover, without a lot of effort! Perfect solution for families with multiple… Read More
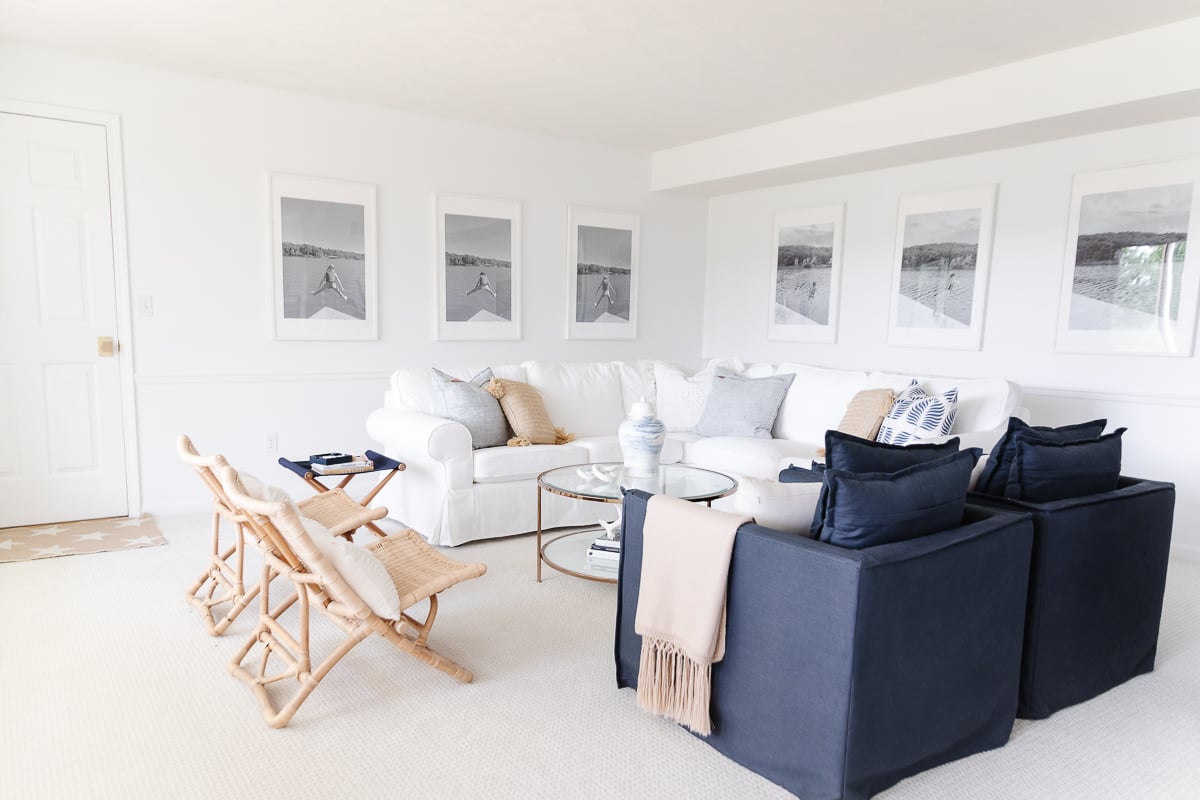
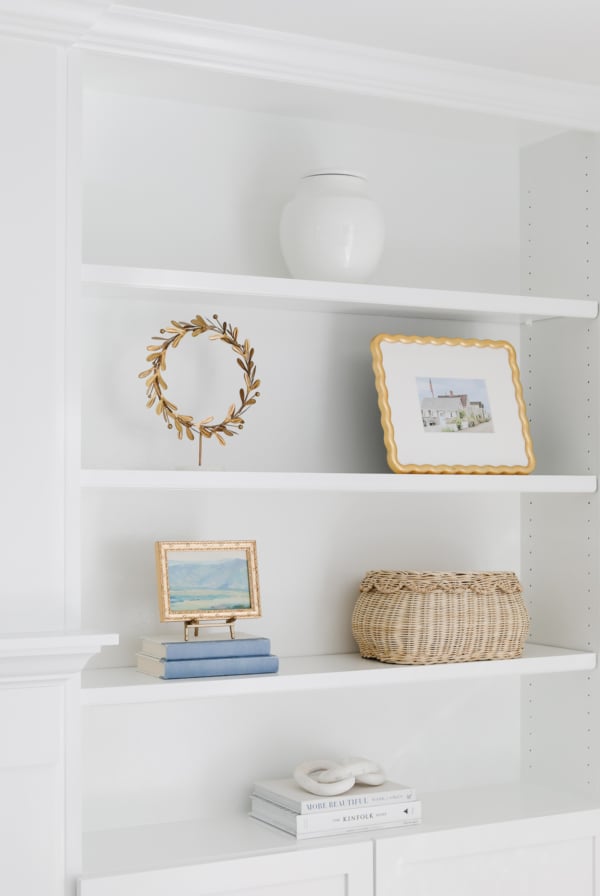
Frame Photos
This one is so simple. Of course you can print your photos at a local drug store, but using a high quality printer that photographers prefer can make all the difference!
Many photographers like Mpix, who offers the same size prints for nearly the same price, with significantly better quality. Framing photos is always one of the easiest and least expensive wall decor ideas that you can do in a variety of ways!
Whether it be photos of your family, (like these simple snapshots of the girls playing on the beach that adorn our hall), framed vintage photos like the bridge that lies beneath the lake in our modern coastal living room, or even a sunset or photograph of something particularly special to you… the options are endless and this diy wall idea is as easy as it gets!
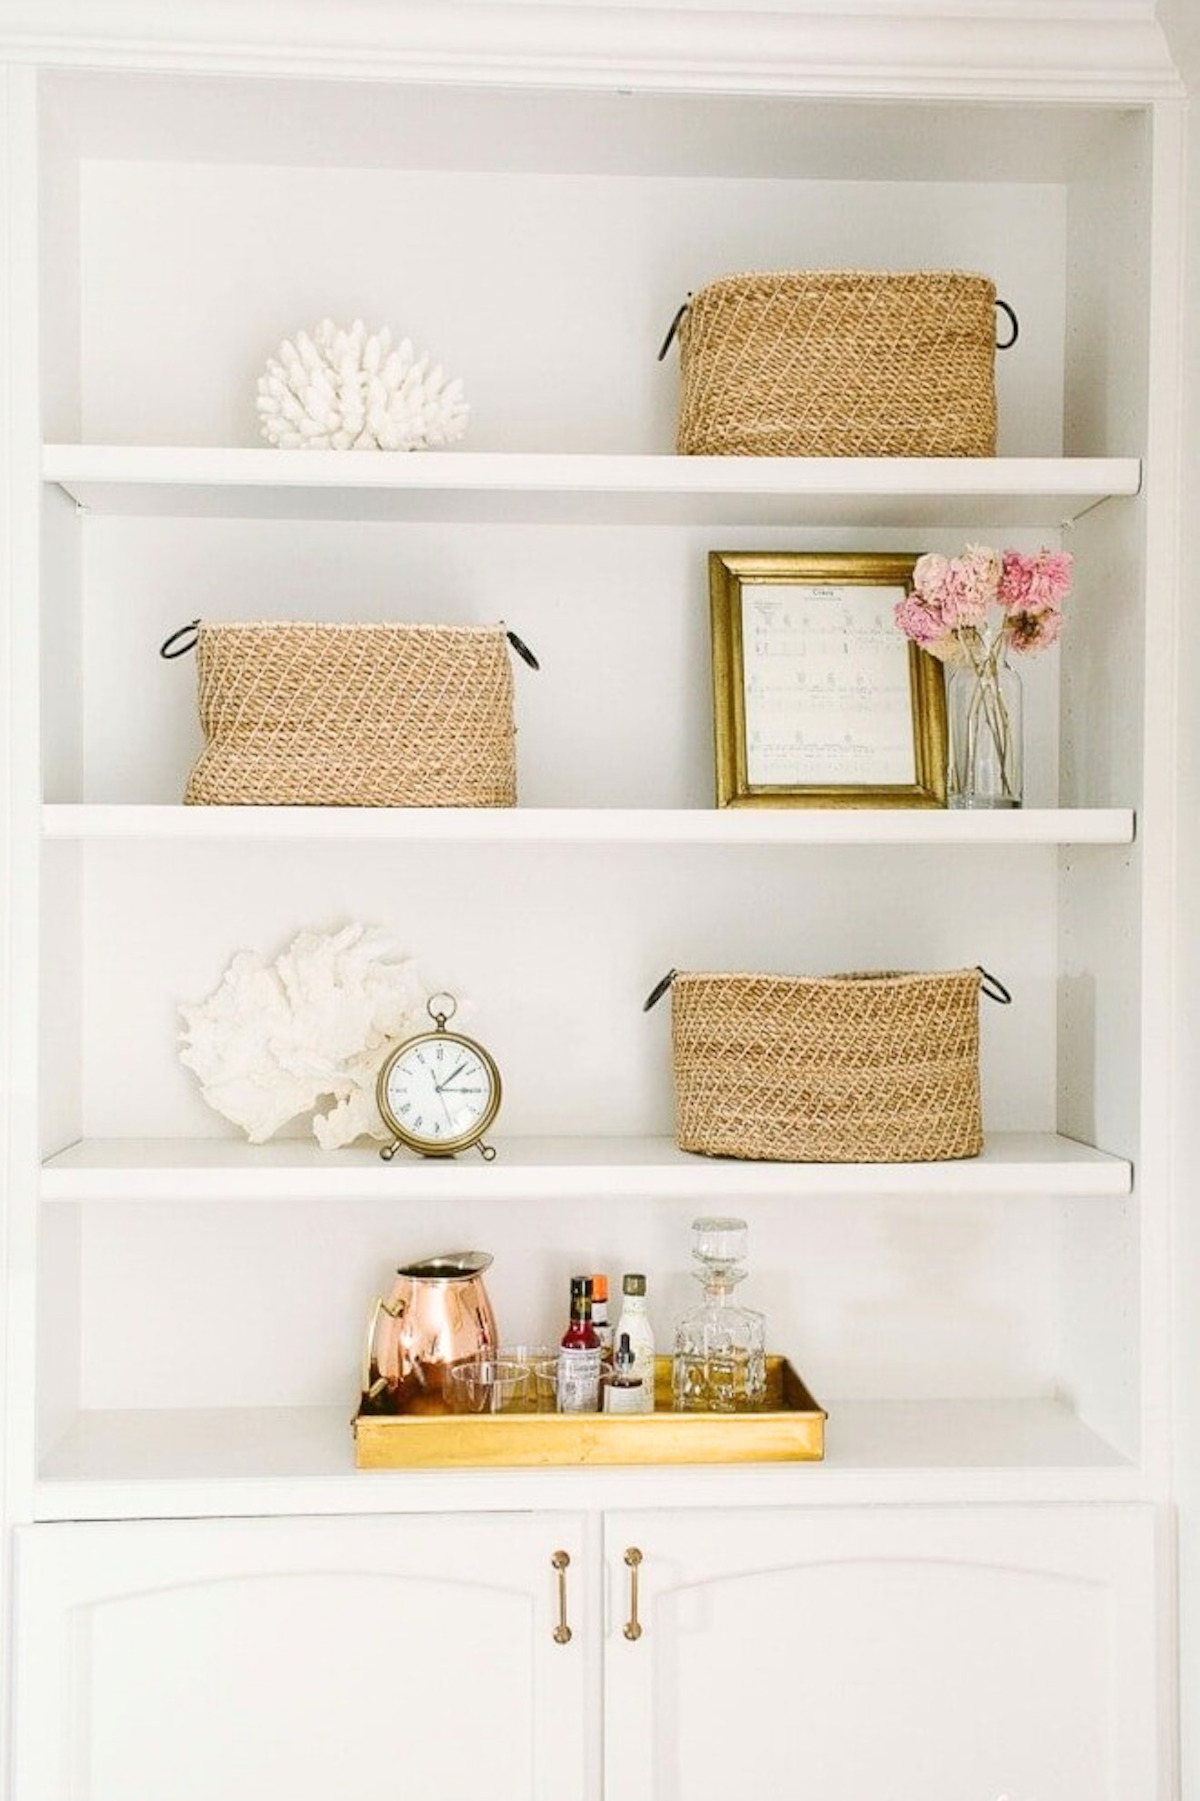
Frame Sheet Music
Is there a song that is notable to you or your relationship? Frame it! I framed a page of sheet music from our wedding song, “Crazy” by Pat Green for our bookcases. It took minutes, but has so much meaning.
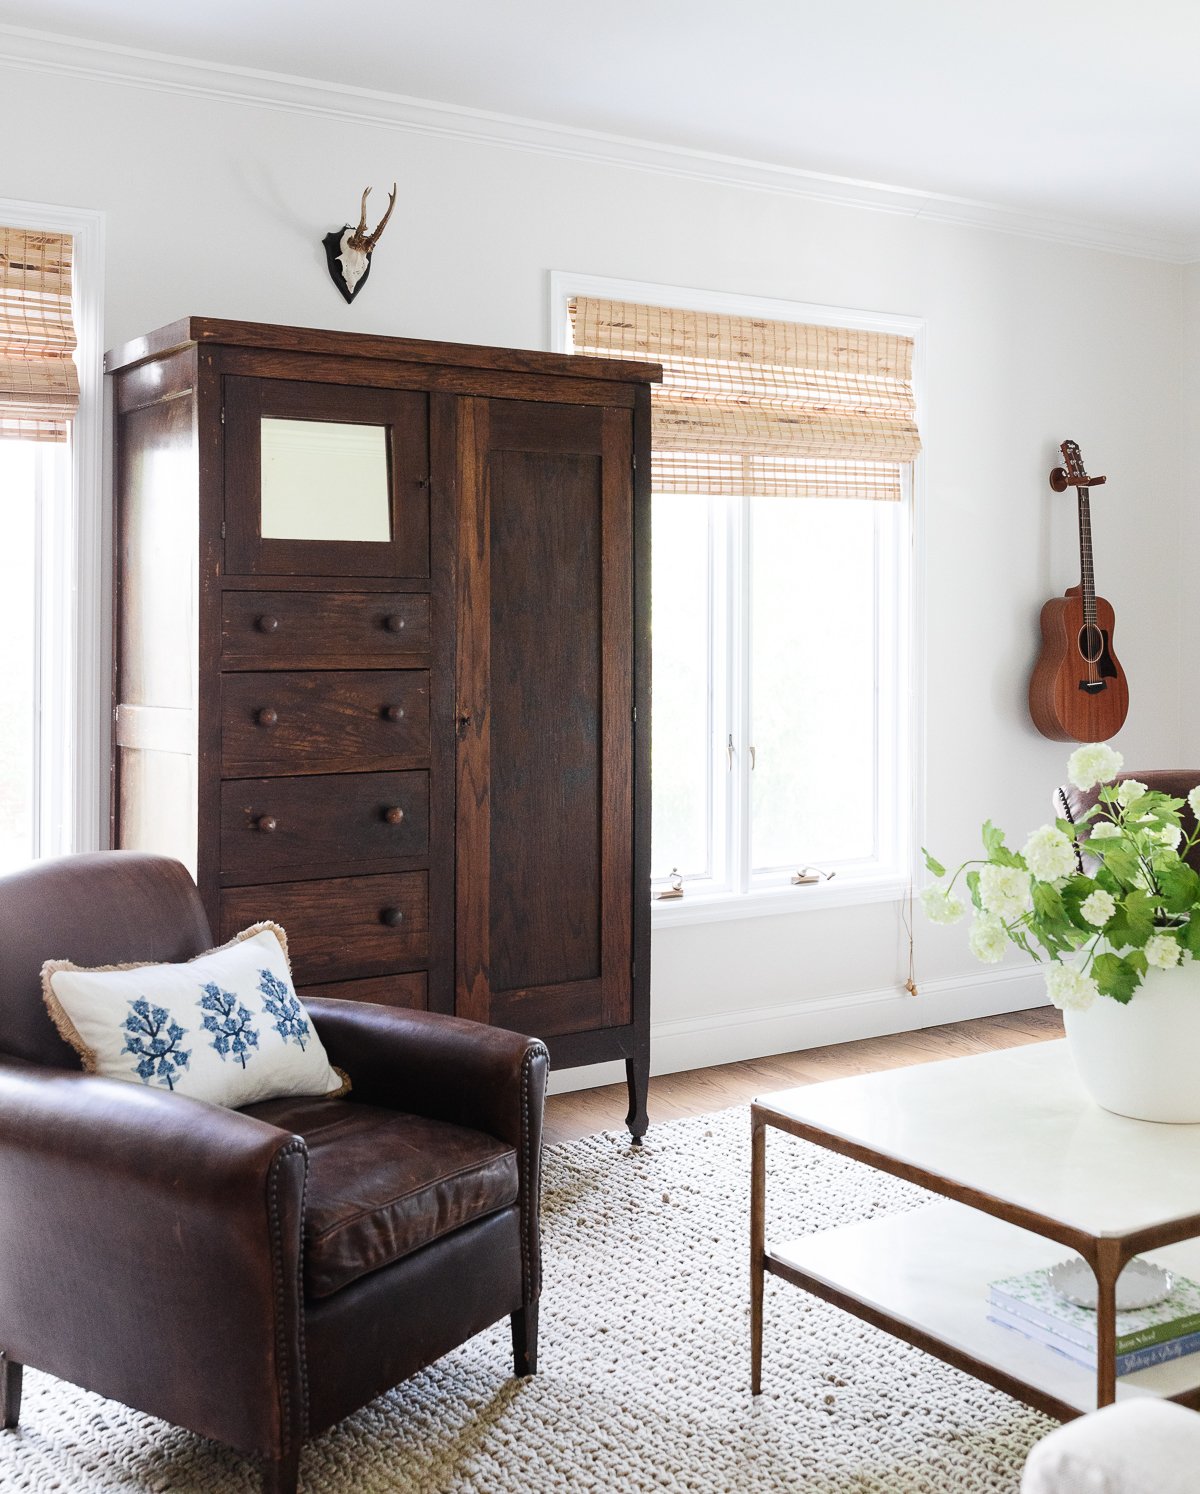
Use Antlers
Real or faux! Anything organic brings a room to life, and pieces with history are unique and visually interesting.
These antlers add a small, unobtrusive touch of something slightly rustic, charming and natural to the room. This is a classic element of French Farmhouse Decor, too!
Frame Recipes
There’s nothing more beautiful than a piece of your family’s history or your mother’s handwriting (especially if she’s gone!). It’s an inexpensive diy wall decor idea that’s perfect for a kitchen or breakfast room.
For simplicity, I had it framed here but you can easily do it yourself!

Gifts
Framed Recipes Kitchen Art
Create these simple and memorable framed recipes for the prettiest kitchen art idea. These are great for gift giving or as decor in your own home. Read More
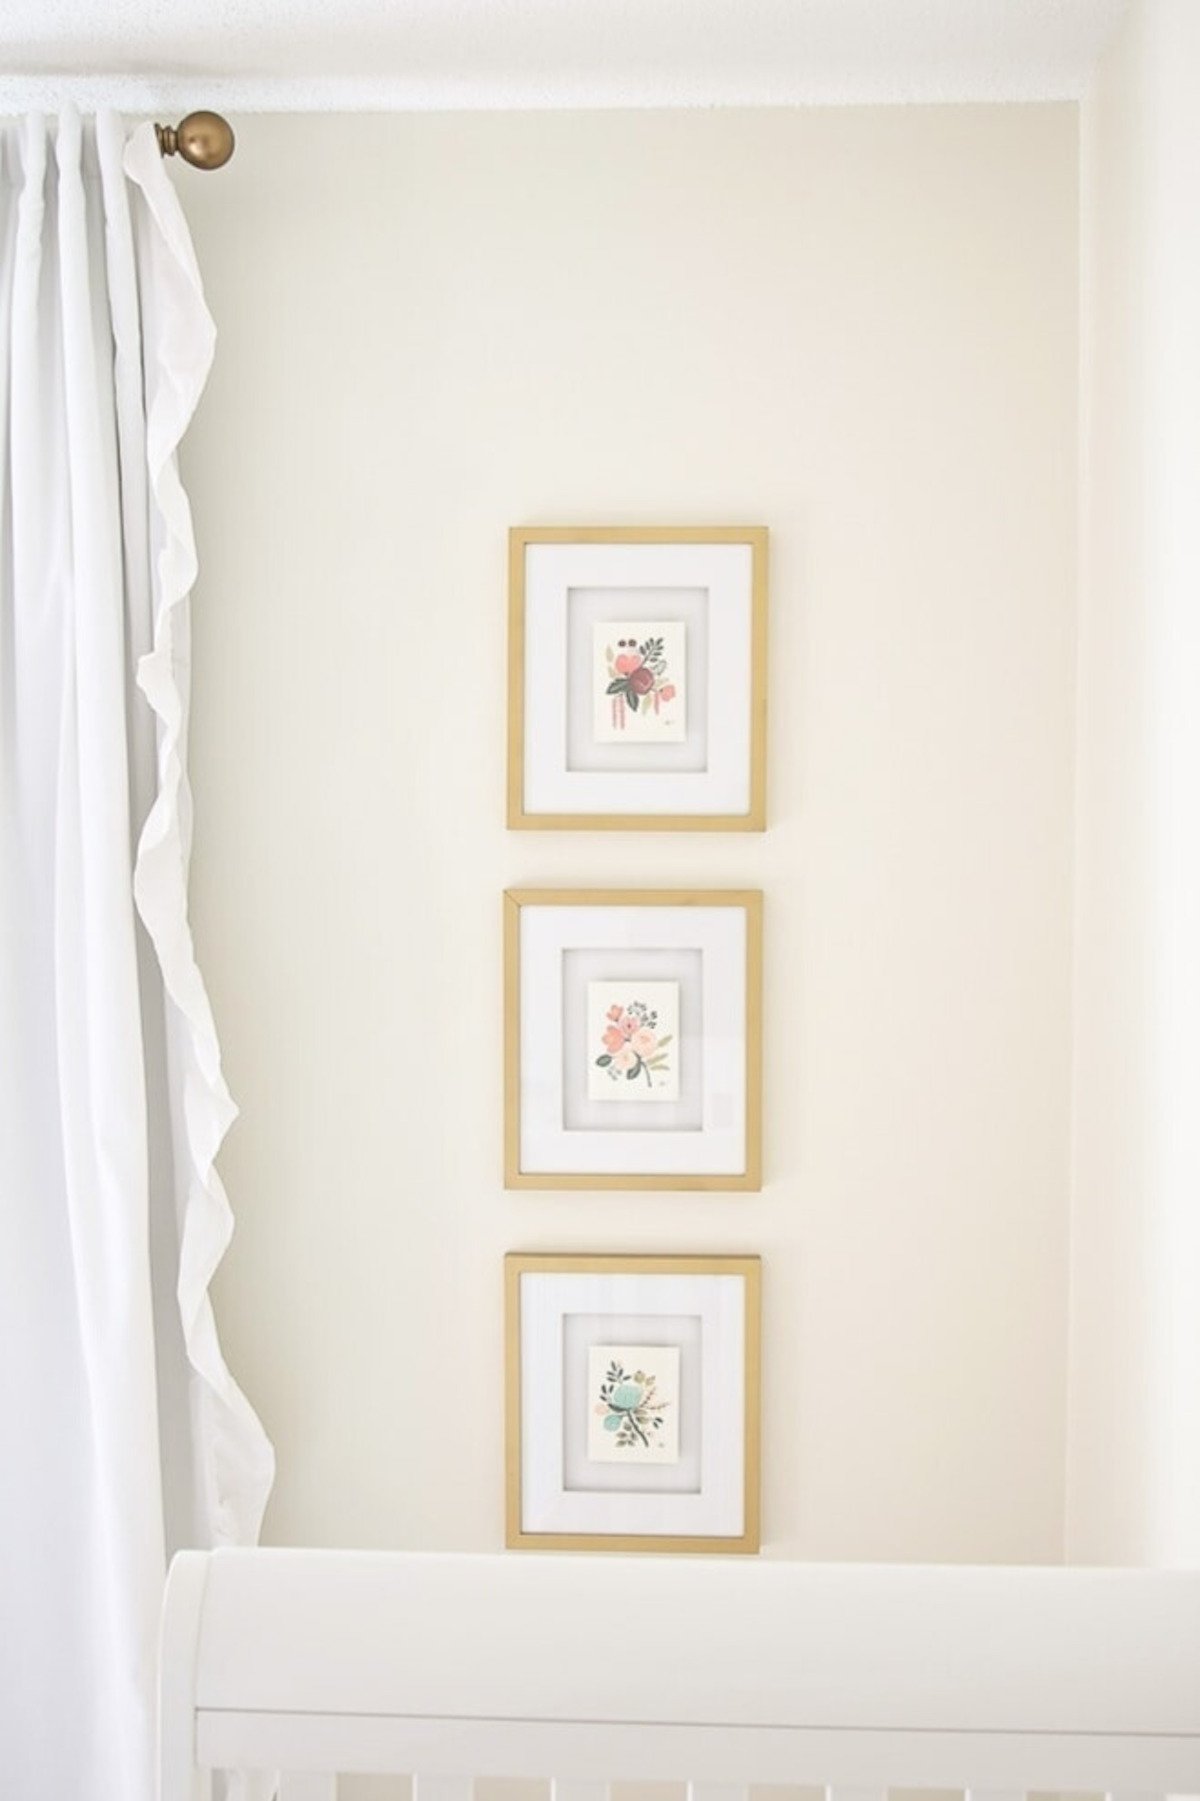
Frame Cards
A few of these botanical cards framed using stacked mounting tape to give them depth filled Isla’s room with art for about $50!
Wire Wall Art
I had this quote made by an Esty artist and inserted it directly into the wall. It’s easy to install, inexpensive and customizable! There are so many fun and unique personalized sayings you can use, and the effect adds a lot of dimension to your spaces.
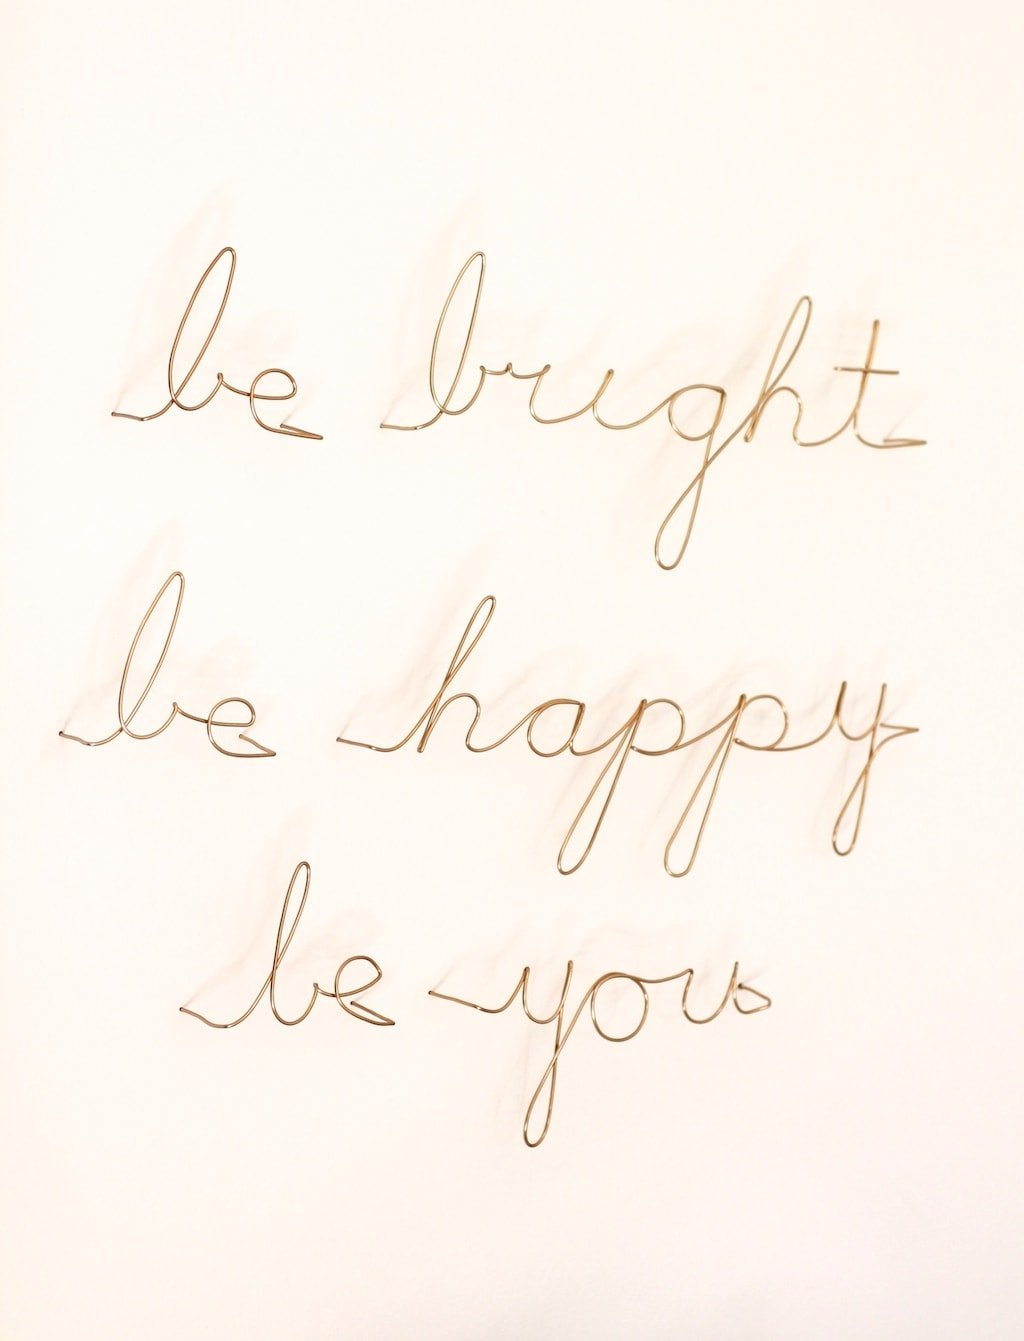
Home
Wire Wall Art
Learn about adding this charming, decorative wire wall art to any corner of your home. It adds instant depth, texture and beauty – and bonus! It’s affordable and simple to hang. Read More
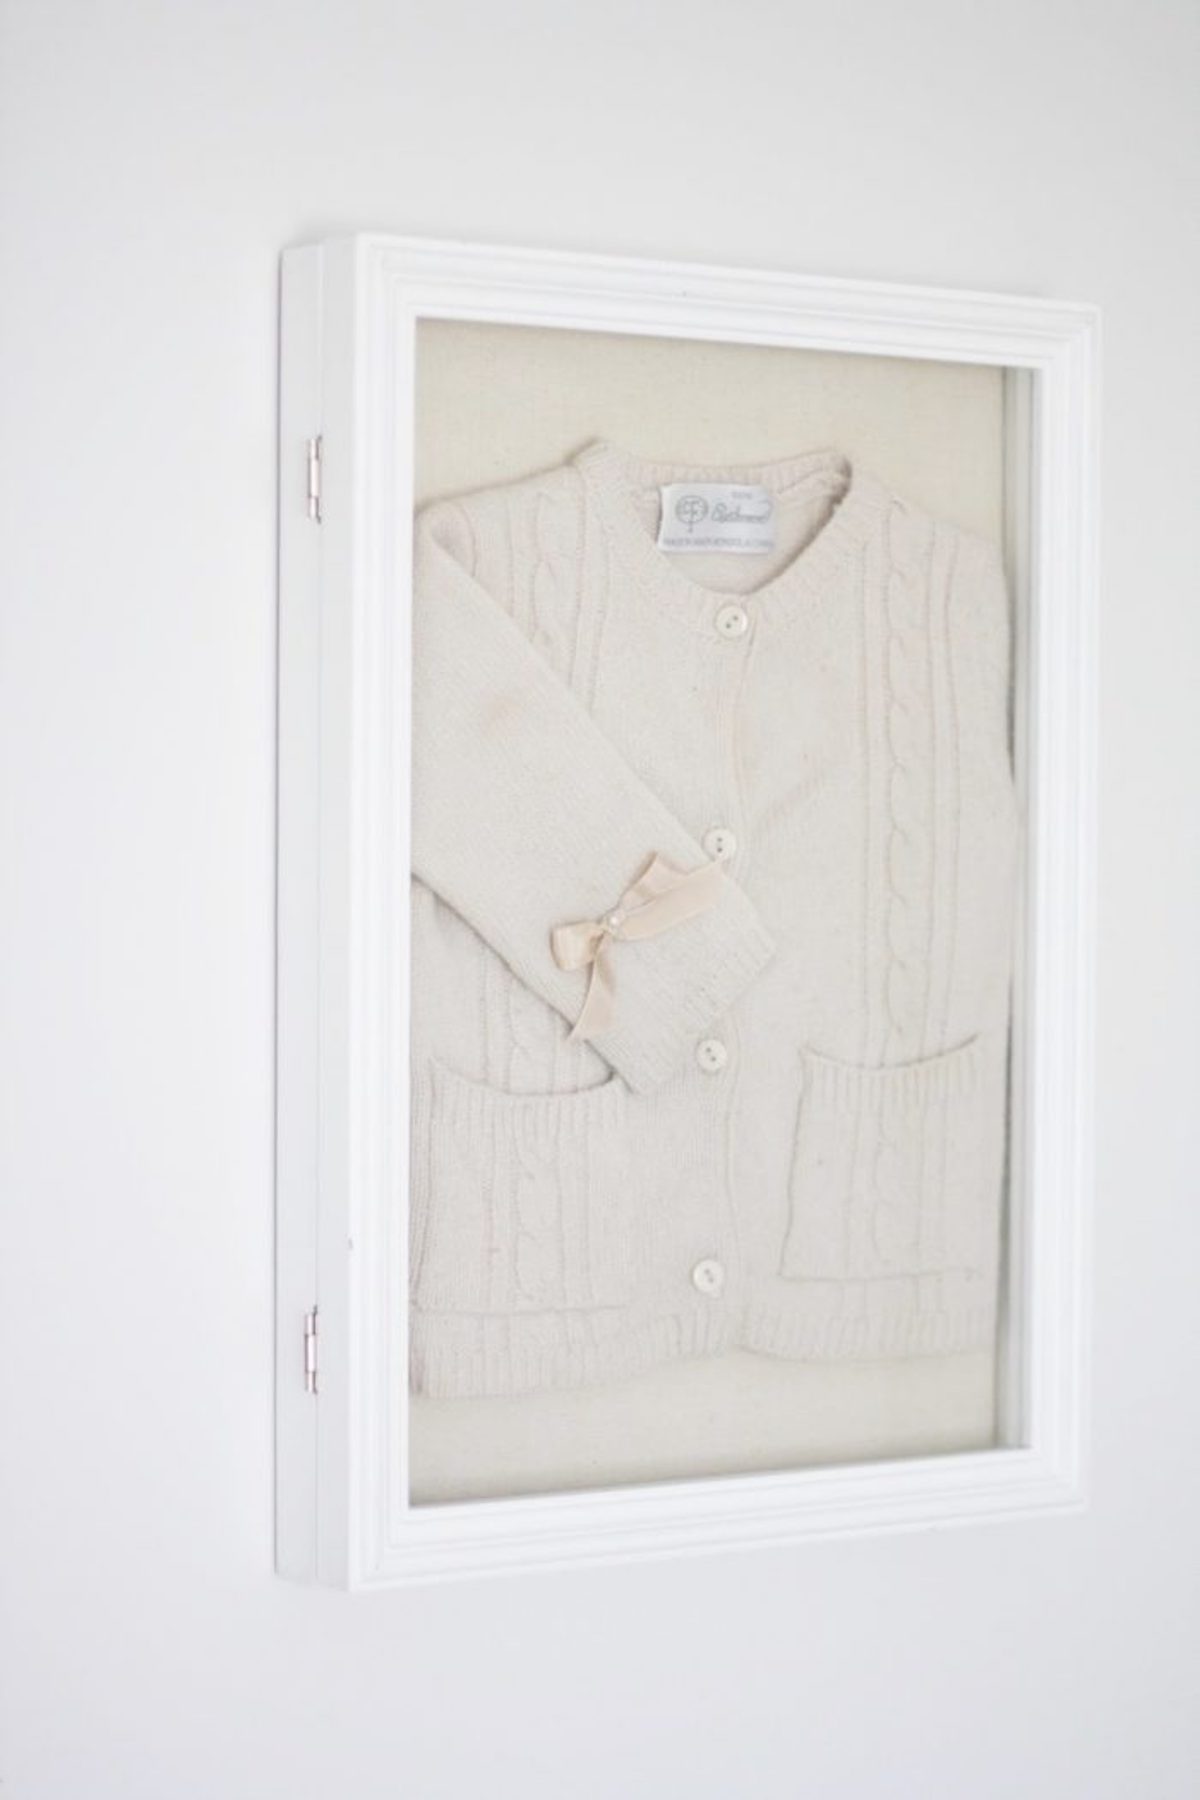
Frame an Heirloom
This idea is from an older post but still totally relevant! We used a sweet little baby sweater and added it to a frame to elevate it and give it a special space. Why tuck those sweet pieces away when you can use them as art?
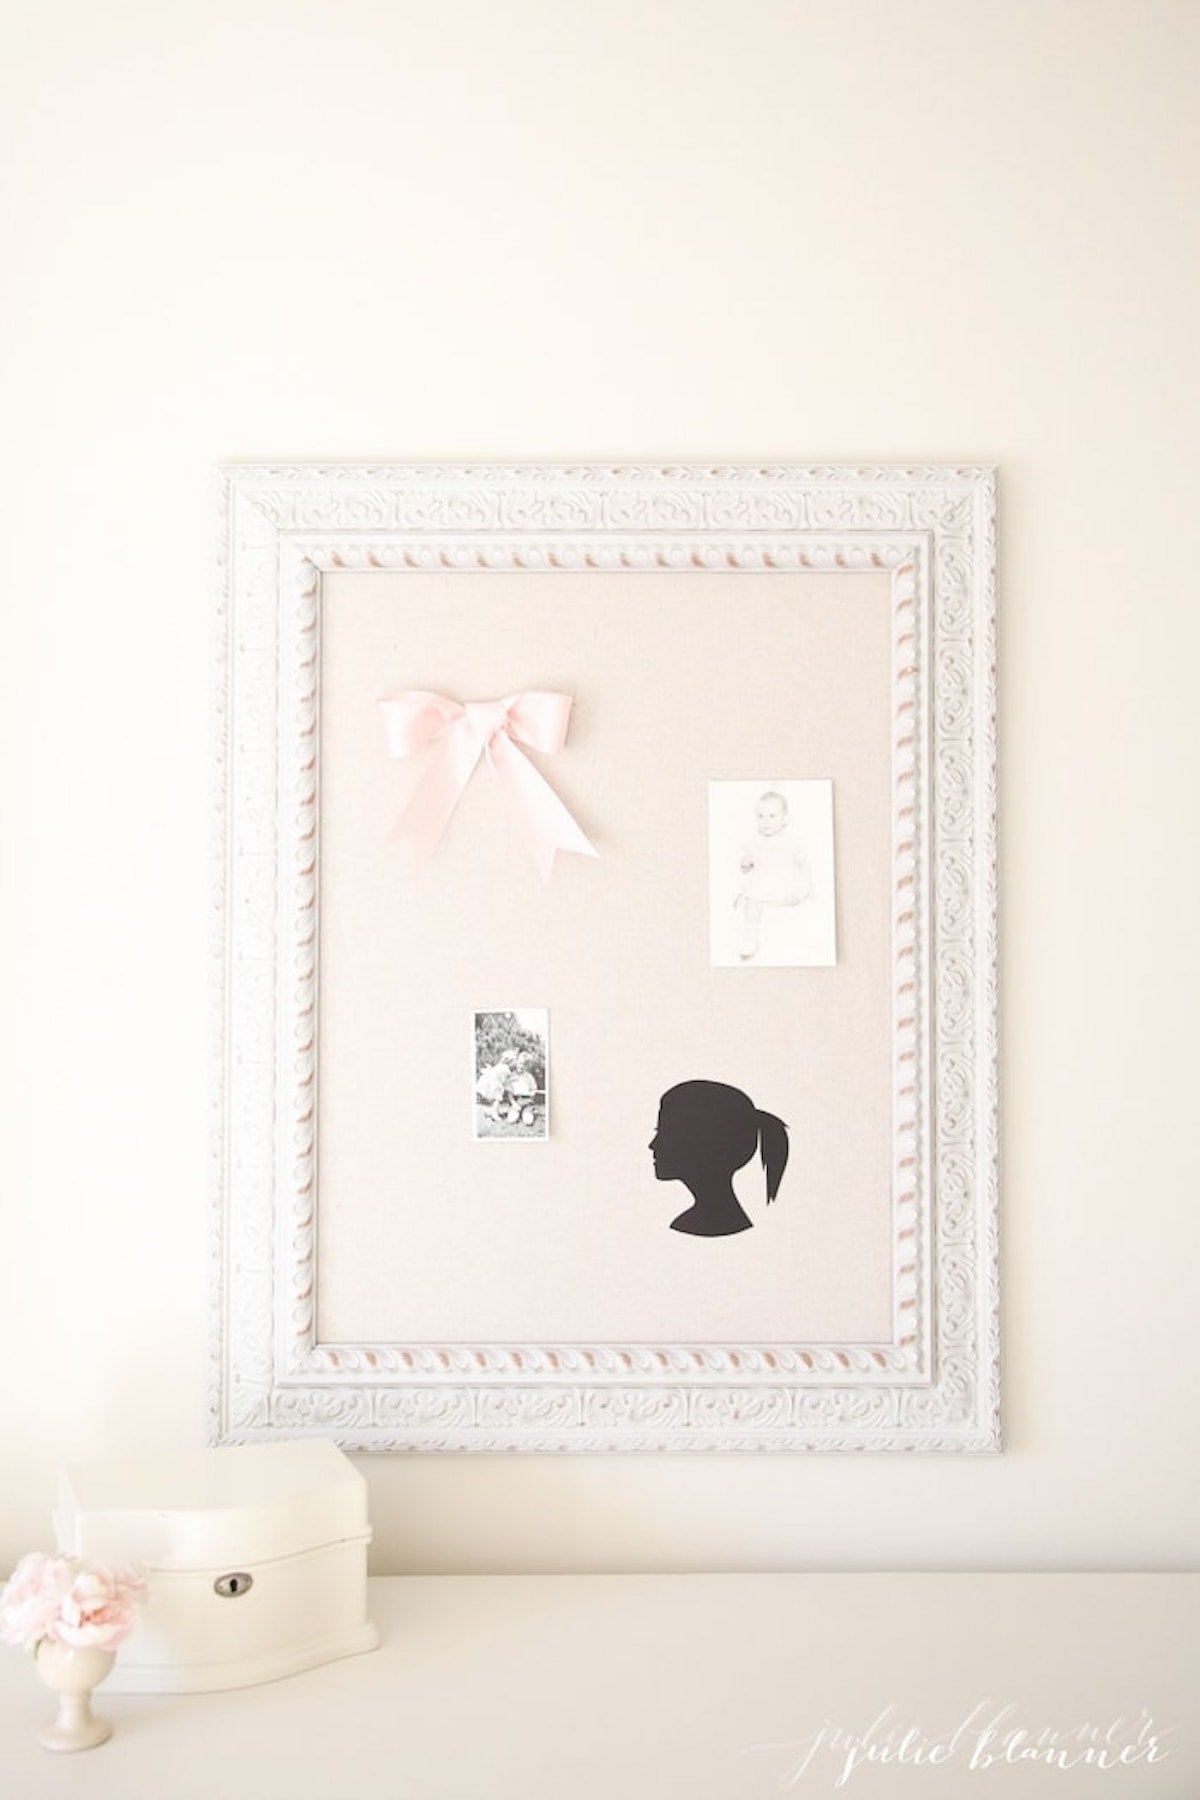
Make a Pin Board
I “made” Adalyn’s pinboard by adding fabric, but purchased Ani’s. Either way, it’s a great way to let kiddos showcase their art while acting a large piece of art in itself! If you don’t want to DIY this project, you can find a variety of options here.
Use Wallpaper
Block print wallpaper is art in and of itself. No need for framed artwork when you’ve chosen the prettiest pattern to grace your walls!
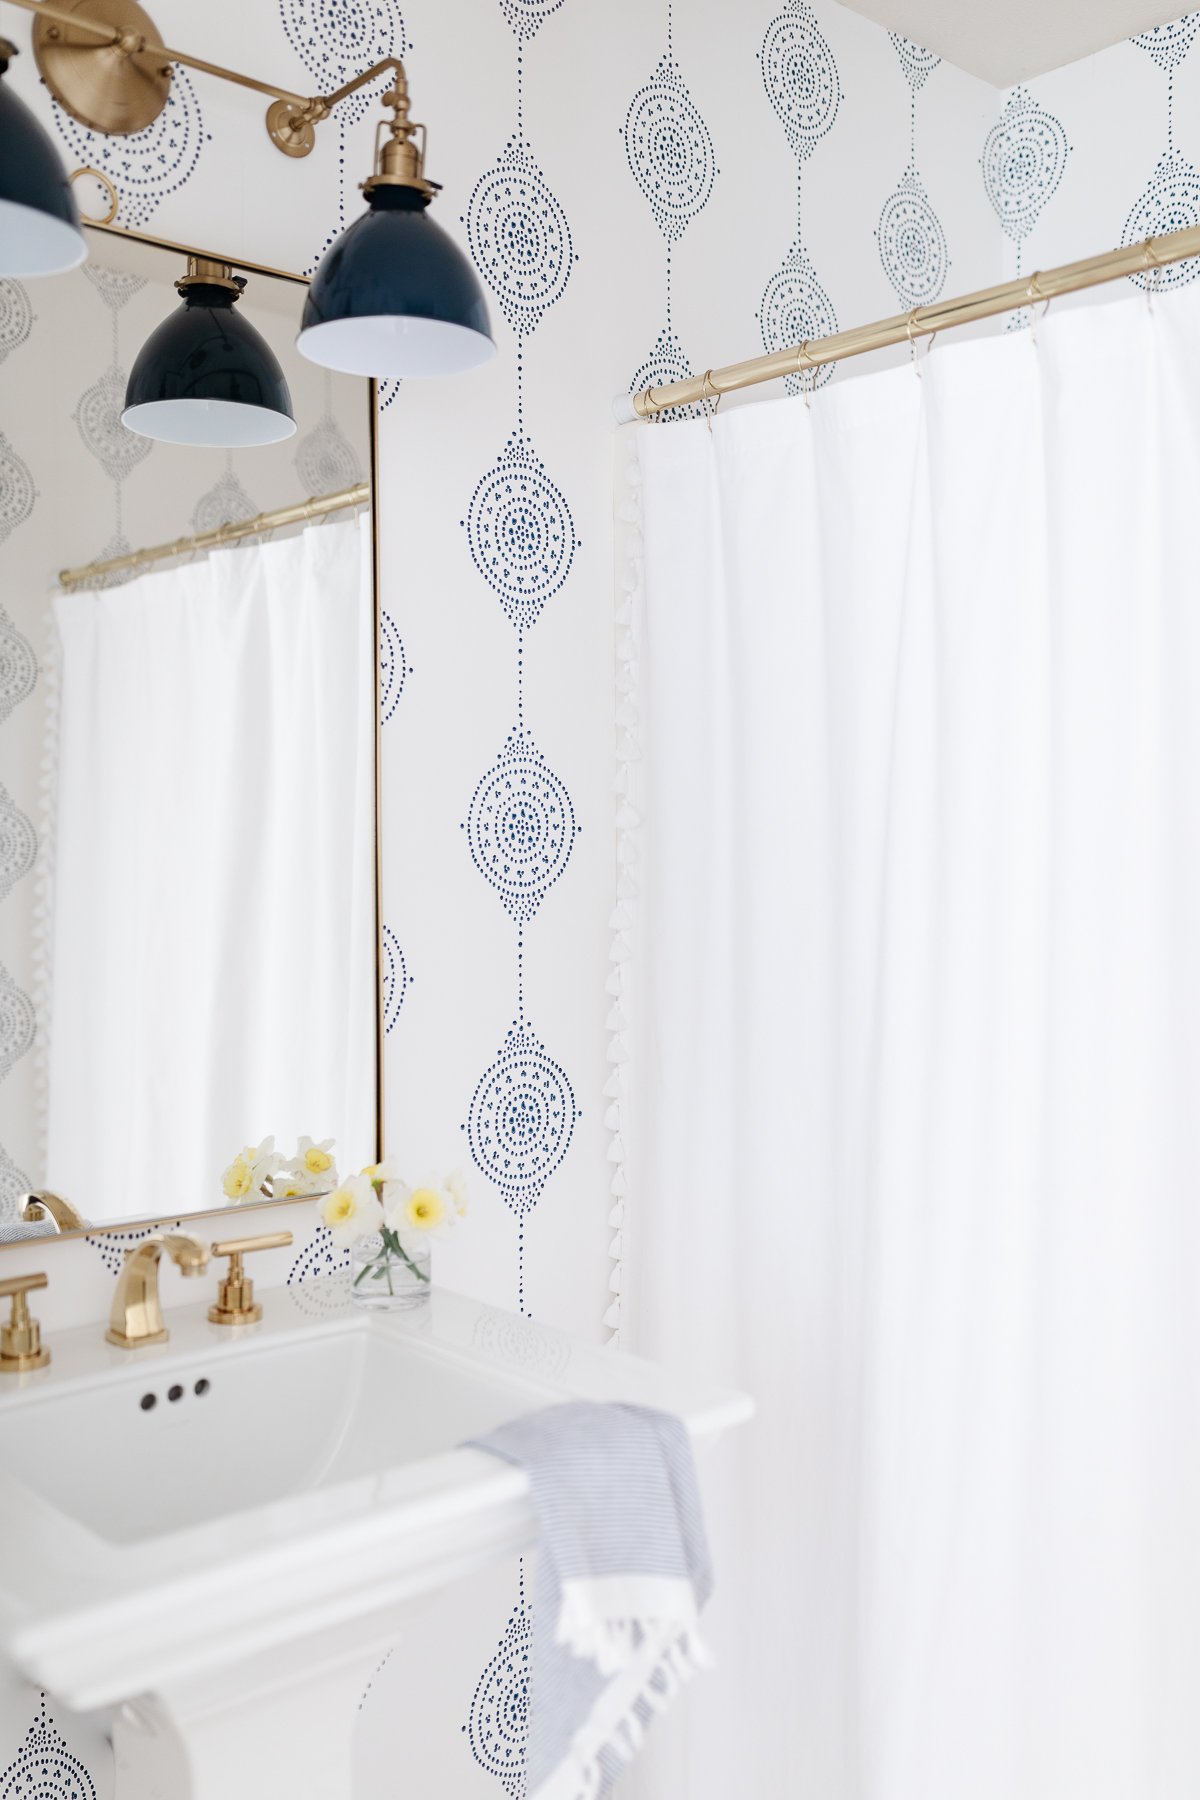
Design Guides, Decor & Tips
Block Print Wallpaper
Block print wallpaper is the prettiest way to bring an organic yet modern statement into your home. It’s charming, worldly, and simple enough to grace any wall. Read More
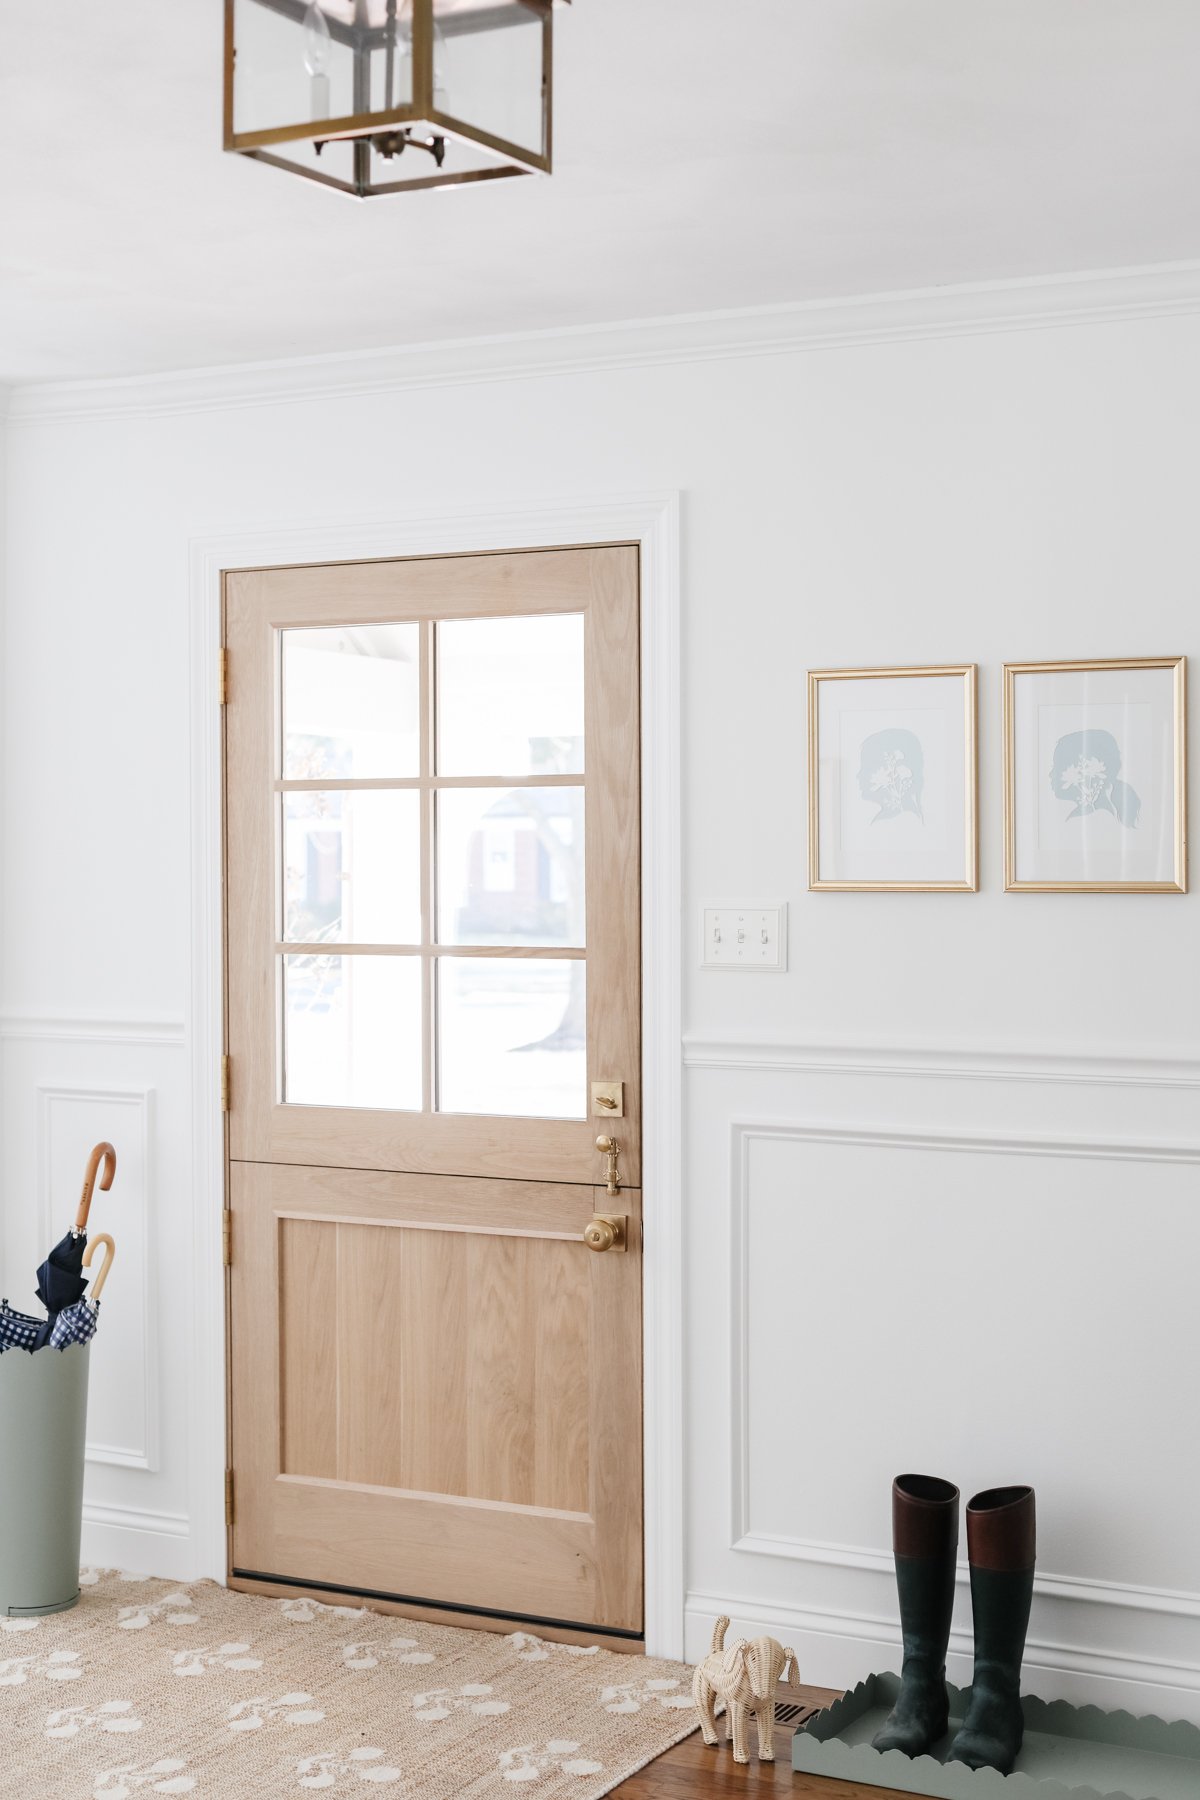
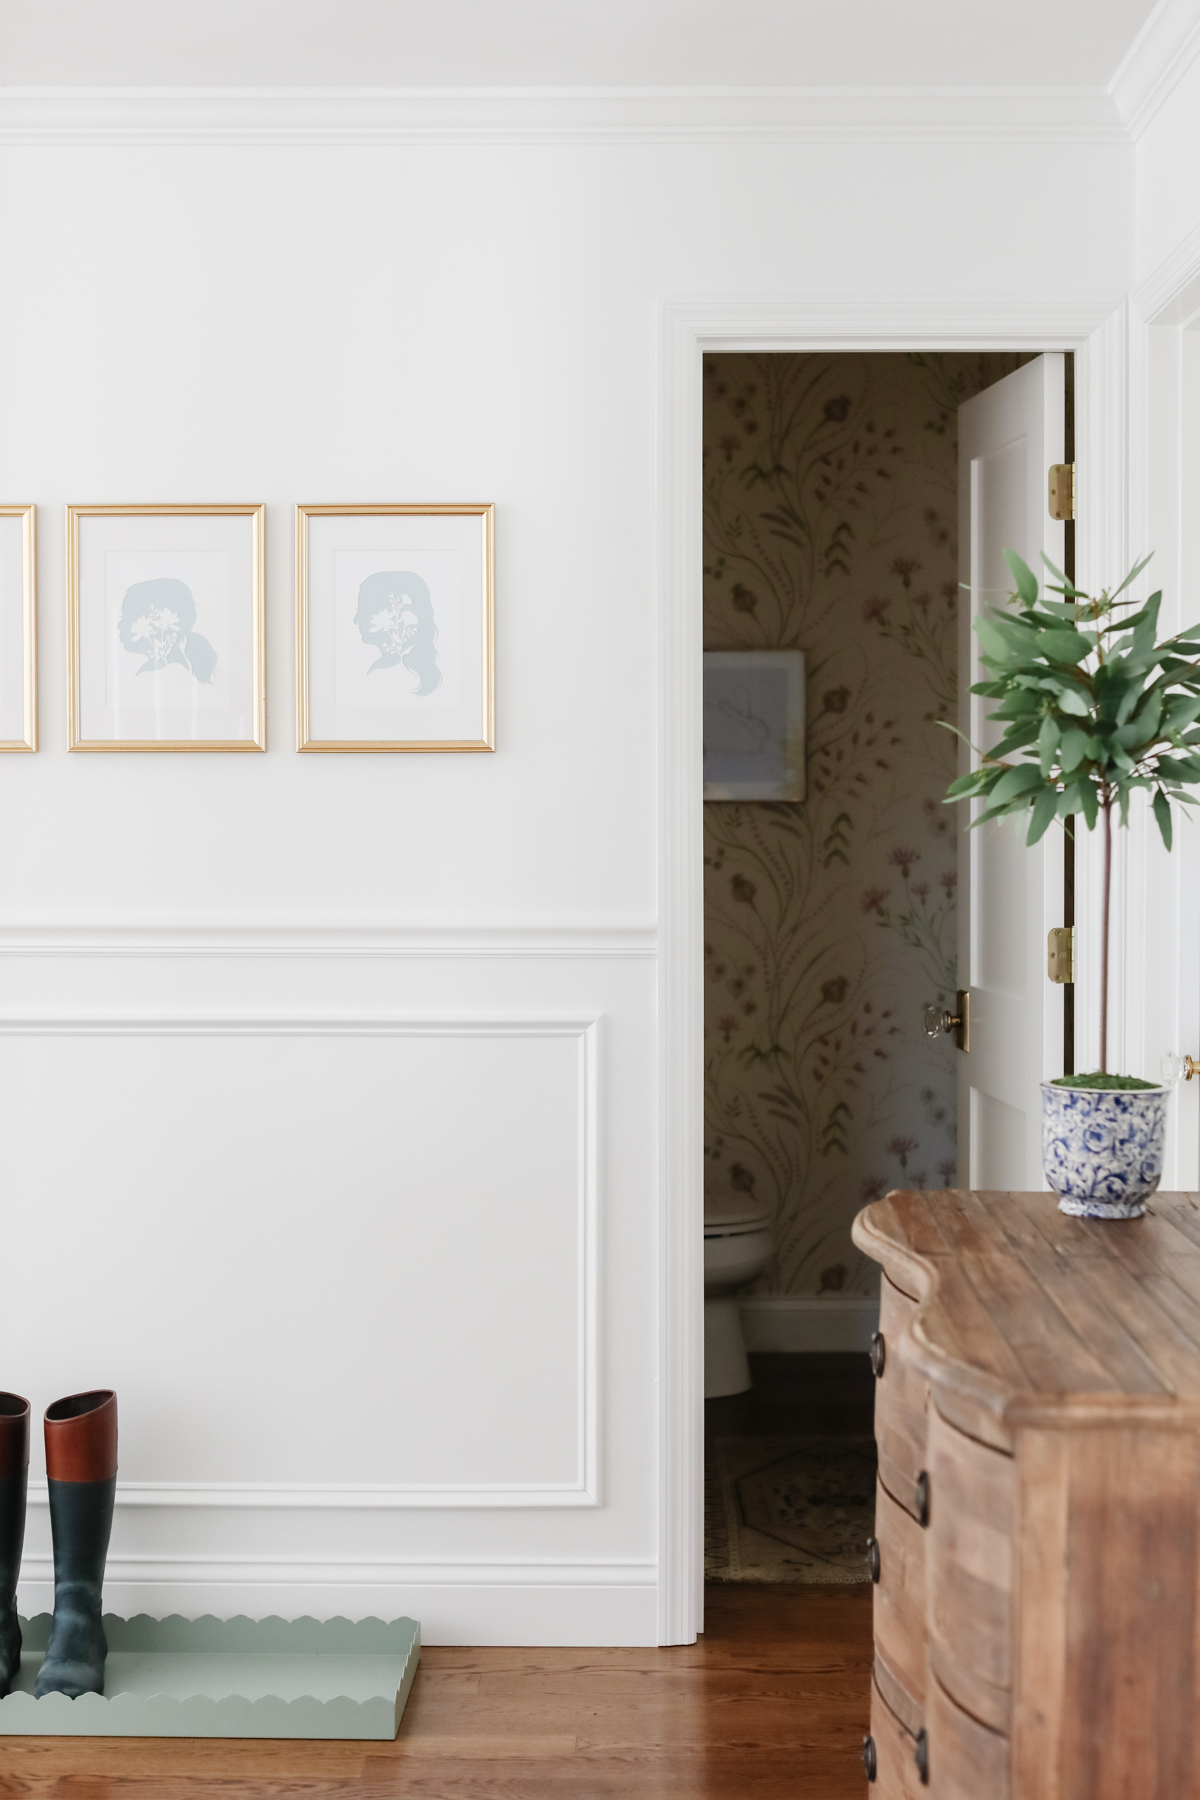
Create a Silhouette
My grandmother had made silhouettes of my sister and I that hung in her hallway for many years. It’s a classic, timeless piece of art that you can easily create to frame for your home or as a gift.
Whether they are in black and white or softer more pastel colors, these can create a striking grouping when hung together or alone.
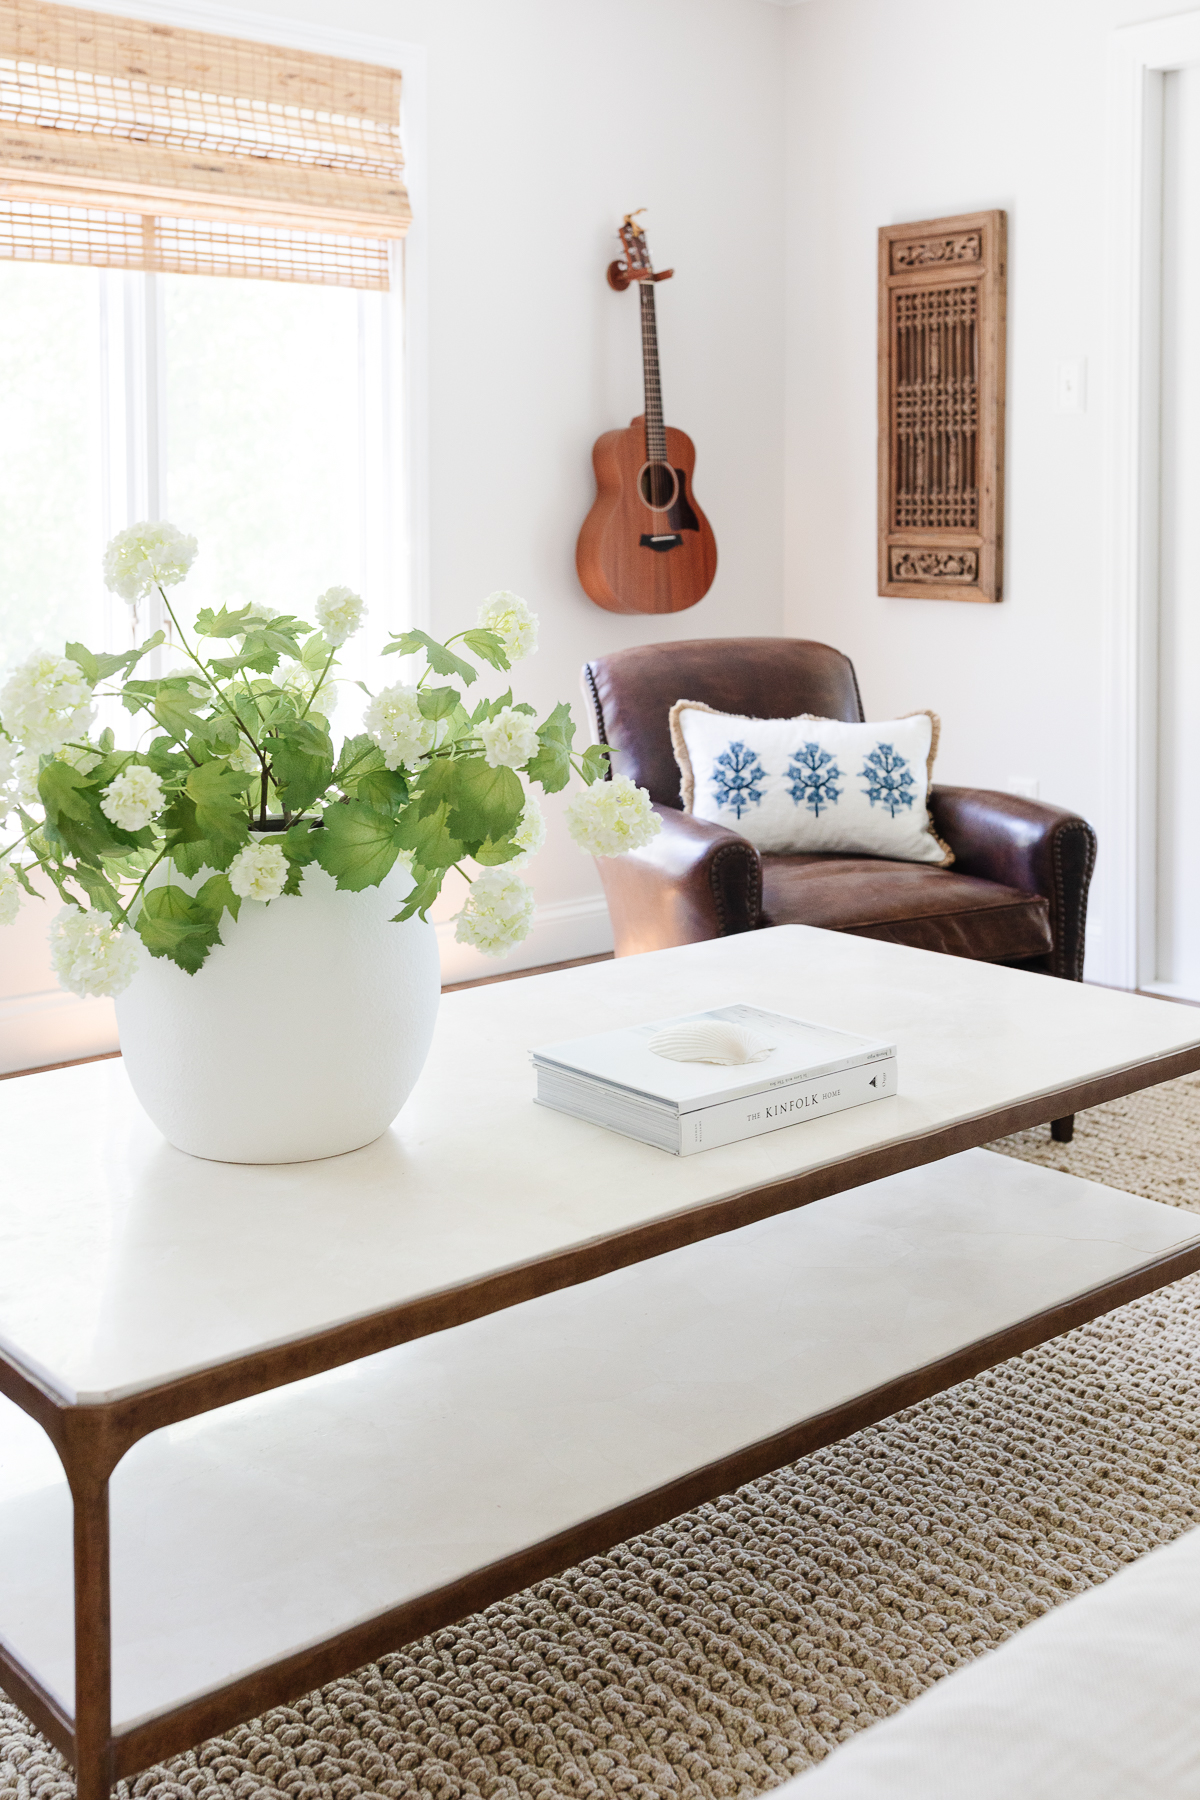
Hang an Architectural Piece
Something old, something new, right? An old wooden panel or piece of wrought iron can make a beautiful decorative piece for your walls.
Bonus? It’s a textural, organic element with history – it’s very likely that you’ll have something super unique that none of your friends could replicate.
Amazon Art
No time to be creative with your wall art? I get it. Sometimes choosing something easy and affordable is the best way to go.
Check out our guide to art that ships fast with Amazon – we’ve waded through thousands of listings to bring you the prettiest options!
Home
Amazon Art
If you’re on the hunt for new artwork to freshen up your home in the new year, you’re in luck! I’ve taken the work out of the search – this post is a round-up of my favorite Amazon art sources. Read More

Amazon Storefront
Follow my Amazon Storefront to find more holiday looks for less.


Wow so many great ideas
Thank you, Marty!
Hello! What is the wal color under number 15? Thank you!
Zurich White https://julieblanner.com/favorite-cream-paint-colors/
Great article where would I find free museum prints. Thanks
Julie, I pick up more great ideas here! I’m going to go back to the post now and follow the links.
I came over from Thistlekeeping and am now following you. Love your ideas. You mentioned a print of a cow. Where do I see this?
You are so sweet! Thanks, Nancy! You can find it here.