Learn how to be your own florist with this comprehensive guide! Save so much money and impress your friends with DIY arrangements that you can create from inexpensive grocery store flowers!
Anyone can learn the art of floral design with these simple tips, tricks and video. We’re walking you through the five easy steps to become your own florist!
Get five of my best (not-so-secret) steps to learn how to design flowers, the easy way.
I’d like to begin this post by saying that I’m not a florist. I’m just a person that happens to love the art of floral design, though I’ve never worked professionally as a designer. If I can do it, YOU CAN, TOO!
I am almost entirely self-taught…and truthfully, I have figured out a lot of design tricks by myself along the way.
I spent years working in the event industry and gleaned a few tricks of the trade from my favorite florist friends. However, most of what I know has come from simply playing around with grocery store blooms that I choose on a whim!
If you’ve followed for long, you’ll know that flowers bring me a lot of joy. Floral design brings me a sense of peace and calm that not much else can.
The Florist Secrets You Should Know
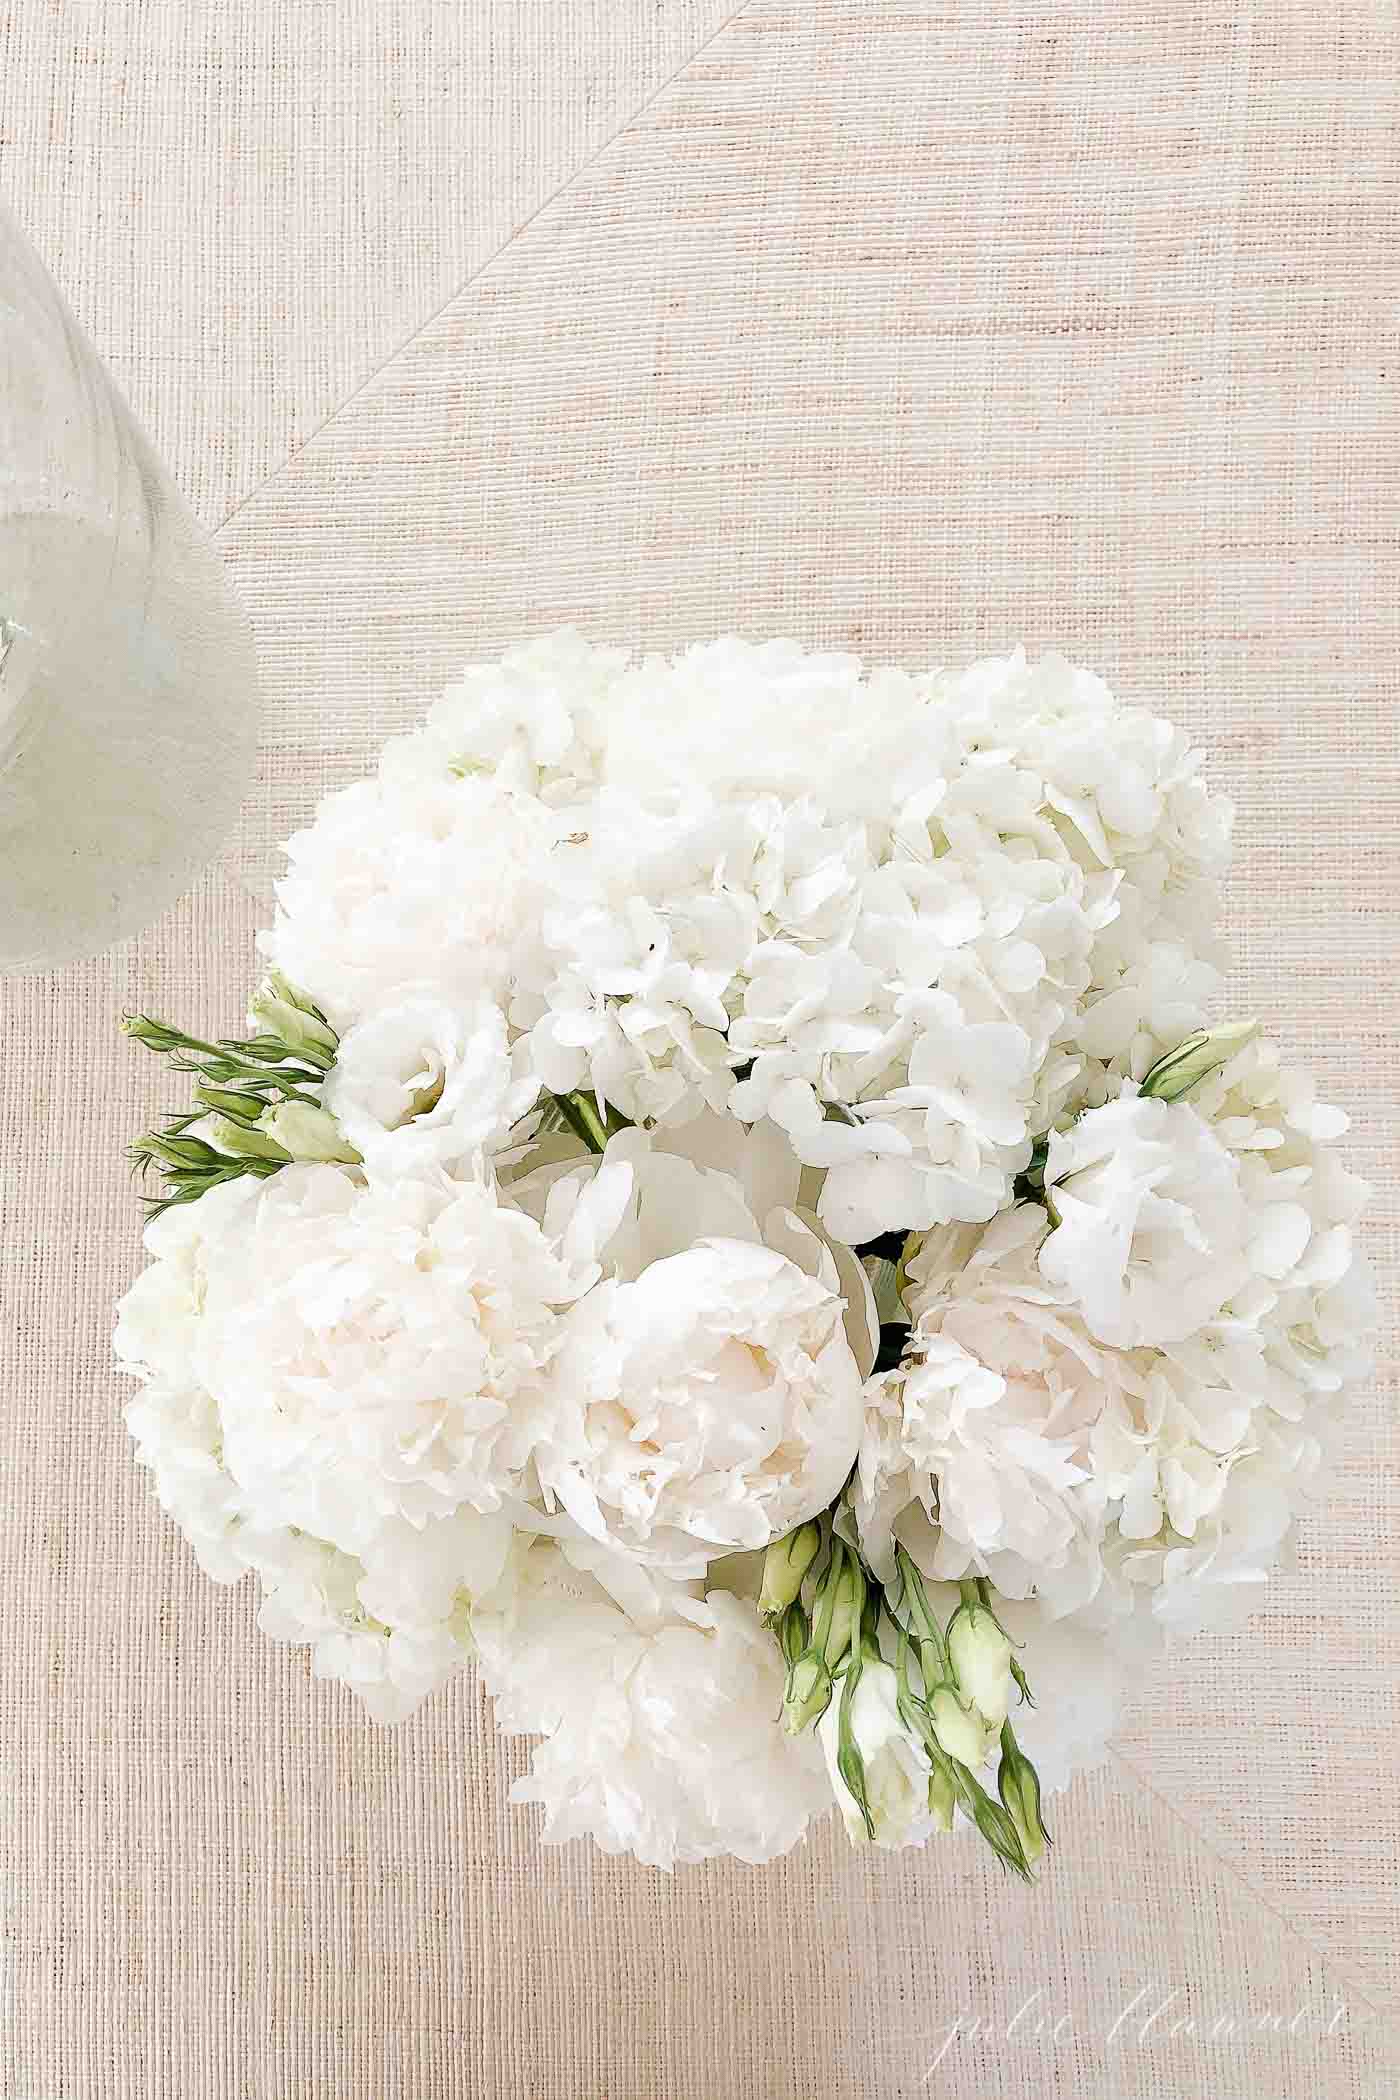
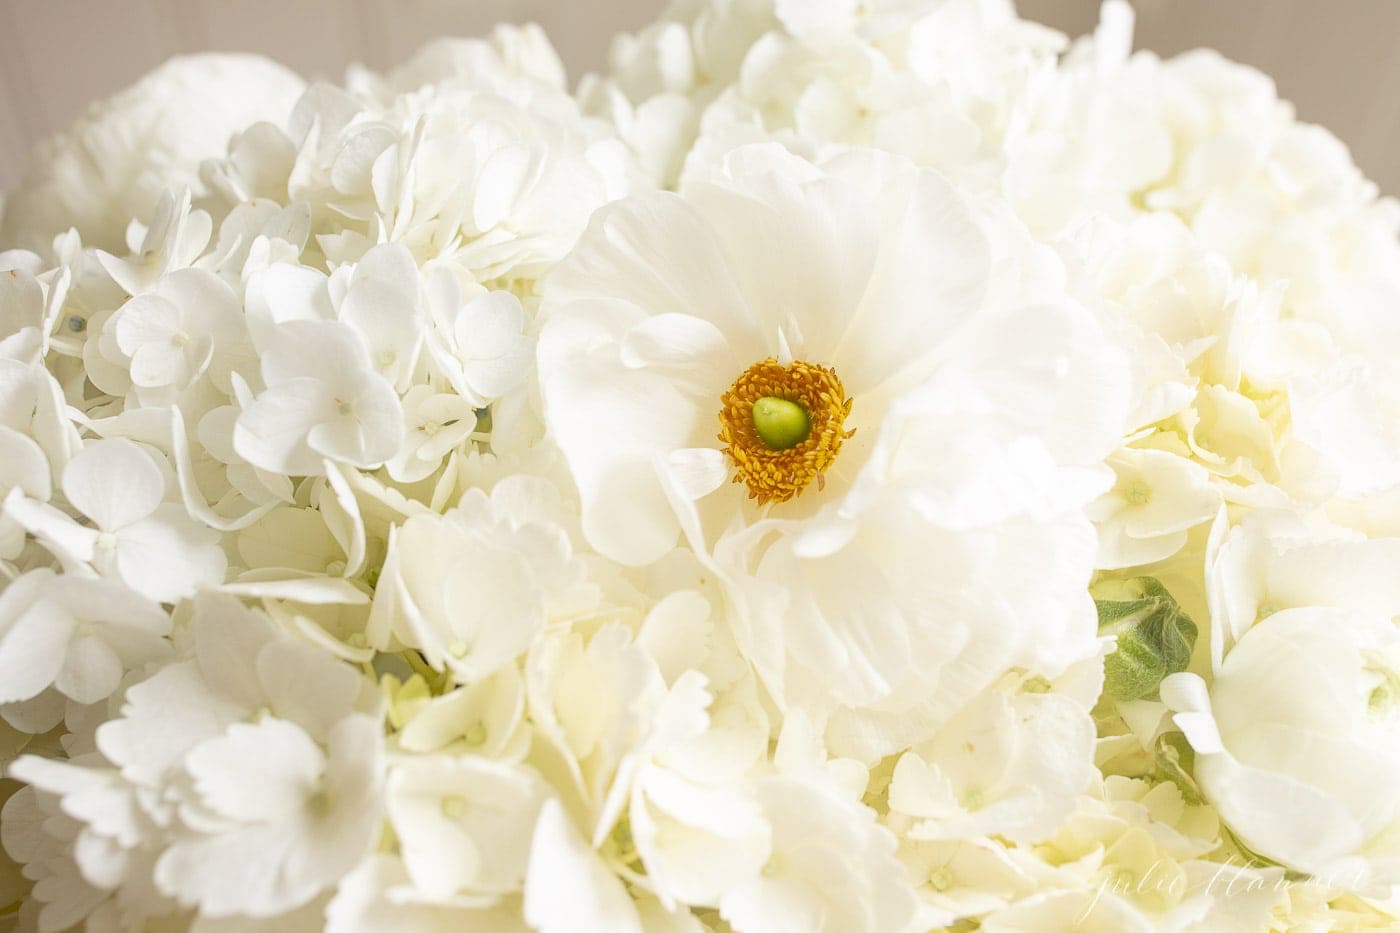
I’ve shown you a few of my favorite tips and tricks along the way, like how to revive wilted hydrangea, designing with white ranunculus, and making a hydrangea centerpiece.
You can even watch me create a beautiful arrangement of roses and eucalyptus on YouTube or learn about the perennial favorite, peonies, right here!
Today, we’re sharing this complete guide, featuring all of our favorite tips and tricks in one easy place.

Floral Design is for Everyone
Flowers can certainly bring us a lot of joy in our own homes, but one thing I am confident about is that designing a bouquet to give to a friend or family is a source of pride and accomplishment that can’t be beat!
Bringing joy to those you love with fresh floral design is wonderful, but saving yourself a little money, too?!? What could be better? A handmade bouquet is the perfect gift – who doesn’t love to give or receive anniversary or birthday flowers?
Therefore, I have the first of many sweet little florist tidbits to share with you.
The ultimate florist secret is that anyone can learn fresh floral design.
Yes, it’s true! It’s not difficult, and it shouldn’t be intimidating. I’m going to teach you how! Are you excited? Are you ready? Let’s do this!
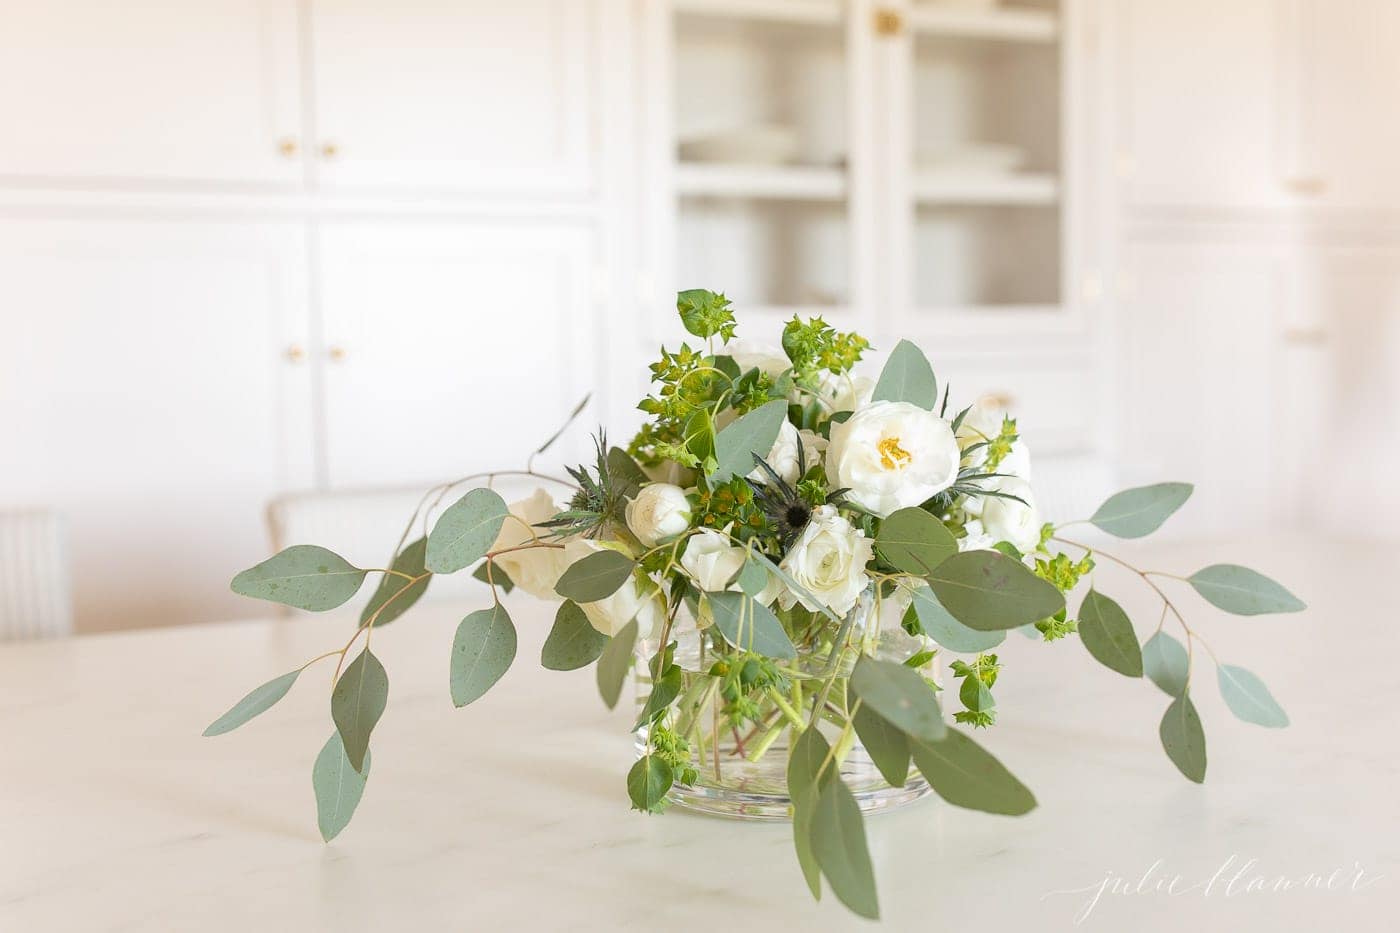
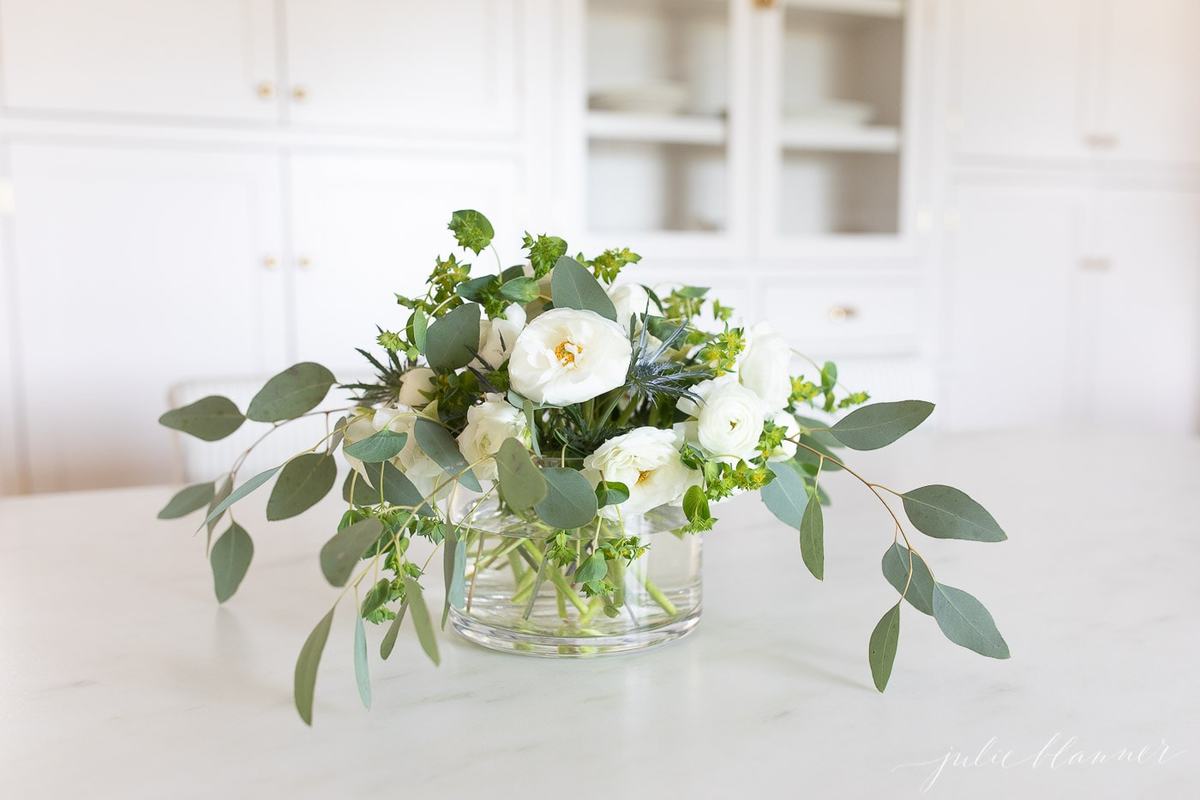
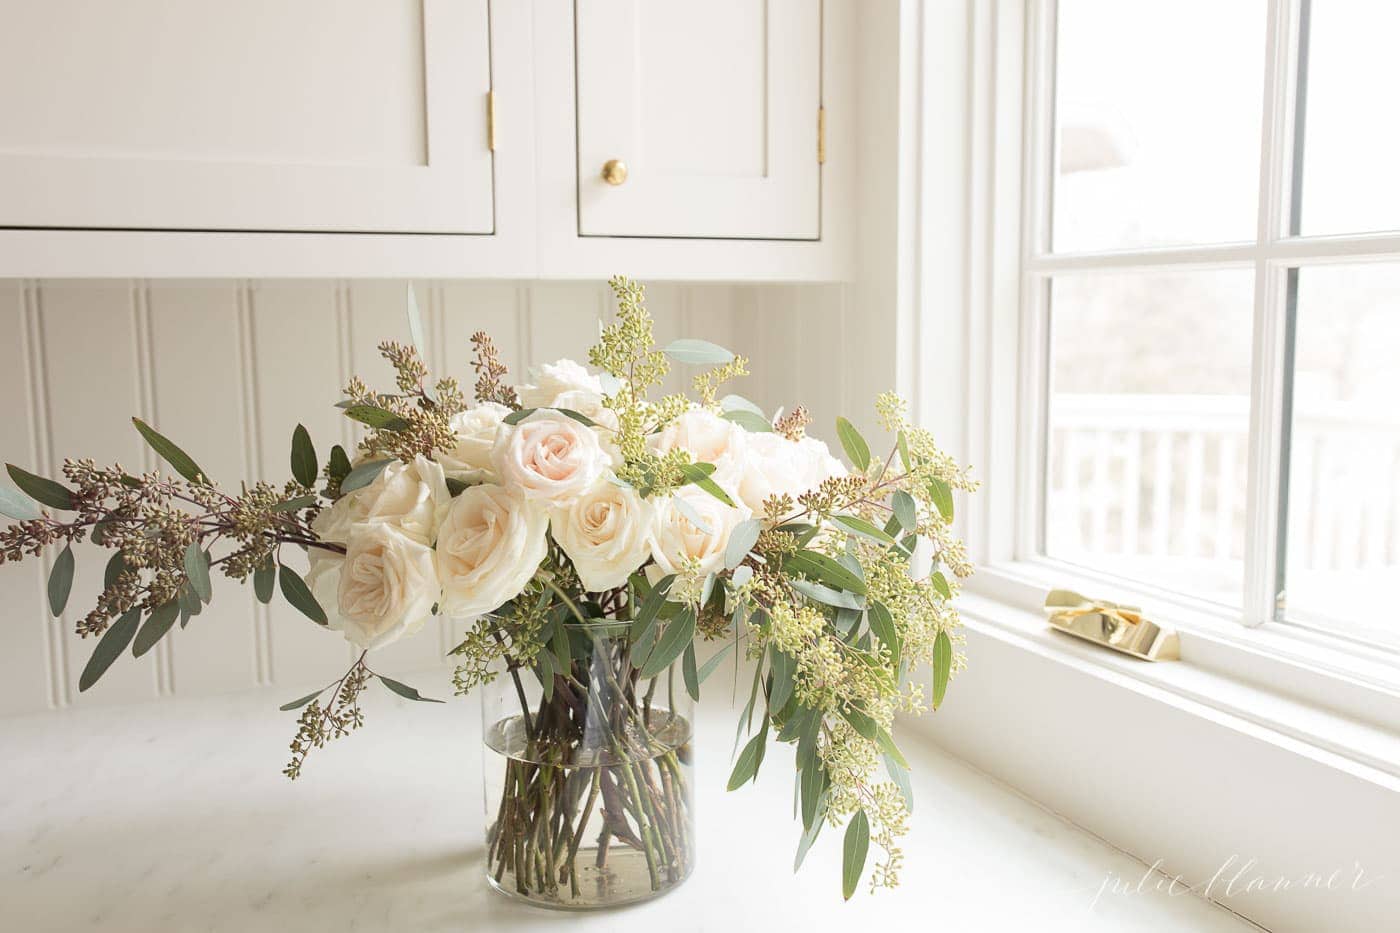
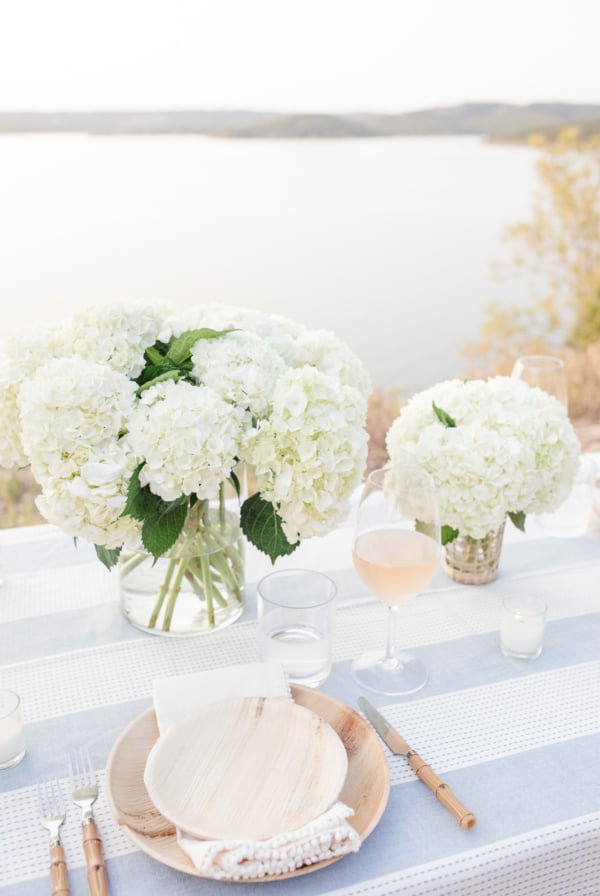
Psst… love the greenery in this arrangement? Check out this comprehensive post about Eucalyptus!
How To Be Your Own Florist
I believe in supporting my local small businesses to send flowers whenever I can, of course. The floral designers in these boutiques are extraordinarily talented, and so their designs are worth the investment.
At your boutique style local florists, you can also find more than just floral gifts and the freshest flowers! You’ll often find all kinds of last minute gifts like gourmet gift baskets, Valentine’s Day and Mother’s Day flowers and items that can’t be replicated at home.
A retail florist offers a guaranteed product, local same day delivery, and hand arranged stunning floral design work that can’t be found elsewhere. Hence, you’re paying for a high end, boutique experience and product, and that is something to be proud of!
Investing in your own knowledge and skills for a new floral design hobby is affordable, attainable, relaxing and so much fun. Someone once told me that floral arranging is a lifelong skill – something that anyone can enjoy between the ages of 1-100.
It’s like a little therapy session every time you arrange those beautiful blooms, and that feeling is priceless. Floral design can benefit everyone!
Why Are Flowers So Expensive?
This question has likely run through your mind before, especially if you’ve ever shopped for flowers in a traditional flower shop setting. This is because the cost can be overwhelming, and with good reason.
- Farming is expensive. Yes, you’re paying for someone, (often oceans away), to grow, cut, process, and package those blooms.
- Exorbitant shipping costs. These are highly fragile and perishable products that are often shipping around the world, sometimes for a week at a time.
- Demand. During the traditional “floral holidays” demand is increased exponentially, and we’re all paying the price!
- Highly trained floral designers. You’re paying for the skills of someone who takes their art form very seriously and knows what they are doing, often with years of training and experience under their belt!
- Retail operations (of any kind) are expensive. Small shop owners are paying overhead, labor, covering constant losses and so much more- a local florist that hand delivers doesn’t (and shouldn’t) come cheap.
Flowers are a luxury item, and yes, they’re often very expensive.
Where To Buy Flowers
Now that you understand a little about the cost of flowers and why they are so expensive, we can learn where to buy them less expensively.
I have a comprehensive post covering the topic of where to buy flowers that’s a must-read, and if you’re researching an upcoming floral purchase I highly recommend that you start there!
Of course, if you don’t have time for that much reading, here’s a few quick options to get you started on where to buy flowers.
- Local Flower Farmers
- Trader Joe’s (learn more about Trader Joe’s Flowers here)
- Whole Foods
- Local Grocery Store Florist Department
- Local Florist
- Online
- Garden Centers
- Your Garden
I know it might feel intimidating, simply because there are so many options when it comes to buying fresh blooms.
Choose What’s in Season
Another one of my favorite florist tips? It might surprise you!
Above all, don’t be a flower snob! Choose what’s available at the time, and not something that is difficult to obtain or out of season.
Of course we all have our favorite flowers, but if you approach your purchases with flexibility and an open mind, you’ll score a better product for a much better price.
This means that while you won’t find your favorite peonies in October, you might be surprised by something equally gorgeous and a lot more seasonally appropriate.
Keep an open mind – even carnations can be oh-so-beautiful when they are designed well!
In the floral world, seasonal availability and bulk buying is everything. As a result, grocery giants like Trader Joe’s and Costco often have access to the best product for a bargain price.
I also love that Whole Foods and Trader Joe’s support local flower farmers and still find ways to keep their costs down.
Where to Buy Flower Vases and Supplies
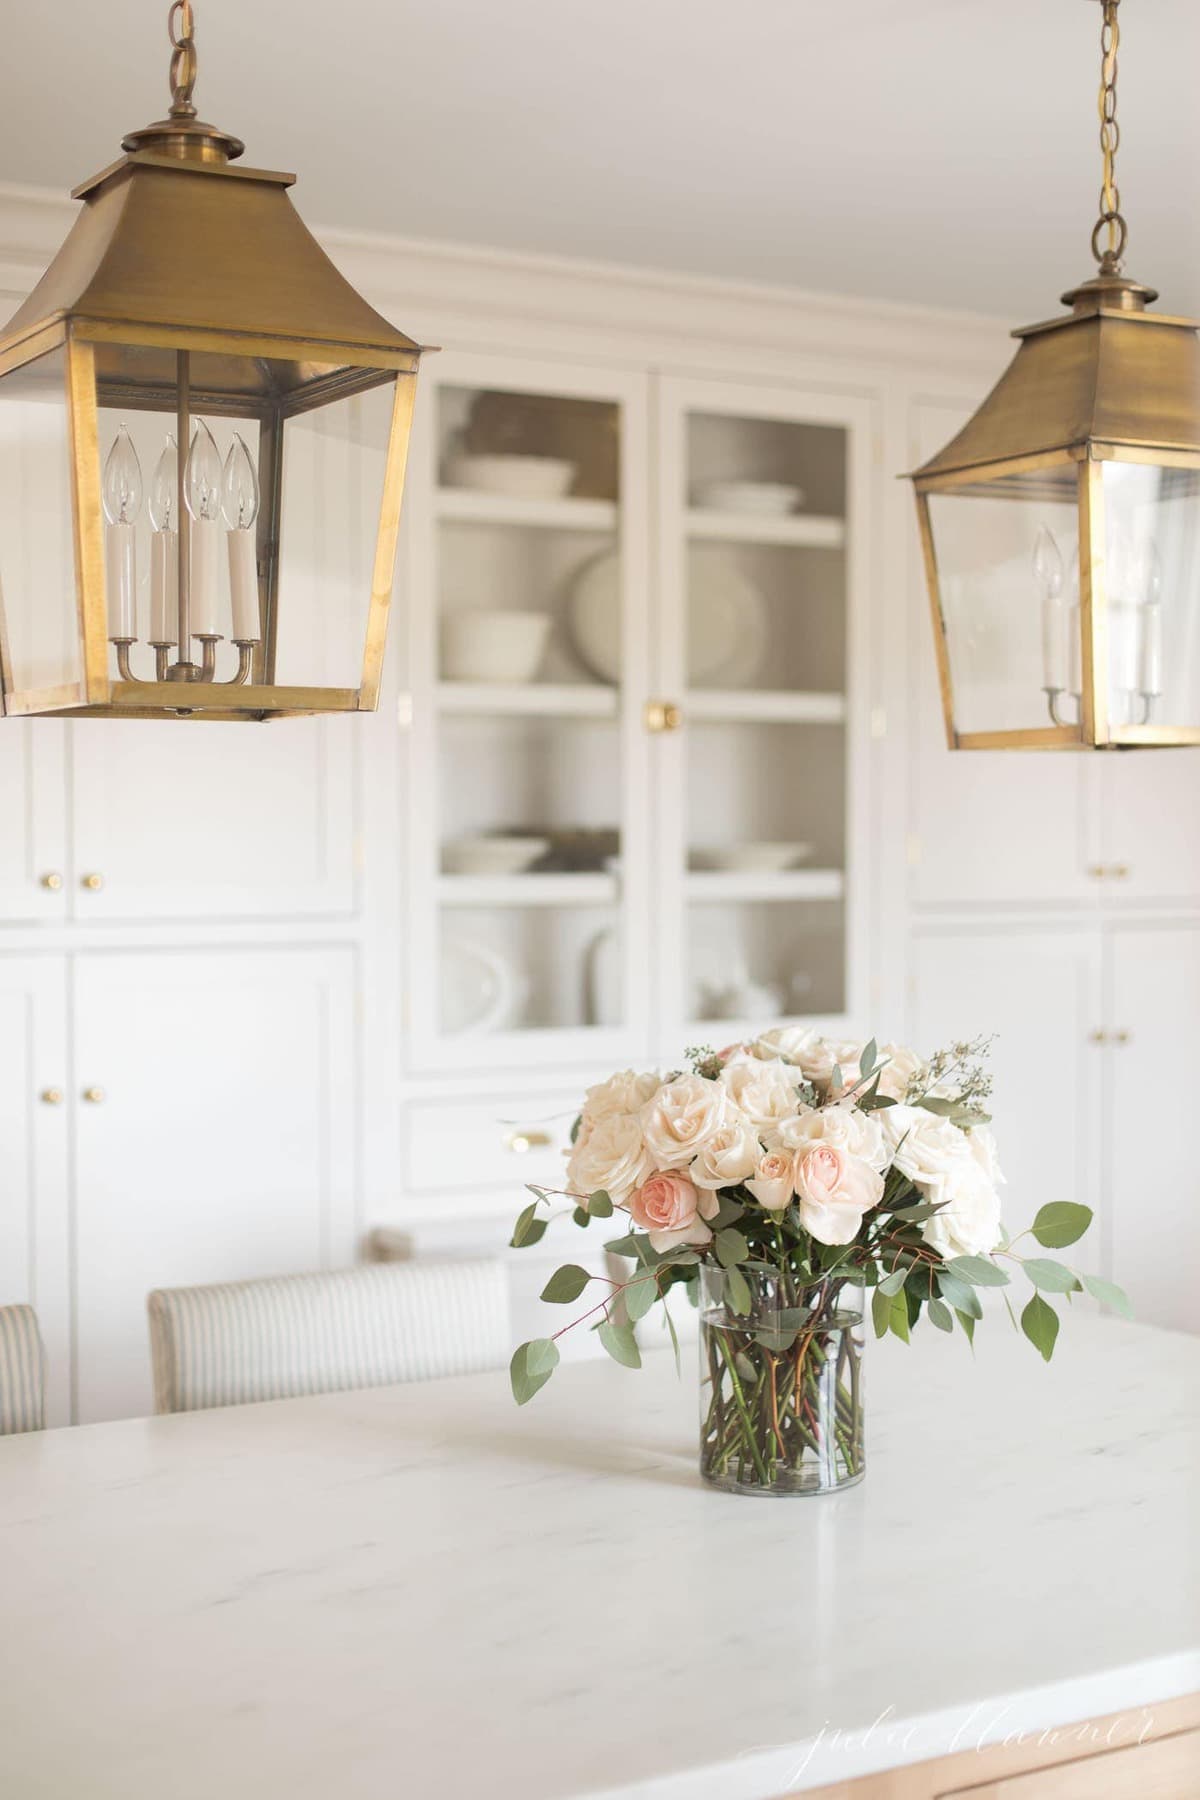
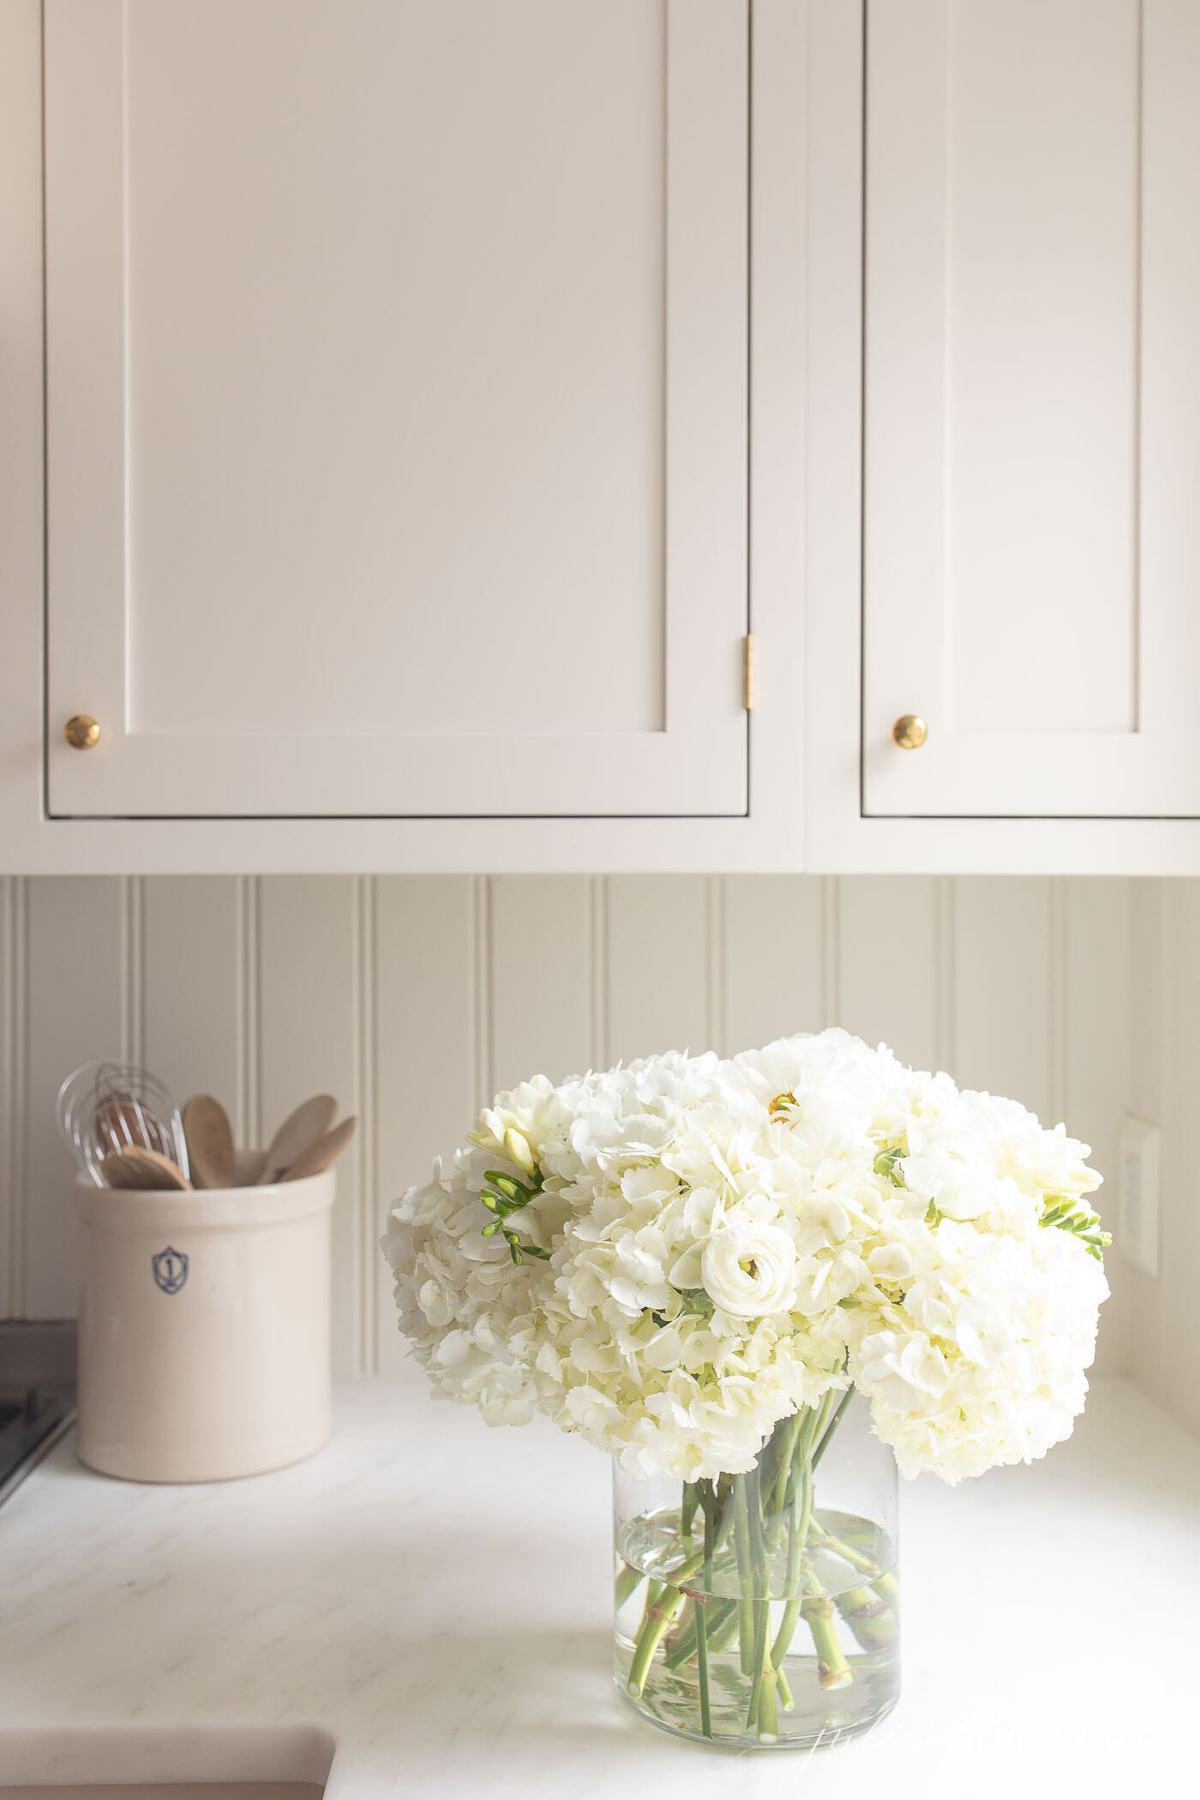
What’s next? You’ll need a simple vase, of course. Those fresh flowers aren’t going to contain themselves!
As always, I prefer simple containers to keep things effortlessly beautiful.
If you’re looking for more vase ideas or supplies to begin your florist journey, my Amazon Storefront has wonderful options to guide you!
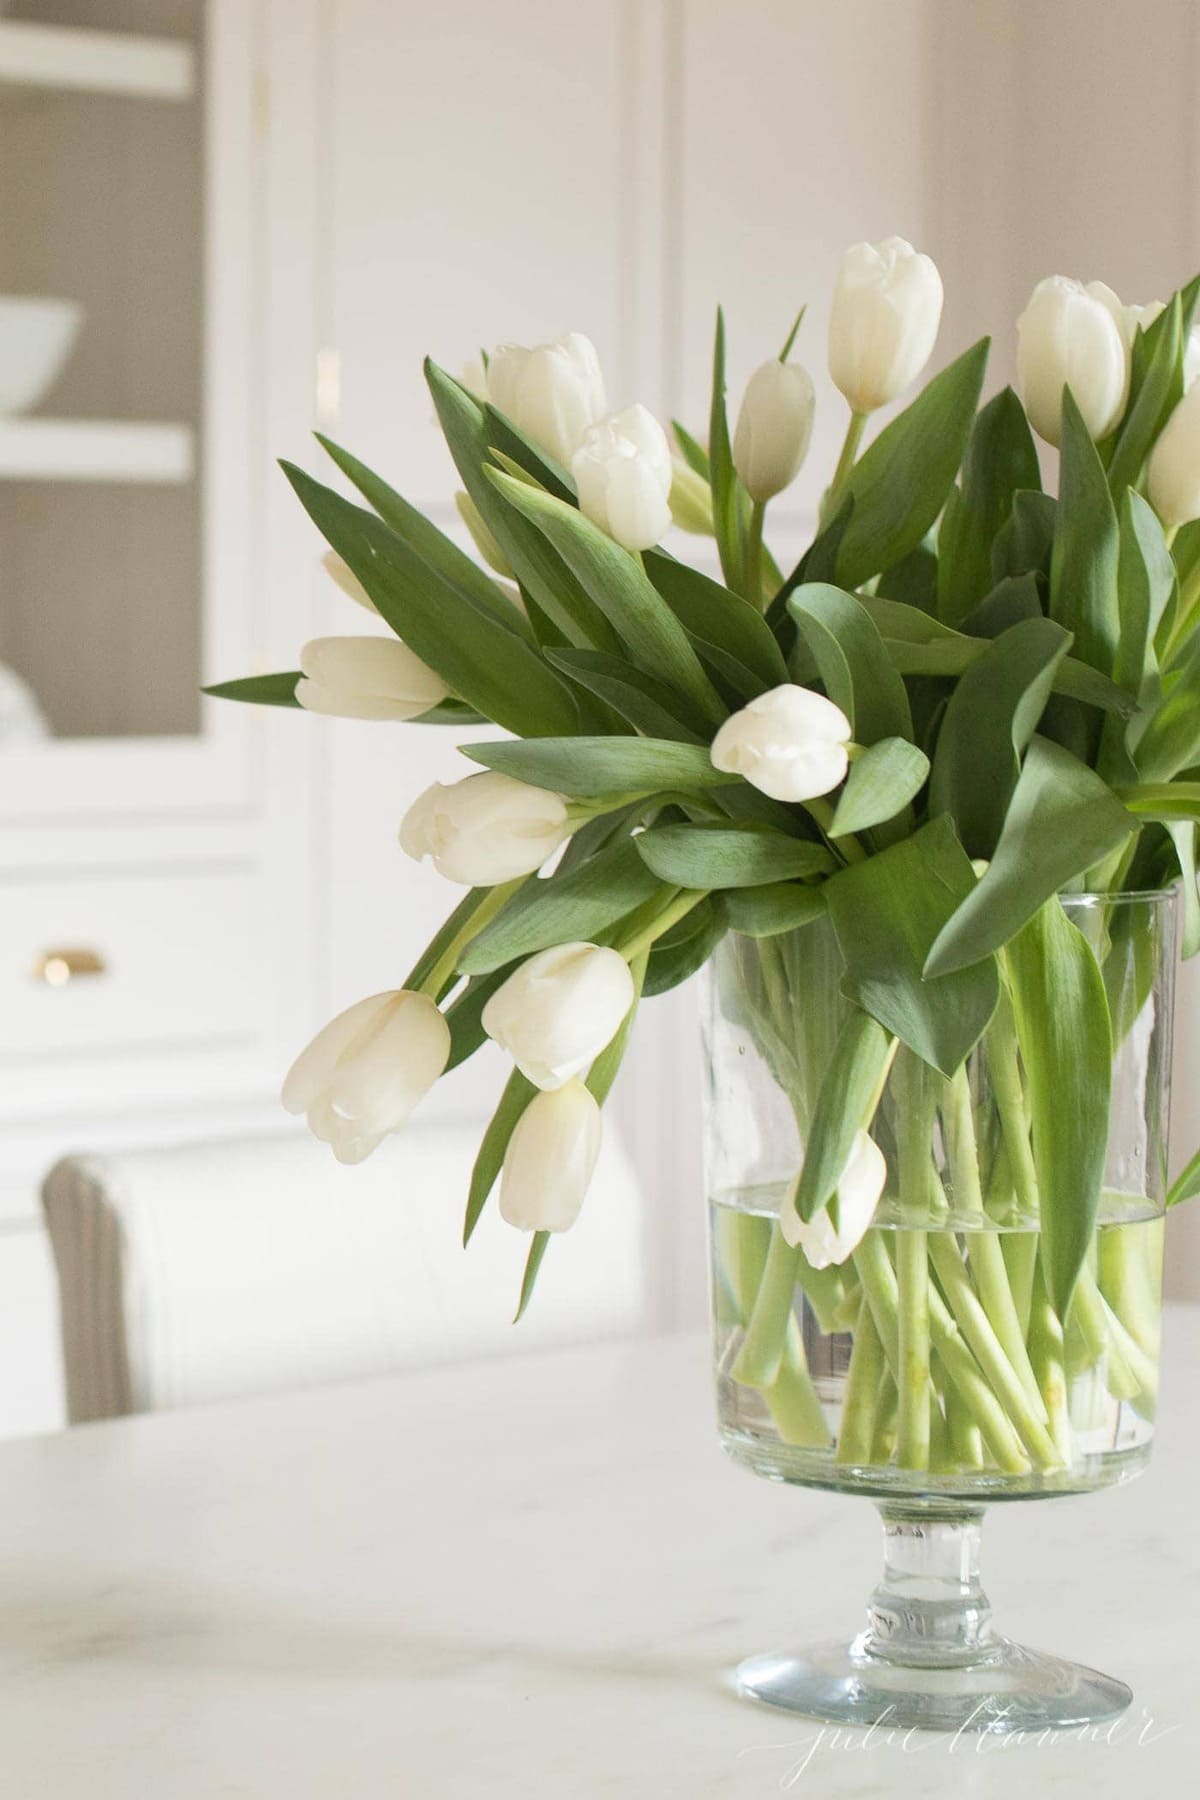
How To Arrange Flowers
You’re well on your way to becoming your own florist! Now that you’ve learned a little about what it takes to get the blooms home with you, let’s figure out what to do with them!
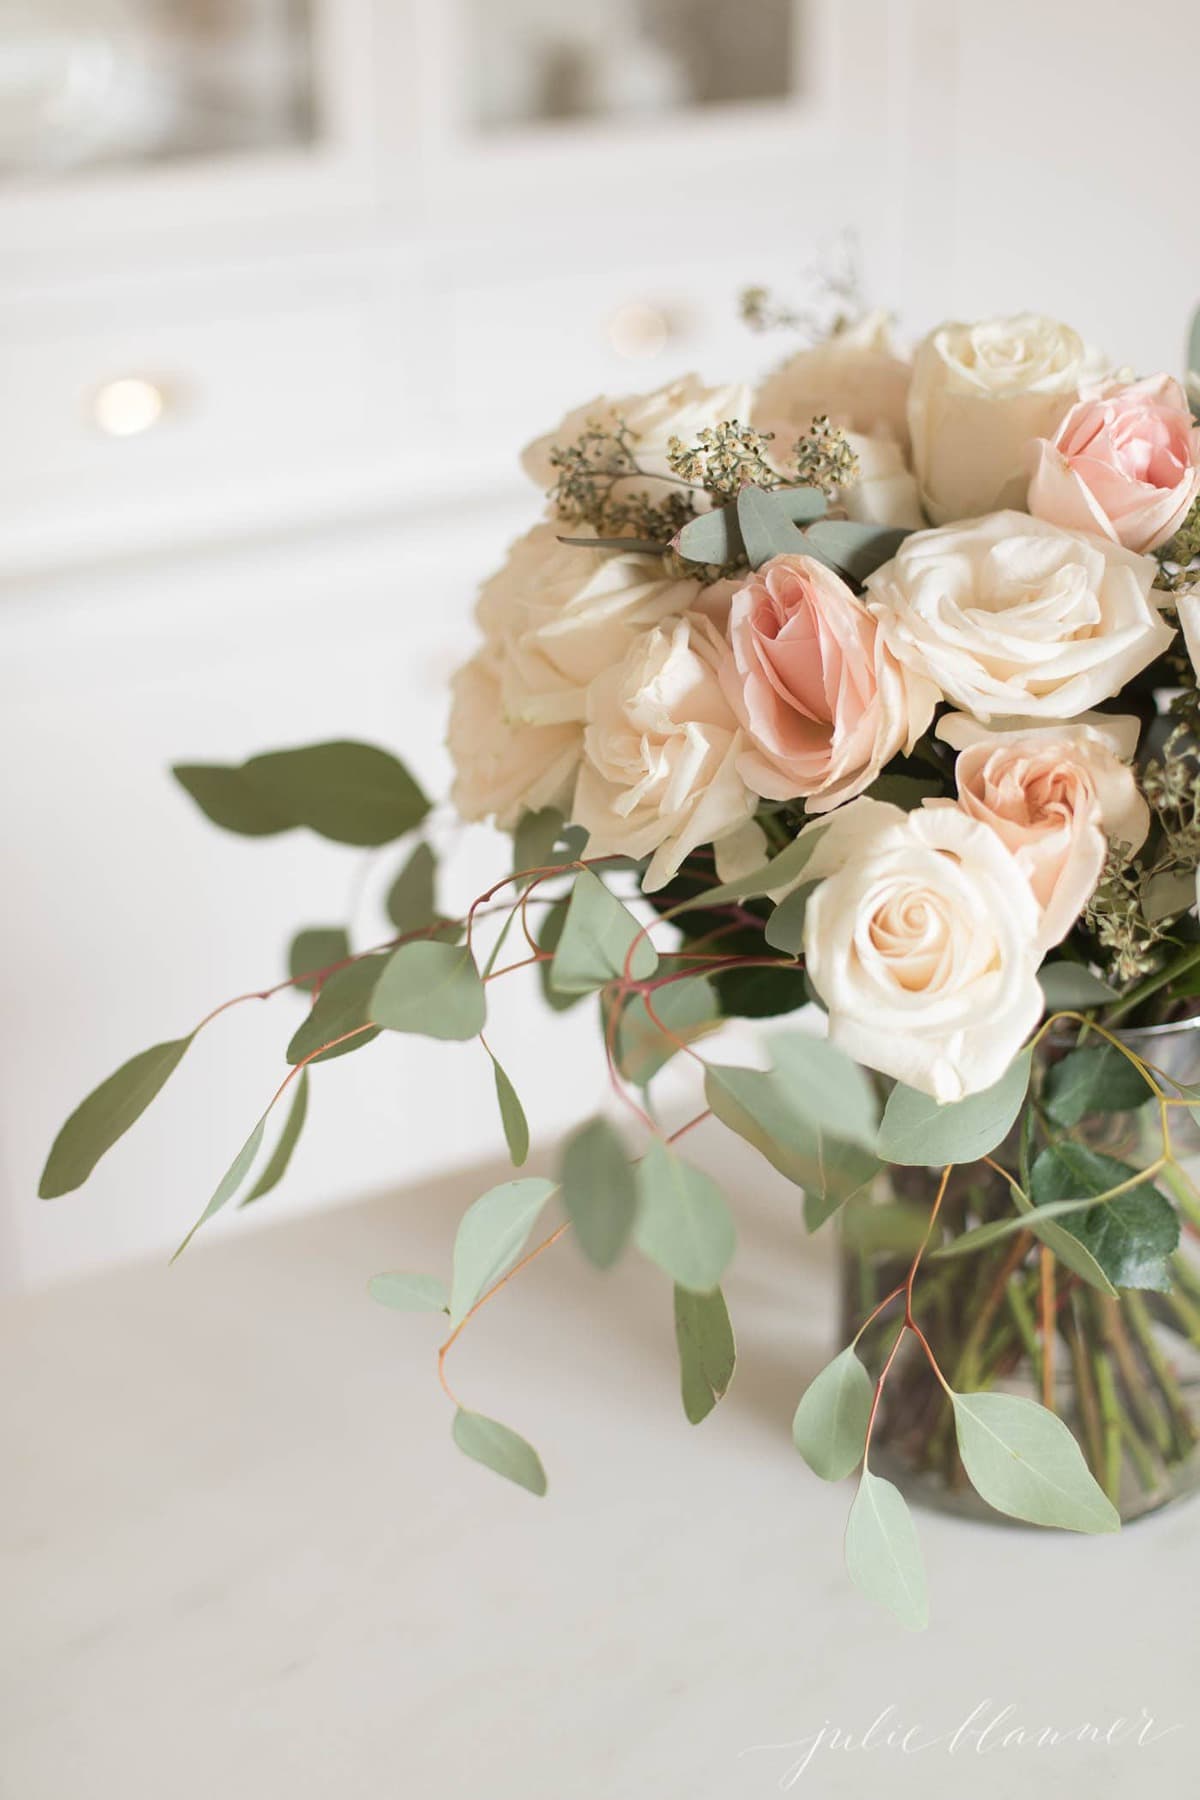
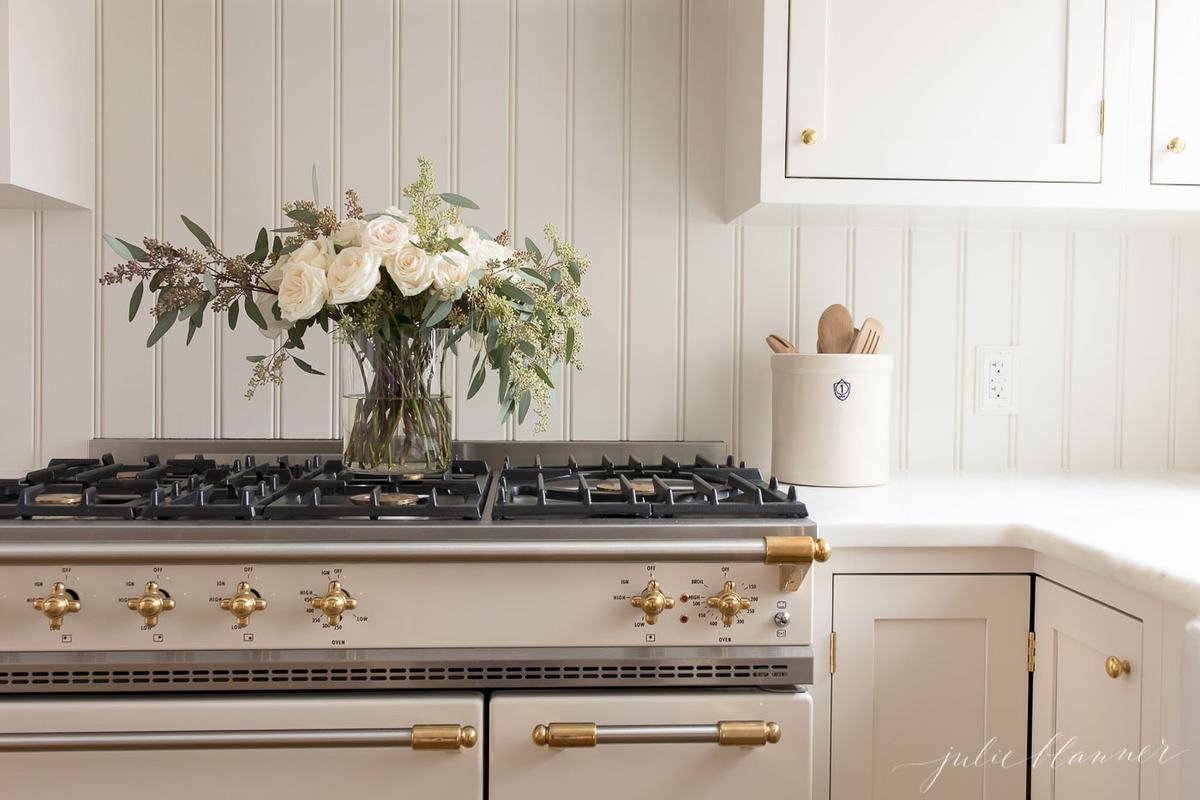
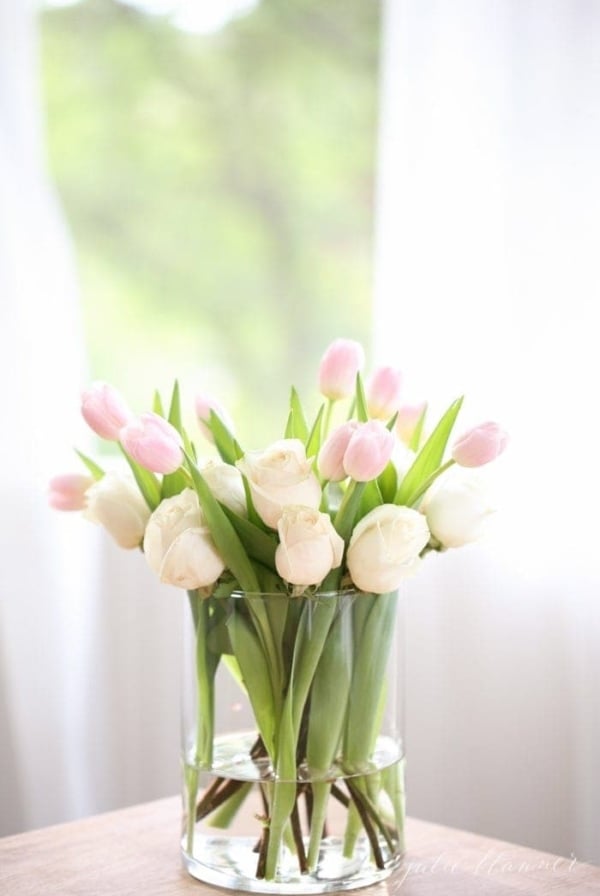
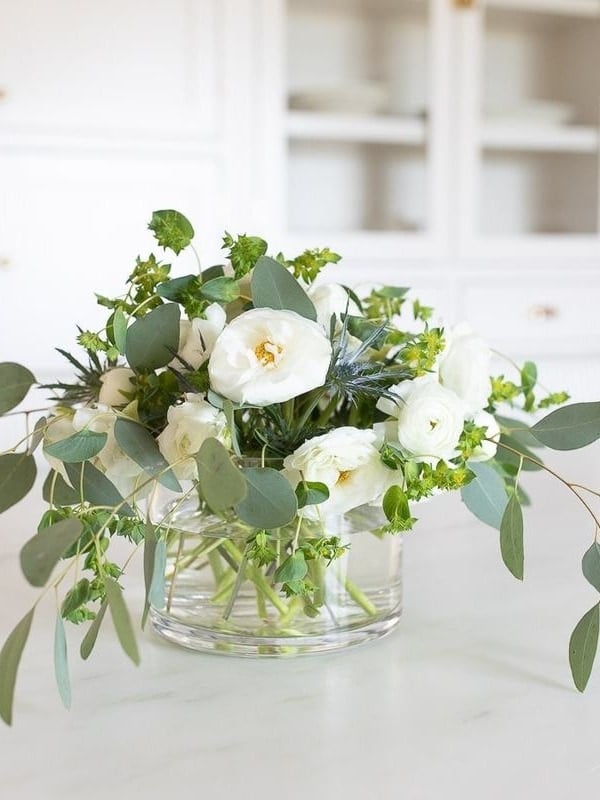
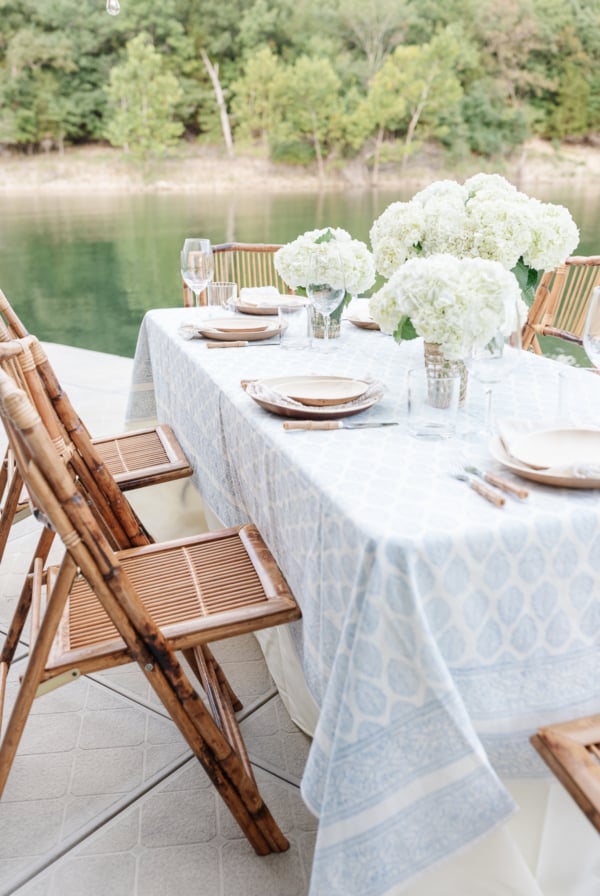
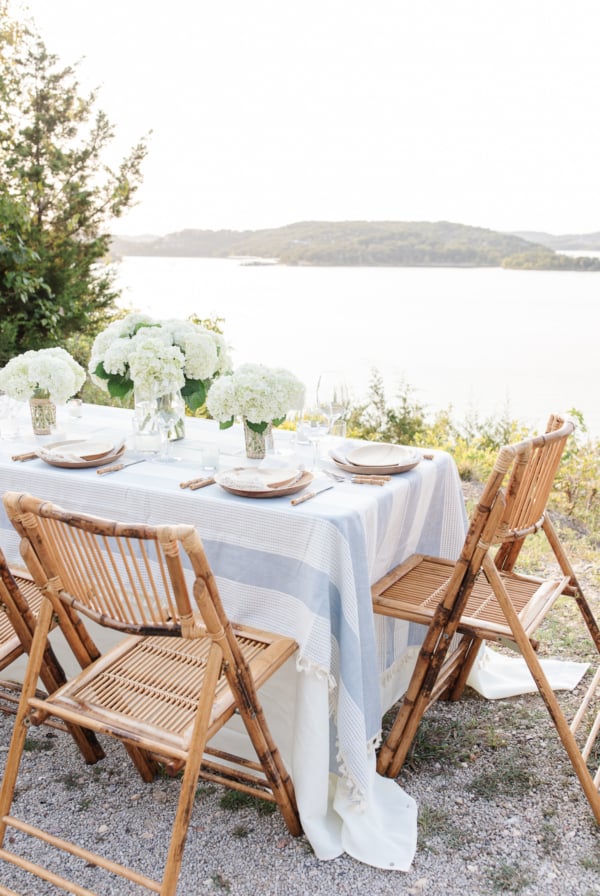
Start with a vase, a bundle of grocery store blooms, a bundle of greenery, and your floral clippers.
I’ve got so many floral design tutorials, and many of them begin with the same basic principals. Step by step, work as follows:
- Prep your flowers by measuring how long you want them to be and trimming them all about equally, trimming at an angle. You want them about 4-5″ longer than the vase when positioned diagonally.
- Remove any leaves that will fall below the base of the vase.
- Fill your vase with water. Add flowers diagonally across the vase, criss-crossing stems and allowing them to fall to each side of the vase.
- Start filling in {alternating a few blooms of another color or style if you choose} using the existing stems to help you position new blooms, leaving some vertical.
- Trim eucalyptus (or other greenery/filler) to be an additional 6+” longer than the flowers themselves, and again remove any leaves that would fall below the base of the vase.
- Insert eucalyptus (or other greens/filler) around the edge of the vase all the way around or at 3 opposite points.
- Add small stems of filler or greens, nestled in between the blooms at opposite points in the flower arrangement and adjust stems as needed to appear full.
Thanks so much for joining me to learn a few florist secrets of your own! Learning how to be your own florist is easier than you thought it would be, right?
Above all, I’d love to see any of your creations! Please share with me here in the comments, or join me in the Facebook share group, Celebrating Simple.
Join Our Community
Let’s keep in touch! Receive exclusive content, including never-seen-before photos, our favorite home decor DIYs and more!


Very short, specific and easy to follow
I always start with my foliage creating a nest for the flowers to weave into. I am a certified florist so I guess it’s just how I was taught but it does enable you to move the flowers around a little more to achieve the look you desire 😊
Great tips, Julie. I’d suggest one more thing… Quickly snip the end off each stem (1/4”-ish) right before putting it into the vase/water, as the stems start to seal themselves off (like our skin does when we get a cut). So if you cut them all to length at the start, by the the time some of the last stems get to the water, they could be almost totally sealed off.
It takes a couple of extra minutes but allows the stems to take up more water and therefore last longer.
I love the ideas
Thank you!
love this i always just put mine in a vase and hope for the best haha.. but i will be doing this with my flowers